How to free up disk space in Windows 10
Begone, low storage space errors!
Introduction
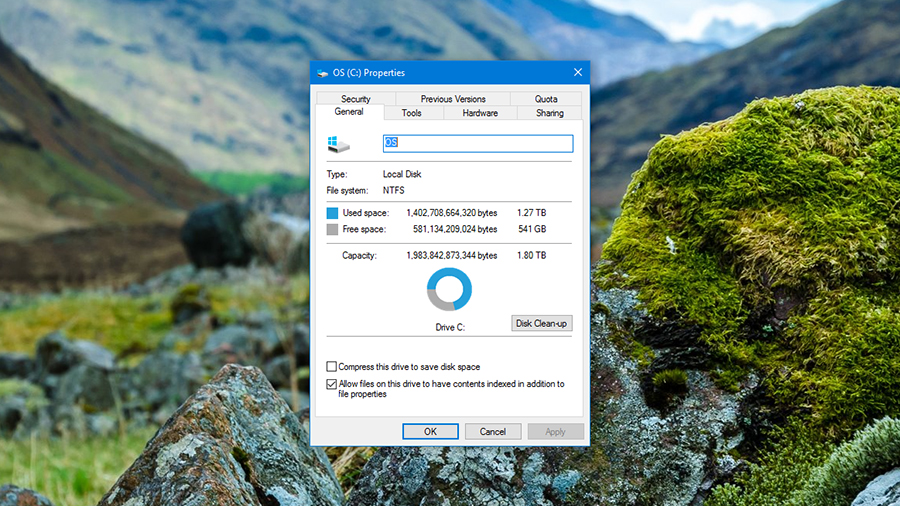
Having an abundance of free space on your hard drive not only leaves room for your next batch of holiday snaps, it also makes sure Windows can run happily too - the OS needs plenty of breathing room while it goes about its business, swapping temporary files and so on, and if space is at a premium you'll probably notice your computer slowing down.
Freeing up more room is not a job you want to put off then, and we've got several tips and tricks for approaching the task. You and your installed applications can be enjoying some extra gigabytes in no time at all.
1. Identify the worst culprits
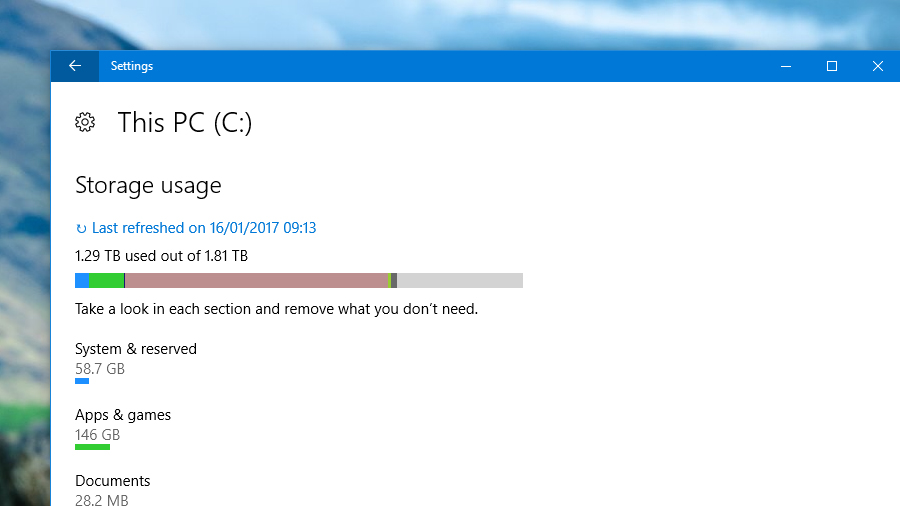
First of all, put on your detective's hat (if you have one - if not, an imaginary one will do). Find out exactly what's taking up all the room on your hard drive by launching the Settings app from the Start menu then clicking 'System' and then 'Storage'.
Select your hard drive and Windows very helpfully lists everything on your system, including Windows files, applications, games, pictures, music, videos and so on.
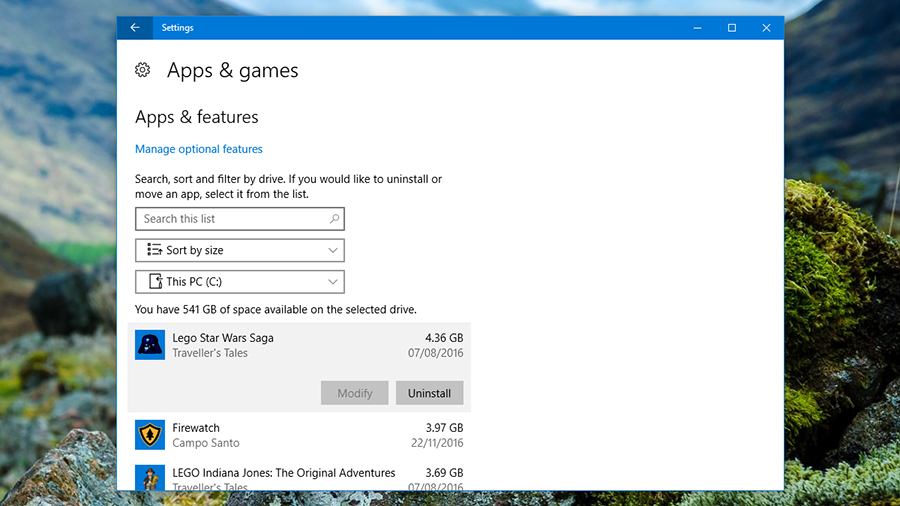
If you need to take a closer look, click on any of the entries. For example, click on 'Apps & games' and then choose 'Sort by size' to see if any of your installed programs are taking up huge amounts of space.
2. Remove unused apps and games
You can't delete a lot of these files straight from the Storage window, though you can quickly find them on disk. In the case of apps and games there is the option to uninstall any large programs you're not using.
From the Apps & games screen, with the list sorted by size, you'll see the worst offenders at the top. Click on any entry in the list then choose 'Uninstall' to remove it.
It's up to you which apps and games you get rid of - it really depends how desperate you are to free up some space and how many unused applications you've got lying around on your hard drive. Remember you can always install these programs again if you need to.
3. Manually delete files
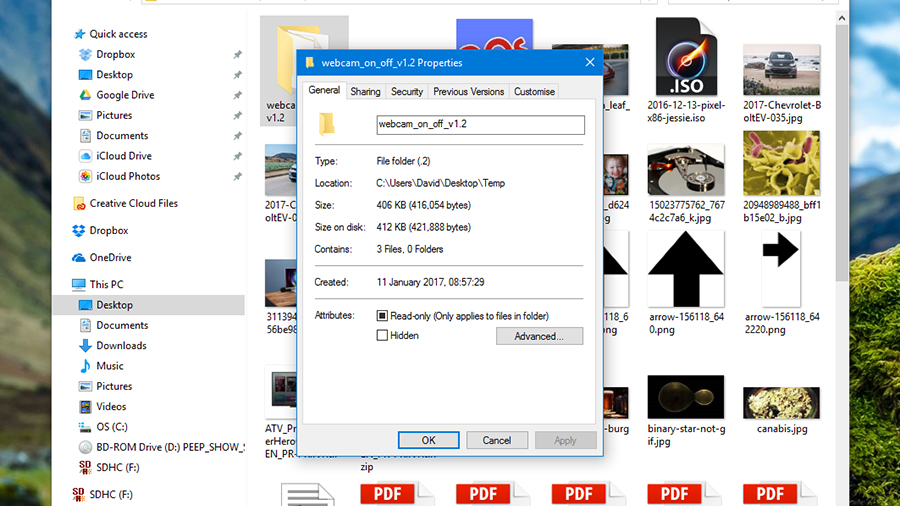
Manually deleting files in File Explorer is a time-consuming but very precise way of freeing up room on your hard drive in Windows. You can use any of the links in the Storage window we looked at previously to jump to particular folders, or you can just browse as normal by launching File Explorer from the Start menu.
Right-click on any folder and choose Properties to see how much room it and all of its subfolders are taking up - a quick tap on the Delete key will erase any file or folder. Hold down Ctrl while clicking to select multiple folders at once.
4. Automatically delete files
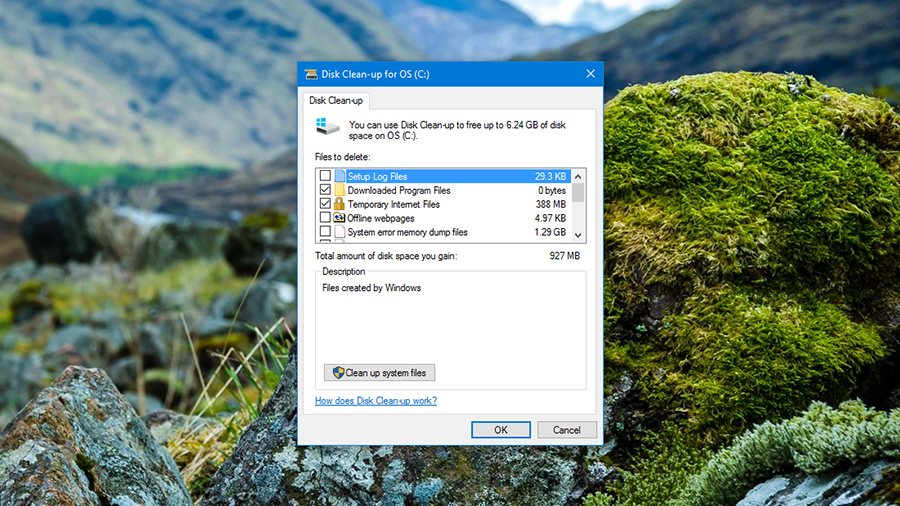
Windows includes its own Disk Cleaner utility that will do some spring cleaning on your hard drive (in spring or any other season). It targets the temporary files and unneeded junk data that naturally builds up while you're using your OS.
From File Explorer, select 'This PC' and then right-click on the hard drive you want to tidy up. Choose 'Properties', then under the General tab click on the 'Disk Clean-up' button. After a few minutes of scanning, you should see a list of file types together with how much space can be saved - choose all the ones you'd like to clean up, then click 'OK' to confirm.
5. Move your files to OneDrive
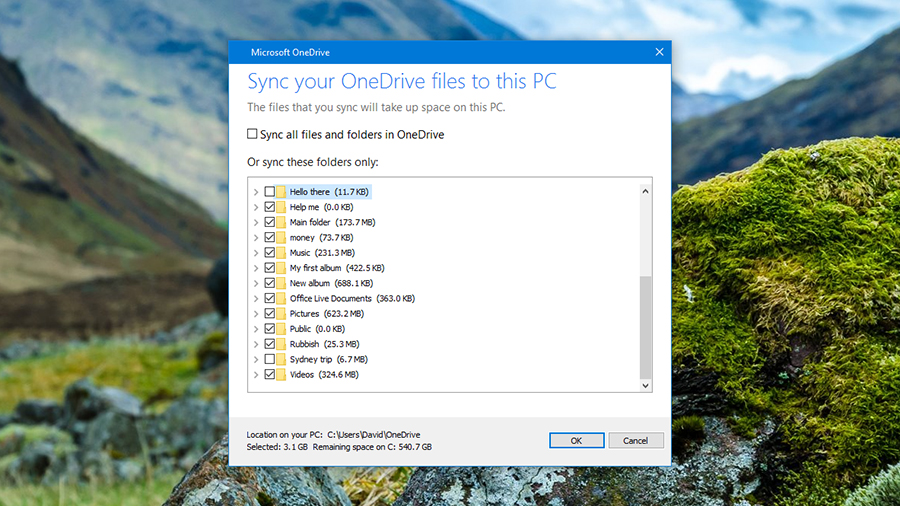
Thanks to the magic of OneDrive - Windows' built-in cloud syncing service - you can offload some of your files to the cloud and free up space on your local machine.
From Storage (under System in Settings), click your hard drive, then 'OneDrive', then choose 'Manage OneDrive'. Right-click on any file or folder, and select 'Choose OneDrive folders to sync'.
Untick any folders on the next dialog box and these files will be stored in the cloud only, with the local copies erased (you'll need to download them again if you need them). For important files we'd recommend making a backup on an external disk drive as well, just to be safe.
6. Move your files to another cloud storage platform
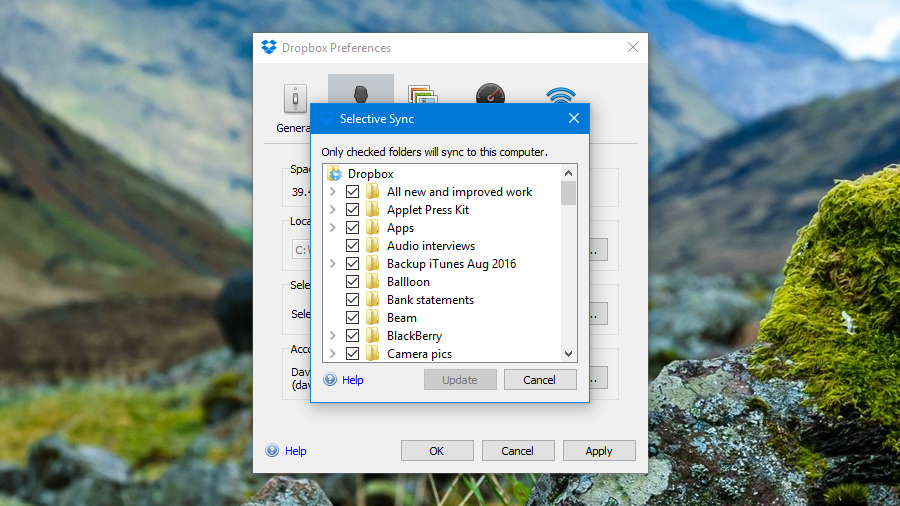
The same trick we just described on OneDrive works on other cloud storage services like Dropbox and Google Drive as well - once your files have been synced to the cloud, you can delete the local copies. Make sure you don't just delete the local copies and the cloud copies at the same time, though.
On Dropbox, right-click on the notification area icon, click the cog icon, and then select Preferences. Under the Account heading, click 'Selective Sync', and untick the folders you don't want to keep saved on disk.
In the case of Google Drive, right-click on the notification area icon, then click the menu button (three dots) and choose 'Preferences'. Under Sync options, select 'Sync these folders only', and again you can make your choice.
As we mentioned above, it's a good idea to have copies of your most important files stored on an external hard drive somewhere too, just in case something happens to the online versions.
7. Use third-party utilities
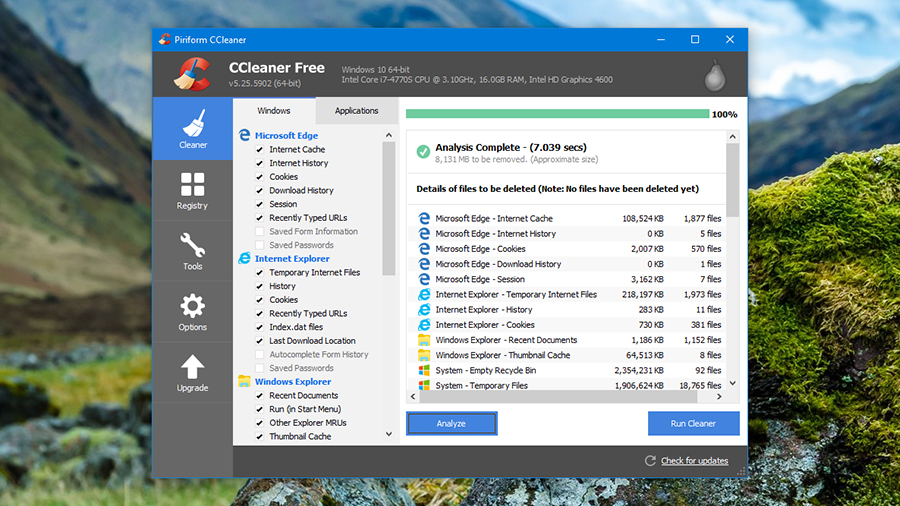
There are plenty of third-party utilities eager to help you free up some disk space on Windows too, with CCleaner being one of the best and most well-established. It's available in free and paid-for versions, but even if you don't want to spend any cash, the free edition is well worth installing.
The application targets temporary files and data that you don't really need - cached thumbnails, browsing history, Windows log files and so on. Make your choices from the list on the left of the main Cleaner window, then click the Analyse button to see what can be cleaned up. If you're happy to proceed, click on the 'Run Cleaner' button.
8. Other options for freeing up disk space
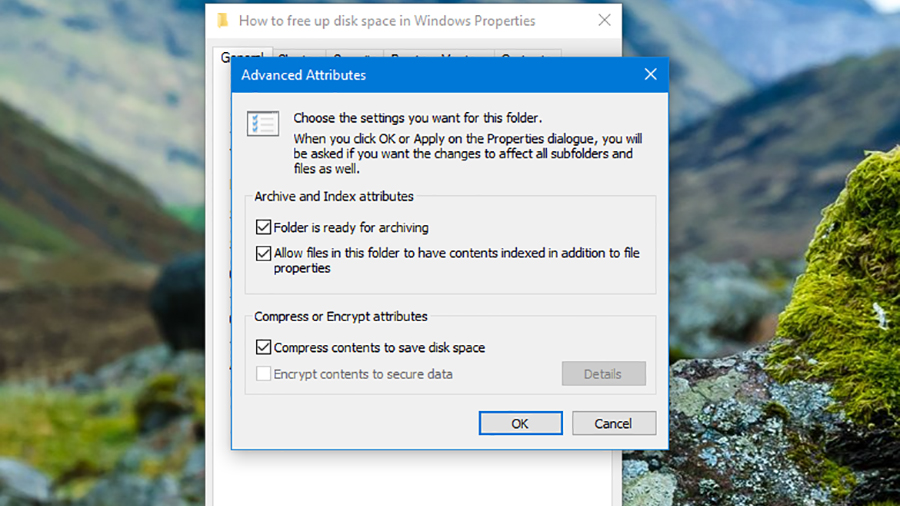
There are various other options available to you, but they're a bit more technical, and not quite as straightforward to implement. You can compress files on an NTFS disk, for example, though they will take slightly longer to open - right-click on a file or folder, choose 'Properties', then click 'Advanced' and tick the 'Compress contents to save disk space' option.
If you know you won't be using certain files for a while you can stuff them into a compressed archive using a tool such as WinZip or 7-Zip. Meanwhile, hunting down and deleting duplicate files can work wonders on some systems, and apps such as DupeGuru and Duplicate Files Finder can help you in your task (there's also a duplicate finder built into the aforementioned CCleaner).

Dave is a freelance tech journalist who has been writing about gadgets, apps and the web for more than two decades. Based out of Stockport, England, on TechRadar you'll find him covering news, features and reviews, particularly for phones, tablets and wearables. Working to ensure our breaking news coverage is the best in the business over weekends, David also has bylines at Gizmodo, T3, PopSci and a few other places besides, as well as being many years editing the likes of PC Explorer and The Hardware Handbook.
Sign up for breaking news, reviews, opinion, top tech deals, and more.
You are now subscribed
Your newsletter sign-up was successful