How to get digital radio in your car
Get DAB radio in your car in under 30 minutes
Introduction
With the nation’s television channels completely digitised, the government is now working hard to turn the UK’s airwaves digital. While Norway has beaten us to the punch by going completely digital, most new cars in the UK now have DAB as standard. But what about us with older cars that are stuck with FM and the limitations of an analogue signal?
Well, there are a number of options. For instance, Halfords is currently doing decent business in installing DAB radio in your car for as little as £30. The RAC is also offering a service, as well as other independent retailers.
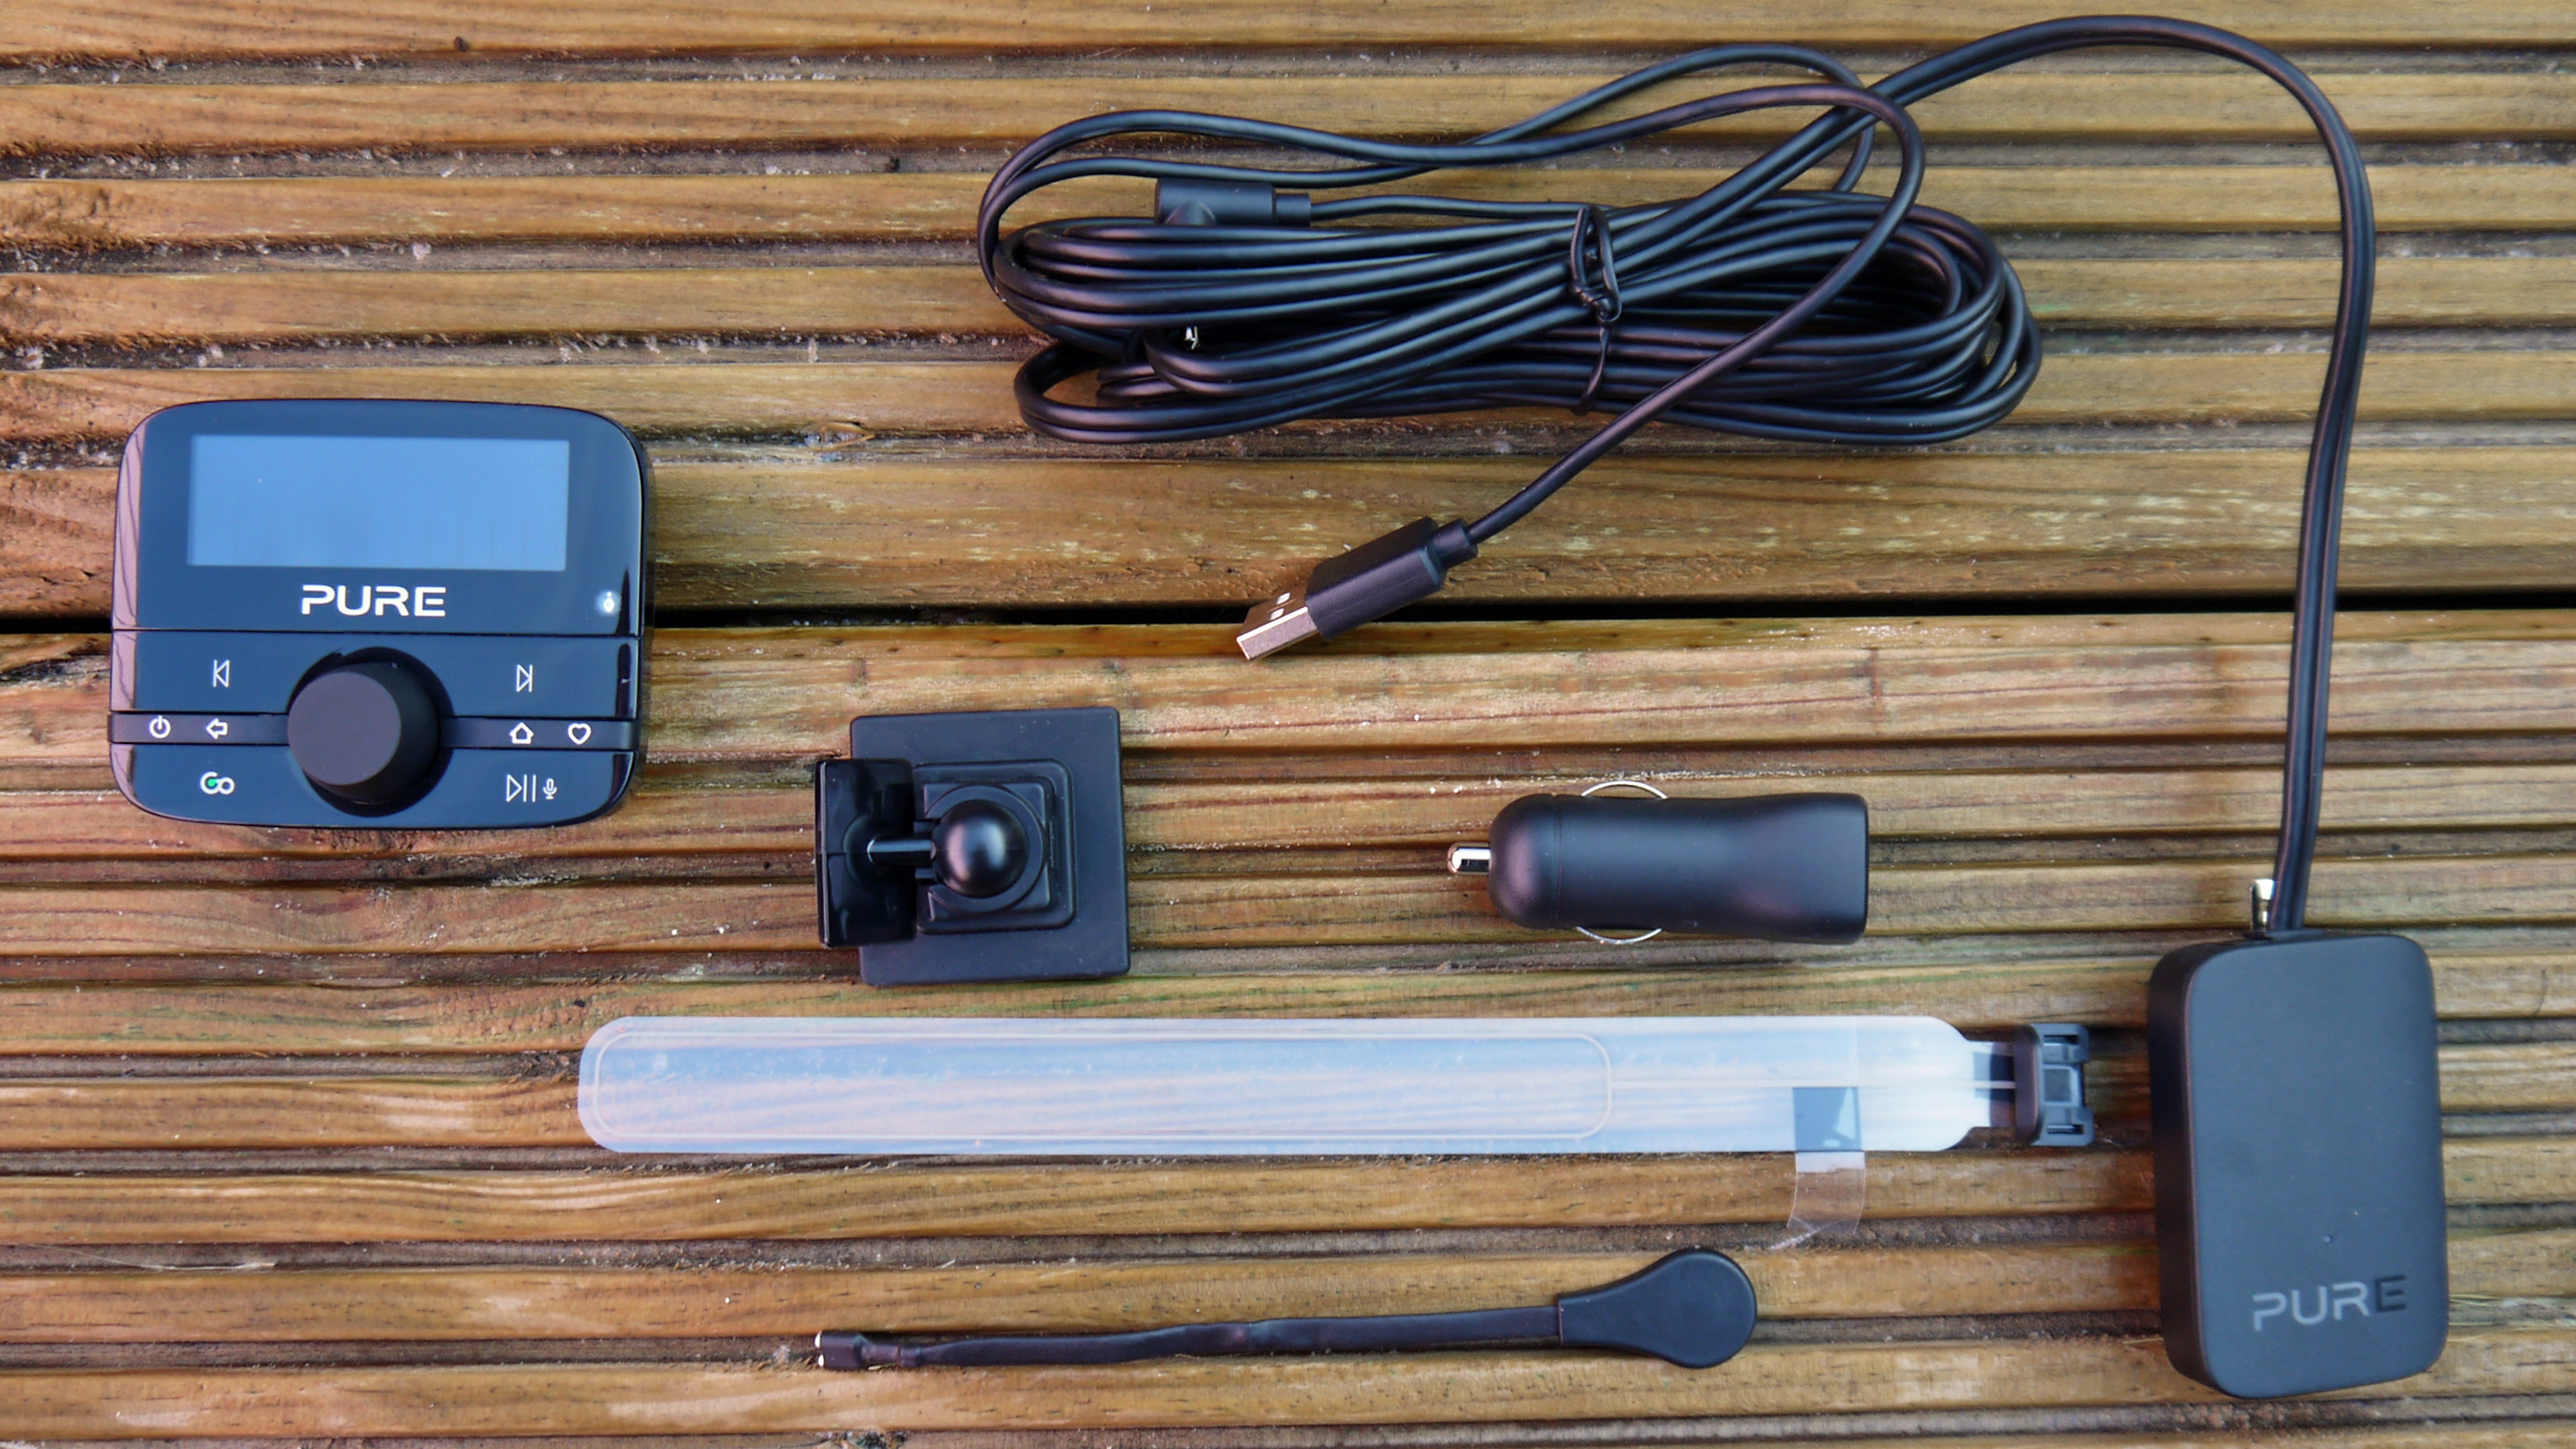
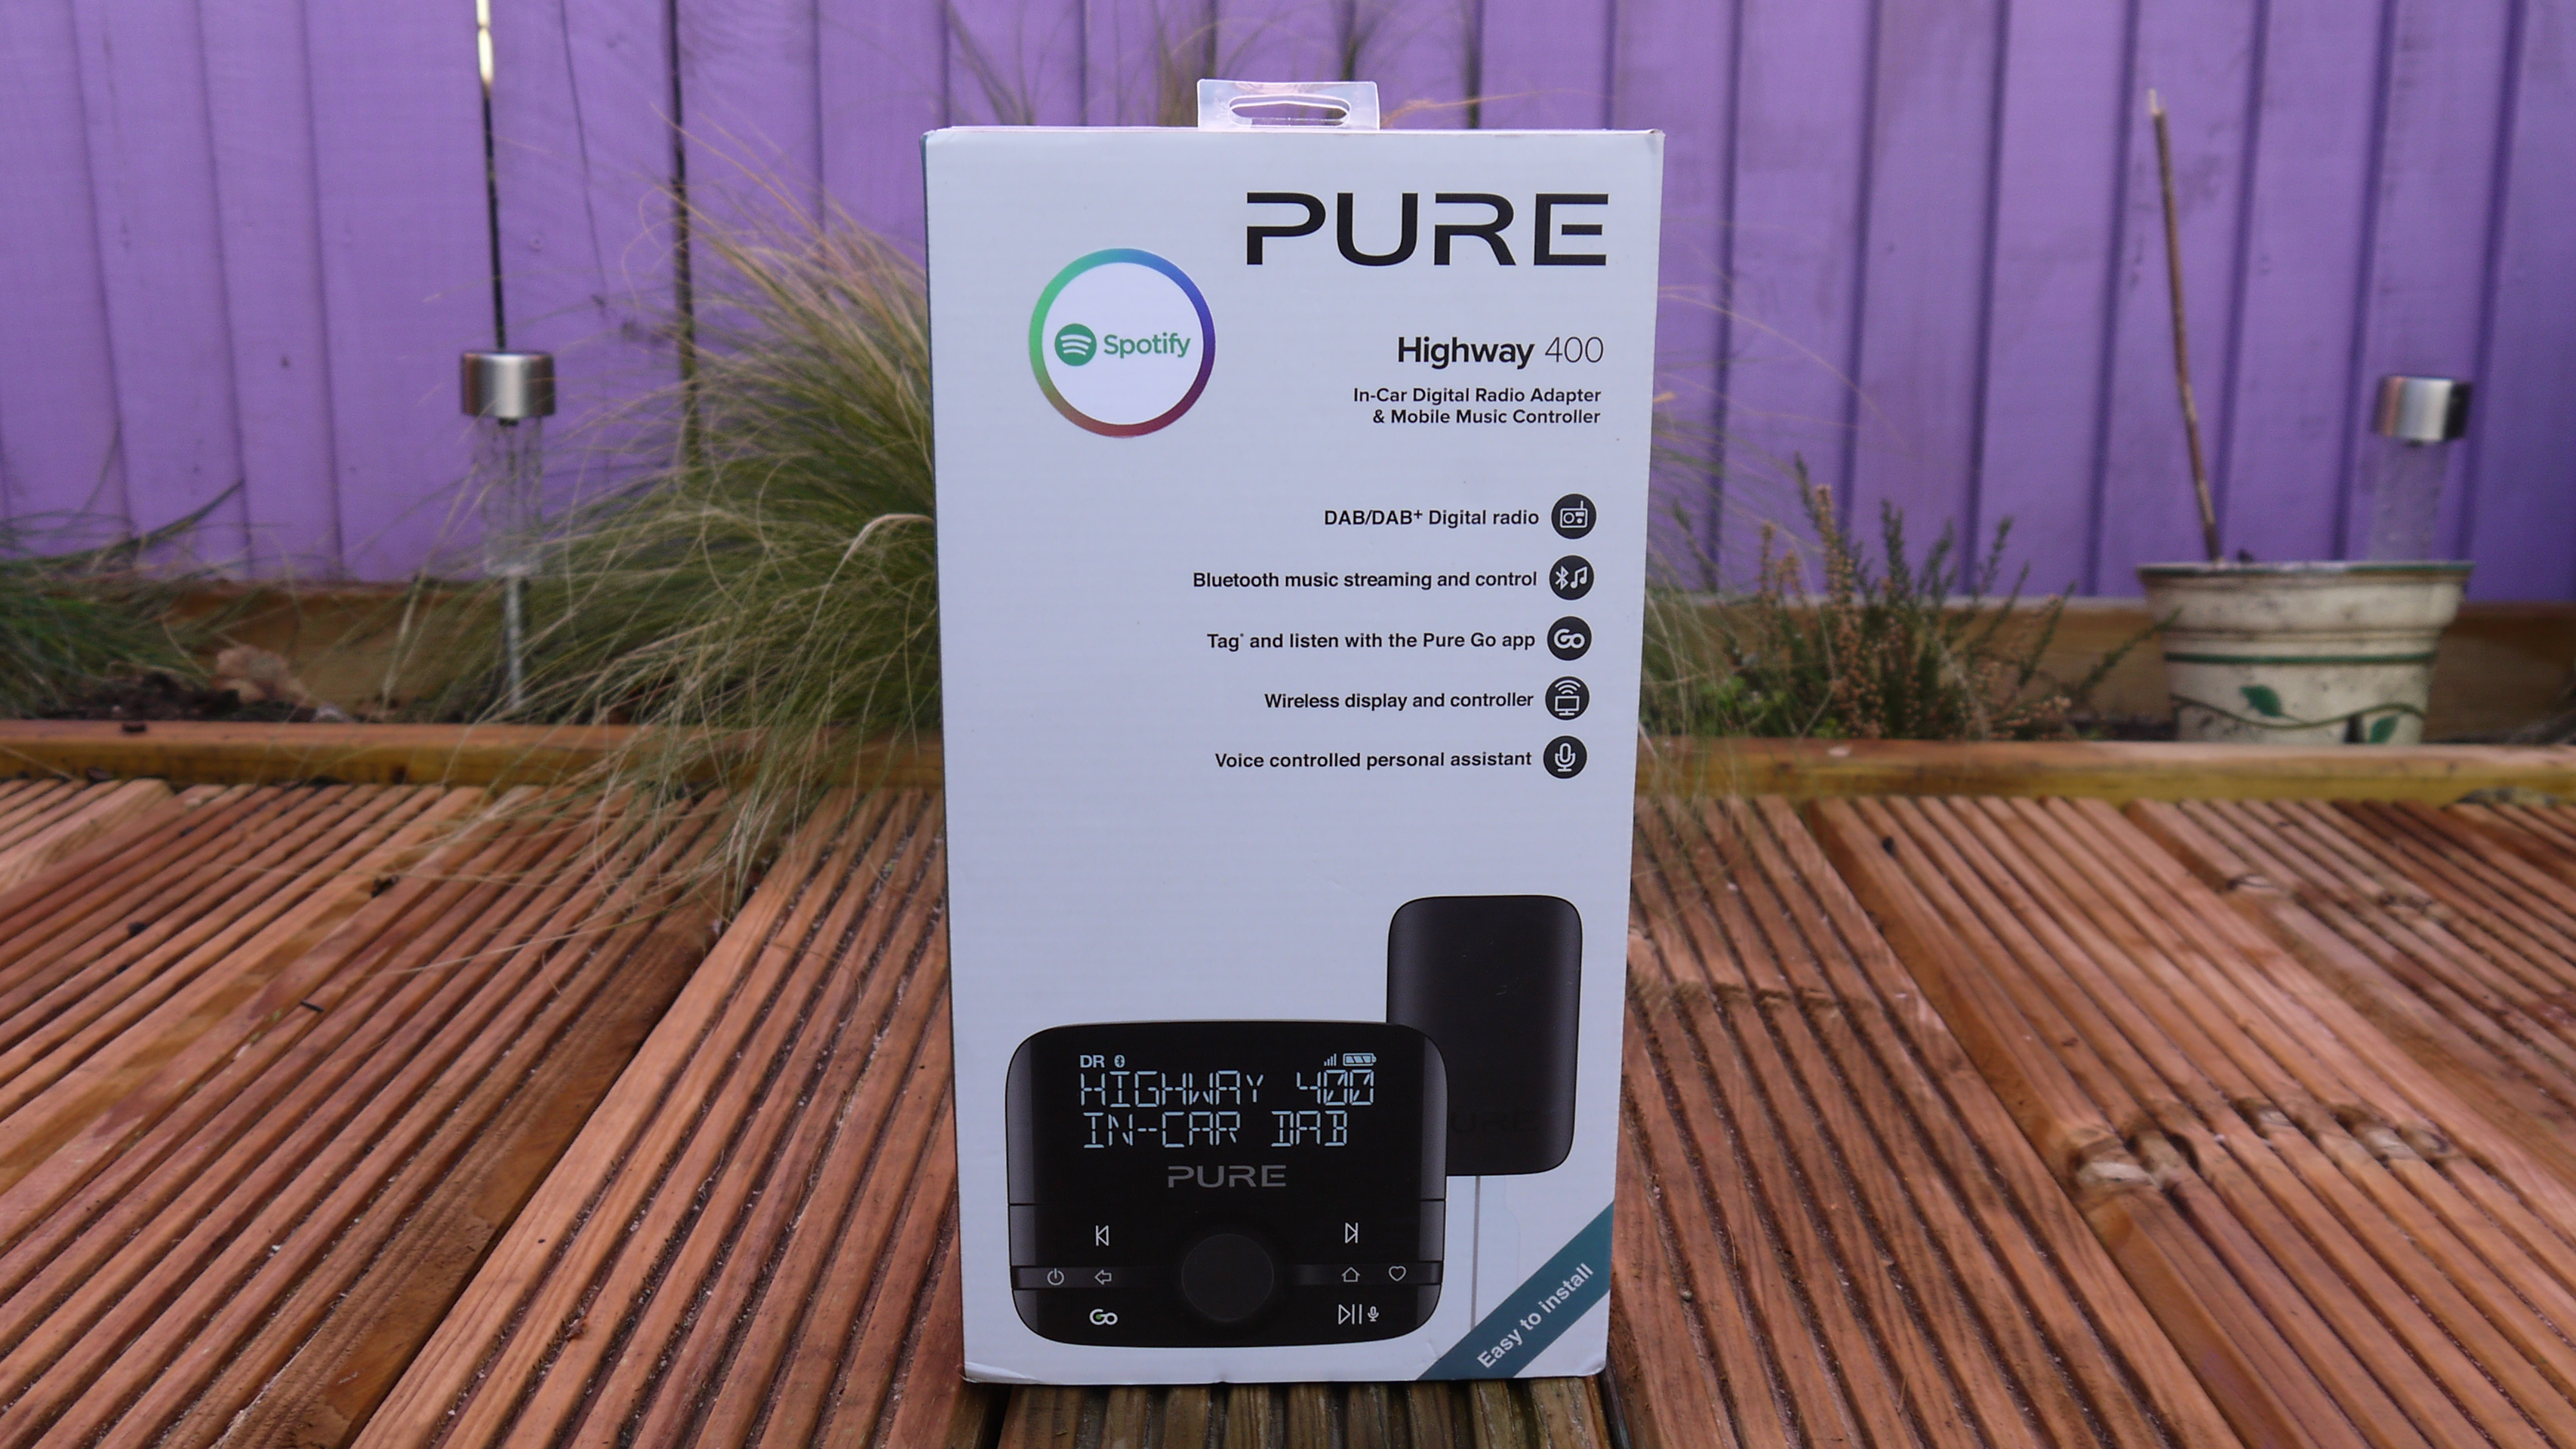
But, as we found out, it’s actually quite simple to install your own DAB radio in your car. To do this, we used one of the more popular DIY kits - the Pure Highway 400. Of course there are other DAB radio adaptors available. Other kits put there include the AutoDAB’s SmartDAB, the EasyDab DB1 and the Sonichi S100.
All of these kits are DAB adaptors, making use of separate antennas. These are by far the easiest to install - here’s how we did it.
Total installation time: under 30 minutes
1. Check the DAB signal in your area
The first thing you should do is check out the DAB coverage in your area. You can do this by heading to UKDigitalRadio.com. Currently, the DAB coverage in the UK is good but given you will be in a car, it will change depending on where you are going to.
The government hasn’t yet announced when the big DAB switchover will take place, but it’s close. The requirements are that 90% of local radio is broadcast over digital and audiences for DAB are over 50% - it’s around 45% at the moment. So it’s a perfect time to make sure your car is DAB ready.
2. Understand how DAB works in the car
Depending on which DAB adaptor kit you buy, the contents will vary. But what they all have in common is a receiver, a DAB antenna, a power adaptor and some sort of controller.
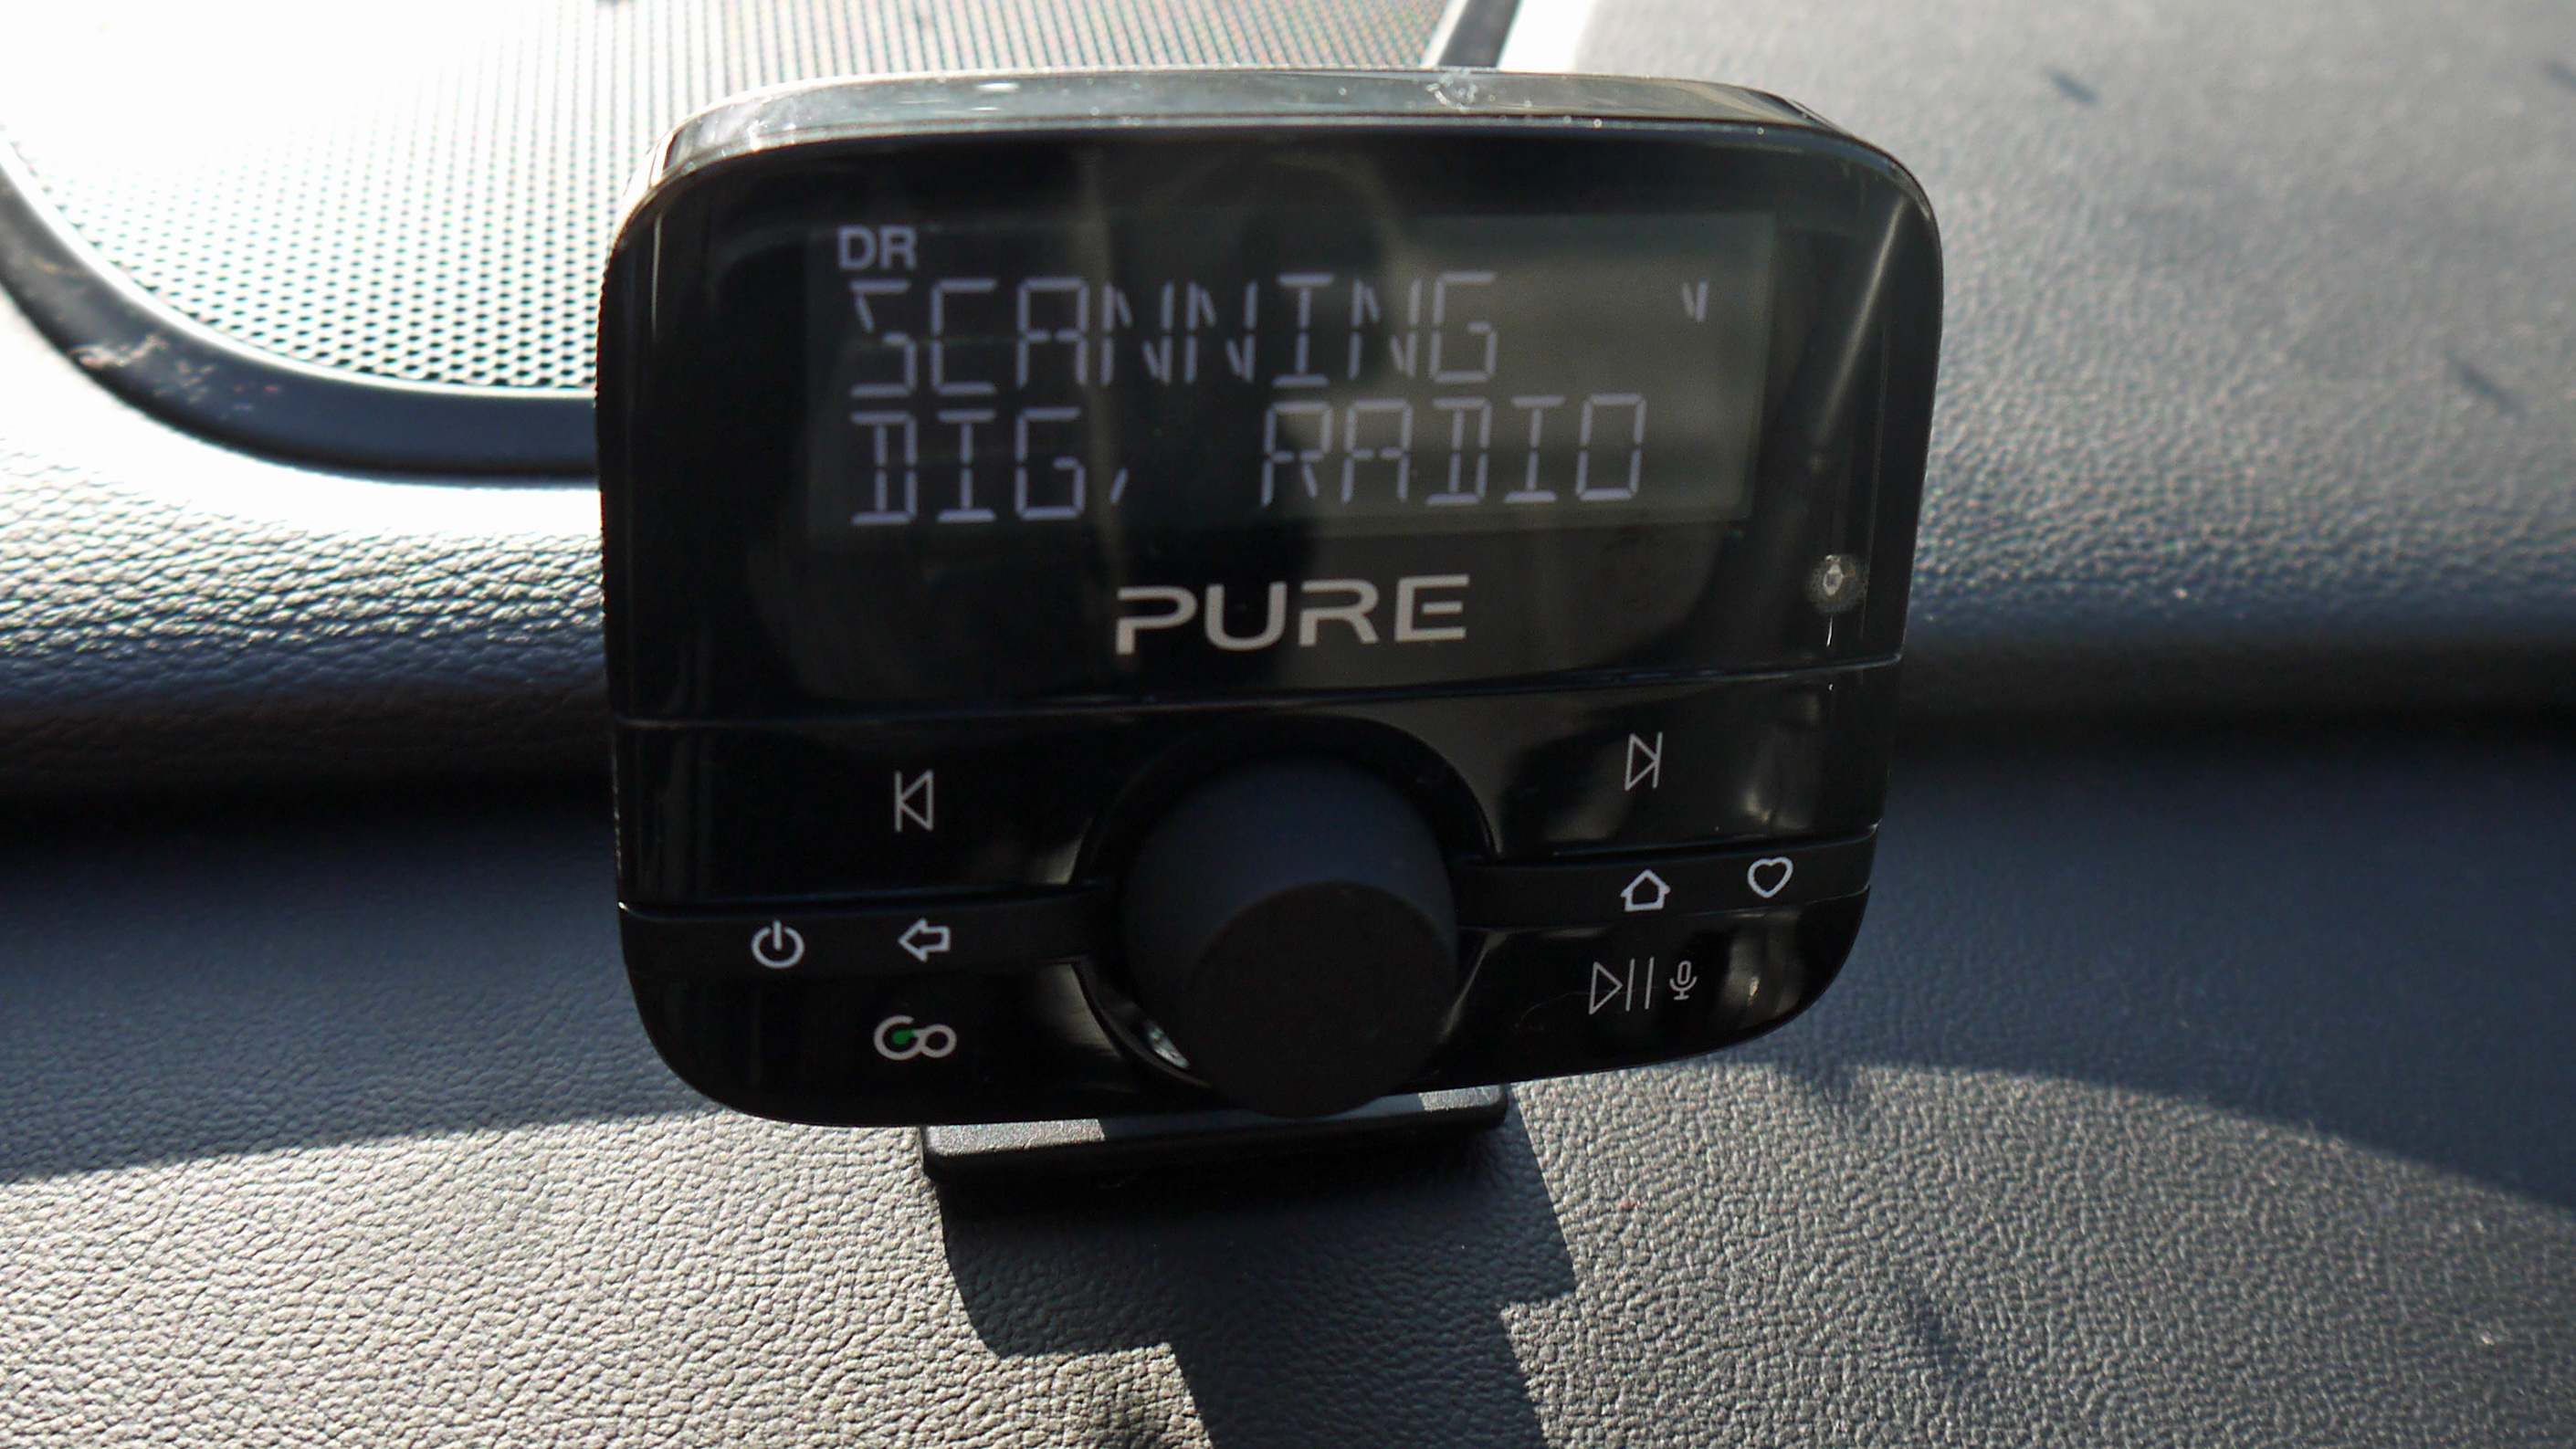
With the Pure Highway 400, the controller is wireless and both the receiver and antenna have been designed to be mounted on the window screen of your car. The way the DAB system works is pretty simple. The controller connects to the receiver via Bluetooth, while the receiver connects to your car through a cable to a power adapter that plugs into your 12V accessory socket (a cigarette lighter port), and then the signal is piped through an aux-in or streamed through an FM signal.
3. Connecting it up
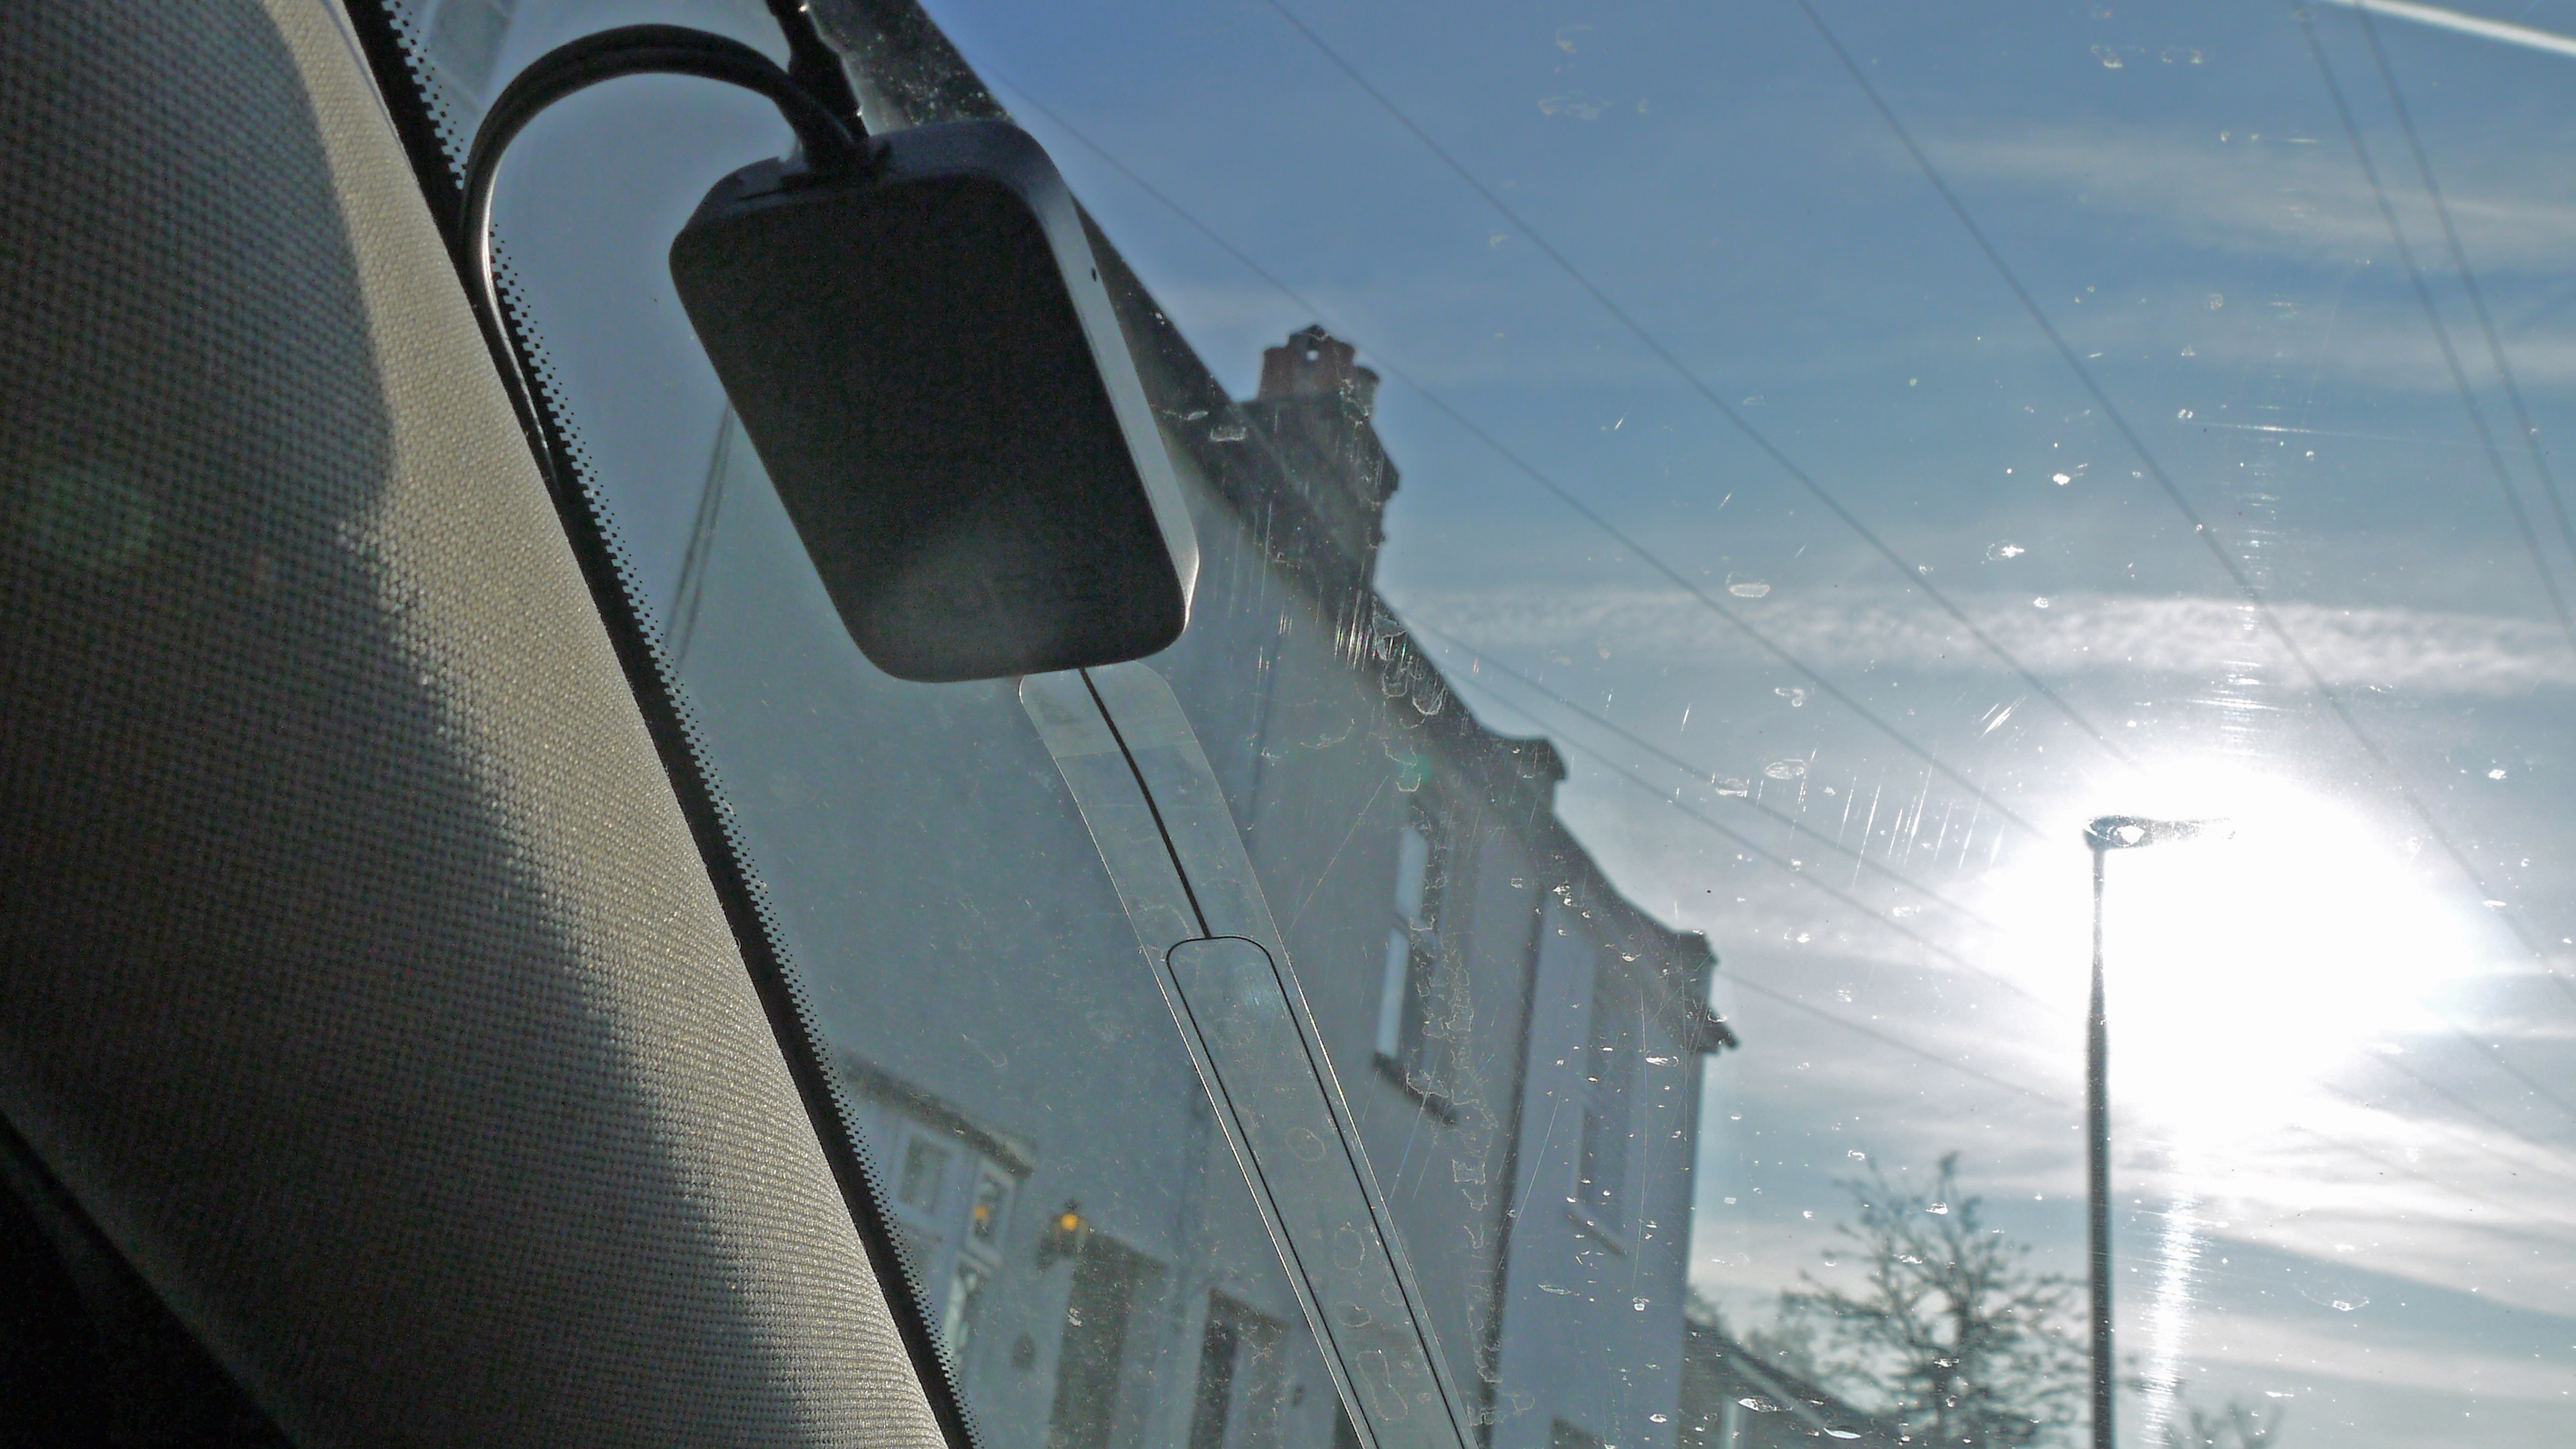
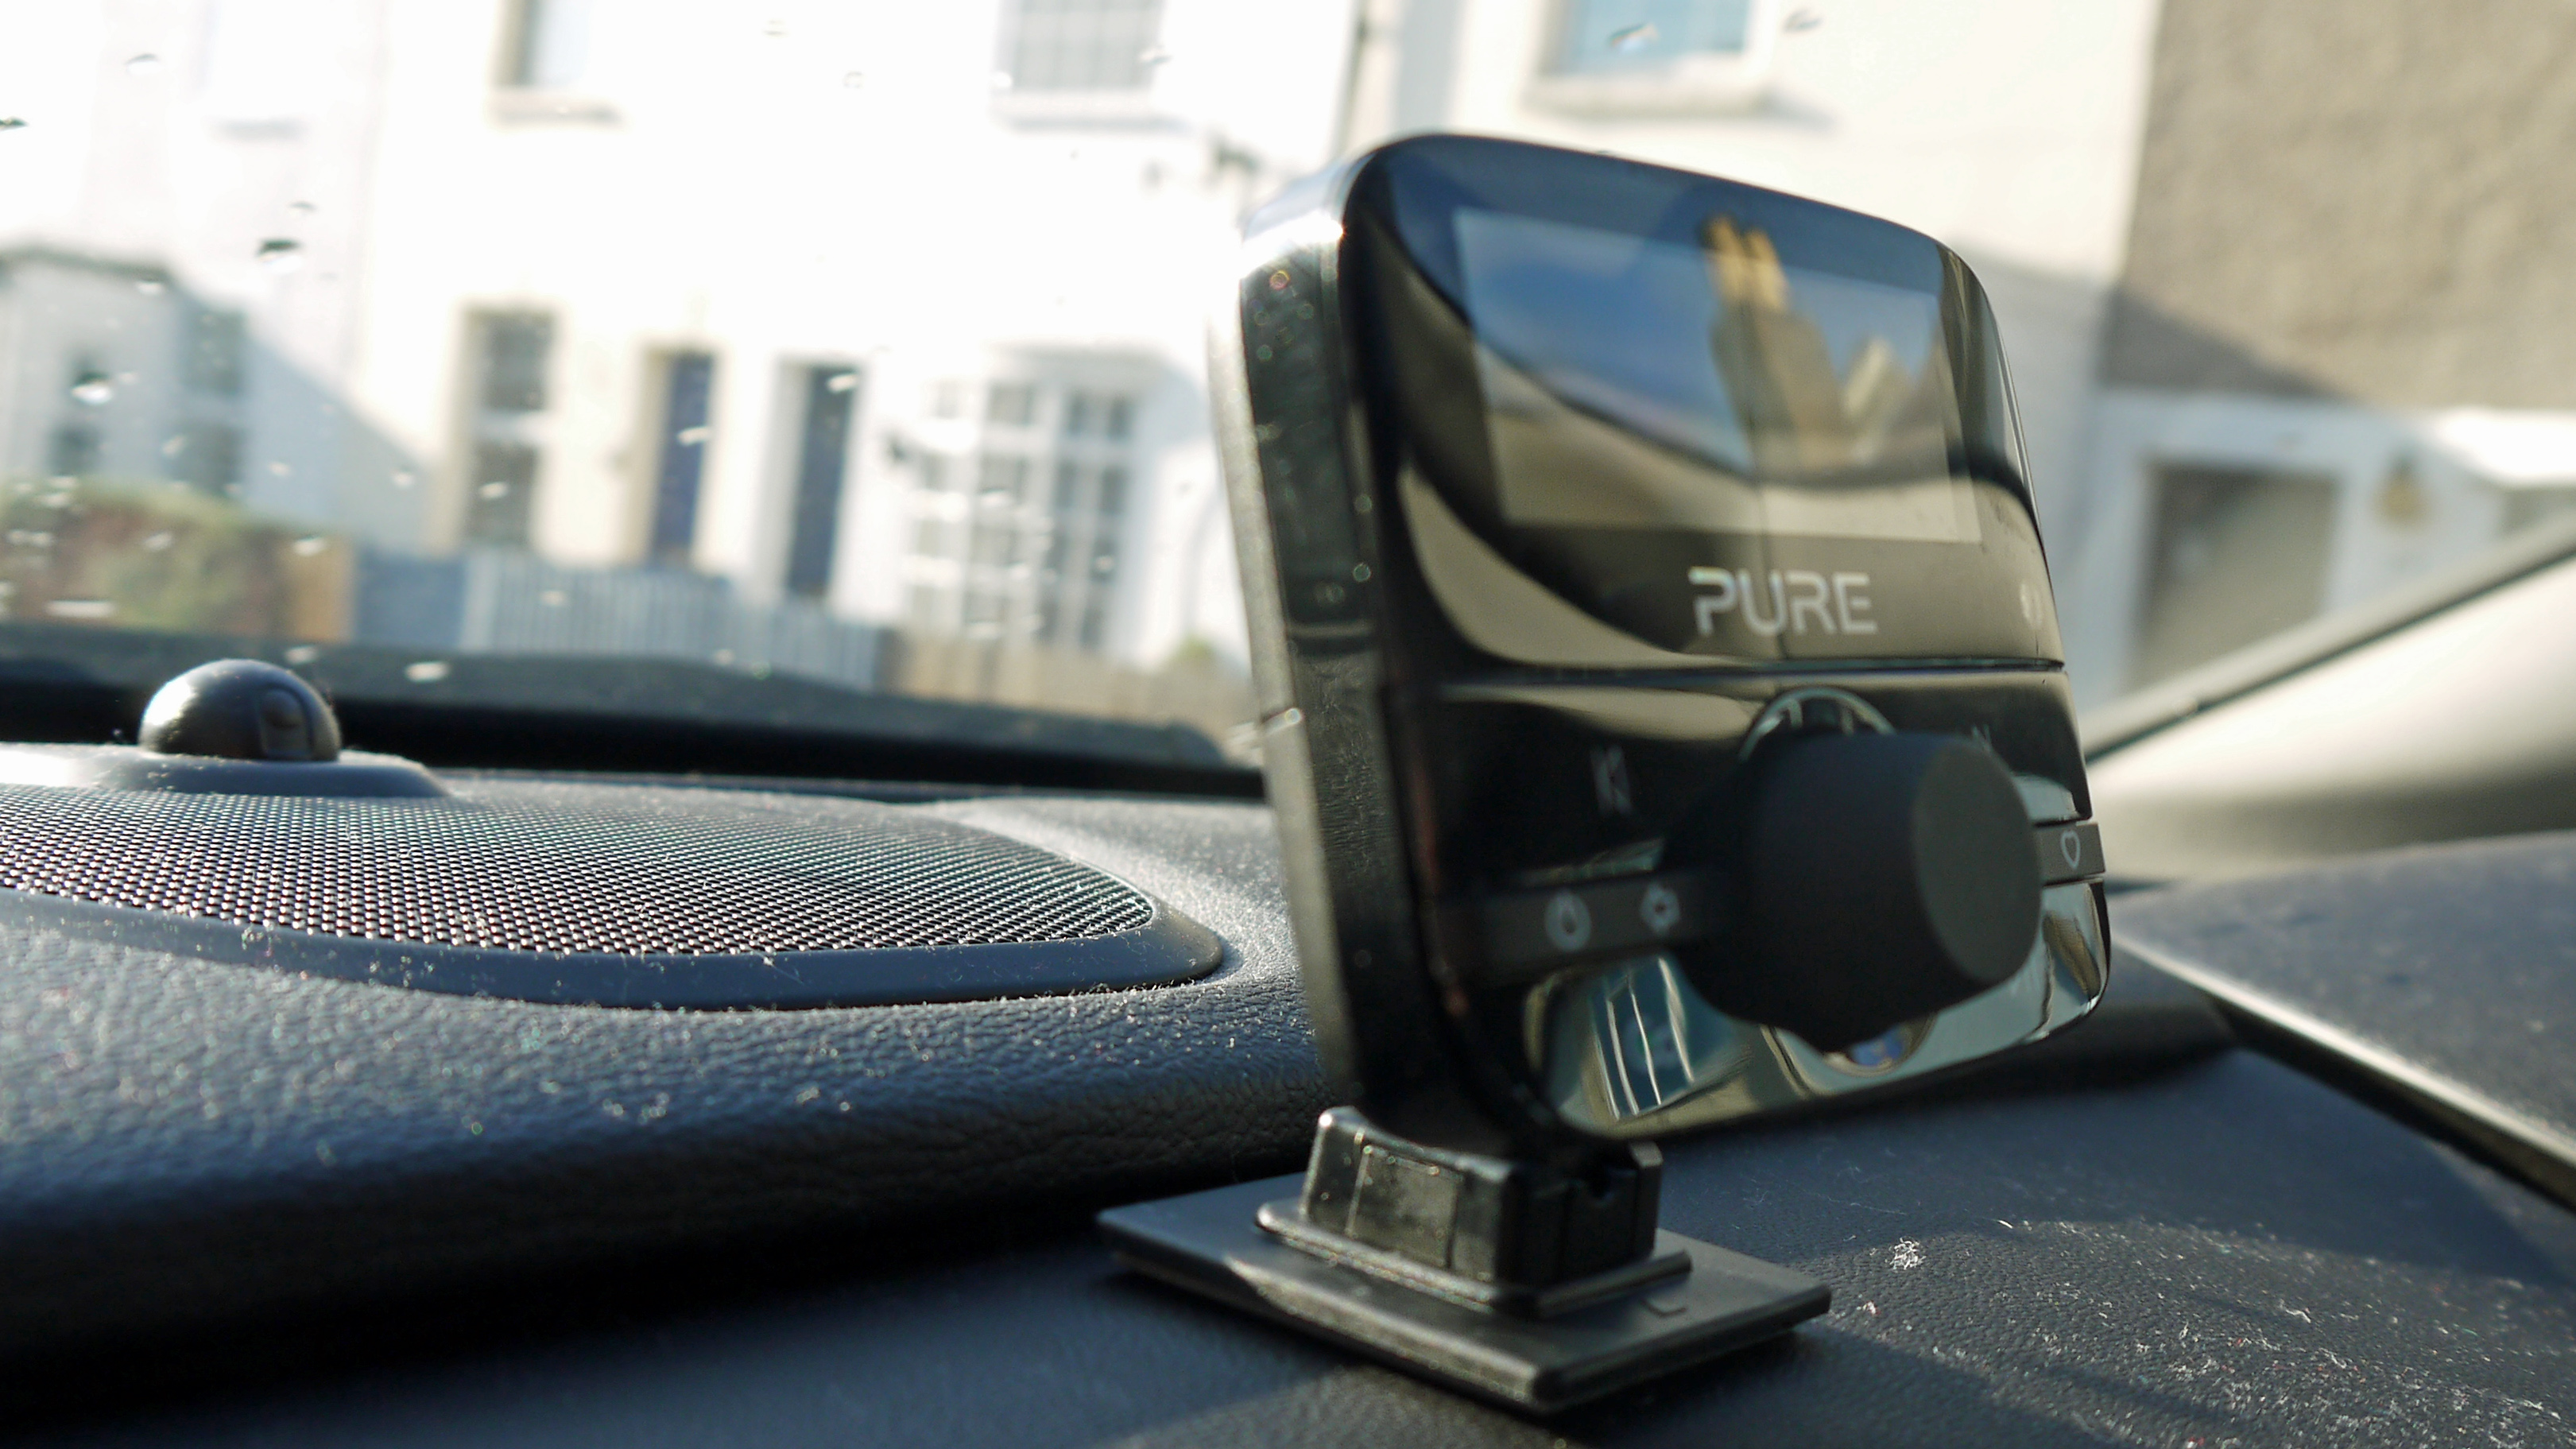
You need to make sure the receiver and the antenna are connected to each other. Once done, use the supplied adhesive mount to connect to your car’s windscreen. Make sure that the antenna is connected as far away from the driver’s vision as it can be. We placed ours right over onto the side of the passenger area and as close to the end of the windscreen as possible.
We also used a 'magnetic grounding tale' to make sure the antenna had the best possible DAB signal. This should be supplied in the box and also connects to the receiver. Stick this to any part of the car’s metal chassis and it will hold into place. Through a bit of fiddling, we managed to get it under the car's interior and connected it to the inside of the roof.
4. Add some cable
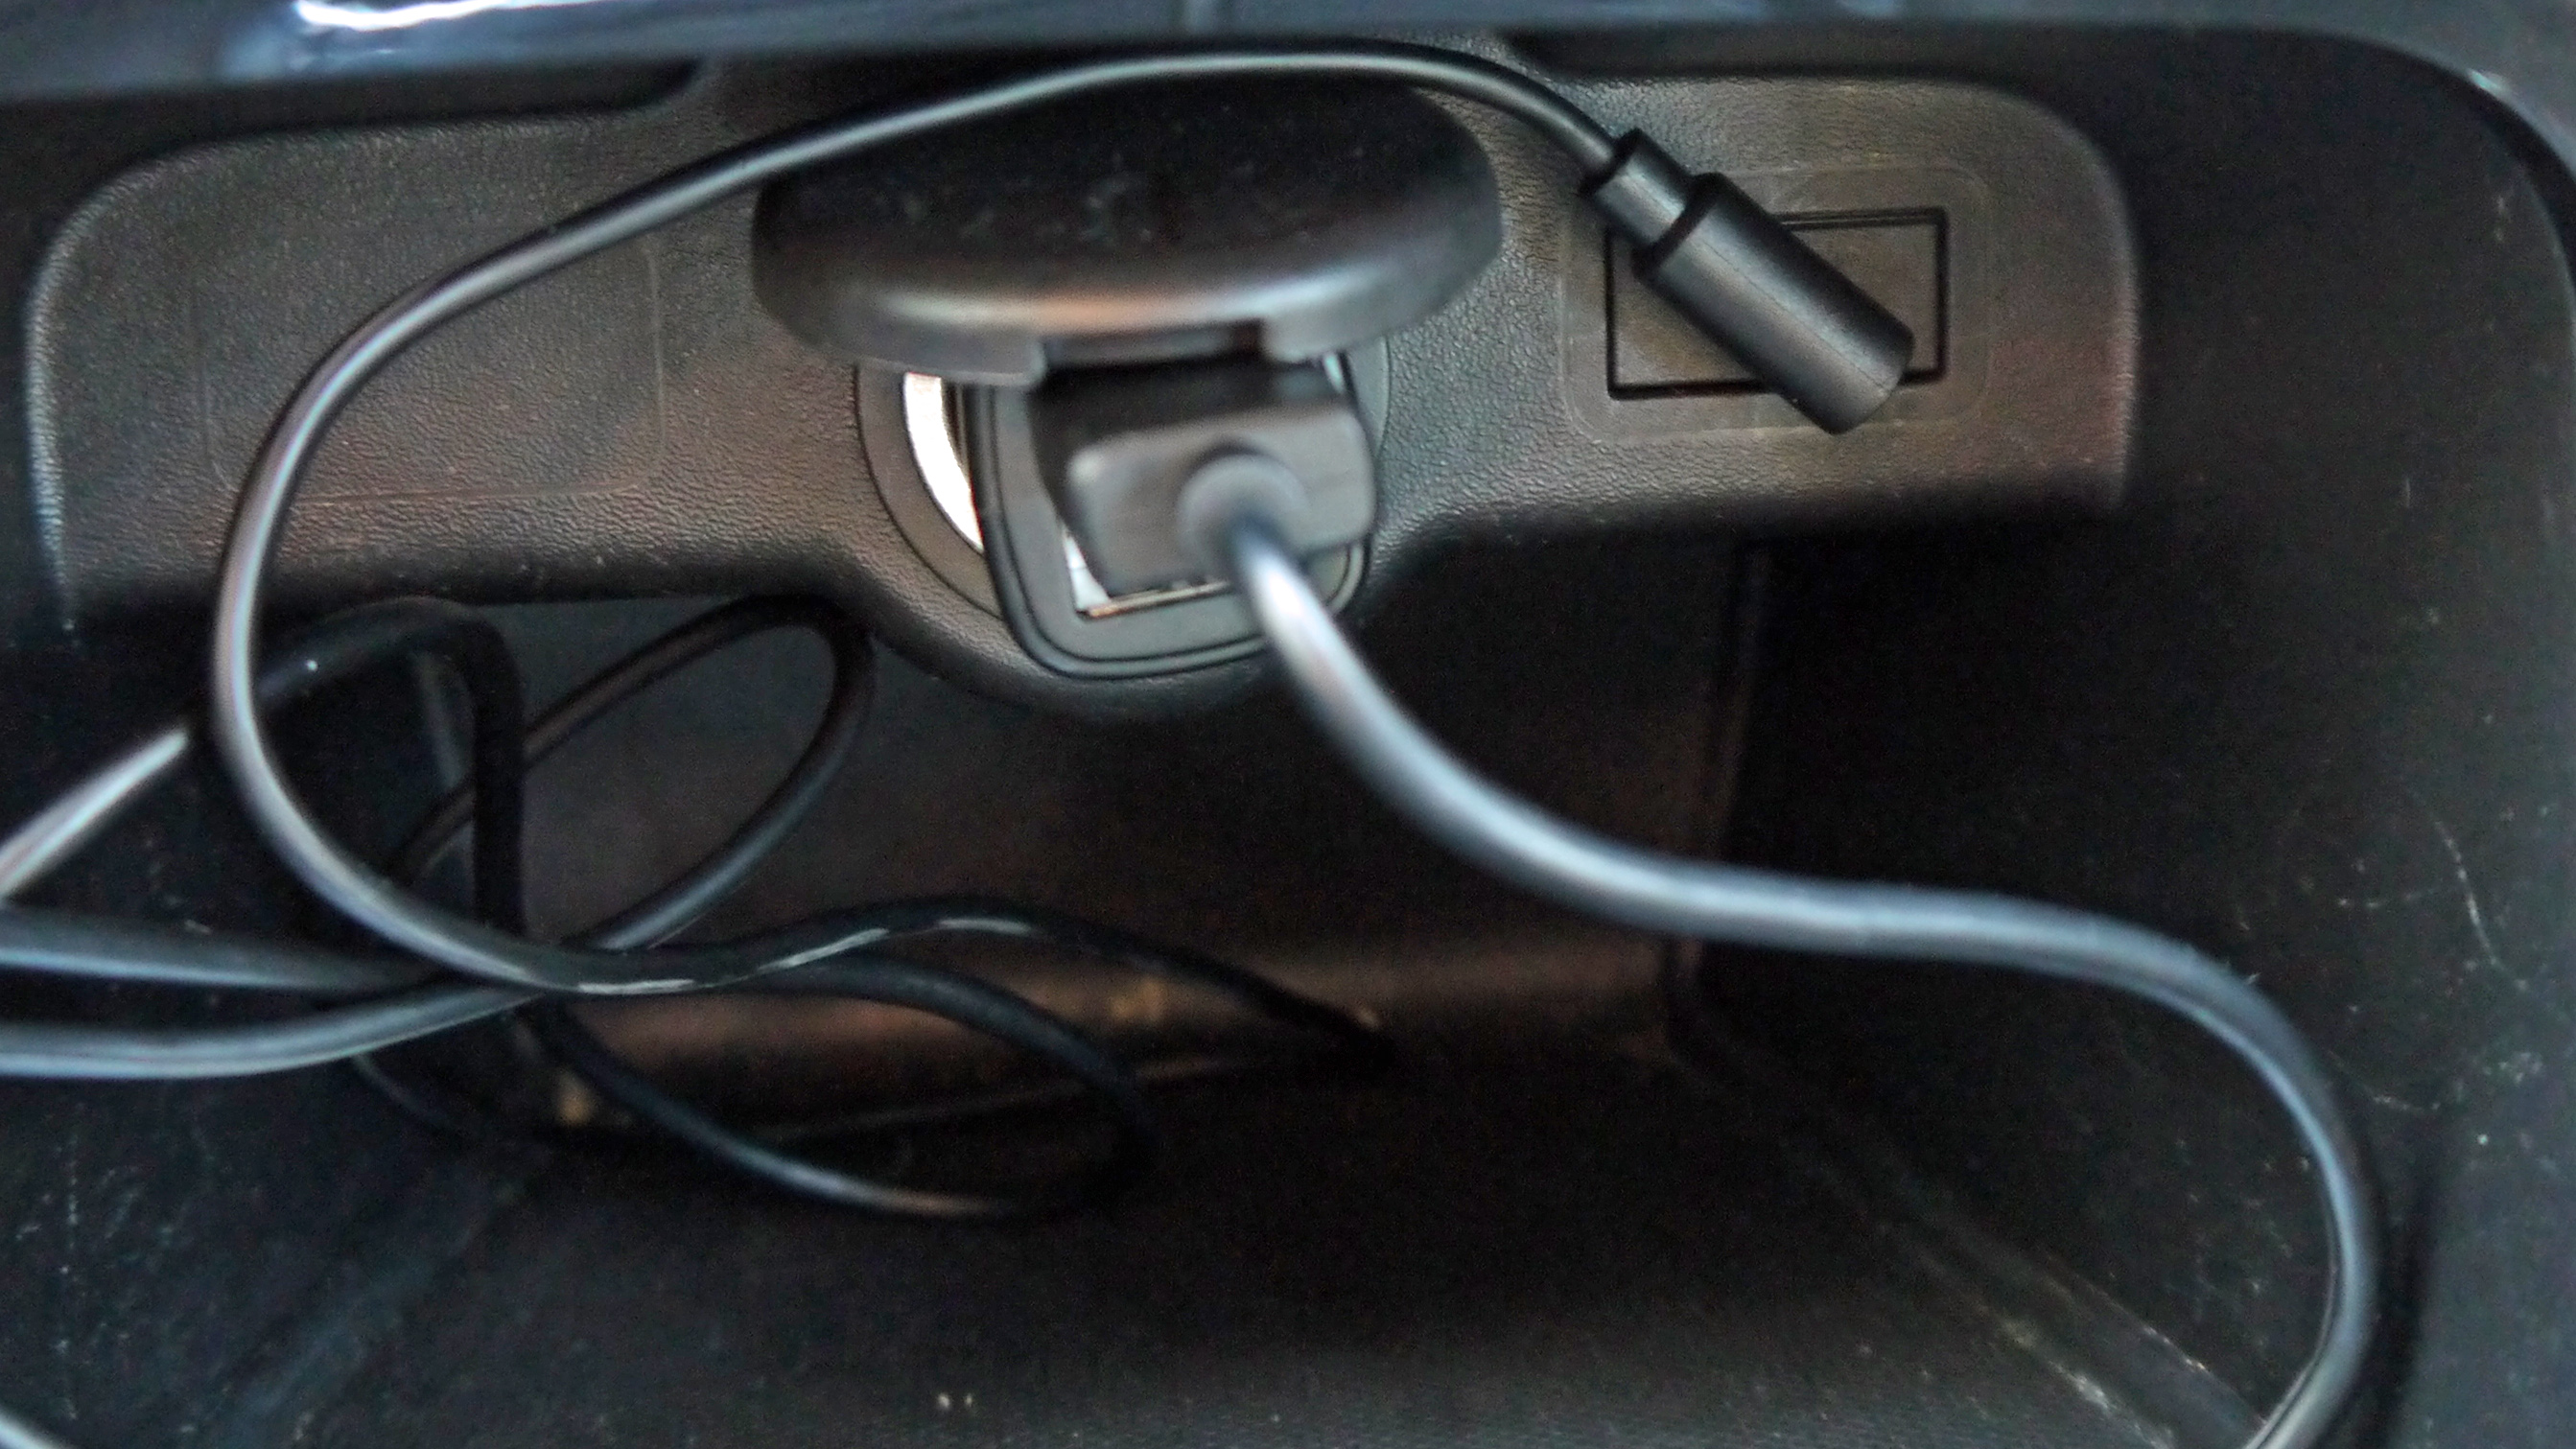
To get power to the receiver, you need to connect the receiver to an adapter that fits in the 12V accessory port. Use the supplied cable and run the lead down the side of the car’s inner window and attach neatly with cable clips.
The tricky bit here is attaching the rest of the cable around the glove compartment: be careful not to impede any air bags that might be on the passenger’s side.
We found it best to feed the cable into the glove compartment and around the edges, feeding it back out the other side, leaving enough cable to connect to both the power adapter and 3.5mm aux-in. It might take a while to get the cable looking neat and tidy but it’s worth the fuss.
5. Link up the controller
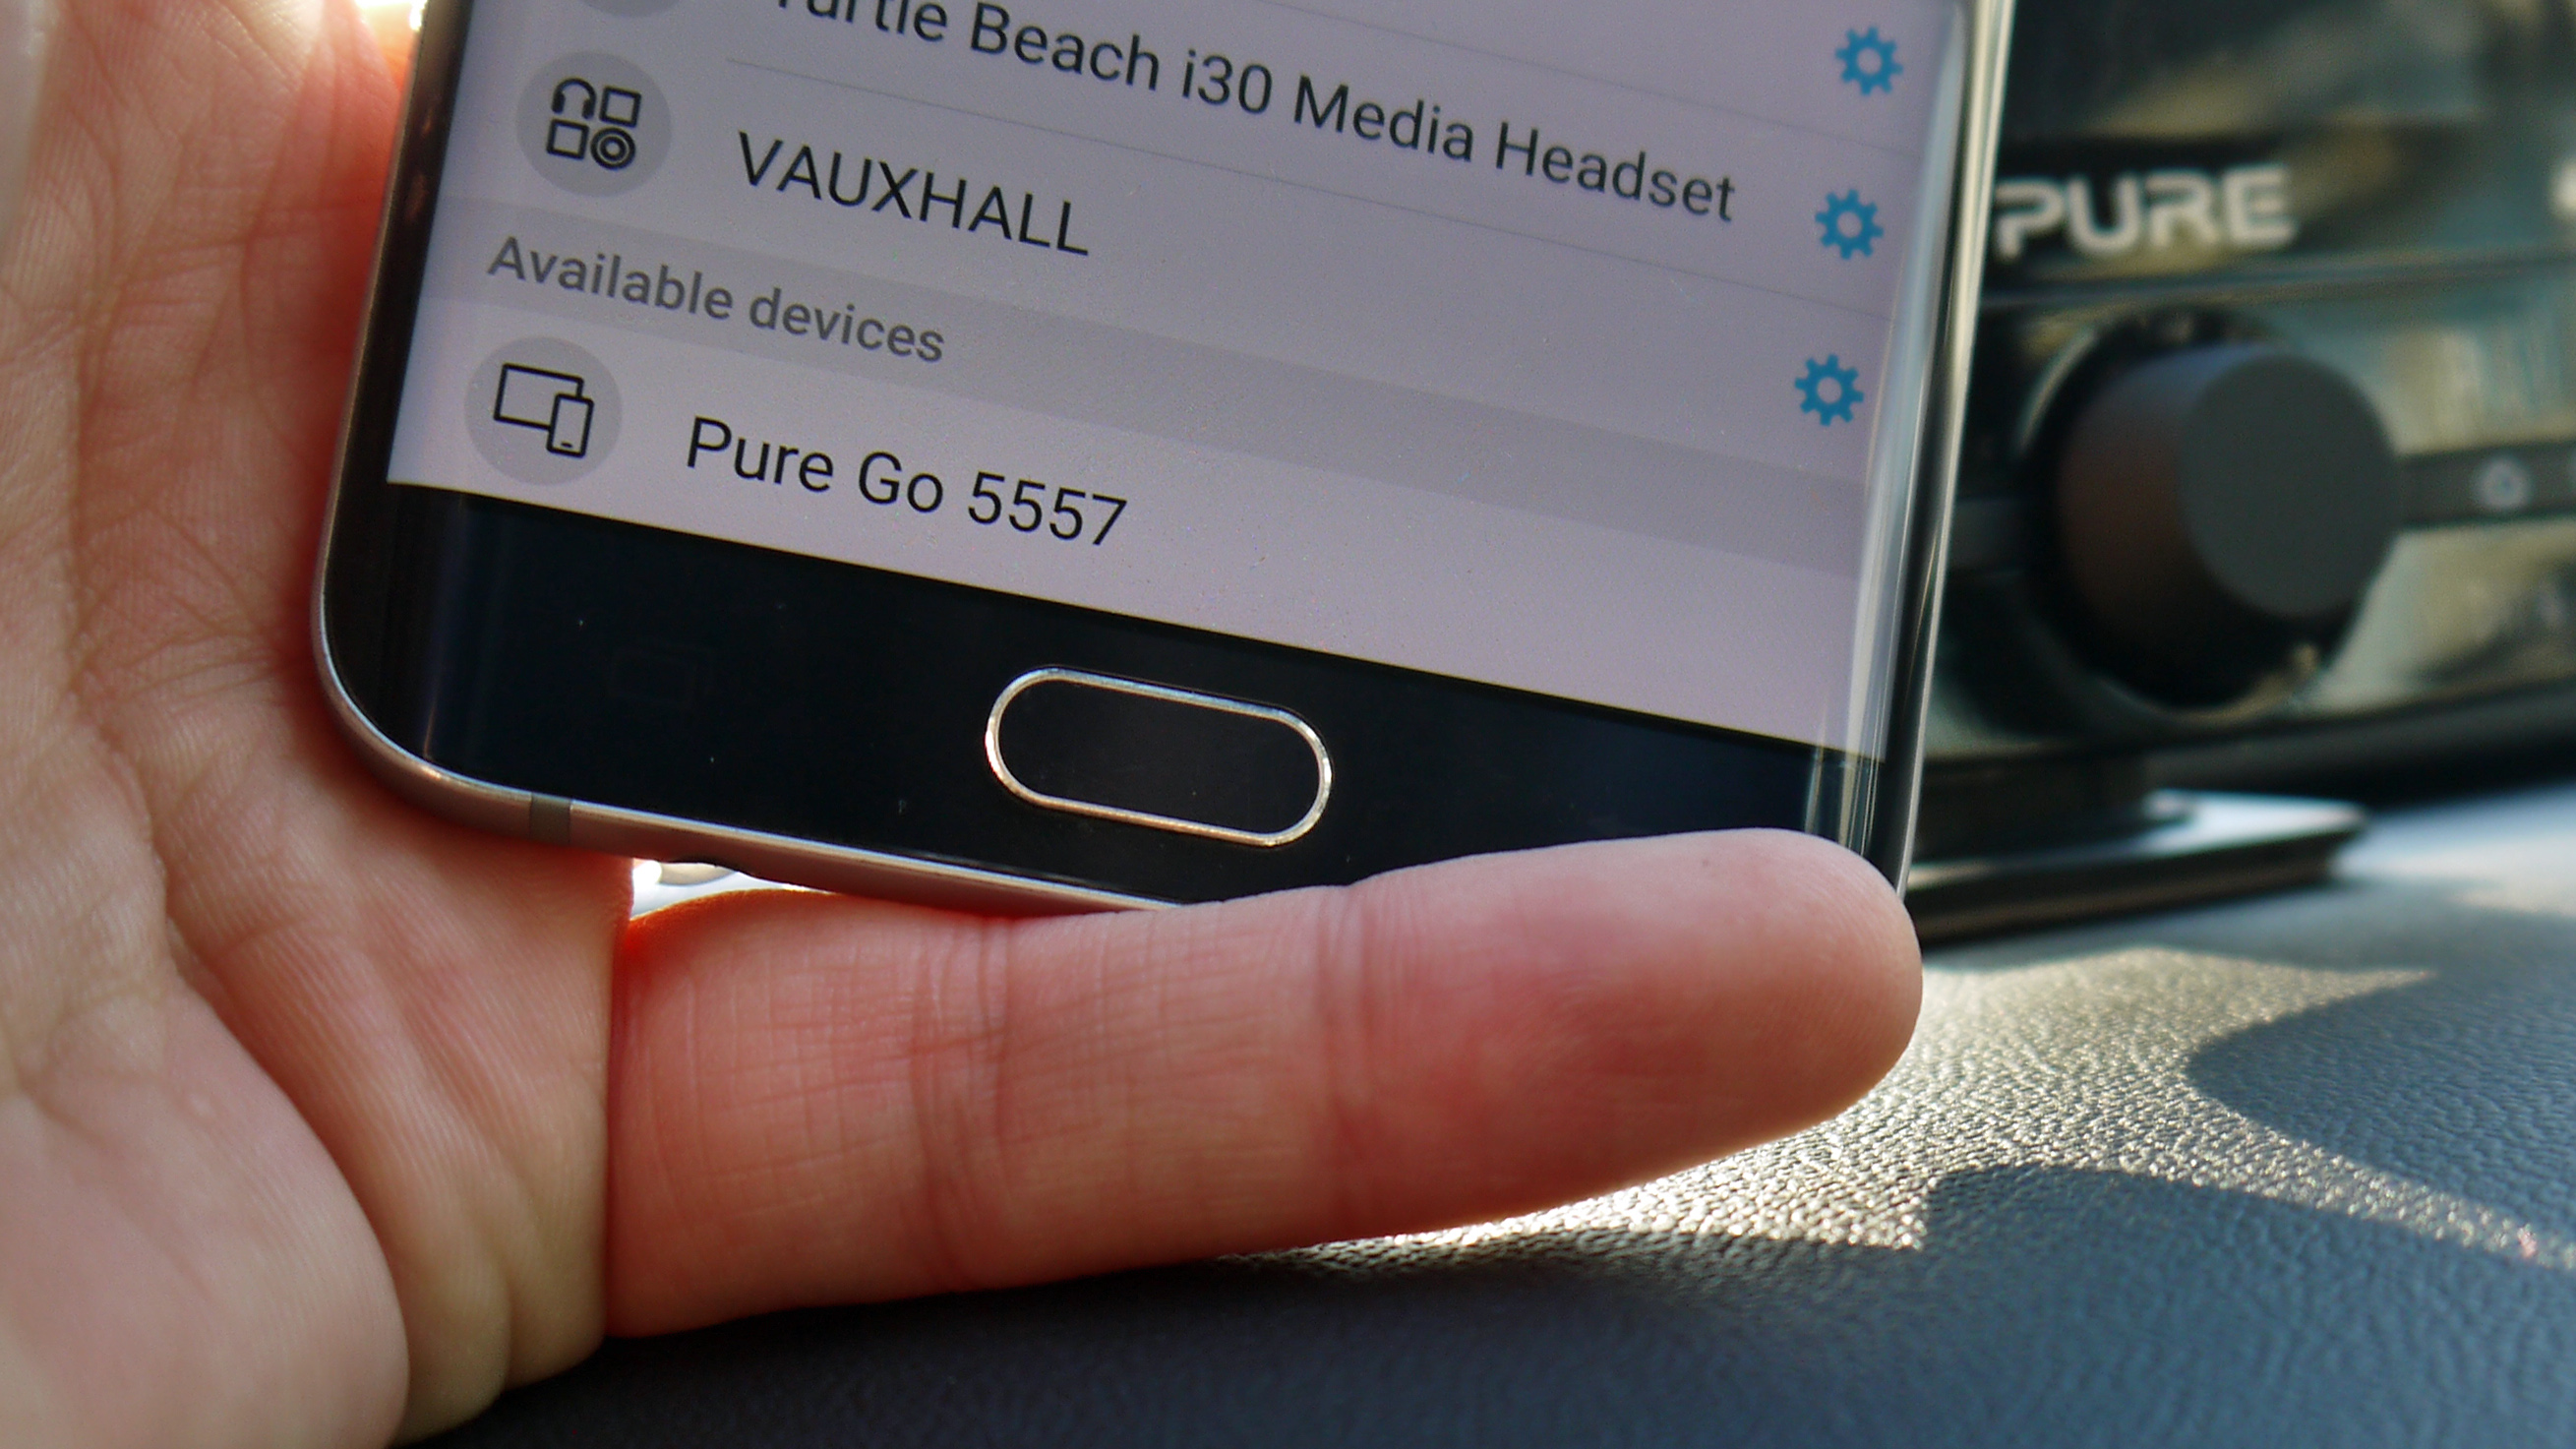
The Pure Highway 400 controller that we used was wireless and easy to set up. Secure the controller onto your car’s dashboard using the accompanying bracket, add in the batteries and switch it on. It may take a minute but it should ‘find’ the receiver. If it doesn’t then press the reset button on the receiver and try again. You can also connect your phone to the radio, by heading to the Bluetooth settings and choosing the related device.
6. Choose your stations
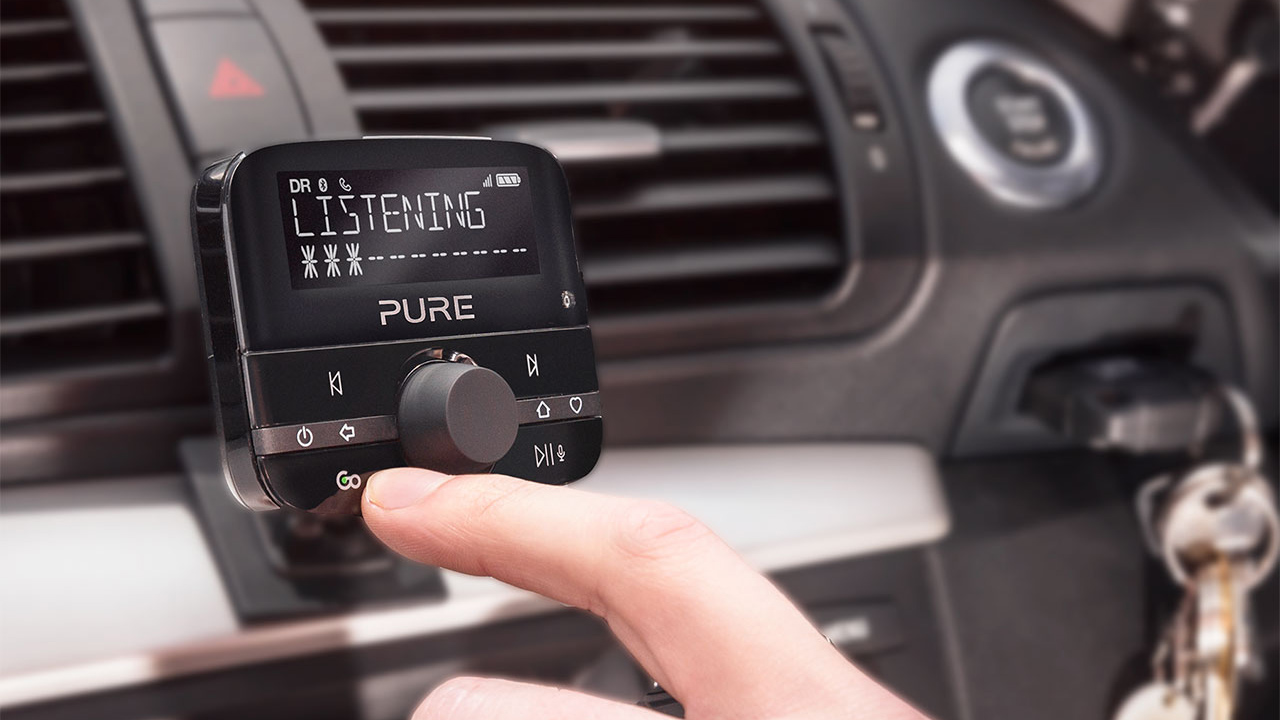
When the controller has connected with the receiver, you will now be given a choice of all the DAB stations available in your area. A word of warning: there are a lot. Your system should have an option to 'favourite' stations - we would recommend you do this, otherwise you will spend your time endlessly searching for a station, rather than listening to anything on your journey.
7. Control your system
Congratulations, you now have DAB radio in your car. You should be able to control the sound of the system through your car’s volume. Any changing of the channels will have to be done through the accompanying controller.
As the device is connected through the car’s cigarette lighter port, it will only work when your car’s ignition is on. Your device should switch automatically on and off with the ignition.

Marc Chacksfield is the Editor In Chief, Shortlist.com at DC Thomson. He started out life as a movie writer for numerous (now defunct) magazines and soon found himself online - editing a gaggle of gadget sites, including TechRadar, Digital Camera World and Tom's Guide UK. At Shortlist you'll find him mostly writing about movies and tech, so no change there then.