How to get started in 3D printing
What you need to know before buying a 3D printer
3D printing basics
Prior to printing an object, filament must be loaded and the print bed covered and leveled, as applicable. Generally speaking, once the filament is loaded and the print bed prepped and leveled, there should be little additional work between prints unless you want or need to change the filament, or the print bed needs additional maintenance.
For most printers, loading the filament is a guided, mostly automated process handled either from the onboard controls, like on the ZMorph, or from desktop or other software, like on the MOD-t. Bed prepping and leveling, however, is a bit more involved.
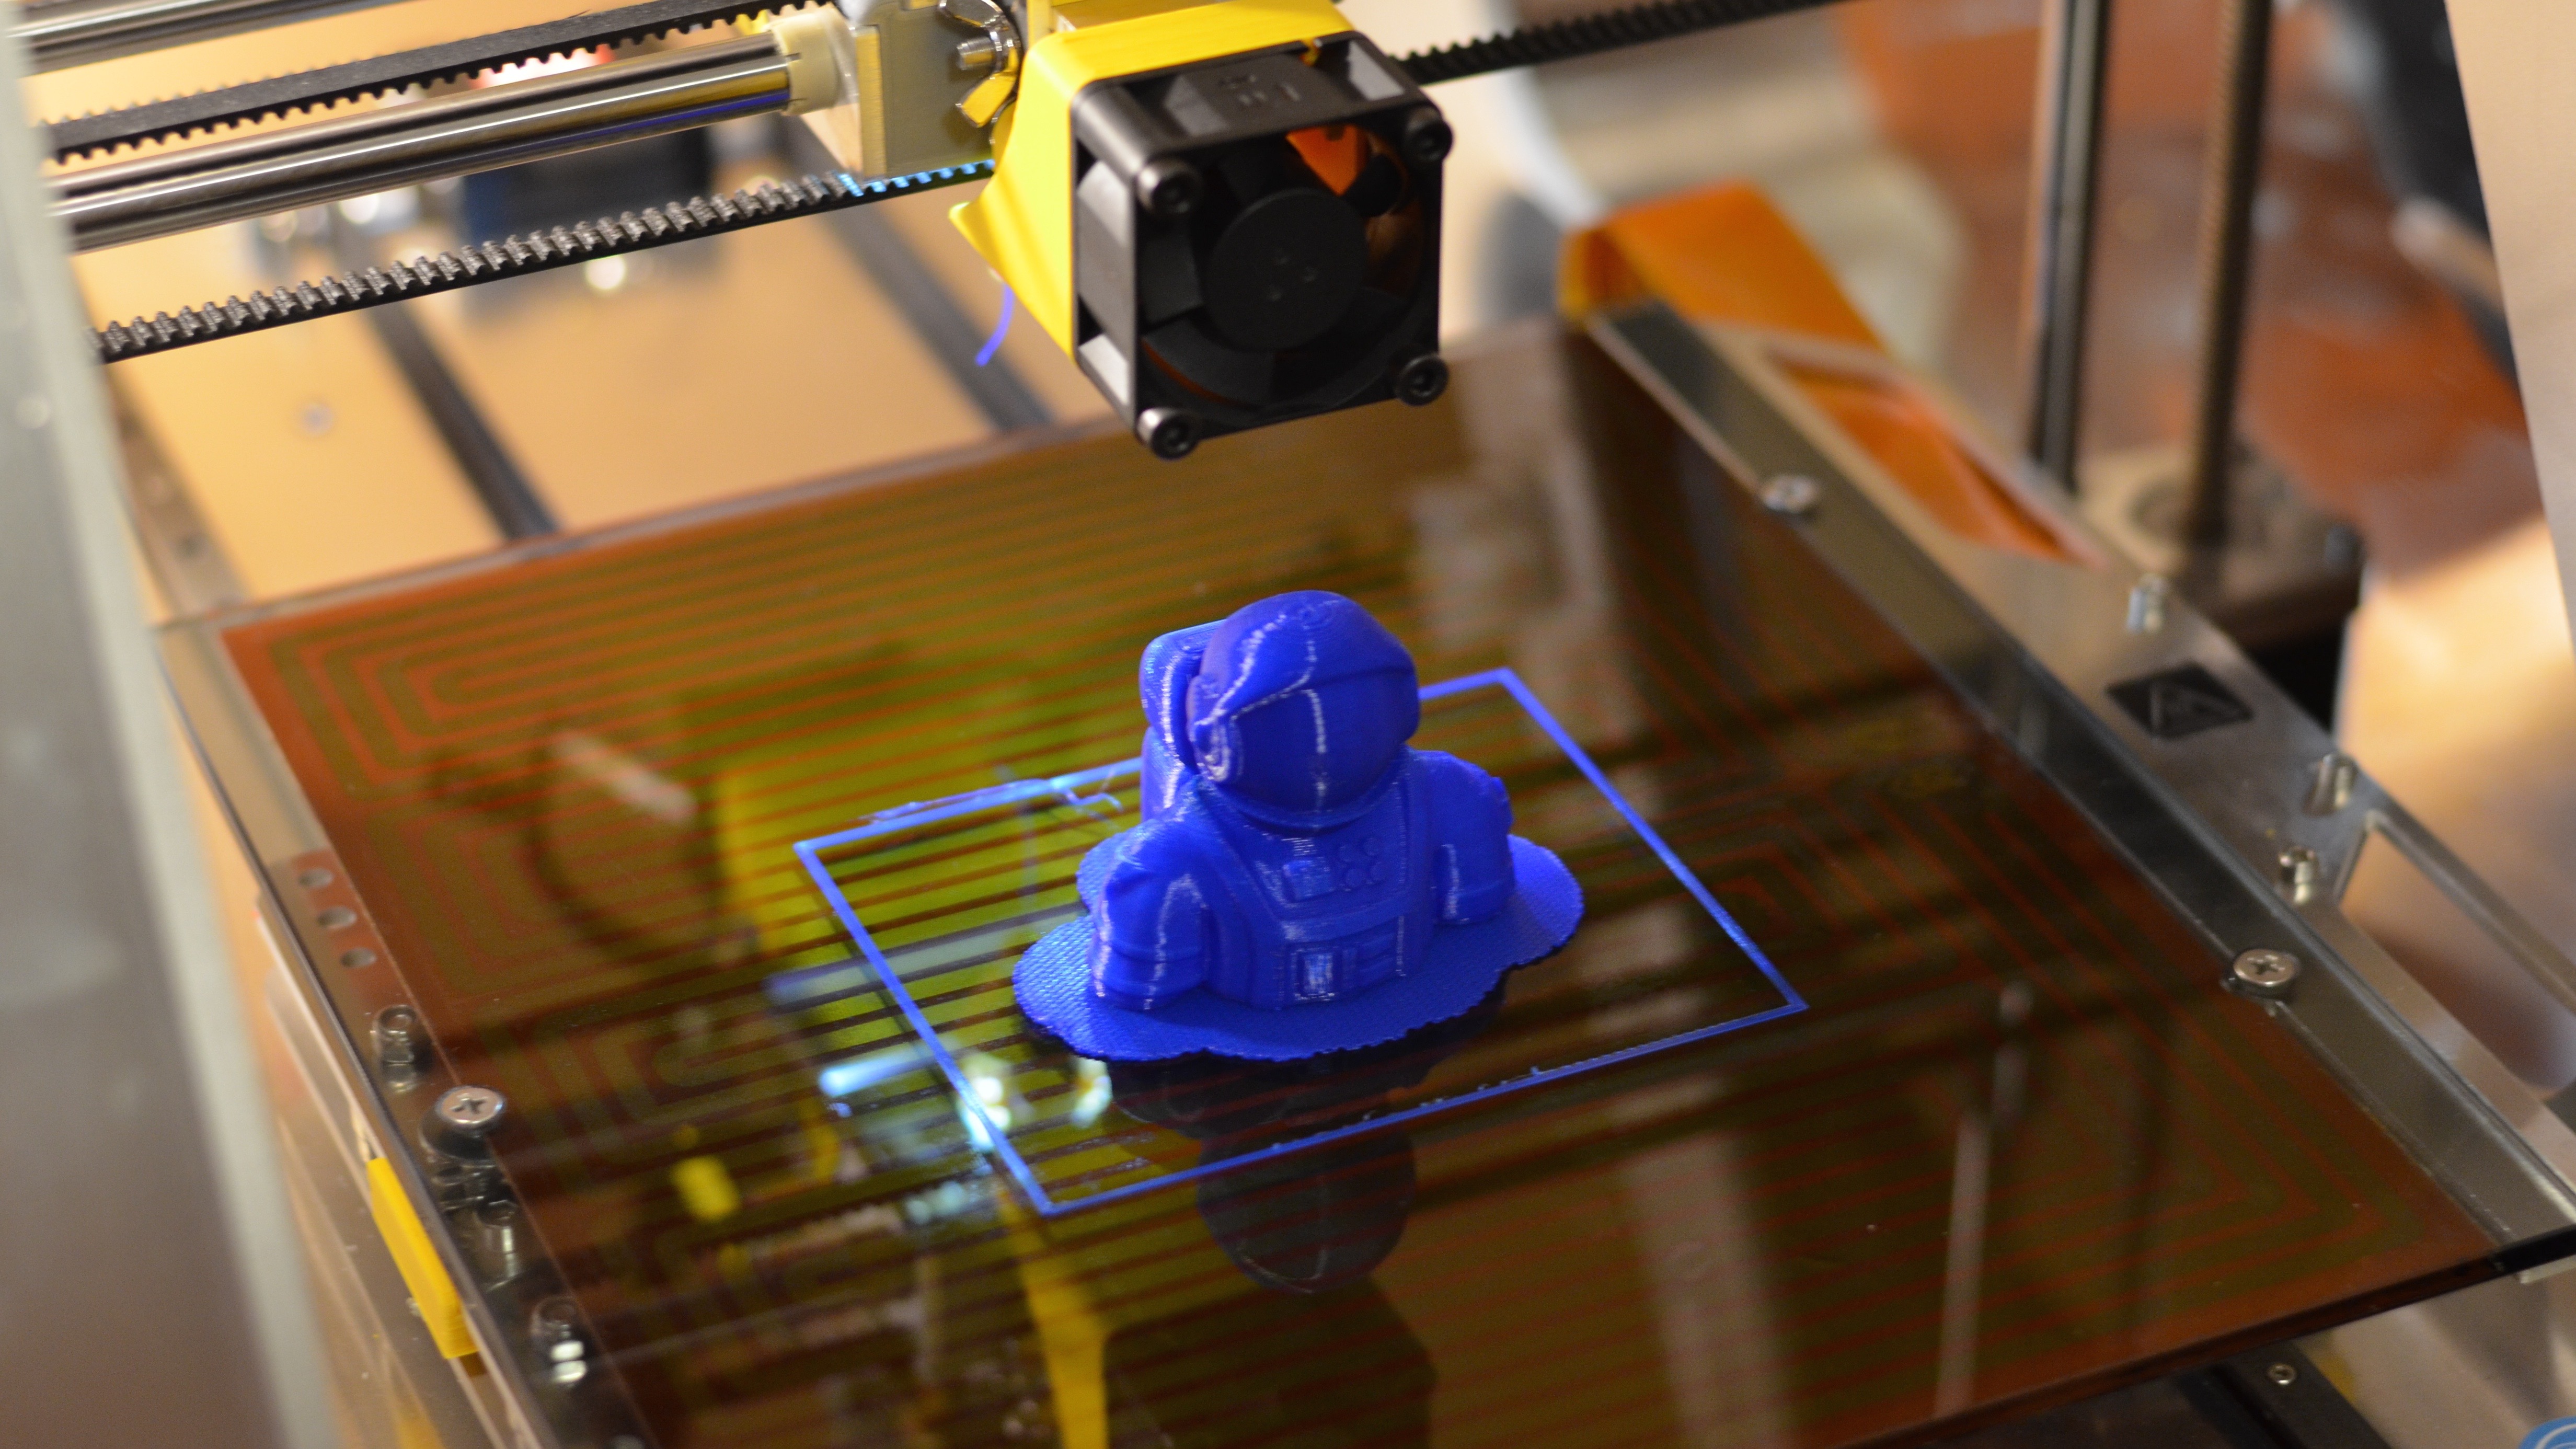
On some printers, which have reusable, removable build platforms, such as the MOD-t, no additional preparation is needed. These print beds have surfaces that prints automatically adhere to and require minimal maintenance. In the MOD-t's case, this maintenance involves using a citrus-based cleaner between print runs.
For other printers, the build platforms need to be covered with blue painter's tape, a glue stick, Kapton tape, or a print surface like BuildTak to help prints stick. Not every covering works well with every type of material or build platform, so it's best to follow manufacturer recommendations. In the case of the ZMorph, its heated glass bed works well with PLA as-is, but other materials, like ABS, may require a covering like BuildTak for better results.
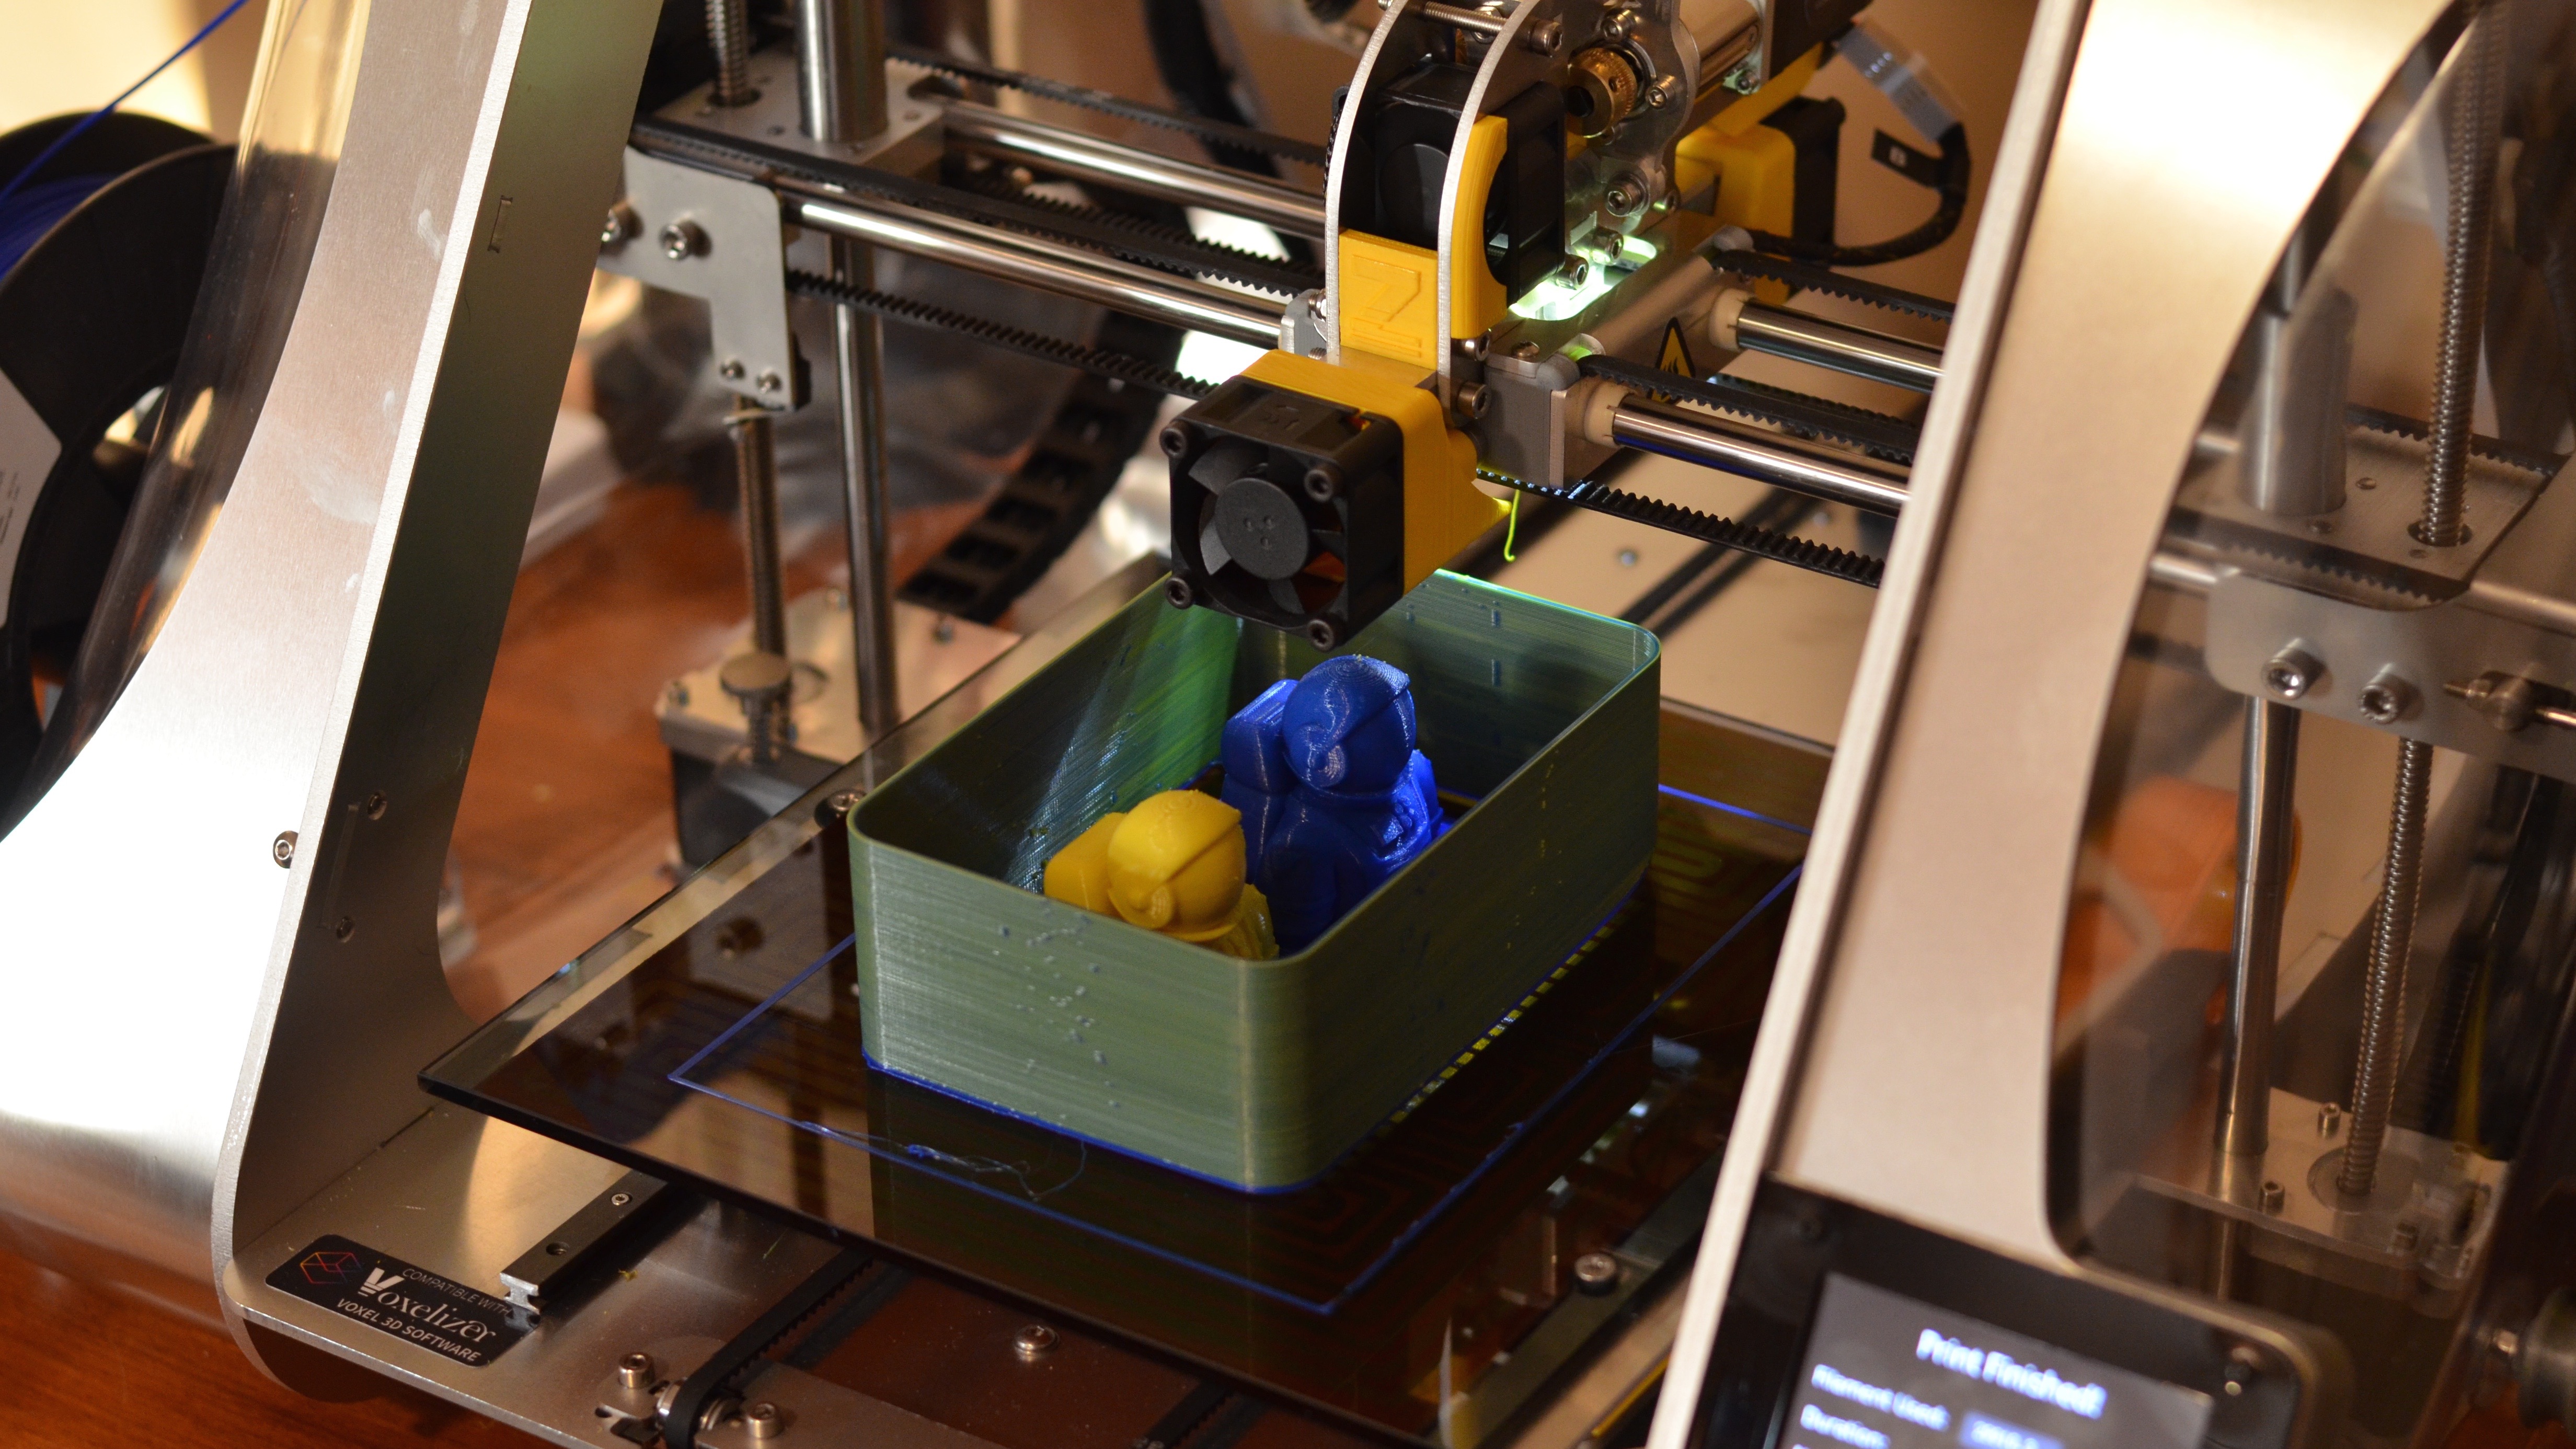
The print beds themselves also need to be leveled. This is easy on machines like the MOD-t, which features automatic bed leveling, a process it performs before every print. Other machines have entirely manual processes, where you have to adjust various screws until a piece of paper can slide easily between the print head and the build surface.
In the case of the ZMorph, while its bed can be manually leveled, it also features a semi-automated process involving a touch probe that provides readings on how much each screw should be adjusted.
Once all of the prep is out of the way, a 3D model can then be printed. Many printers go through a calibration and head cleaning process before actually printing the model itself. This head cleaning process is necessary because it helps prime your extruder and establish a consistent filament flow.
Sign up for breaking news, reviews, opinion, top tech deals, and more.
In the MOD-t's case, head cleaning takes the form of a single horizontal stripe on the right of the build platform. On the ZMorph, head cleaning takes the form of an outline, or skirt, around the area where the model is going to be printed.
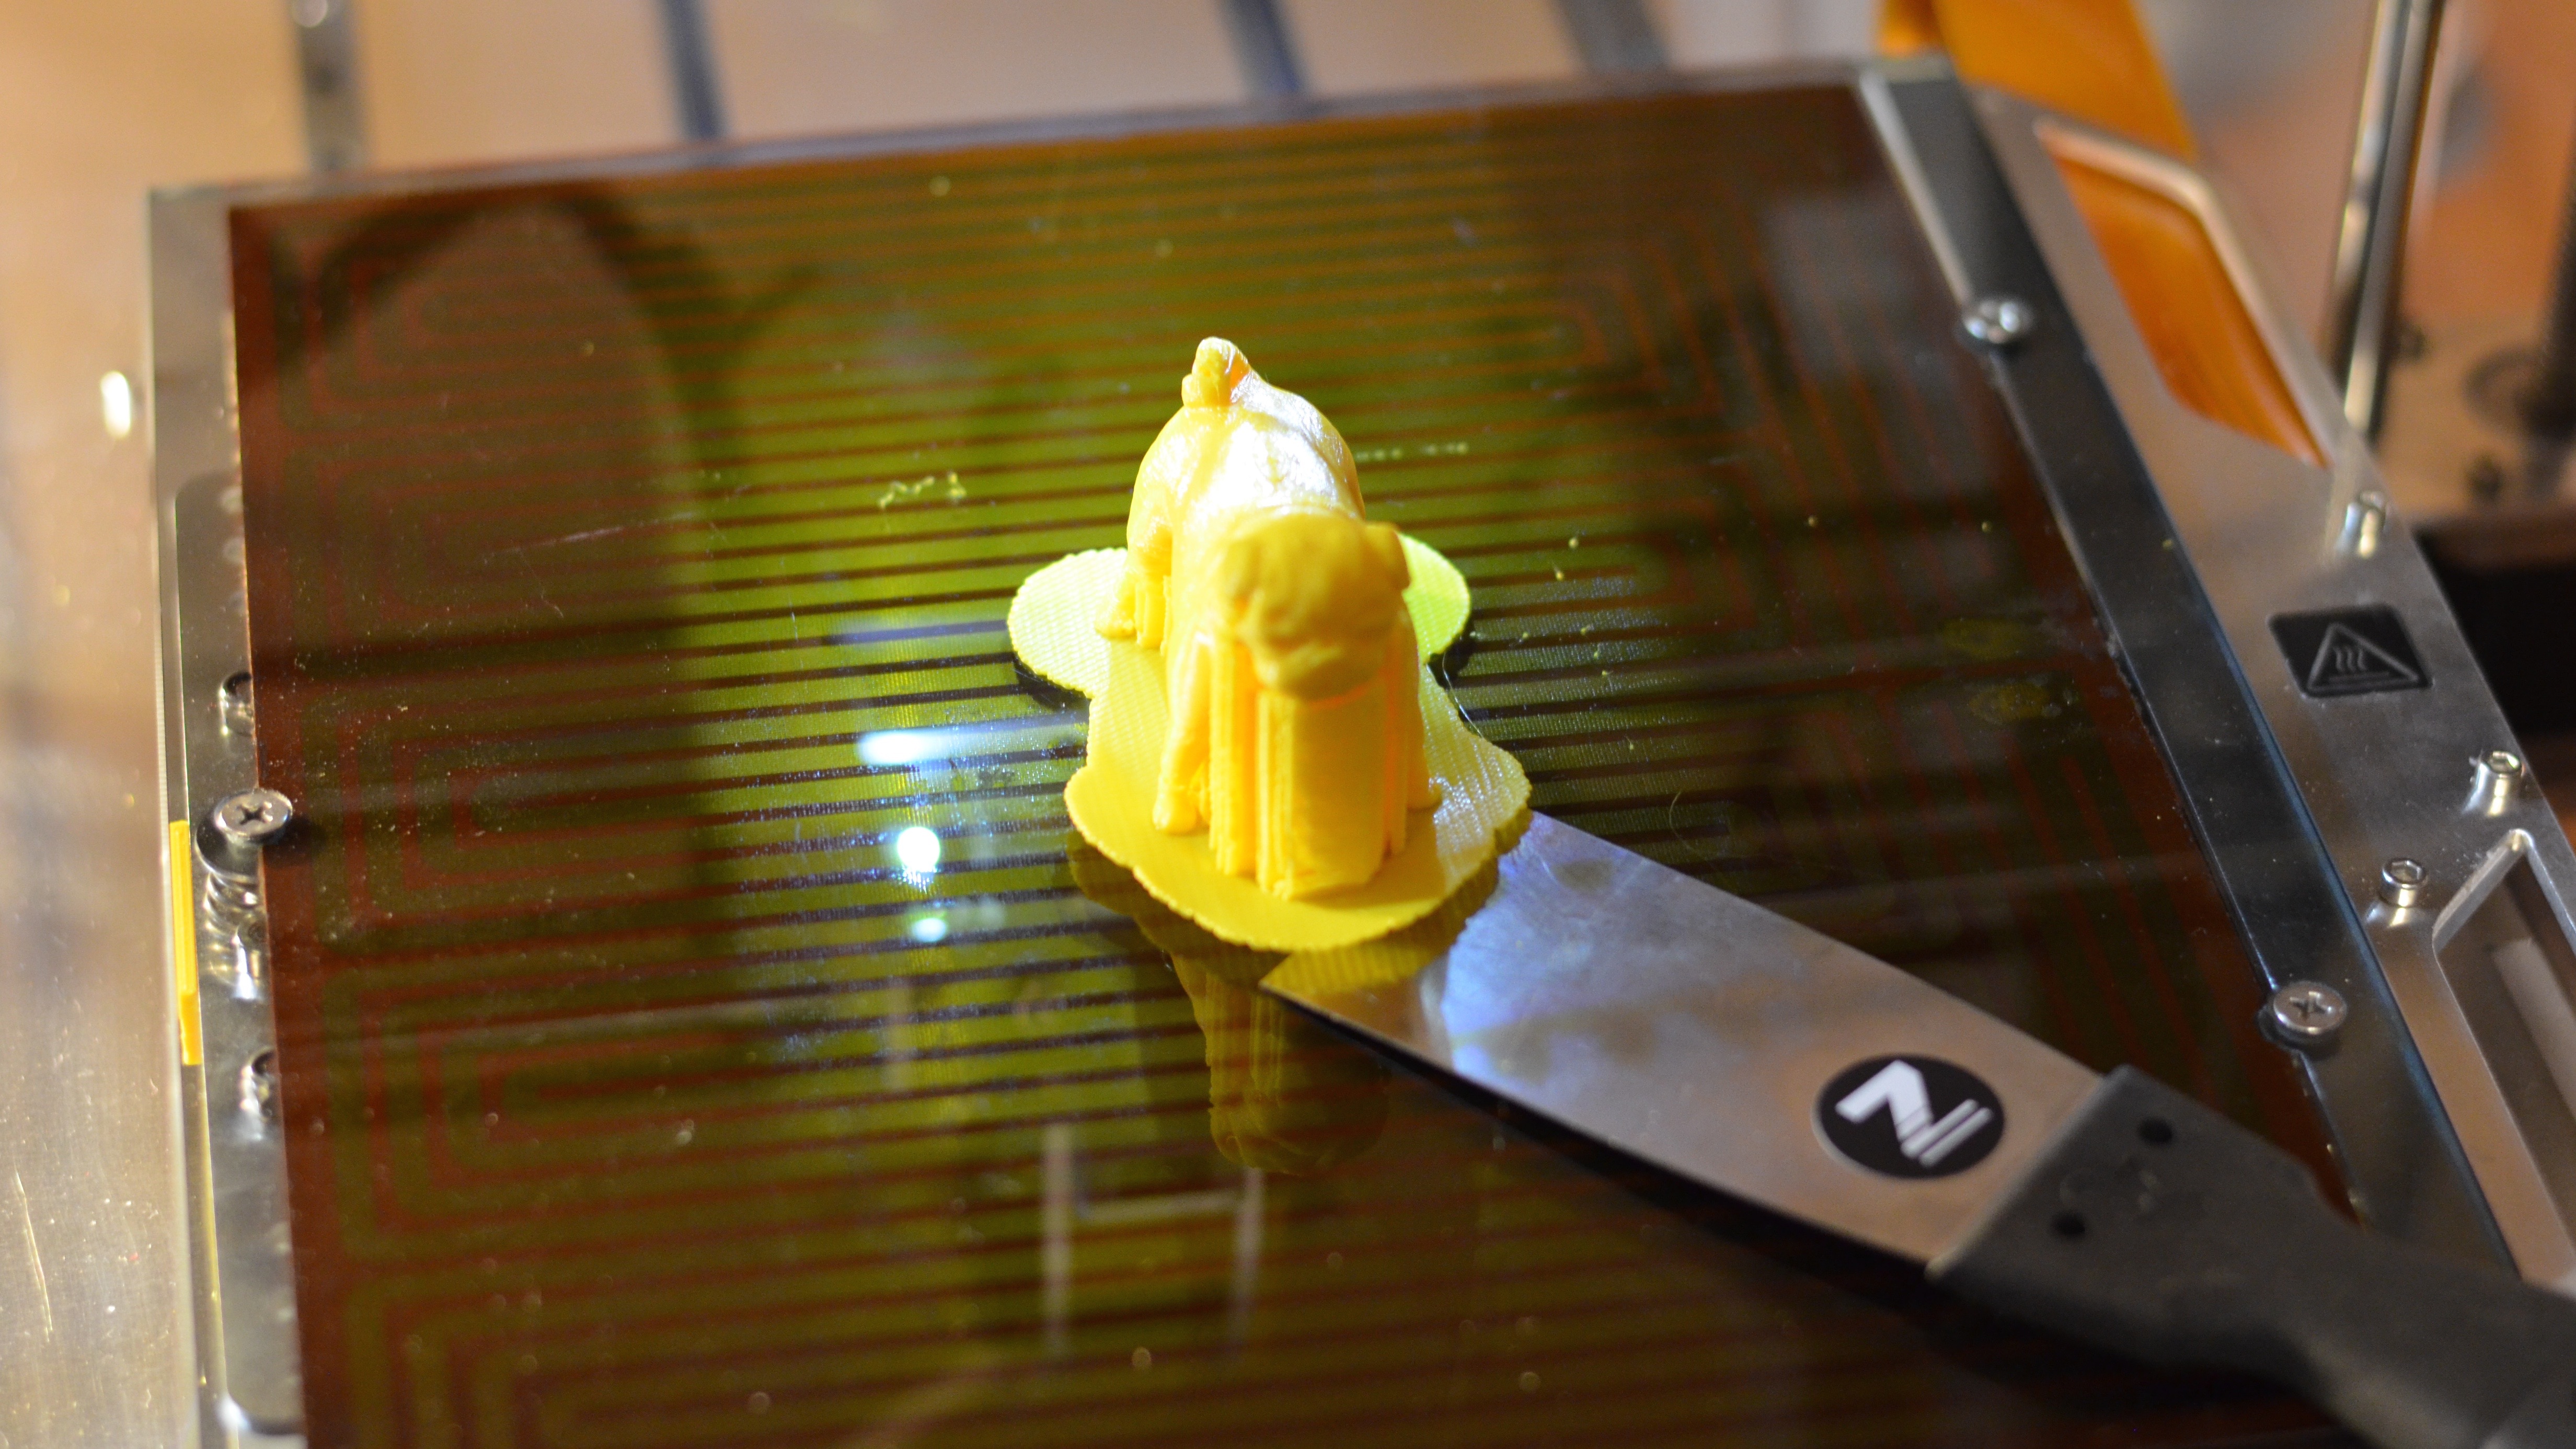
When printing models with overhanging elements or that have mostly hollow sections, supports are needed. These supports are generally easy to remove, although some additional work, like snipping and sanding, may still be needed. To help eliminate some of this manual work, one of the more common uses for a second print head is to dedicate it to printing the supports in HIPS (High Impact Polystyrene) or PVA (PolyVinyl Alcohol), each of which dissolves in water.
Software and getting models to print
The most important software for your 3D printer is what’s called a slicer. A slicer translates a 3D model's geometry into something your 3D printer can interpret and print.
Many printers recommend use of one or more free slicers. Some printers, like the MOD-t and ZMorph come with their own slicing software, although they can also make use of those same free slicers, which can sometimes provide finer control.
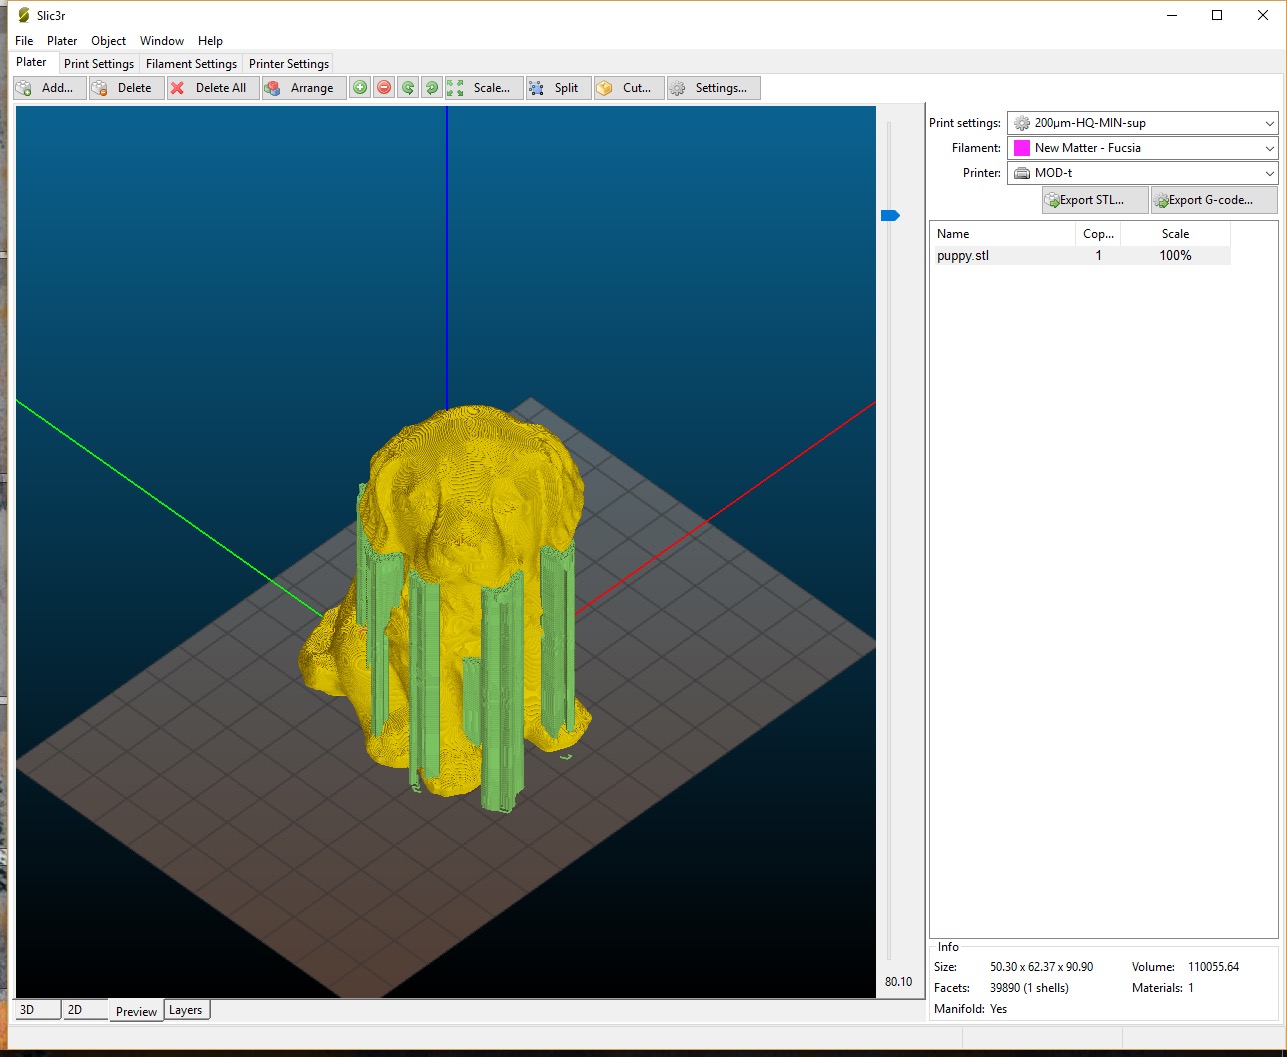
Popular free slicer programs include CraftWare, Cura, and Slic3r. Other slicers, like KISSlicer, offer paid options with more features like multi-head printing, while others still, like the advanced Simplify3D , offer only paid options. The only major consideration when choosing a slicer is if it has settings specific to your printer, so feel free to experiment to find a favorite.
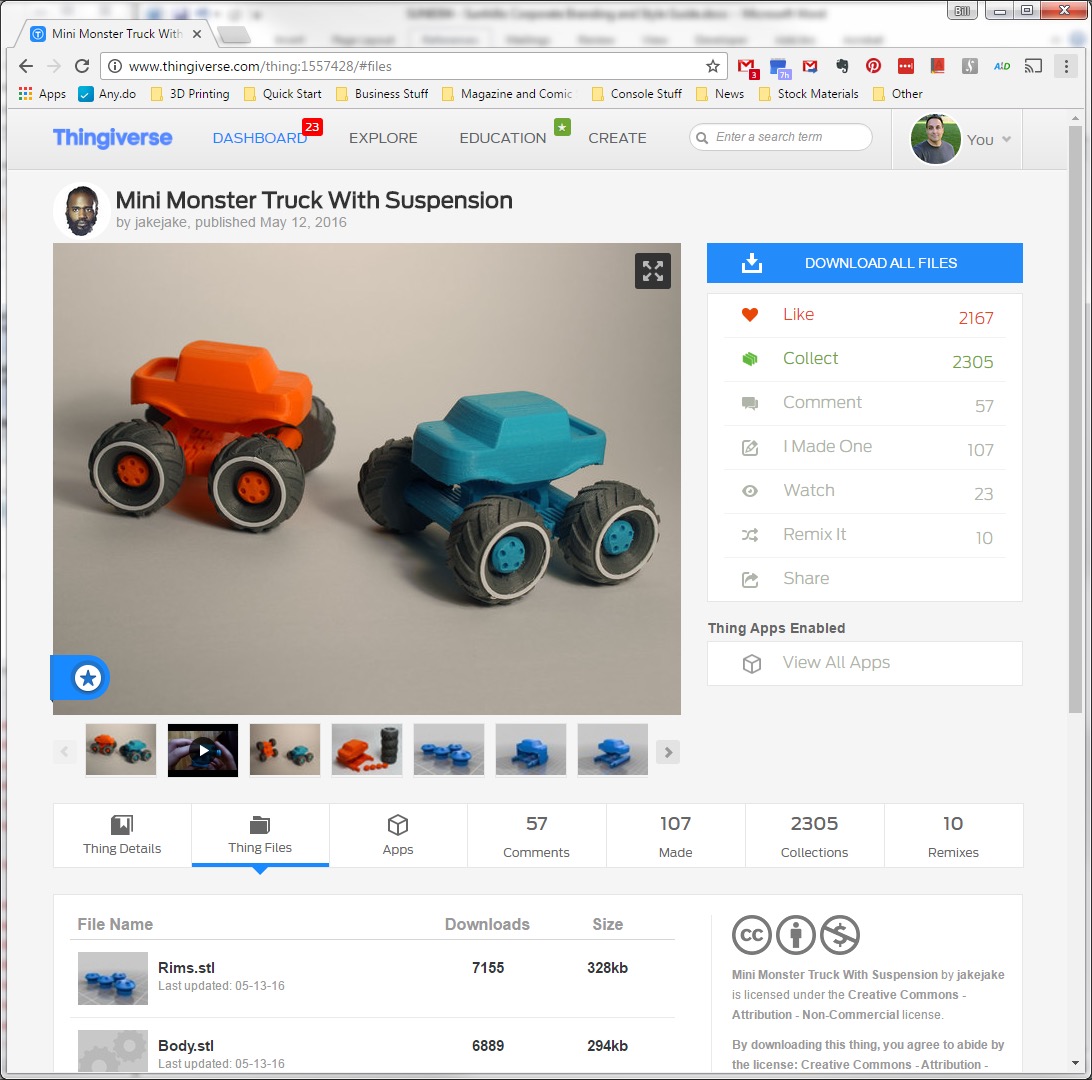
To get models to actually place in a slicer, you'll need to download them from an online repository, or create your own. Popular repositories include MyMiniFactory, Pinshape, Thingiverse, and YouMagine, with several 3D printer manufacturers, like New Matter and ZMorph, hosting their own. Many of these 3D models are free or recommend donations, while some premium models cost money.
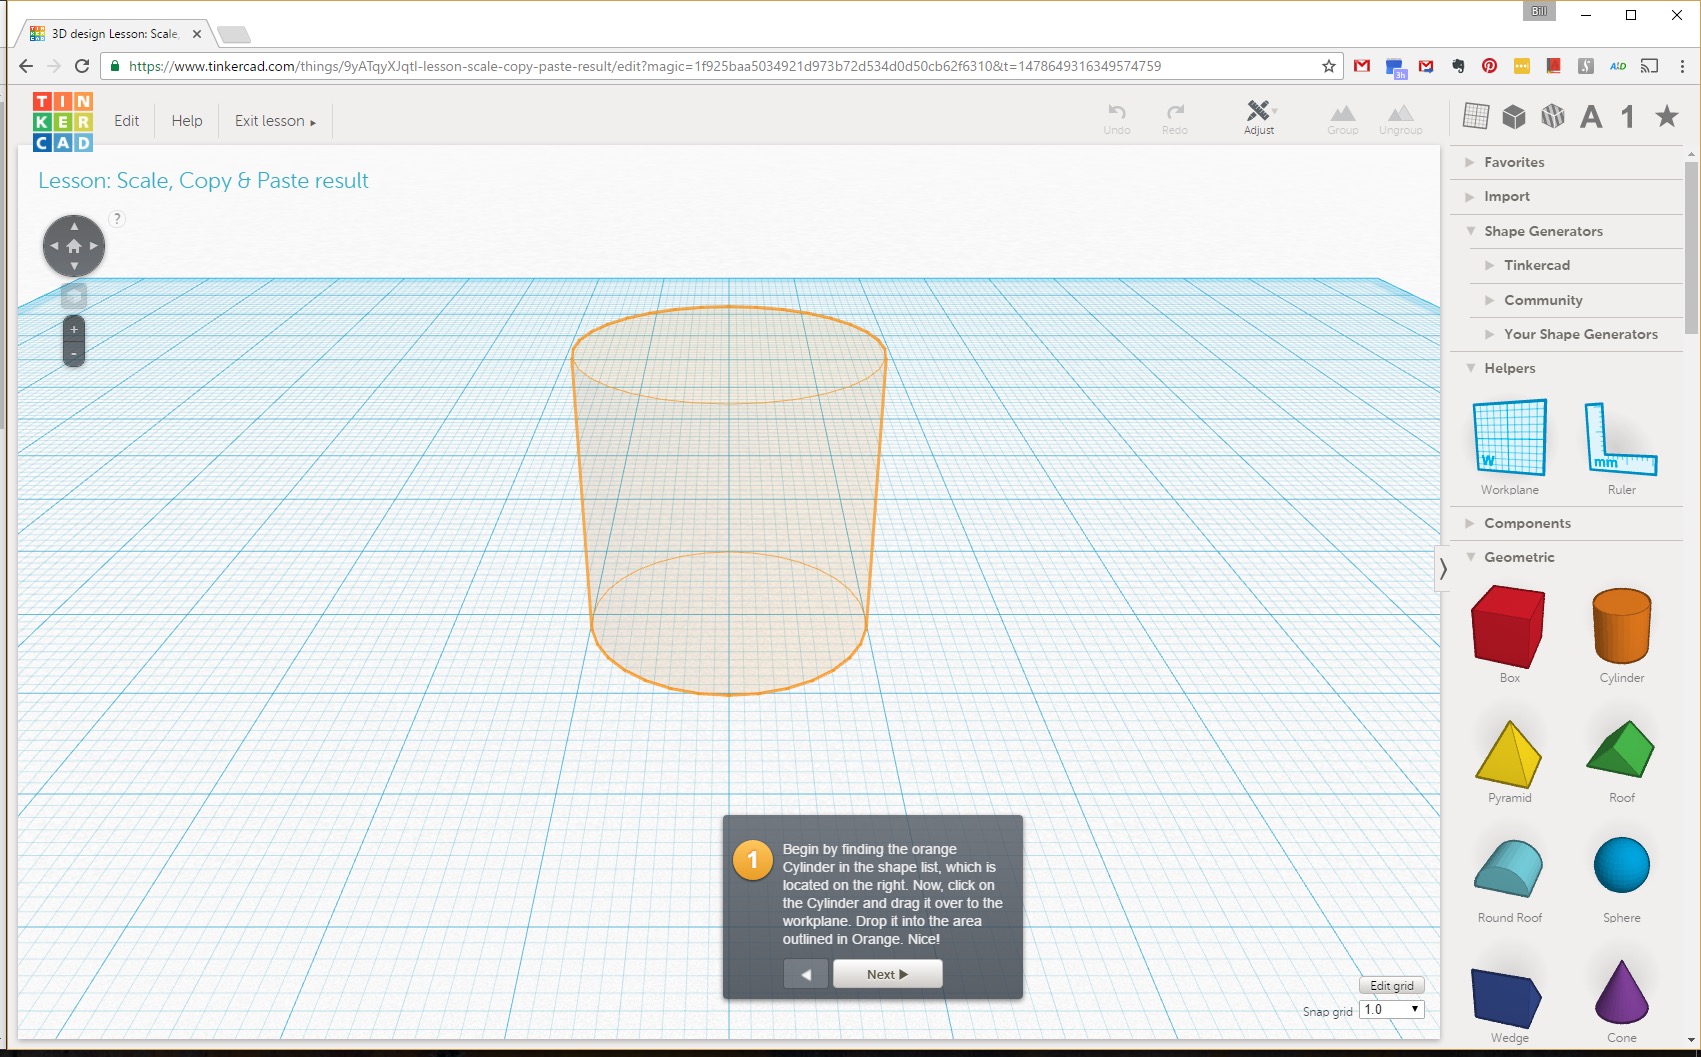
Similarly, there are a multitude of free and paid options to create your own 3D models, with varying levels of support and complexity. Some of the more popular 3D modeling programs include 123D Design, 3D Slash, 3DTin, Sculptris, and Tinkercad. It may take some time and effort, but the ability to create your own objects will let you fulfill the true potential of your 3D printer.
Supplies you may need
Most pre-built 3D printers come with a small selection of supplies in the box. These supplies often include a utility cutter or micro-shears to cut filament ends, a plastic or metal scraper to help remove finished models from the print bed, and a wire brush to help remove filament from the hot end extruder. Of course, these are not the only types of supplies you might need.
An air duster can help blow plastic bits and dust out of sensitive components. Similarly, a hand vacuum can help remove what the air duster expelled. An X-Acto knife set and cutting mat can help clean up your 3D prints. Various grits of sandpaper can help smooth and otherwise beautify your 3D prints.
There are also less essential, but still nice-to-have supplies, like acrylic paint and brushes for further customizing your 3D prints, or a head-mounted magnifier lens to help see and work on fine details, but those are the types of things that you can think about when you're further along in the process.
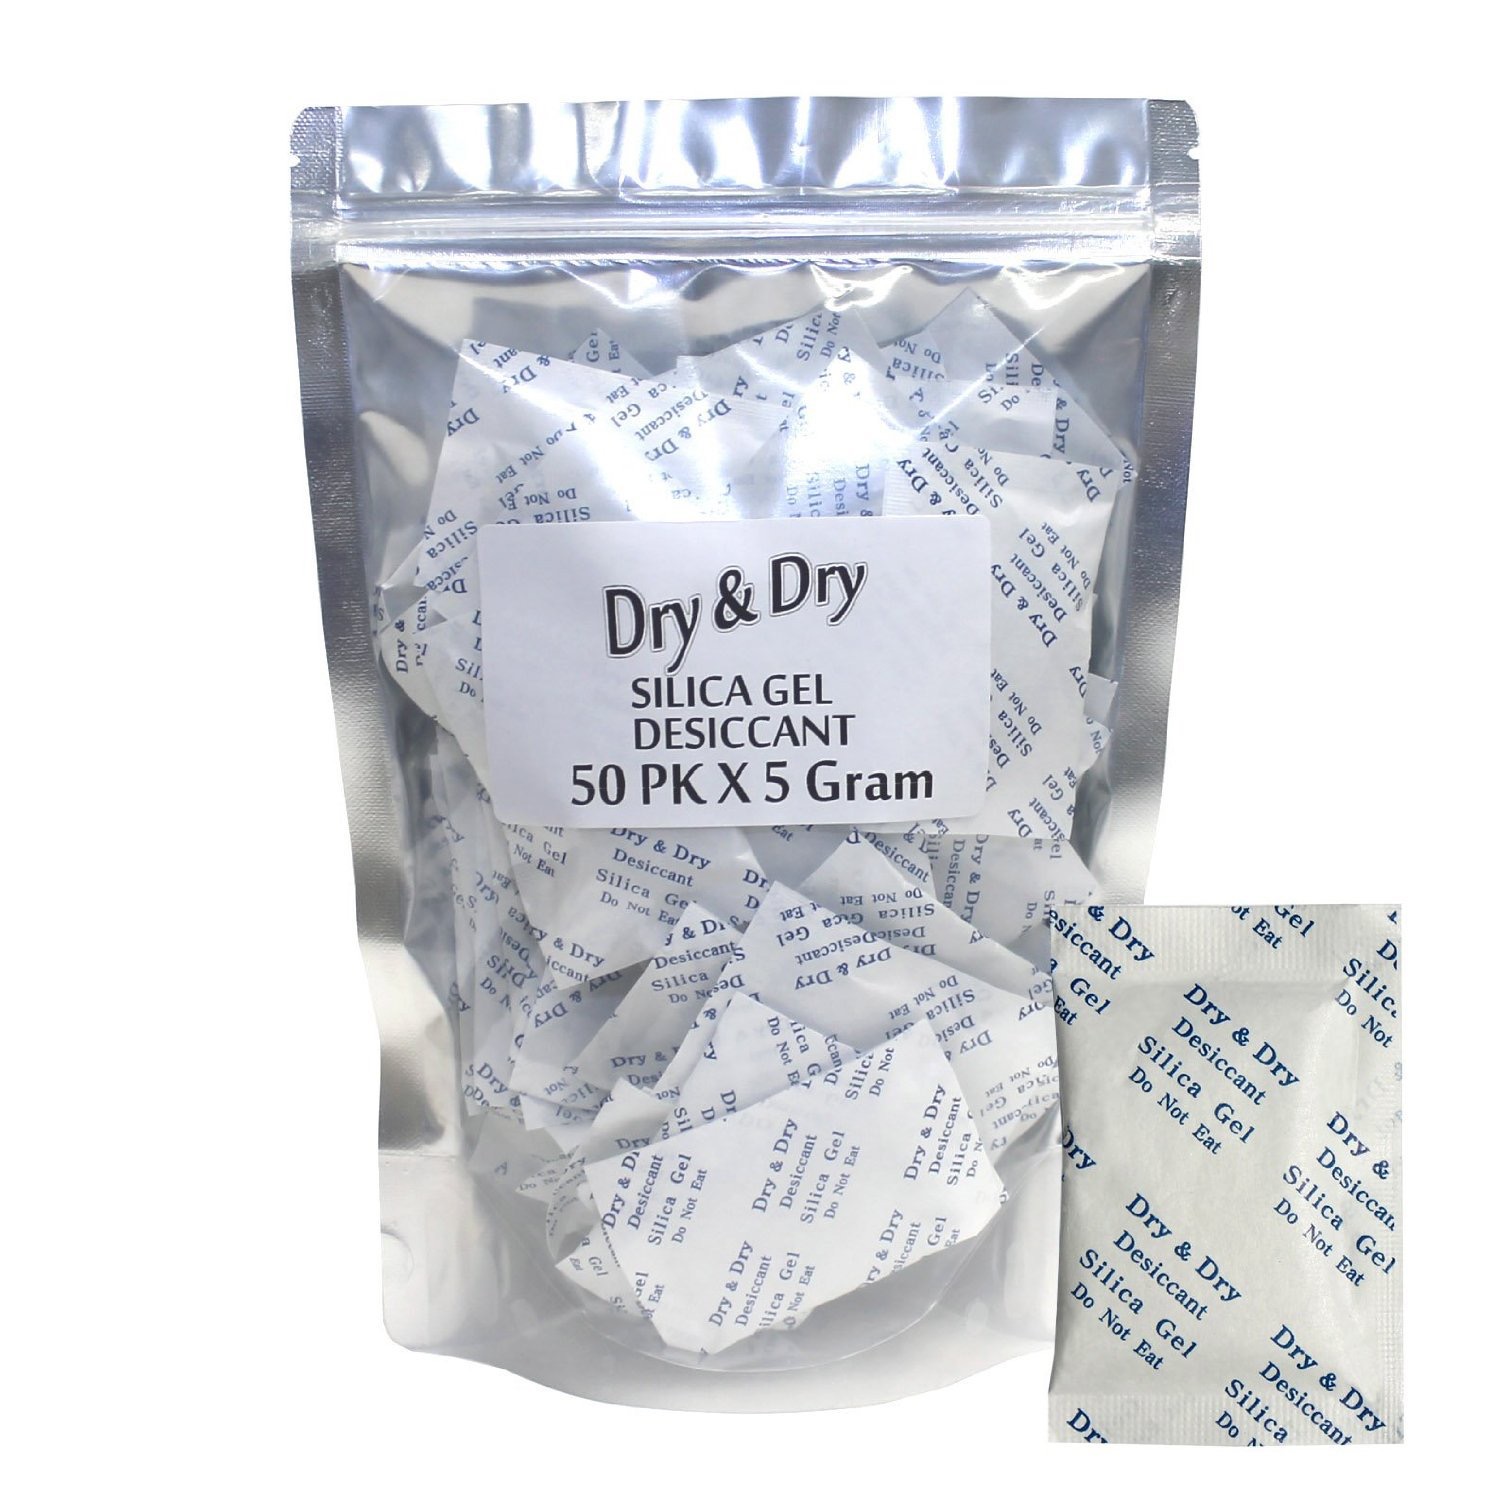
With an abundance of inexpensive filament, you're likely to want to regularly swap colors. Because opened filament is sensitive to picking up moisture from the environment, it's important to store any unused filament in an airtight container or vacuum storage bag. Tossing in some silica gel desiccant packs and replacing them as needed can help wring out any remaining bits of moisture.
Finally, we'd be remiss not to mention creating your own add-ons and accessories for your printer with your printer. Whether it's fan vents, spool holders, mechanical guides, or accessory boxes, it's important to remember that your 3D printer itself might be your most valuable asset for delivering exactly what you need to improve your overall experience.
Ready, set, print!
Deciding on the right 3D printer, or even if owning a 3D printer is the right choice for you, is a difficult proposition. The more sophisticated and the less consumer-oriented the printer, the more problems you're likely to run into, although even the friendliest printers are not immune to their challenges.
Of course, if you don't mind putting in the effort, some of the communities, which gravitate around discussion forums and social media, can be incredibly helpful. As such, it's important to research not only how good your desired printer's tech support and warranty is, but also how active and helpful its community is.
As it stands, 3D printing is only now leaving what is the equivalent of the personal computer revolution of the late 1970s. Those early personal computers were mostly for engineering-minded DIY enthusiasts and early adopters before slowly transitioning into more user-friendly designs and concepts in the early 1980s and beyond.
Although 3D printing has made dramatic strides in cost, features, and usability in recent years, it's still not quite as simple and straightforward as it could be, or eventually will be. Nevertheless, if you have the interest and are willing to put in the work to overcome some of the challenges, 3D printing can be a practical and rewarding creative pursuit.
- We've got more tips on how to build your own 3D printer!