How to get started with Windows 10
Your first steps with Windows 10
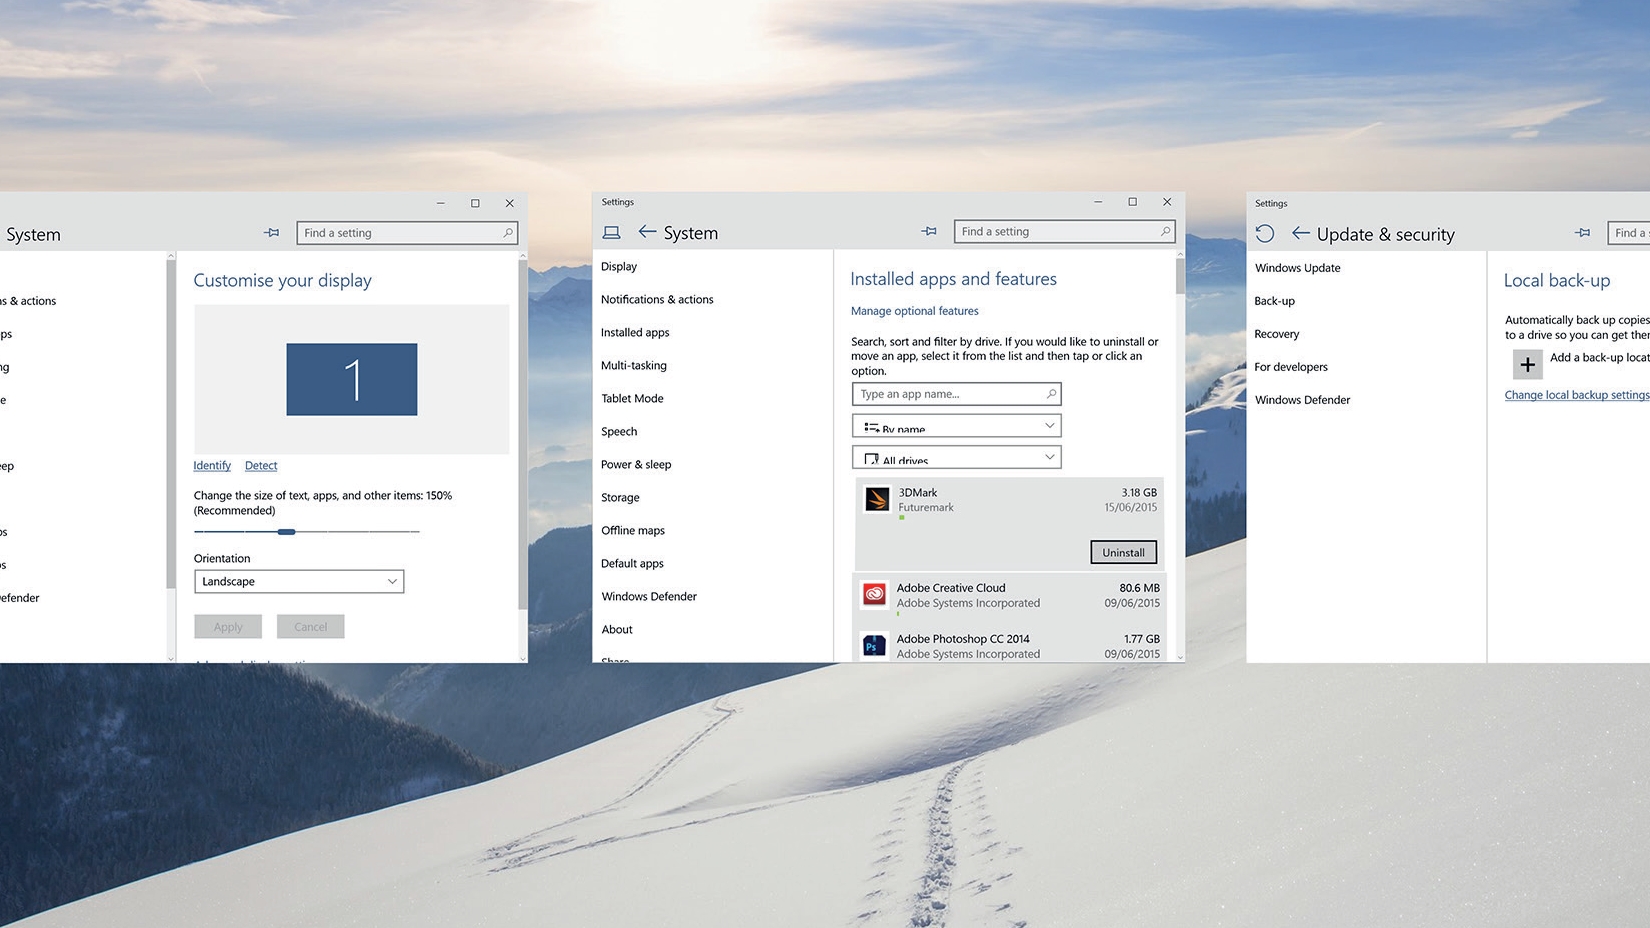
Getting started with Windows 10
After you've got Windows 10 installed (if you haven't check out our guide on how to download and install Windows 10), it's time to see how the new system works.
There's a new Start menu for you to explore and some exciting new features. For example, when it comes to aiding productivity Windows 10 has plenty on offer.
Whether it's aero snapping your apps to corners or asking Cortana to help you out by setting reminders, it's all there to streamline your daily computing.
The best approach is to dive right into as many of the settings as you can – personalising your operating system, desktop and programs for the tasks you perform the most.
For instance, if Cortana isn't your thing, or you prefer not to search on the desktop through Bing then you can remove that part from the taskbar at the bottom of the page.
Doing this will give you more screen space, as well as a tidier desktop and leave you with more space to pin programs to. But, these are just a few ways to improve your Windows experience, read on to learn more.
1. Set up your screen resolution
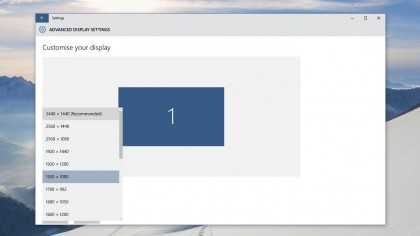
To help increase your productivity make sure your screen is running at maximum resolution. You'll find text and images are much clearer and easier to see.
Are you a pro? Subscribe to our newsletter
Sign up to the TechRadar Pro newsletter to get all the top news, opinion, features and guidance your business needs to succeed!
Right click on an empty area of your desktop and select 'Display Settings'. You can now select 'Advanced Display Settings' in the right-hand window. Here you'll find the Resolution drop-down menu – select the highest option.
2. Switch to Tablet mode for 2-in-1 laptops
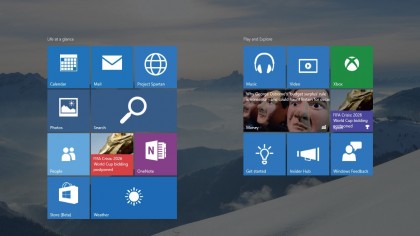
Open the Start menu and select 'Settings'. Here you'll find some tools you can configure to make your life easier. Go to System then Tablet mode. Enabling Tablet mode will make Windows 10 act more like Windows 8 – your apps will be fully sized and your Start Menu will expand to the entire screen.
Ideal for 2-in-1 laptops and touchscreen all-in-ones.
3. Aero Snap in Windows 10
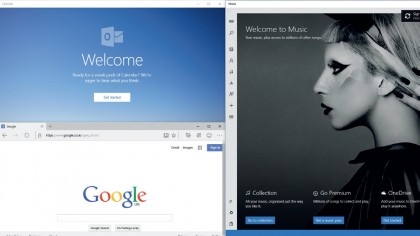
Snapping programs to the sides of the screen was a feature introduced in Windows 7. In Windows 10 you can now snap applications to each corner, as well as to the sides, by left clicking and dragging the top bar into a corner.
You will also see a visual representation of how much screen space the app will take up. This makes it much easier to multi-task with two documents.
4. Uninstall programs
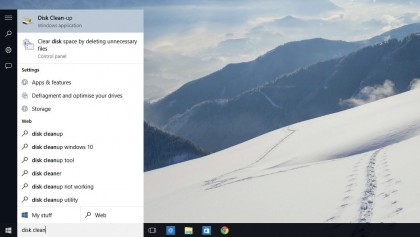
Uninstalling old and unused programs can be useful for freeing up storage space on your PC. You'll also notice your start-up times become speedier if you declutter.
To do this, click 'Settings' in the Start Menu, select 'System' then on the left tab select 'Installed Apps'. Here you can remove apps by left-clicking them and selecting 'Uninstall'.
5. Create a secure backup
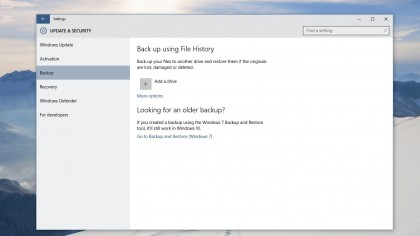
You'll need around 120GB of excess storage in a separate partition or drive to create a secure backup of your PC's OS and documents every week. Go to 'Settings' and select 'Update & Security', then click on 'Back-up' in the left-hand window.
Click on the '+' button and select the partition or drive you wish to use. Once done select 'more options', then 'See advanced settings'.
6. Finish the backup
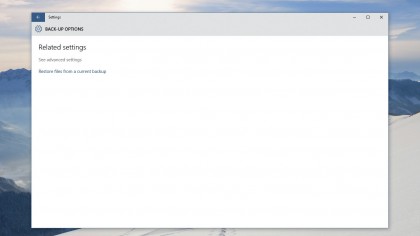
Now click 'System Image Backup' in the bottom left-hand corner of the screen, and click 'Set up Back-up' on the right-hand side of the screen. Highlight the drive you want to use for your backup and click 'Next', then 'Let Windows Chose'.
Hit 'Next' again. You can now set up the schedule for when Windows performs the backup and then press 'Save settings and run backup'.
7. Cortana on call
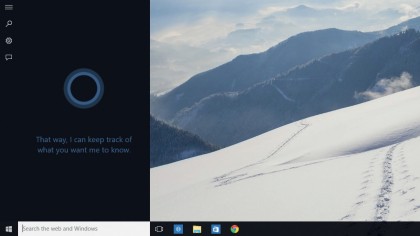
If you're signed into your Microsoft account you can use Cortana for many things from searching the internet, to setting calendar reminders or sending emails.
To get going, just say "Hey Cortana" (making sure your mic is enabled) or type Cortana into the search bar at the bottom left-hand of your screen.
If it can't do something for you it'll search the internet for the answer.
8. Organise mail accounts into one
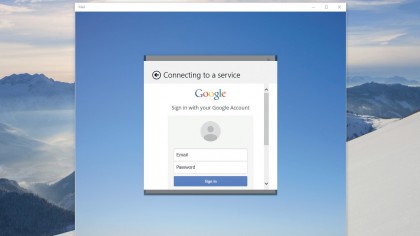
Keeping all email accounts in one place was a handy feature introduced in older versions of Windows 8. However, the Mail app that replaced Outlook has much more increased functionality.
Click on the Mail icon in your Start window select 'Add account', select your email service and fill in the details. You can now select 'Done' and all your emails will be in one place.
9. Multi-App view
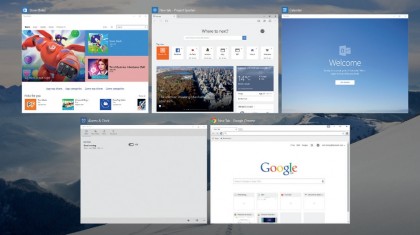
Another neat feature is the ability to swap between many apps at any time. Just press 'Task view', the button to the right of the search bar near the Start menu.
This allows you to quickly switch between open applications (including minimised ones) without having to trawl through the icons on your task bar, making it much easier to find programs.
10. Uninstalling the old Windows
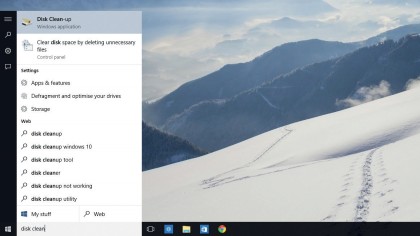
So, it's time to bid farewell to Windows 7 or 8 on your PC! To uninstall it, click on the Start menu and type in disk clean up, then open the 'Disk Clean Up' application.
You can now select drive (C:), press 'OK' and let Windows scan the drive. Scroll down the open window and tick 'Previous Windows Installation(s)' tab, select 'Clean up system files' and you're done.

Zak is one of TechRadar's multi-faceted freelance tech journalists. He's written for an absolute plethora of tech publications over the years and has worked for Techradar on and off since 2015. Most famously, Zak led Maximum PC as its Editor-in-Chief from 2020 through to the end of 2021, having worked his way up from Staff Writer. Zak currently writes for Maximum PC, TechRadar, PCGamesN, and Trusted Reviews. He also had a stint working as Corsair's Public Relations Specialist in the UK, which has given him a particularly good insight into the inner workings of larger companies in the industry. He left in 2023, coming back to journalism once more. When he's not building PCs, reviewing hardware, or gaming, you can often find Zak working at his local coffee shop as First Barista, or out in the Wye Valley shooting American Flat Bows.