How to install a graphics card: upgrading your PC with a new GPU
As simple as slotting it in
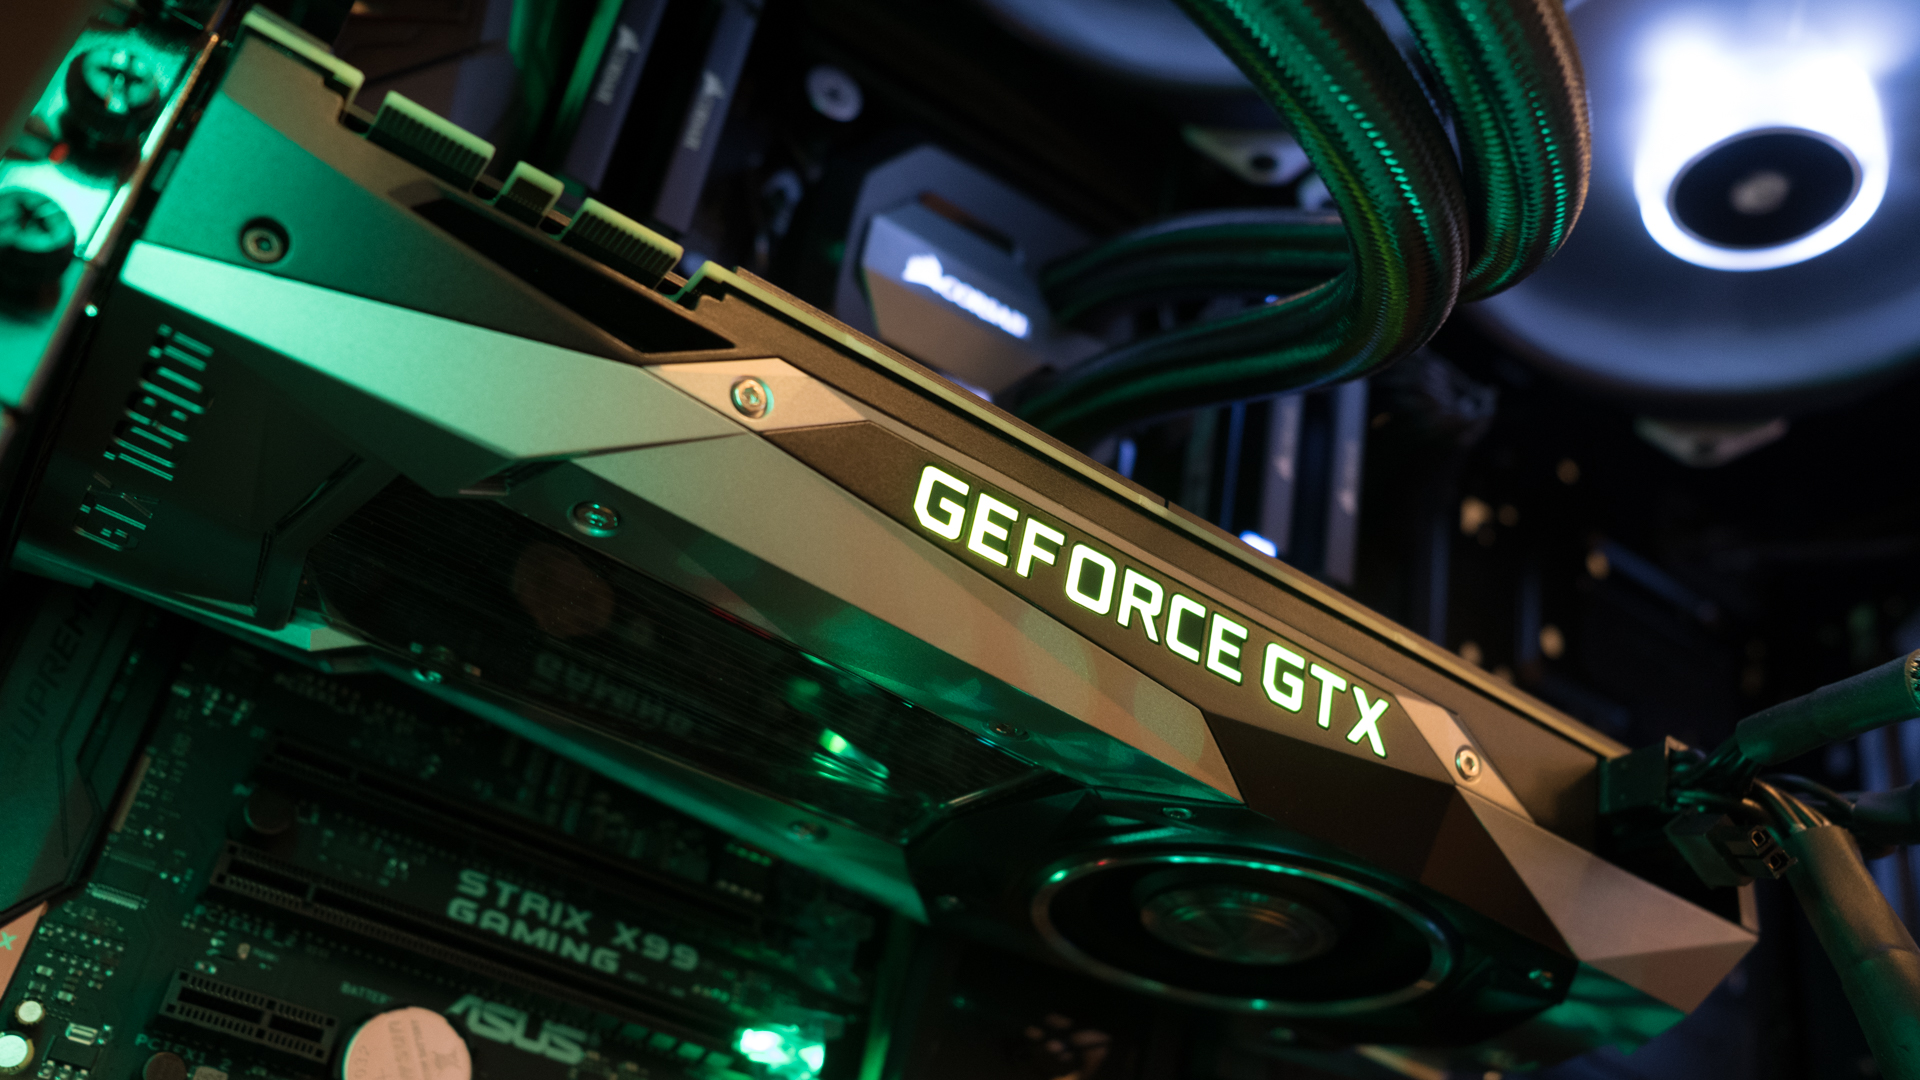
Adding a graphics card to your computer is one of the easiest ways to give it a major boost in power. That's in part because the best graphics cards tend to have a huge advantage over any integrated graphics built into the processors, and in part because it's simple to install a graphics card.
We'll guide you through each step you'll need to take to install a graphics card in your computer.

1. Find the right PCIe slot
First thing's first: you need to find where your graphics card is going inside your computer. Depending on your motherboard, you may have just one PCIe slot or you may have many.
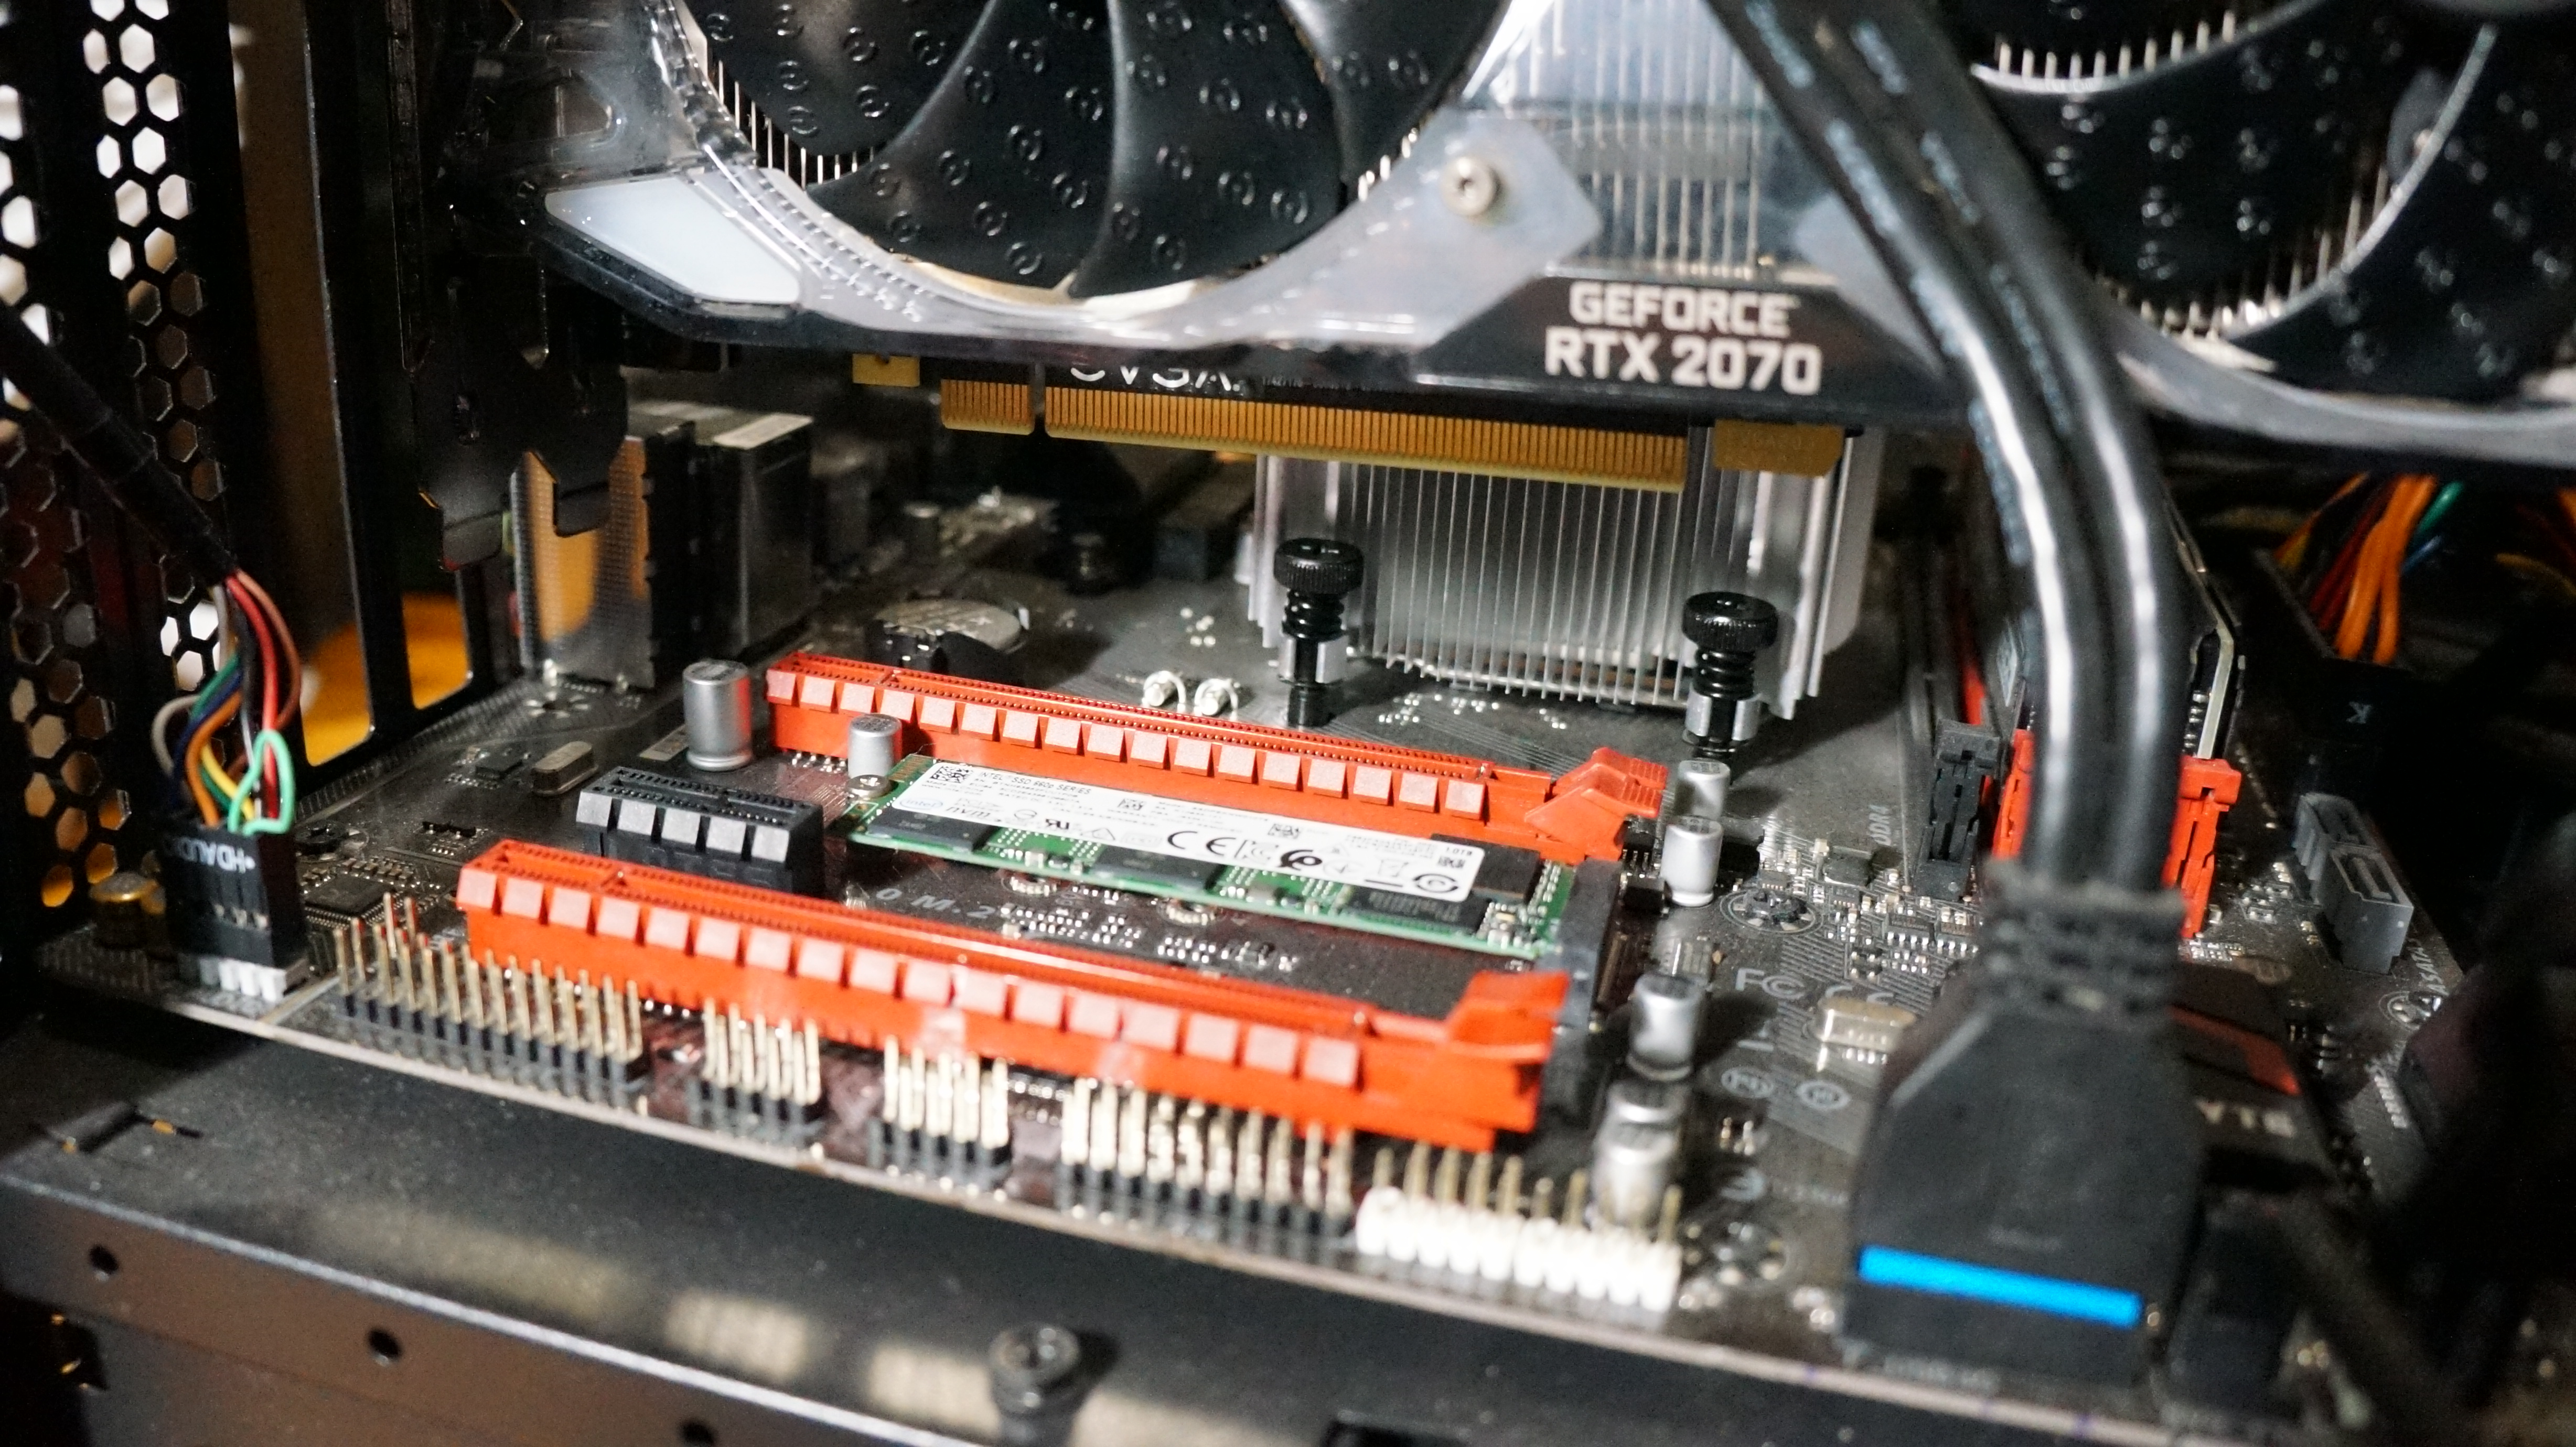
Generally, you want to install your graphics card into a PCIe x16 slot. There are two parts to identifying a PCIe x16 slot. First, look for the longest PCIe slot on your motheboard. Slots come in x1, x4, x8 and x16 sizes. If you're not sure, you can compare the slot length to the length of the connector on the bottom of your graphics card.
Next, confirm that the slot you've found is a true x16 slot by looking for a text indicator on the motherboard itself. Some PCIe slots may be the size of an x16 slot back actually have fewer PCIe lanes, which can limit performance. For instance, we have a Micro ATX motherboard with two PCIe x16 slots, but one is a true PCIe 3.0 x16 slot while the other is actually a PCIe 2.0 x4 slot offering restricted bandwidth but support for longer add-in cards.
2. Ready your motherboard and computer case
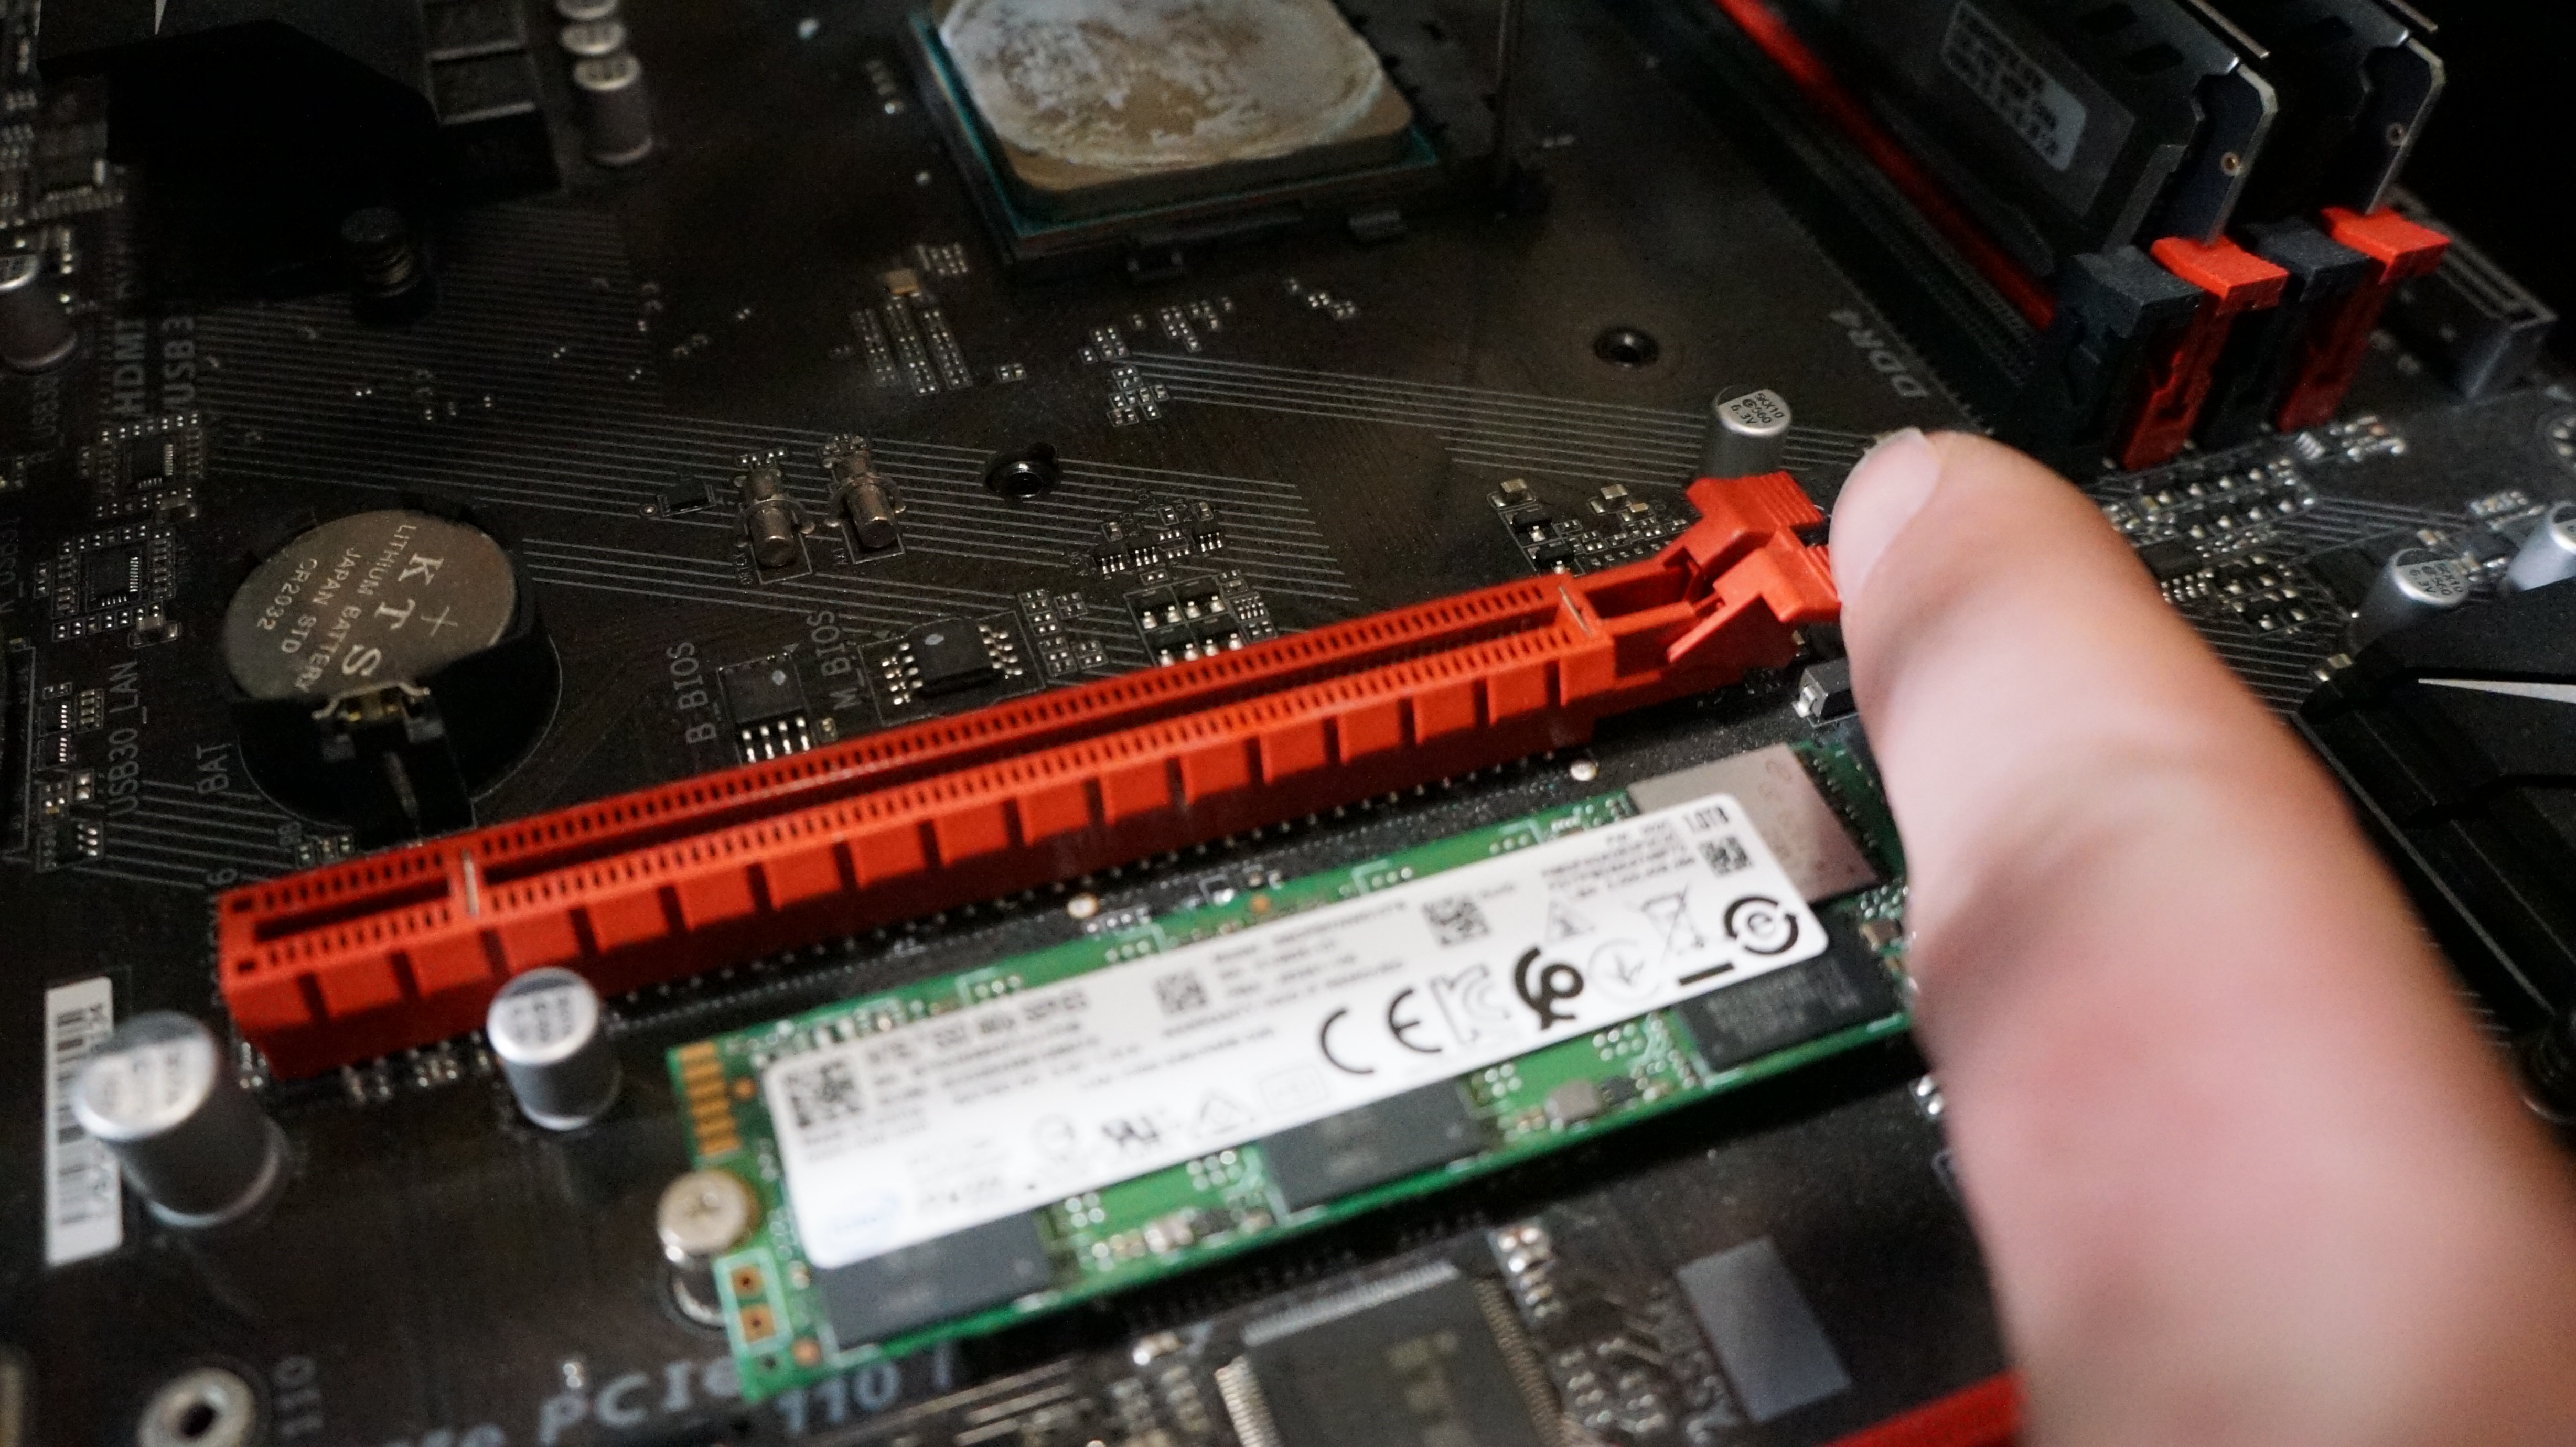
Once you've found the correct slot, you should make sure the PCIe slot is in its open position. Some slots have a small clip at one end that can flip up and down. Flipping the clip down will unlock the slot. Other slots may have a clip that moves sideways. It will simply flip out of the way when you install the GPU, and then it will lock back into position.
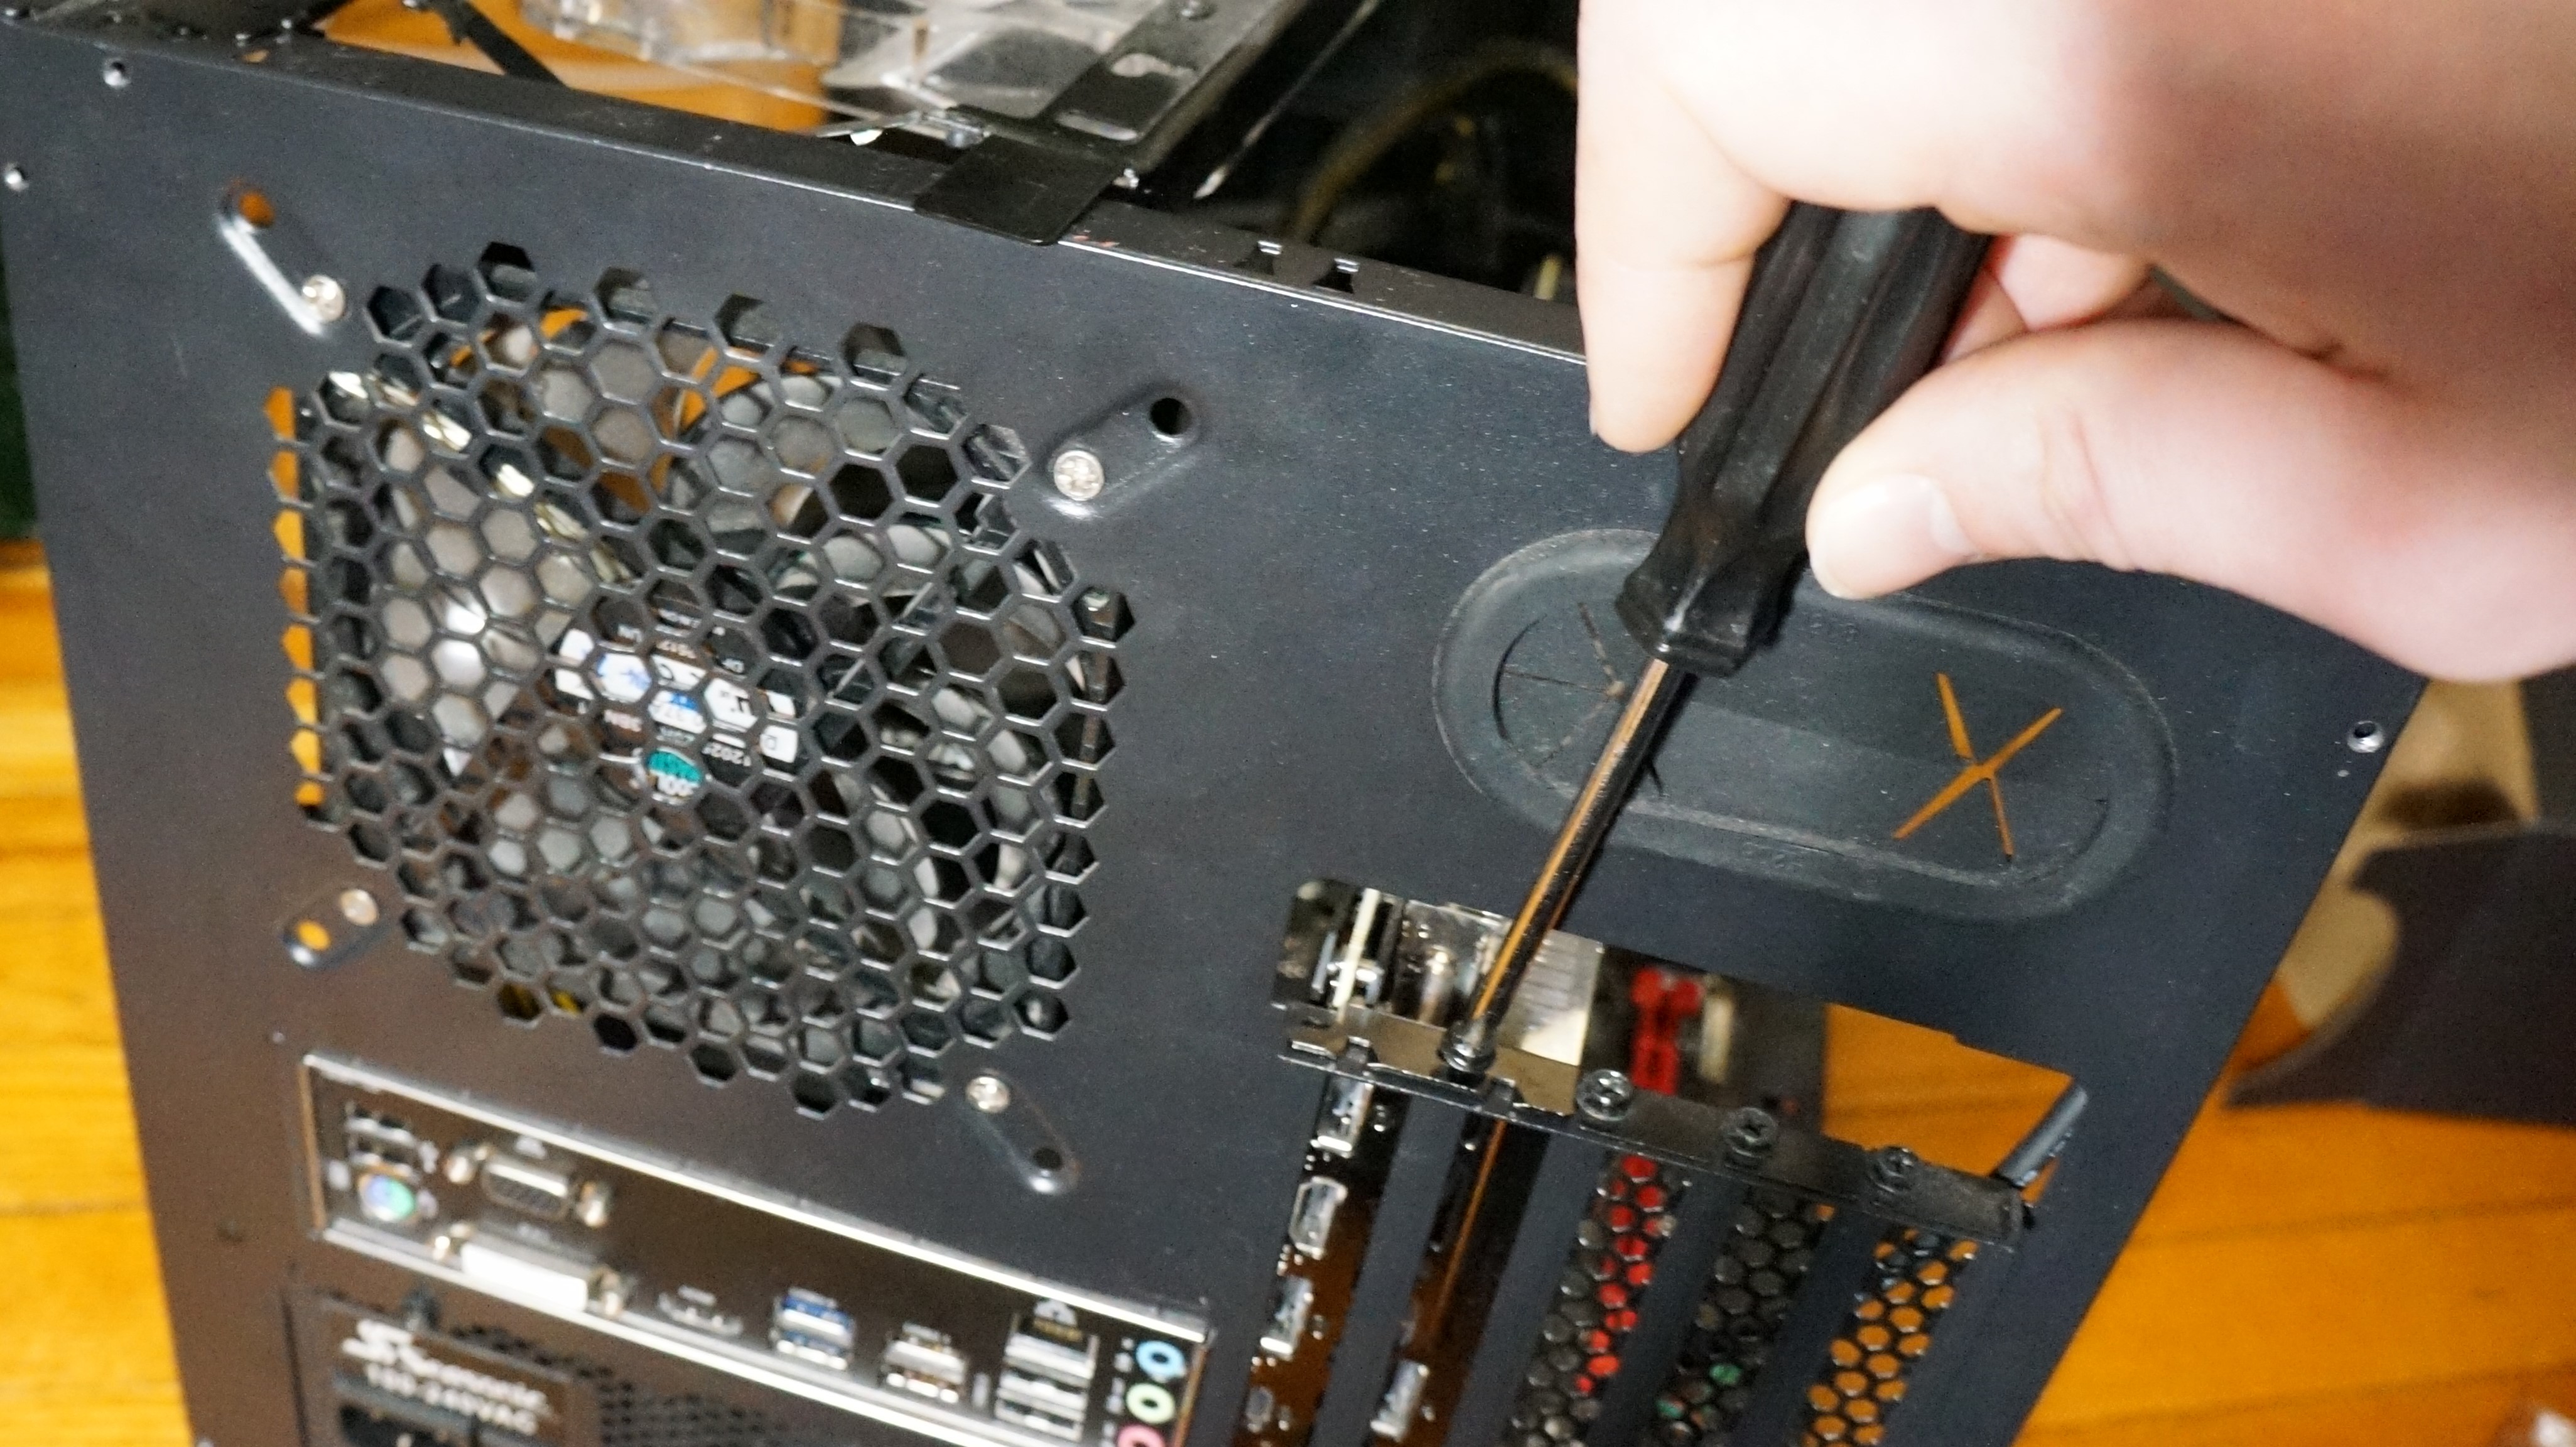
You also need to remove any expansion slot covers on the back of your computer case that line up with the slots your graphics card will fill. On some cases these will screw off while others may snap off.
Get daily insight, inspiration and deals in your inbox
Sign up for breaking news, reviews, opinion, top tech deals, and more.
3. Insert your graphics card
Now you're ready to put the graphics card in. When holding the graphics card, avoid touching the PCIe connector or exposed portions of the PCB.
First, line up the graphics card with the PCIe slot. Then line up the end of the graphics card with the open expansion slots on the case. Make sure the end of the graphics card's I/O shield is clear of the motherboard and not pressing into it.
Lower the graphics card into its PCIe slot. It should not take much force. You may hear a click when the lock at the end of the PCIe slot flips into place. If you don't hear anything, confirm that the lock is in its closed position.
4. Secure the graphics card
Insert any screws into the case that are meant to hold the graphics card's I/O shield in place. These should be the same screws you removed when taking out the expansion slot covers.
If your graphics card requires a bracket for support, follow whatever instructions were included with your graphics card.
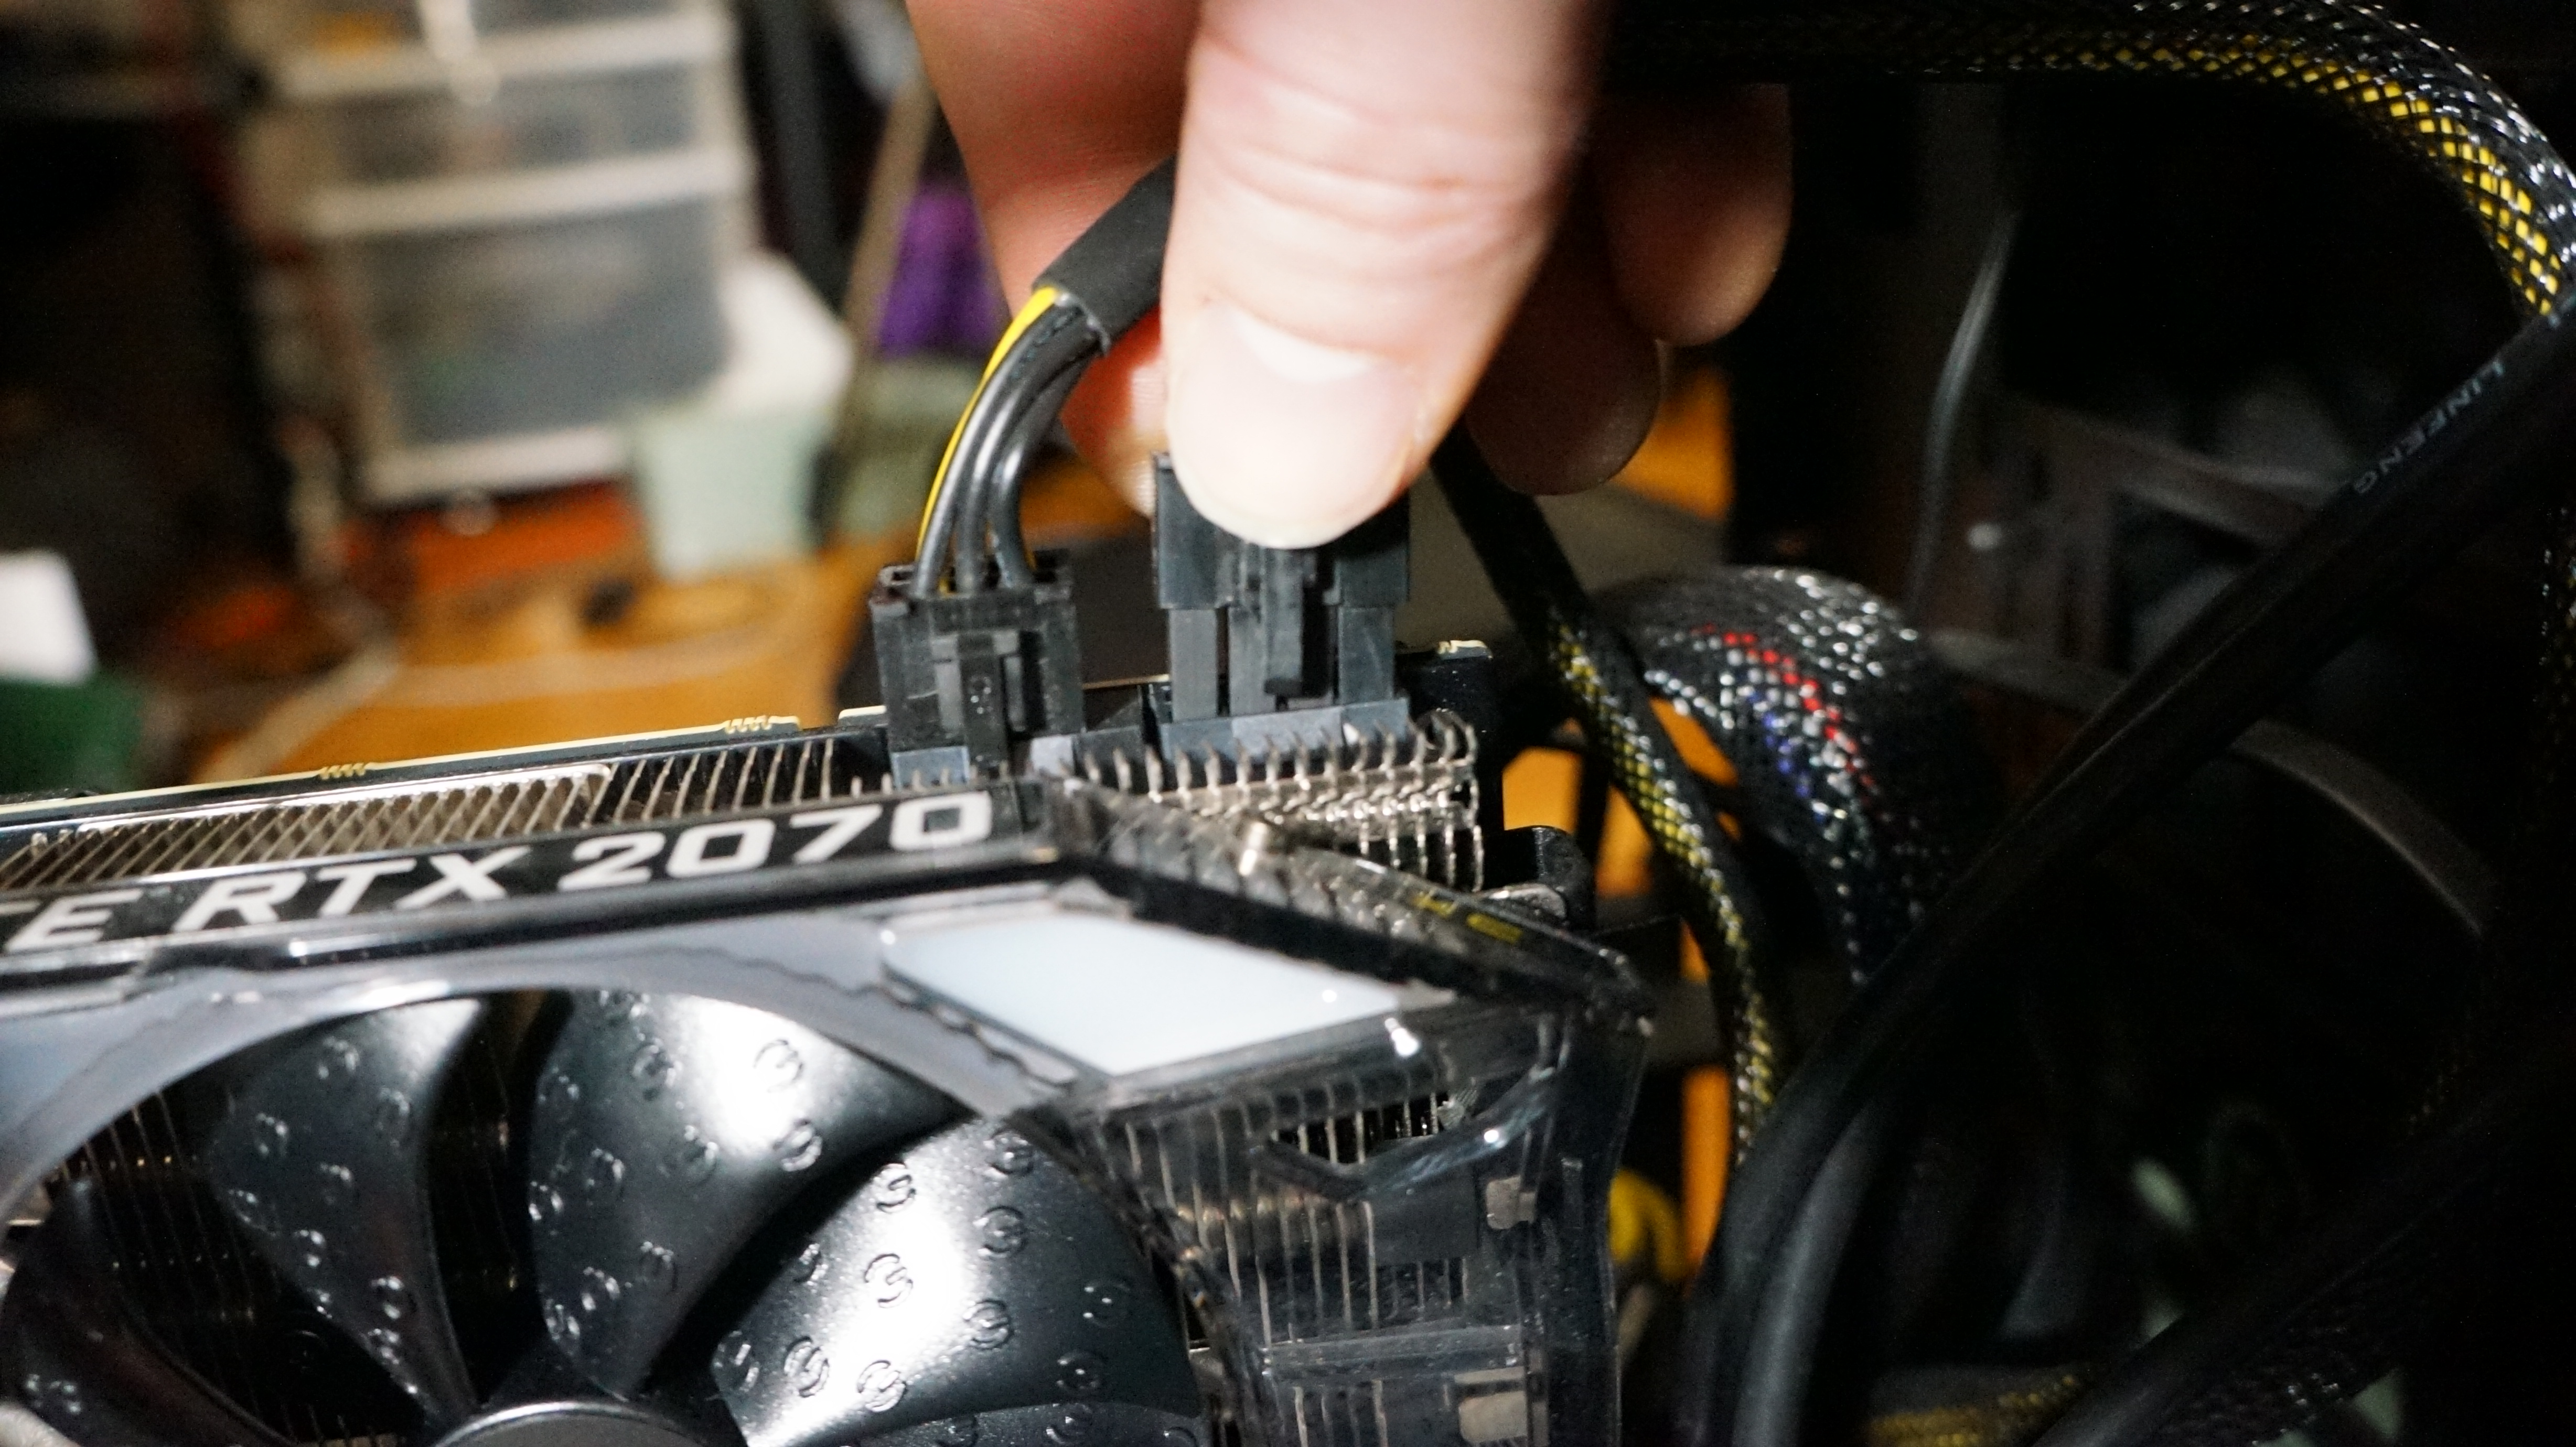
5. Plug in any power connectors
At one end of your graphics card you will likely find a number of ports. These are the power connectors for your graphics card. Plug in all corresponding power cables from your computer's power supply. These can be 6- or 8-pin power connectors, and may be a combination of multiple connectors. (Note: Some low-power graphics cards are able to draw all of their power from their PCIe connection and will not require you to attach any additional power cables.)
6. Don't forget to plug in your display cables
With the previous steps, you're graphics card is installed. But, you need to make sure you're actually using it. So, plug your HDMI, DisplayPort, or any other video cables directly into the graphics card. If you use the display connections on your motherboard, you won't be taking advantage of your graphics card.
Over the last several years, Mark has been tasked as a writer, an editor, and a manager, interacting with published content from all angles. He is intimately familiar with the editorial process from the inception of an article idea, through the iterative process, past publishing, and down the road into performance analysis.
