How to install custom firmware on your router
How to install custom firmware on your router
Custom router firmware might sound, to the uninitiated, equal parts intimidating and pointless. But installing Linux-based custom firmware can net you better router speed, increased internet privacy, intelligent traffic routing, and many more features that your router’s default firmware just can’t manage. If you’re slightly obsessive about your slow internet speed, the additional monitoring features of a custom firmware can’t be beaten.
We’re going to concentrate on DD-WRT in this guide, because it’s feature-packed and easy to get to grips with. If you have very specific needs, you may wish to opt for the more modular OpenWRT, and Tomato is a user-friendly option for certain Broadcom-based routers.
- We’ve picked out the best wireless business routers of 2017
1. Check it’ll work
There are a great many routers on the market, and that means a lot of different hardware, much of which is not compatible with custom firmware – either because it’s locked down, doesn’t supply enough RAM or CPU power, or the software to support it simply doesn’t exist. Compatibility is only likely to drop as time goes on, since regulations around wireless frequencies are tightening.
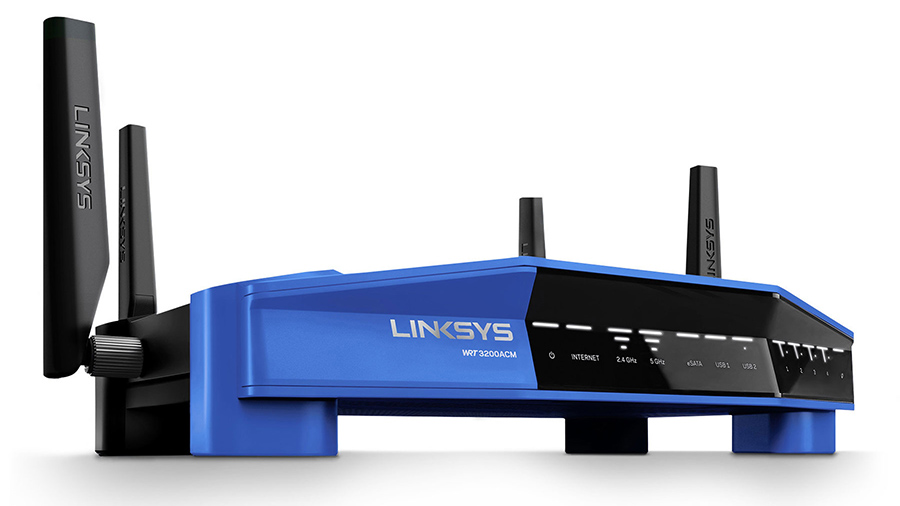
We’re cheating a little when it comes to this guide, using the excellent Linksys WRT 3200ACM, a recent release that’s specifically geared towards supporting both DD-WRT and OpenWRT.
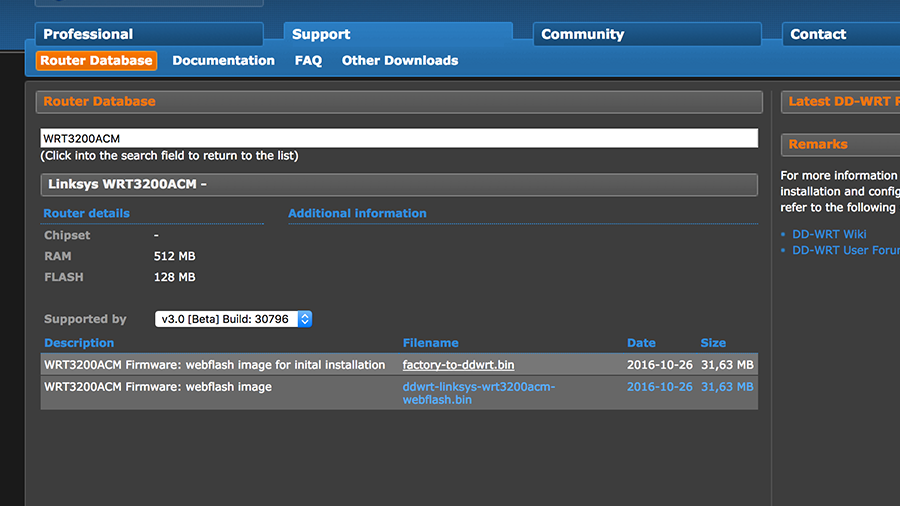
If you’re wondering if your hardware is compatible, a google search of the model name and your desired firmware is likely to throw up answers, or you can check DD-WRT’s compatibility list or that of OpenWRT.
Make a note of the correct version of the software for your hardware, as listed in the compatibility database; differing specifications mean flashing the incorrect firmware could brick your device, so it’s important to get this part right.
2. Get prepared
Tightening our focus to just DD-WRT, now, let’s work on getting ready to flash – that is, replace – our router’s firmware.
If you’re not using a device that specifically supports this sort of thing, let’s just reiterate: this is a mildly dangerous procedure, and if something goes wrong you could be left with a dead bit of kit.
Follow the instructions and refrain from impatient unplugging, though, and you’ll be fine. It’s worth having the wiki and the so-called ‘peacock thread’ on DD-WRT’s forums on hand in case of any issues.
In basic terms, grab your router’s .bin file. If your router requires a ‘killer’ to wipe out the old firmware before the new version can be installed, pick that up first.
Connect to your router with a wired ethernet connection, as wireless is likely not to work during the installation process, and you’ll need to be close to the hardware to power it off as required.
Make sure you have a secondary connection handy – your 4G phone, for example – so that you can look up fixes if everything goes wrong. Before you move on, again, read the pages linked above. It’ll probably be fine, but we can’t take responsibility if you’ve missed a step and it’s not.
3. Flash away
Ready? Of course you are. Make sure you’re connected via a wired connection (switch off your computer’s wireless module) and disconnect your router from the internet.
Now give your router the most thorough reset possible by holding the reset button for 30 seconds, unplugging for 30 seconds with the button still held in, then replugging and continuing to hold the reset button for another 30 seconds. This may well be voodoo router pseudoscience, but it weighs heavy in the instructions and we’re not about to argue.
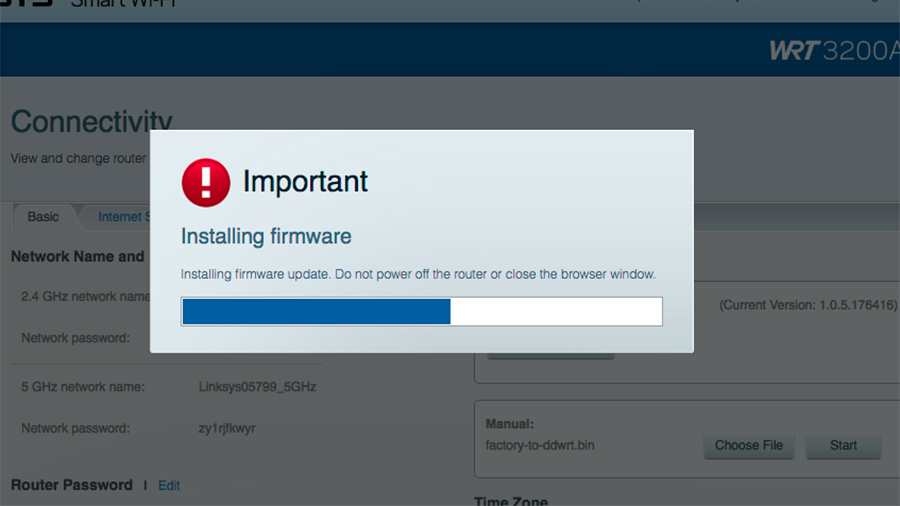
Now log in to your router’s interface via a web browser (usually you’ll find it at 192.168.1.1 or similar) using the default password, and find its firmware upgrade options – in our case it was in the slightly obscure ‘connectivity’ panel.
You’ll need to perform a manual upgrade, using the .bin file downloaded earlier. Click ‘start’ – or whatever your router requires – and click past any warning messages. Now move your hands away from the keyboard. Don’t touch anything. Let it go about its business; the installation should take about 2 minutes, and you should leave the unit for around five minutes once it’s done before performing another 30/30/30 hard reset to ensure its memory has been cleared and you’re working with completely fresh hardware.
4. Configure wireless
Head back to your router’s settings page and you should now see the DD-WRT interface. Set an admin login and password (don’t forget them, because you’ll need them later), then you’ll be system info page, which gives you an overview of your running hardware.
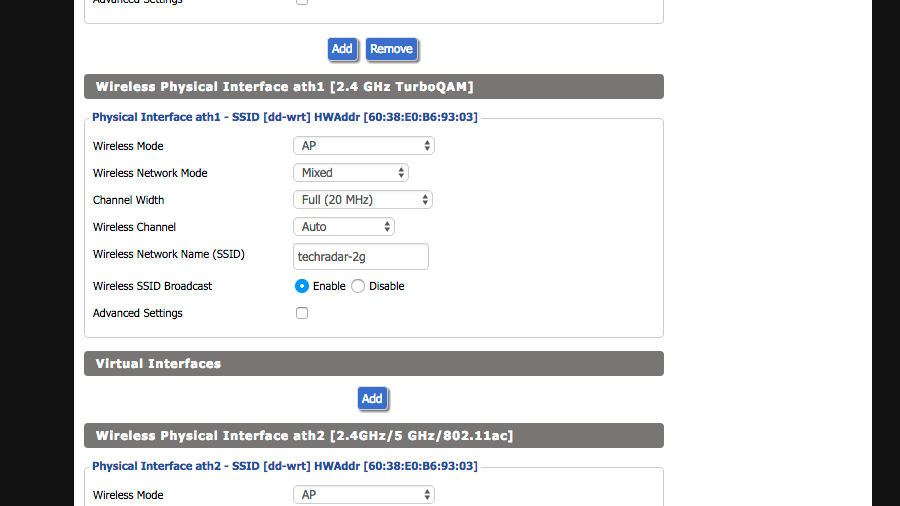
Hook your internet connection back up and you should see its WAN address appear here. Your wireless connections, however, will have forgotten whatever settings they may have been given previously, defaulting to unsecured connections with the SSID ‘dd-wrt’.
Click the ‘wireless’ tab to see all the wireless interfaces your router has to offer, and name them appropriately – make sure you pay attention to the capabilities of each interface when you pick your names.
Click ‘apply settings’. Now head over to the ‘wireless security’ tab, and set up WPA2 Personal (AES) passwords for each of your access points. You may later need to go back to basic settings and fiddle with certain things. Specifically, you may need to define the regulatory domain for your access points – you’ll find the appropriate options by checking the ‘advanced settings’ box under each SSID.
5. All the tools
A quick poke around the DD-WRT interface (check the ‘services’ section, in particular) shows that it has tons of features on board by default. There’s a firewall, various VPN options, all the tools you need to use your router as a NAS, adblocking, a webserver – the list keeps going, and you’ll find specific documentation for each element on the wiki. There’s probably far more here than your router’s default firmware could manage.
But there’s more to play with besides, as we’ll discover by connecting to DD-WRT’s Linux shell. Windows users should grab PuTTY to get connected; Linux and macOS users can just use their terminal app.
We’re using macOS vintaqge terminal app Cathode, simply because it’s unbelievably pretty.
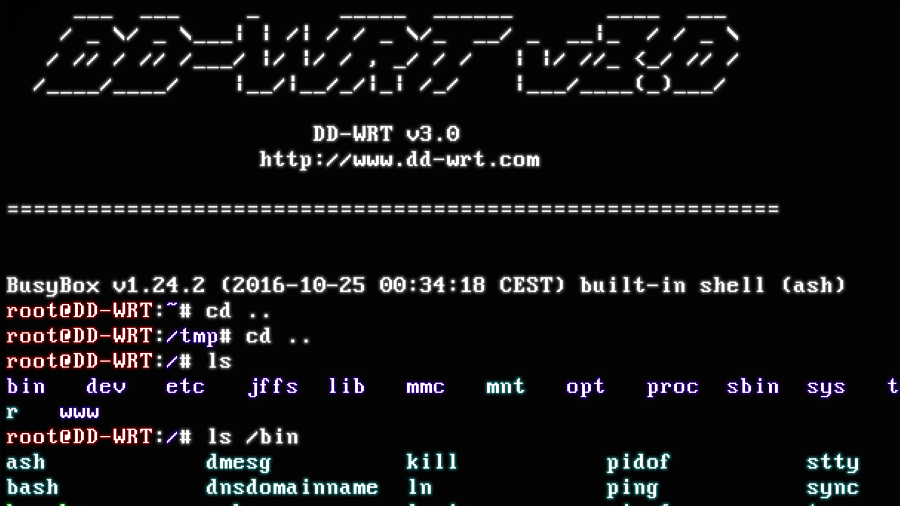
Once you have the appropriate software, connect via Telnet to your router’s address – on the command line, this is as simple as typing, for example, ‘telnet 192.168.1.1’. Log in with the username ‘root’ and the password you set earlier on.
6. Take command
You’re now in a Linux shell, sort of; it’s a cut-down, condensed Linux shell, running ‘ash’ (which stands for 'Another SHell') on top of BusyBox, which compresses common Linux commands into a smaller space.
You can poke around with it using all the shell commands you’re used to – if you don’t already know your way around, our how to use Linux Commands is a great starting point.
Having access to the console might seem a little useless when there’s a perfectly capable web interface on offer, but there are a couple of things it’s well suited to doing.
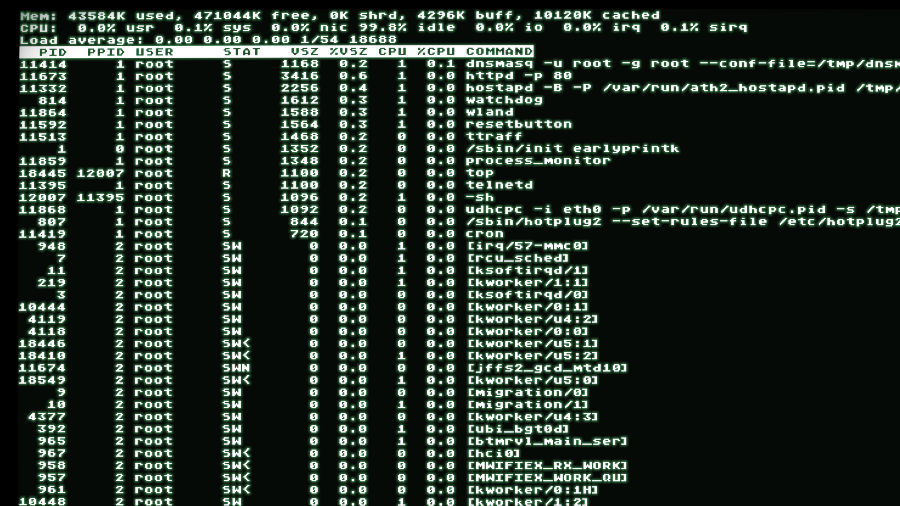
Try running ‘top’ to see the individual elements and threads being run on your router at any one time, for instance. And direct access to your router can be massively useful for diagnosing network issues later on – you can use the ‘ping’ and ‘traceroute’ commands to test connectivity with the web or individual devices in your home.
7. What next?
There are so many avenues to explore that it may be a bit overwhelming to know which way to turn with a DD-WRT installation. Indeed, beyond making sure your basic networking functions work, there’s no clearly defined path.
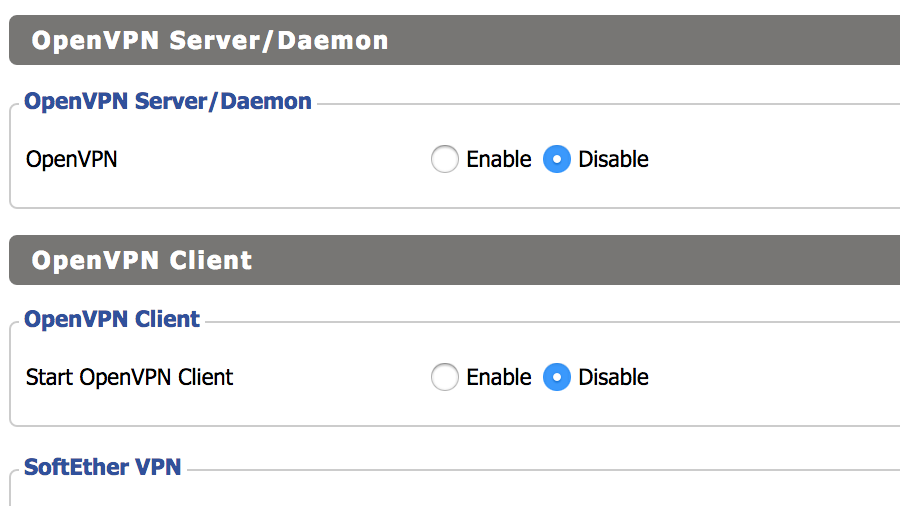
Consider setting up OpenVPN, so you can connect to your home network safely and privately from wherever you happen to be – it’s finicky, but worth doing. You could also, if your DD-WRT router is a secondary device, set it up as a repeater bridge to extend your wireless network efficiently over a long distance.
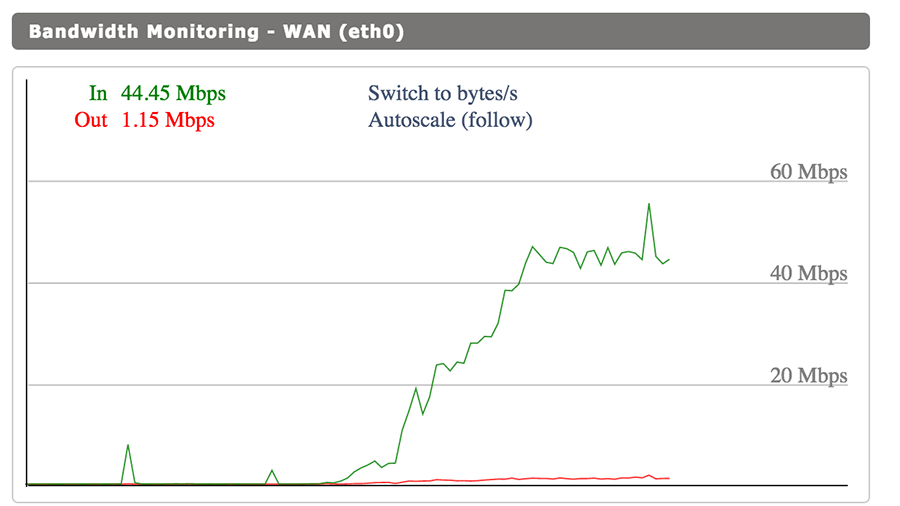
Even if you don’t add on any extra features, keep an eye on your bandwidth and signal strengths within the web interface – even if it’s only your family whose access you’re managing, you’ll likely be able to spot the culprits when everything slows to a crawl...
Sign up for breaking news, reviews, opinion, top tech deals, and more.
You are now subscribed
Your newsletter sign-up was successful