Introduction
We’re all very busy, aren’t we? We’re overwhelmed with social media, with personal email, with work email, with all those backups and cloud storage and essential online services that make our increasingly web-based lives what they are. So what if there was a way to tie them all together?
Well, there is. IFTTT and Zapier are automation tools that can tie together and pass data between your social media accounts, your cloud storage, your email and beyond, whether you’re using mainstream services or more hardcore business software.
You can even automate tasks based on the state or location of particular hardware, and vice versa.
1. If this…
IFTTT is the most user-friendly task automator around, allowing you to link over 400 services and internet-connected devices using its super-simple (and easily tweakable) applet system.
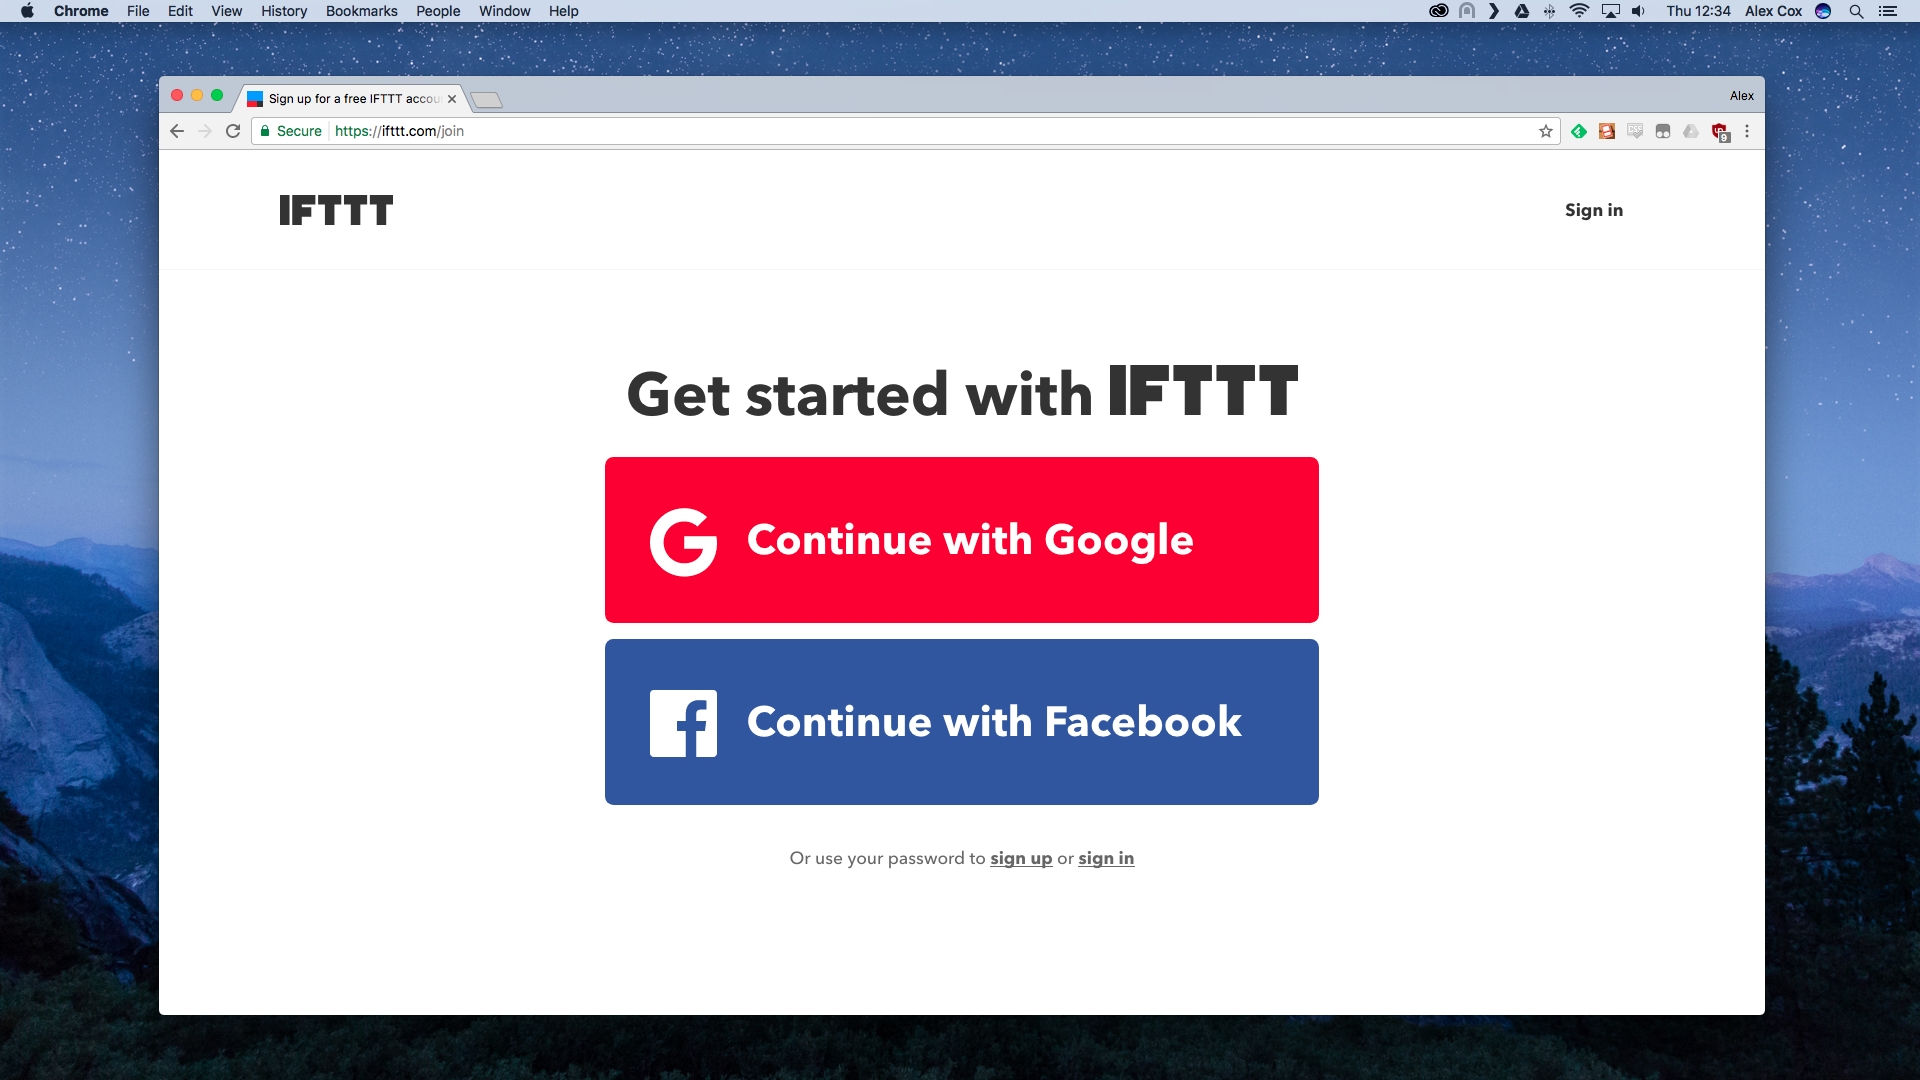
Head over to ifttt.com to sign up. You can do it using your existing Google or Facebook accounts – which seems to be the site’s preferred method, and you’ll likely be using them with IFTTT eventually anyway – or click the grey ‘sign up’ link below to create a unique username and password.
Once you’re logged in, it’s also worth grabbing the mobile app from the iOS App Store or Google Play.
2 ...then that
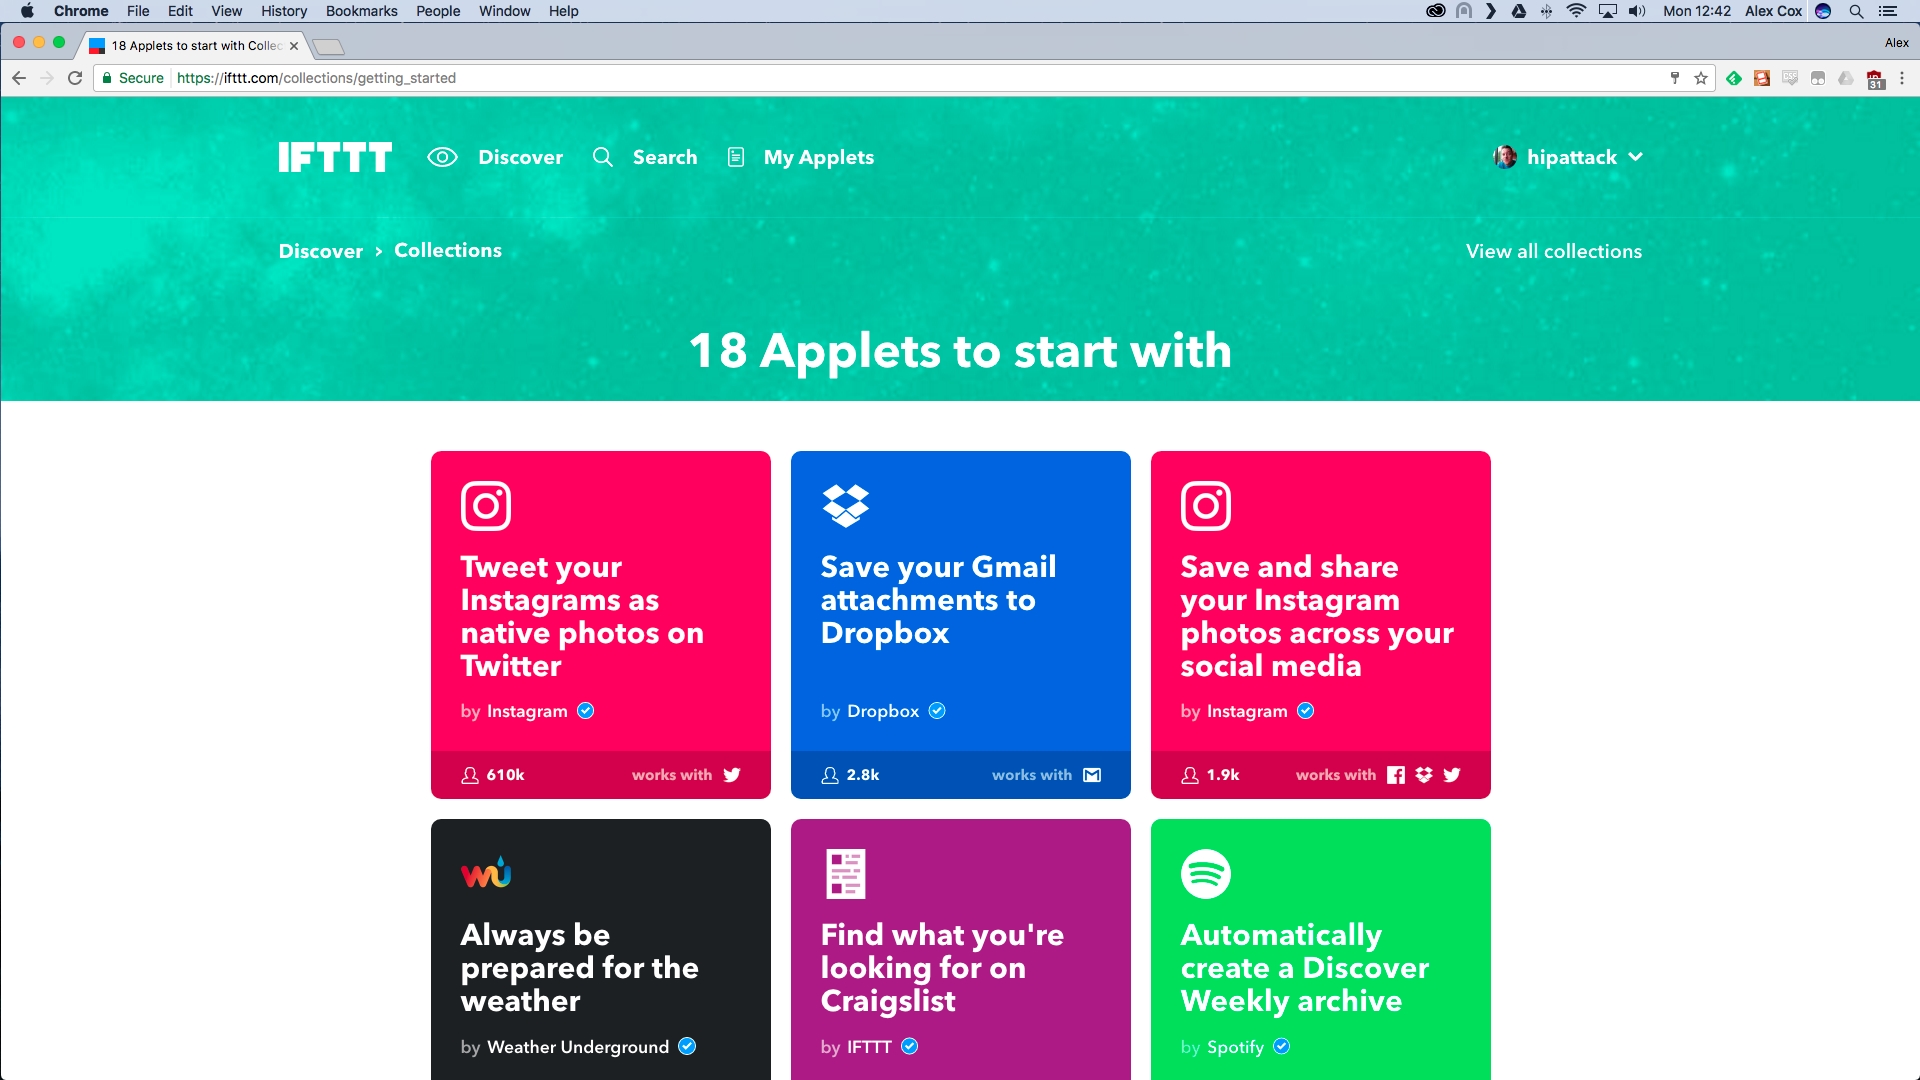
Hit the 'Discover' link at the top of the interface to see a few applets IFTTT thinks you’d like. Click the arrow to the right of the upper carousel until you see ‘18 applets to start with’, and click the central image to see a broad idea of the kind of things IFTTT can do.
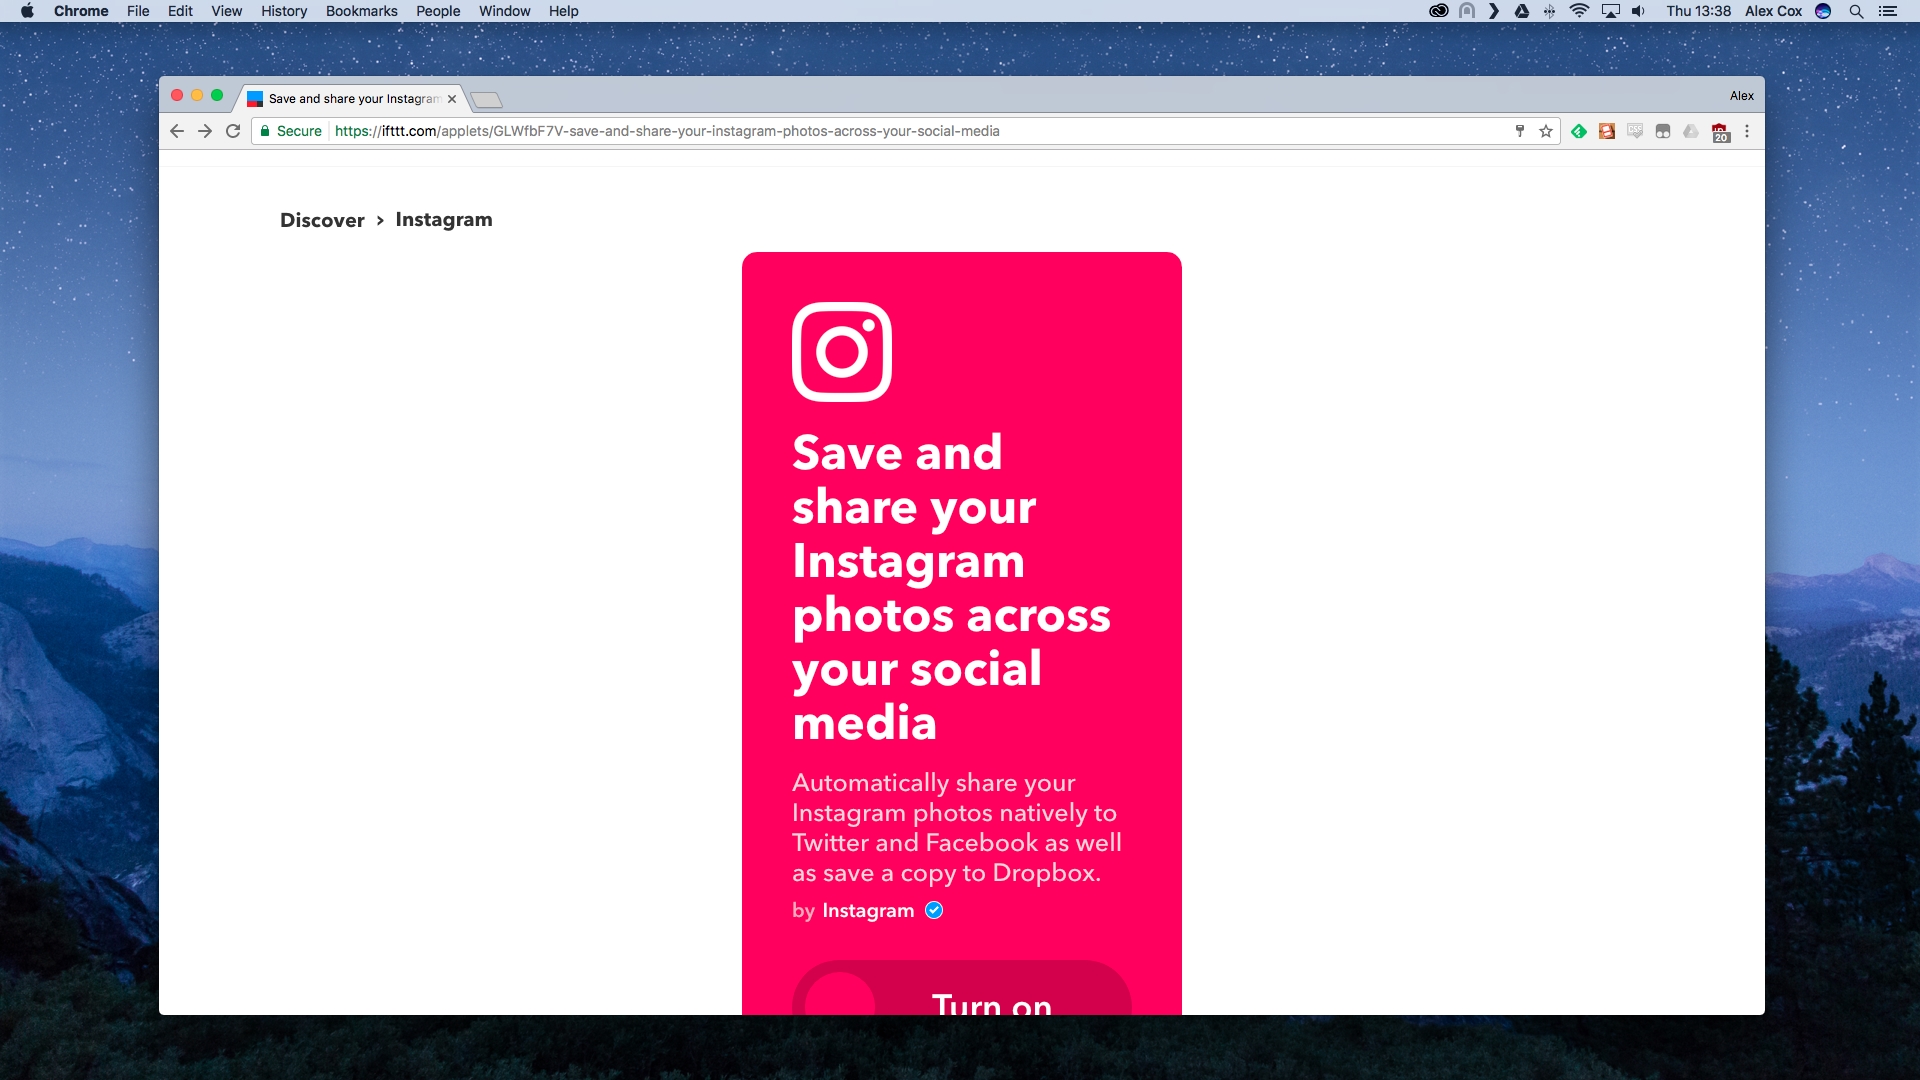
Let’s see one of its most basic functions. Click ‘save and share your Instagram photos across your social media’, then click the ‘Turn on’ switch and grant it permission to access your Instagram account.
You’ll probably also need to grant it access to Dropbox, your Twitter account, and (if you didn’t sign in with it earlier) your Facebook account.
3. See the results
You don’t actually need to do any more. Once IFTTT has its hooks into your accounts and your permission to perform an action, it’ll perform it seamlessly without any further interaction from you.
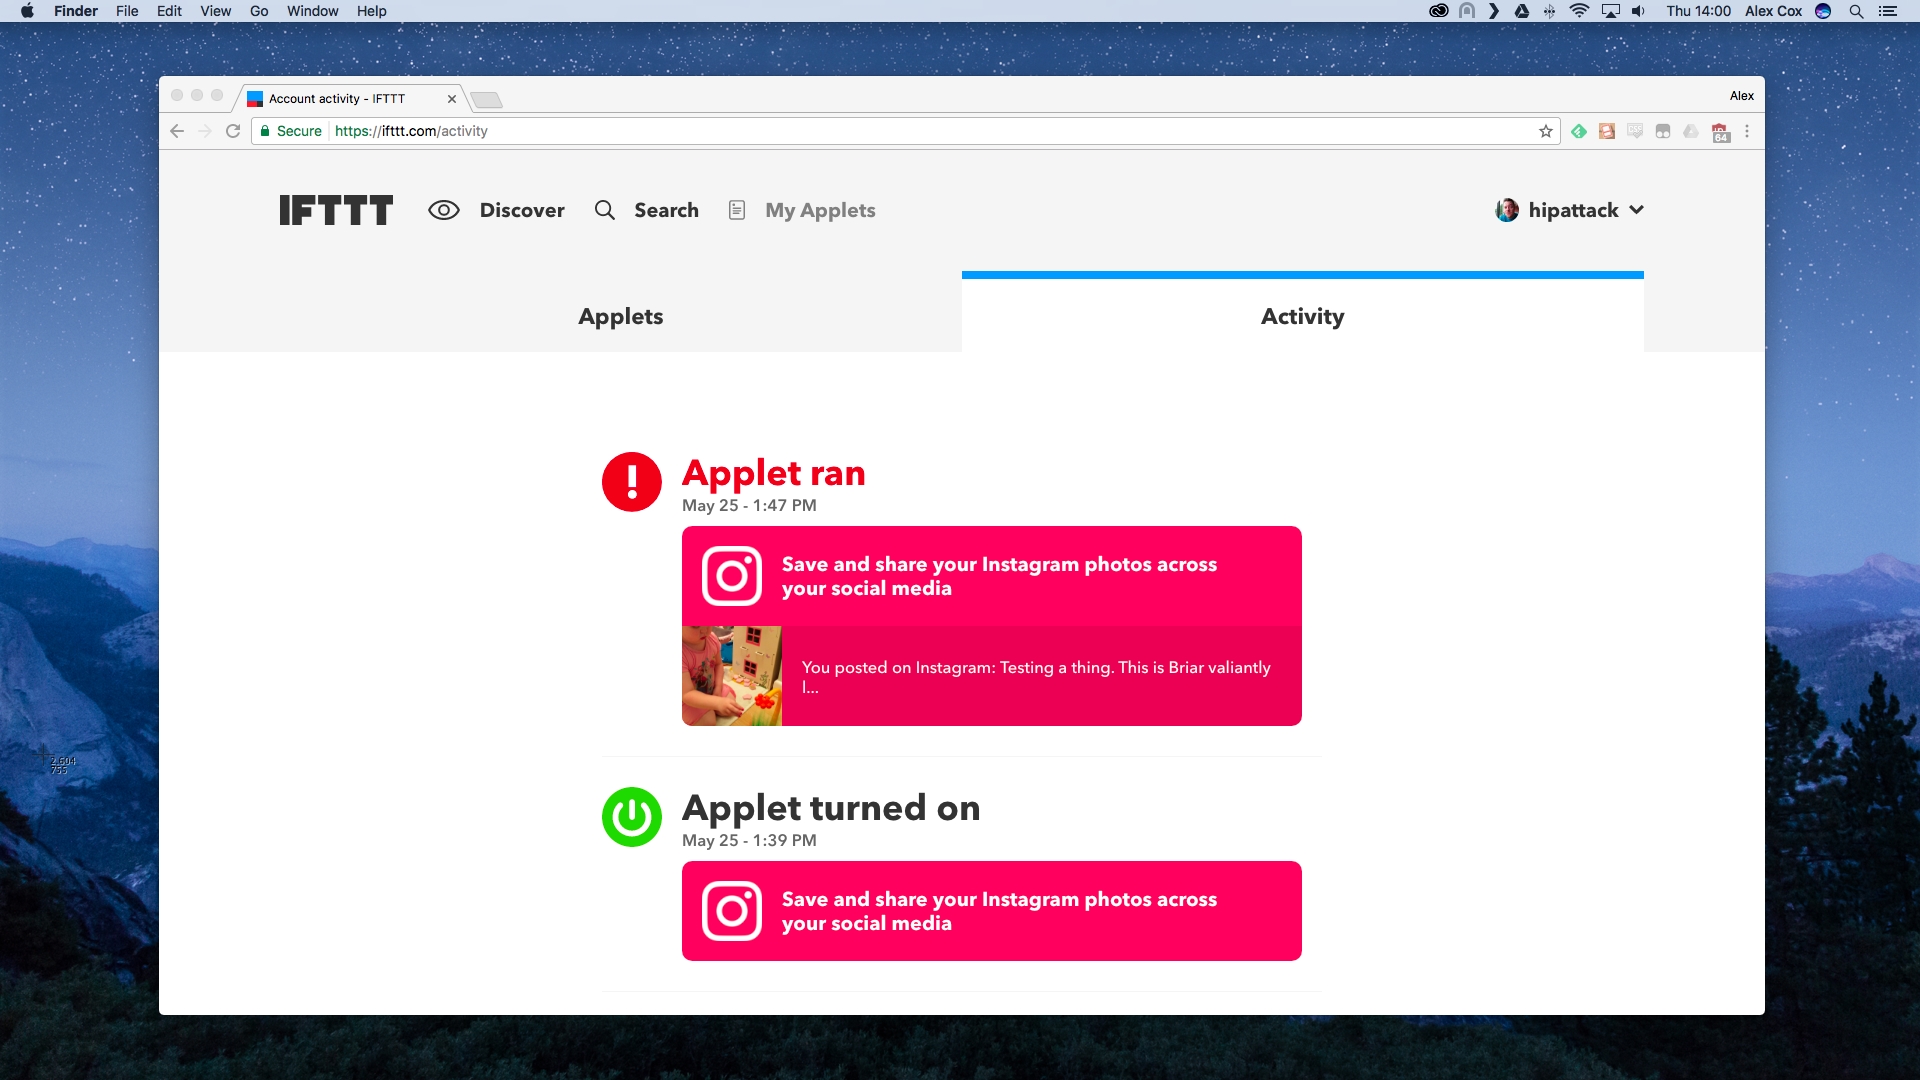
Go ahead and make an Instagram post, then click ‘My Applets’ at the top of the screen and click Activity towards the top right to see a record of the trigger. You’ll find your photo (and any comments you added) cloned on Twitter and Facebook, and a copy saved in your Dropbox, too.
Click any of the activities, or head to the applets window and click the applet itself, then hit the big switch to turn it off.
4. Create your own
While there are pre-made Applets which cover just about every possible app connection (use the 'Search' link to hunt for exactly what you want to do) there’s nothing better than building your own ‘if this, then that’ connection. It’s what the service is built on and named for, after all.
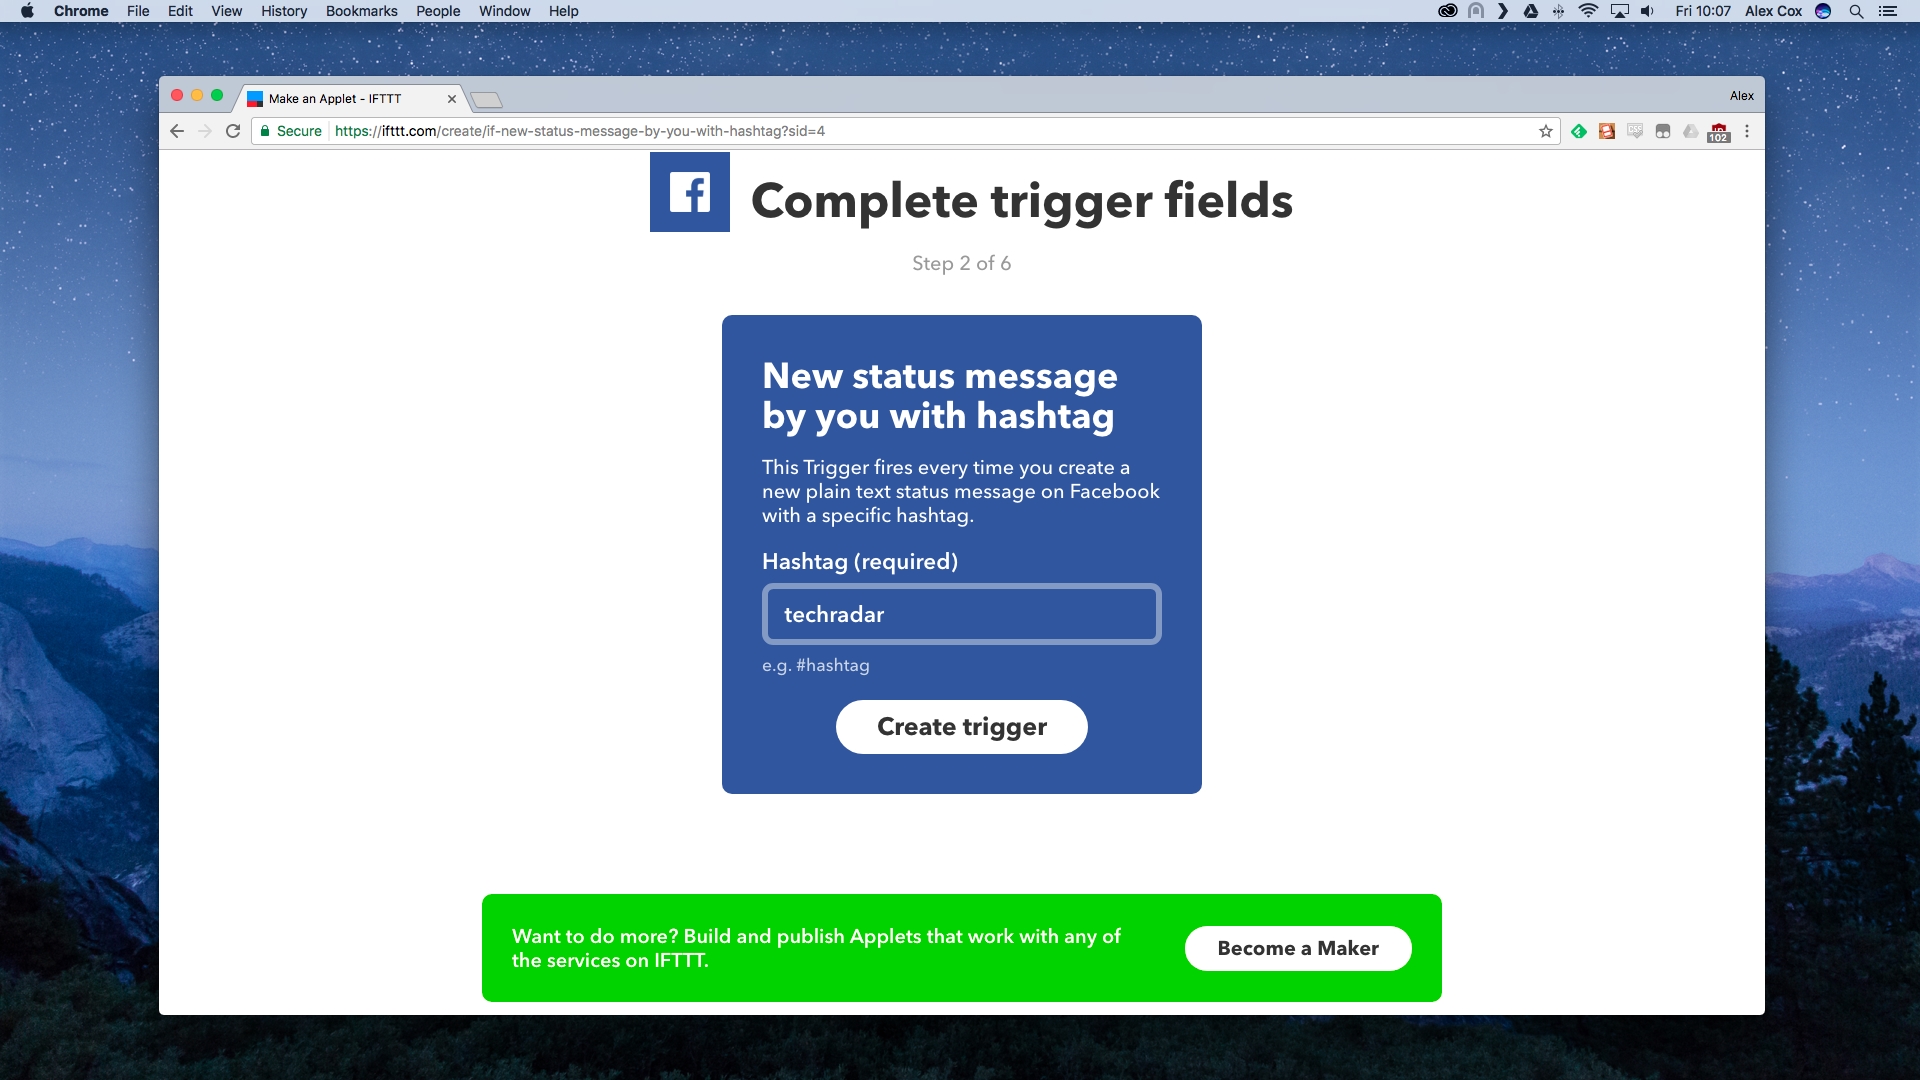
Head to Applets, then click ‘New Applet’. Click the ‘+this’ button to set your trigger; for our example we’ll select Facebook, and ‘New status message by you with hashtag’. This will, predictably, allow us to trigger an action when we use a custom-defined hashtag – click ‘Create trigger’ once you’ve added it.
5. Pick the that
So, what to do when we post with a hashtag? You could choose just about anything, from activating a smart device like Philips Hue lighting or cross-posting somewhere else.
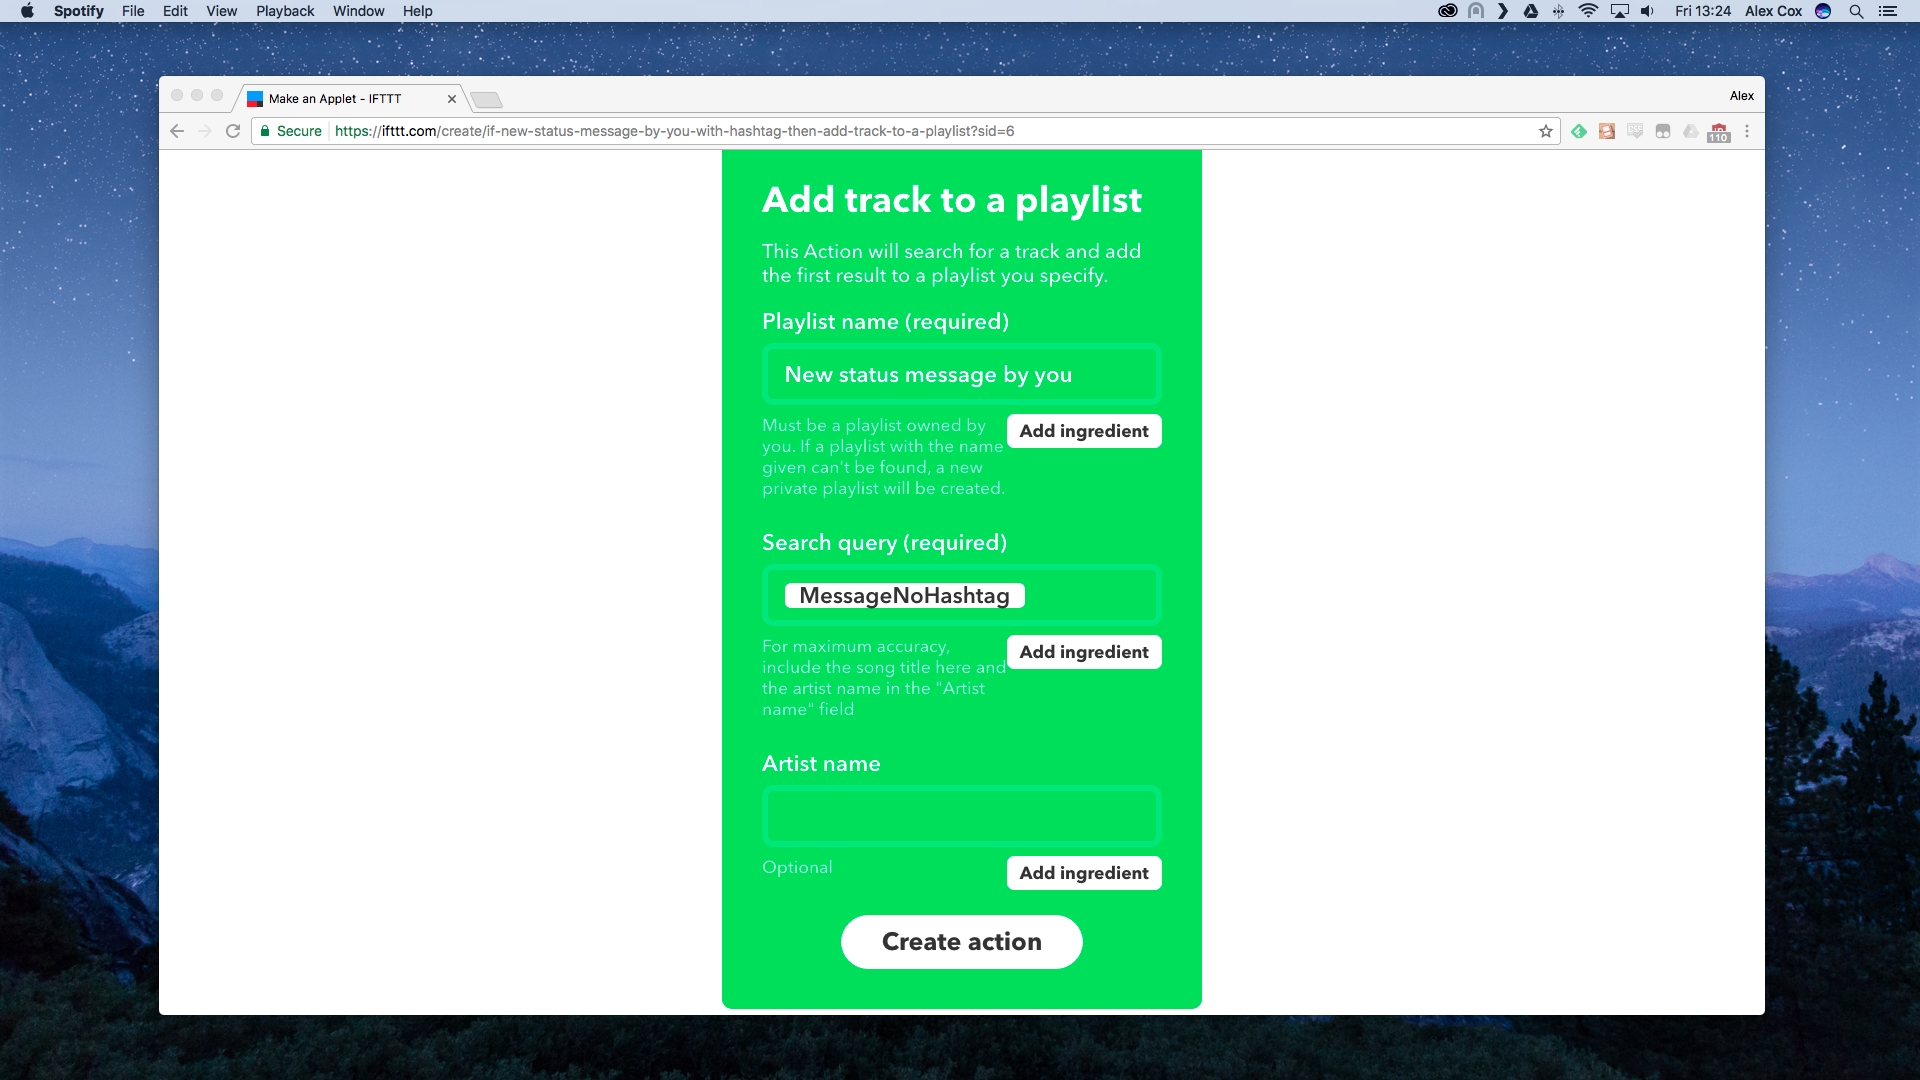
We’ll use the trick to save a track on Spotify, using one of the built-in actions of that service – perhaps this isn’t what your Facebook friends want to see, but that’s not our problem.
There are few bits you could fill in – use the Add Ingredient buttons to select the specific bit of data the Spotify element pulls in from Facebook – but if you leave this at its default value, a Facebook post like ‘Frank Zappa Peaches En Regalia #playlistme’ will (if that’s the hashtag you chose) search Spotify for the appropriate value and add it to the playlist named in the top box.
6. Making waves
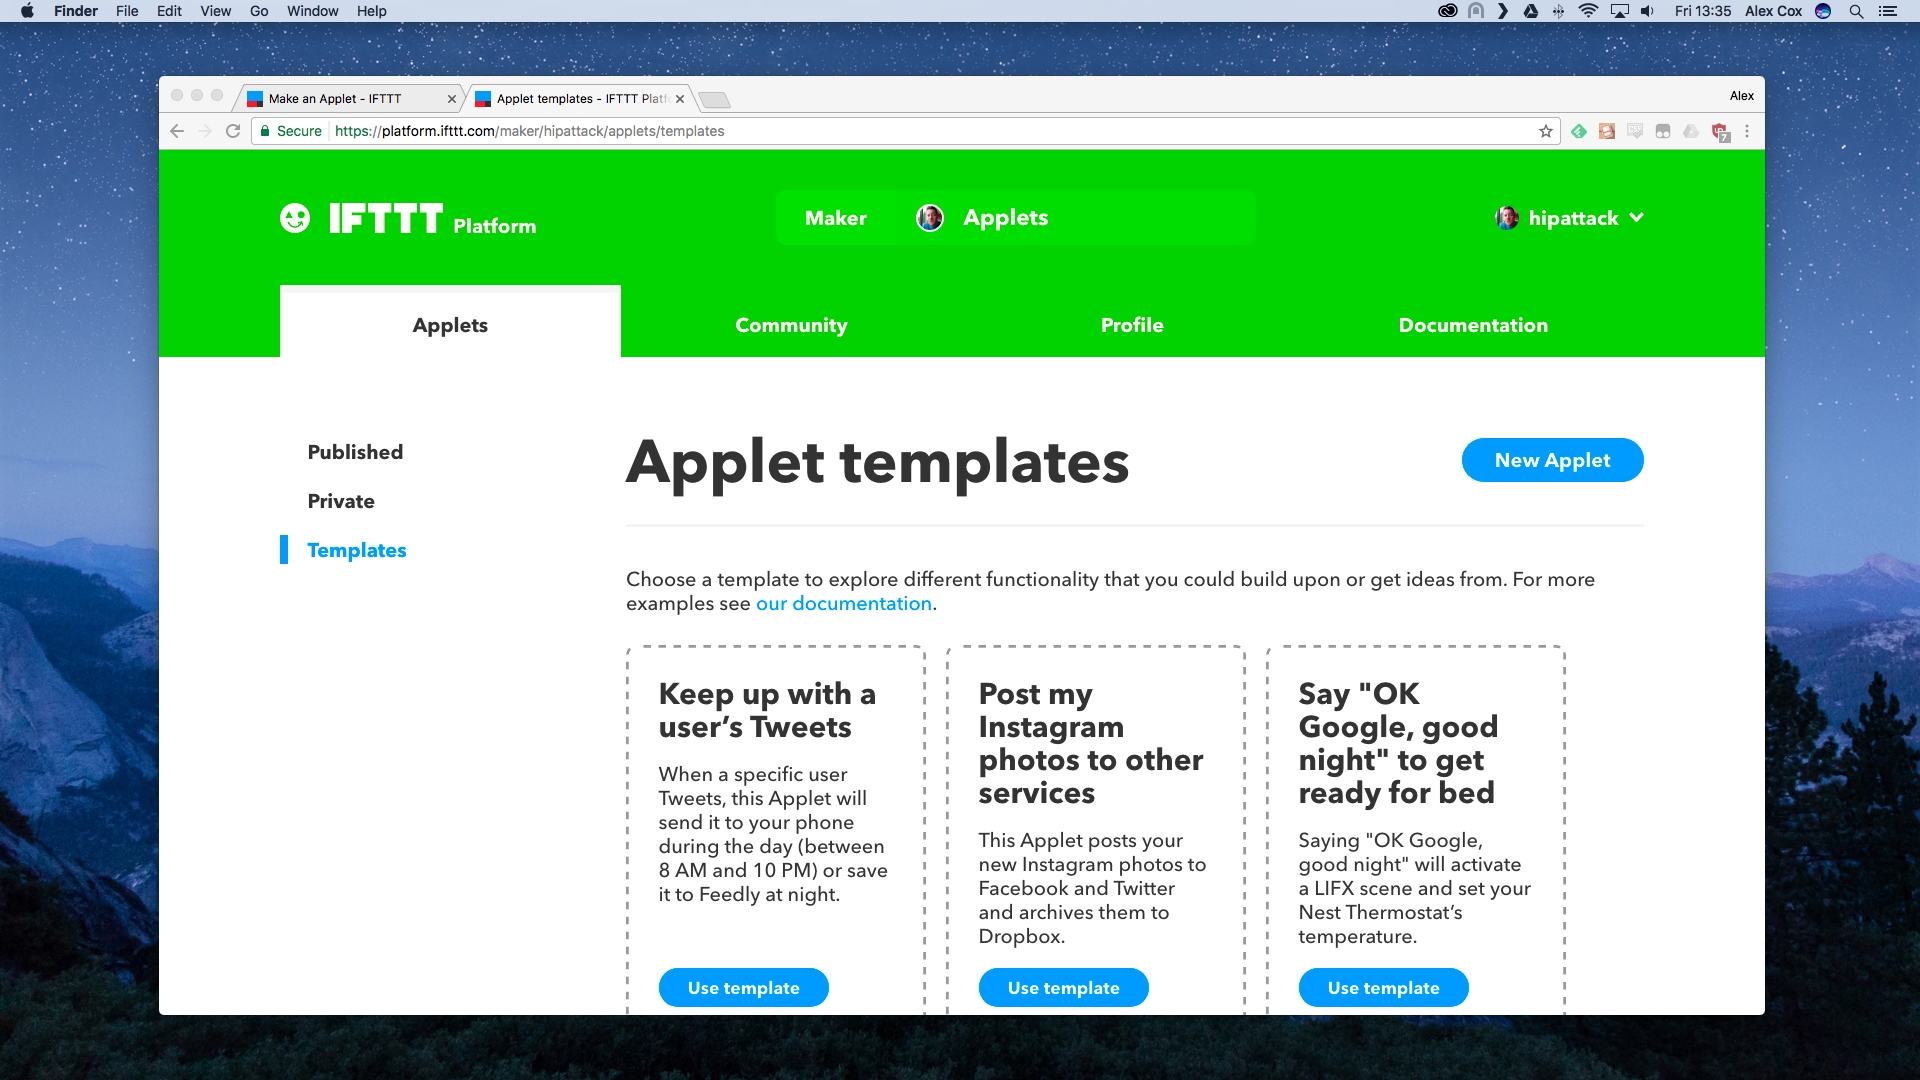
If you have an idea for a connection which goes beyond the basic functions presented by IFTTT, or if you want to perform complex actions outside of the basic if this then that structure, you can become one of the site’s ‘makers’.
It’s a service that’s only recently launched, and while you’ll need a bit of programming knowledge to make the most of it, it’s free to experiment with for basic end-users.
Head to the Get Started webpage, allow IFTTT to pull in a little data about you from one of your social accounts, and you’re ready to go; check the documentation link to start getting your head around its complexities.
7. Get serious
Zapier does the same thing, although we wouldn’t say it’s a competitor to IFTTT – it sits in a different niche, takes itself a little more seriously, and pushes connections between some heavyweight business-class apps. That said, its 750 potential connections also hook into a few more consumer-level apps than IFTTT, so it’s worth checking out as an alternative.
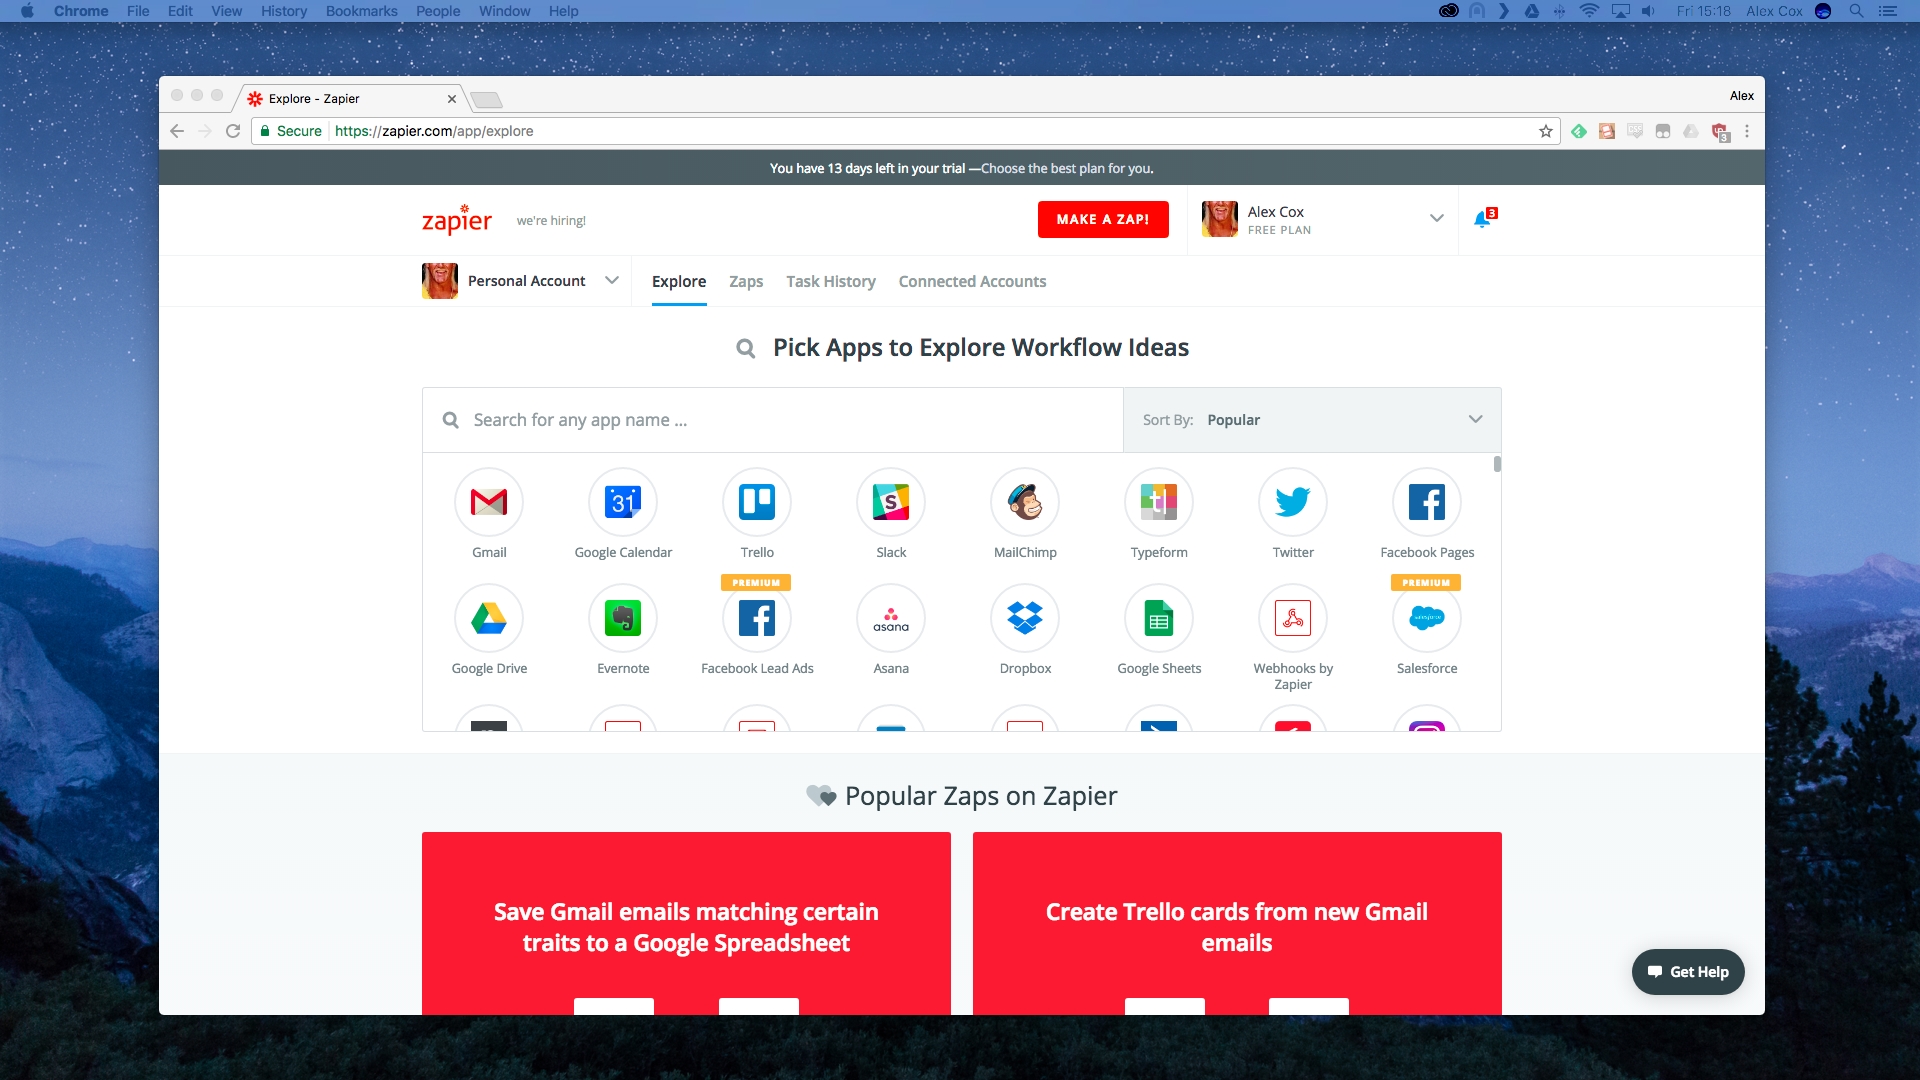
Head to zapier.com and sign up. You’ll automatically be enrolled on a free trial with unlimited zaps, although be carfeul not to overload it as the basic free plan supports five at a time, and 100 activations of them per month.
Use its search box to hunt for apps, or scroll down a little to see popular pre-made connections.
8. Link up
Let’s create a very simple to-do list. Search for Gmail or click the icon on Zapier’s front page, then search for or select Google Sheets. Zaps which contain the two are listed below – select ‘Use this zap’ under ‘Save Gmail emails matching certain traits to a Google Spreadsheet’.
You’ll be given a quick explanation of what the zap does. In this case, it matches a certain rule (a particular sender or subject line, for example) and then adds them to a new row in a Google spreadsheet you specify. Click ‘Create this Zap’, then continue, and connect your Google account to the service.
Now fill in the search string. Send yourself an email which matches, if one isn’t already in your inbox, and hit ‘Fetch & continue’ to allow Zapier to scrape your inbox.
Hit continue once it’s found what it’s looking for, then Continue again to set up your Google Sheets action. Follow the instructions to create a new spreadsheet, click continue, then connect your account again to give Zapier Google Drive privileges.
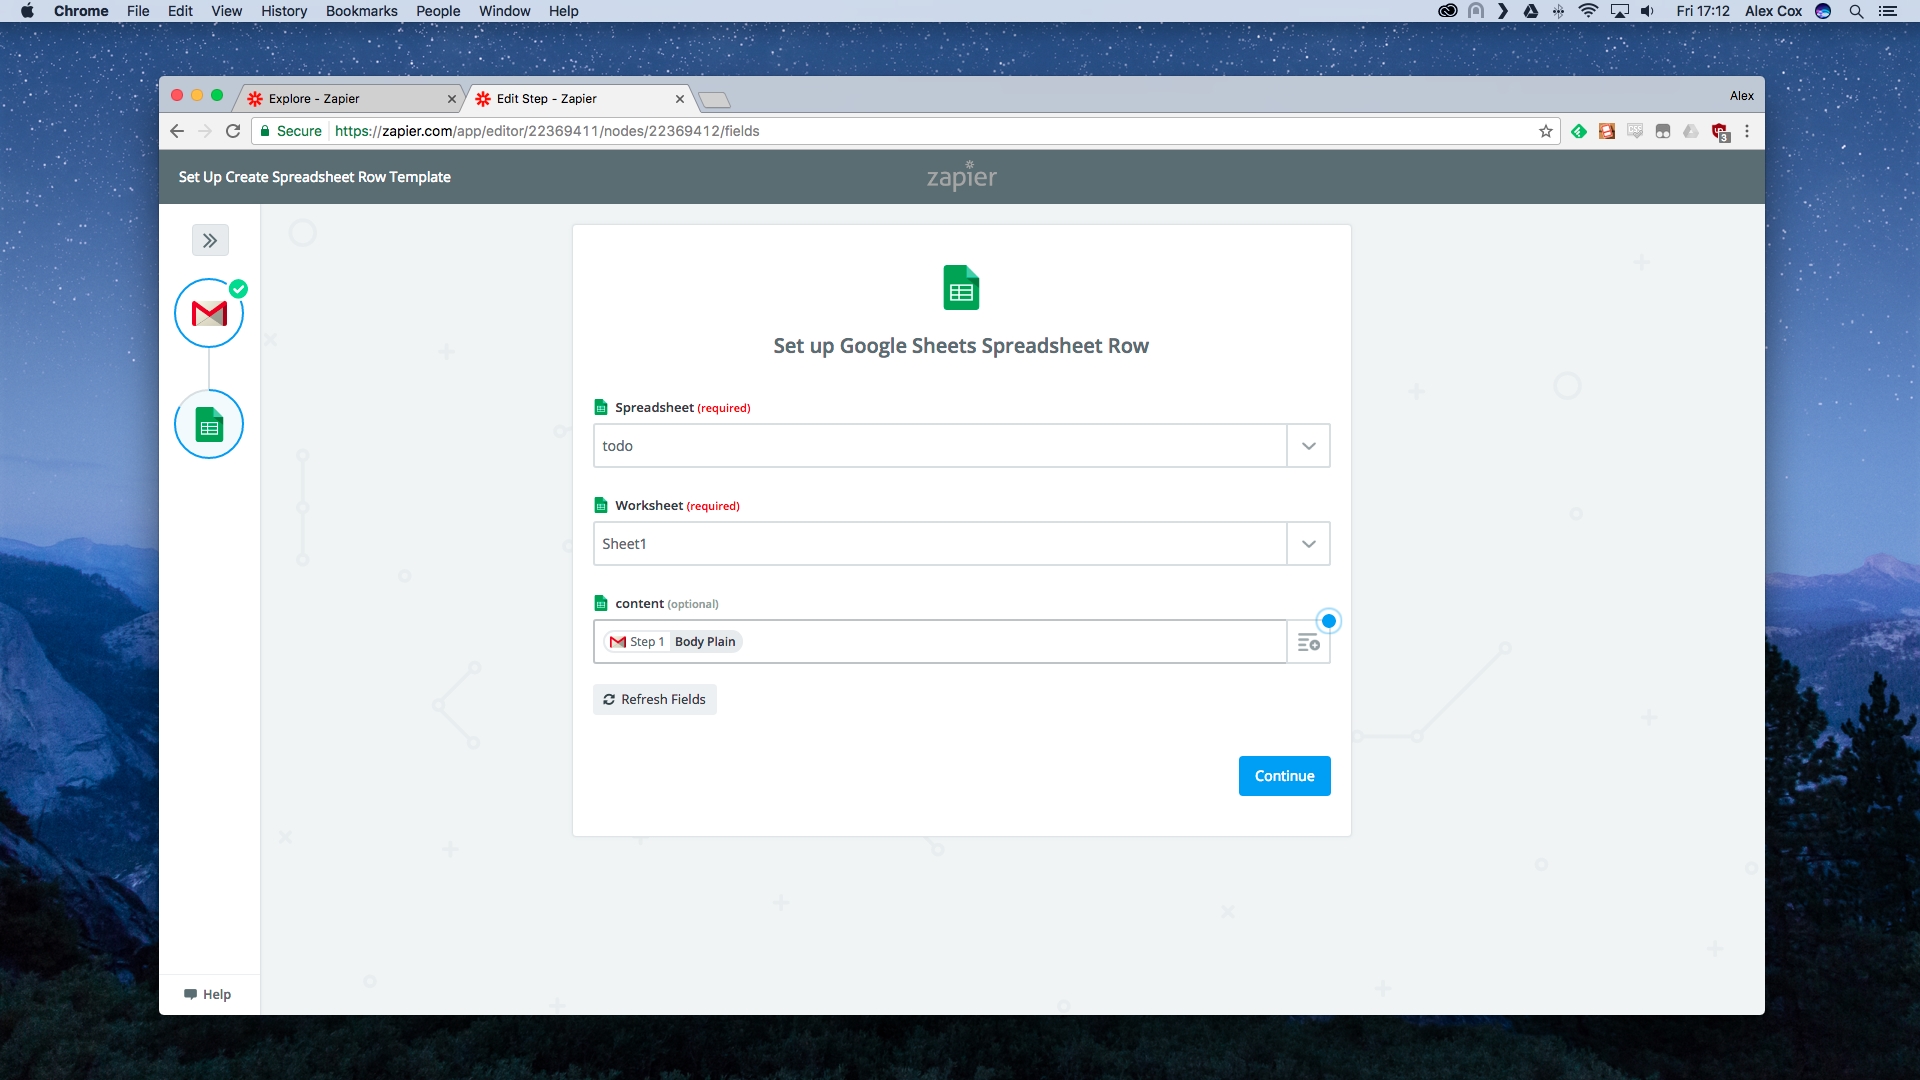
Click ‘Save + continue’, then point Zapier at the spreadsheet, worksheet, and particular columns you want to include. You can pull in a number of data points from the Gmail message – precisely what you include is up to you.
Click Continue, and you’ll see what Zapier will pull in from each email which matches your search string. Click ‘Create & Continue’, and check your spreadsheet – the content will have been automatically added. Click Finish, and you’re done.