How to live stream from your Linux desktop
Nick Peers reveals how to create a multi-screen live stream with the help of OBS Studio.
Stream through OBS Studio
Step 1: Start your broadcast

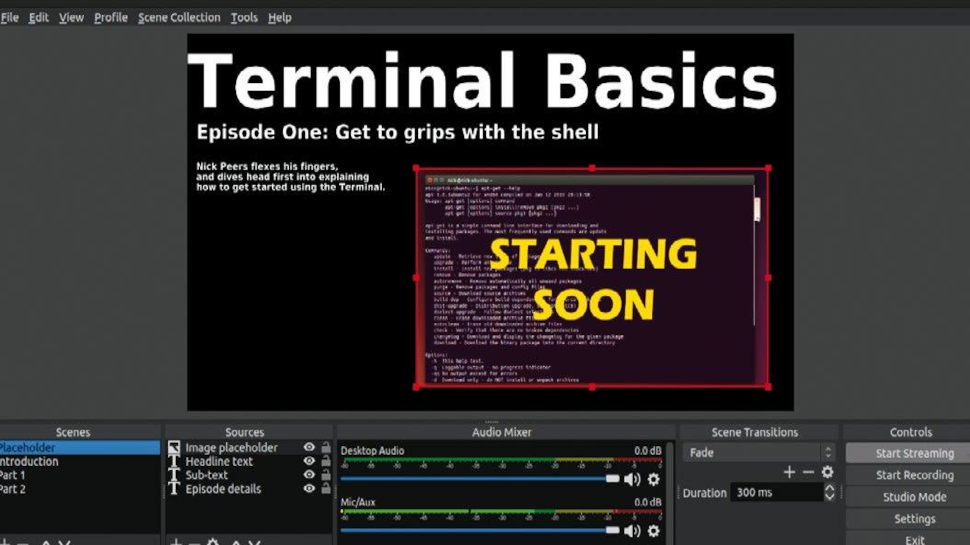
Select your first Scene – perhaps a placeholder telling your audience that you’ll be starting shortly – and click the Start Streaming button. You should see a green square appear beneath the Exit button indicating the stream has started (log into your online video service to verify the stream appears online – look under Your Videos in YouTube, for example).
Step 2: Switch to Studio View

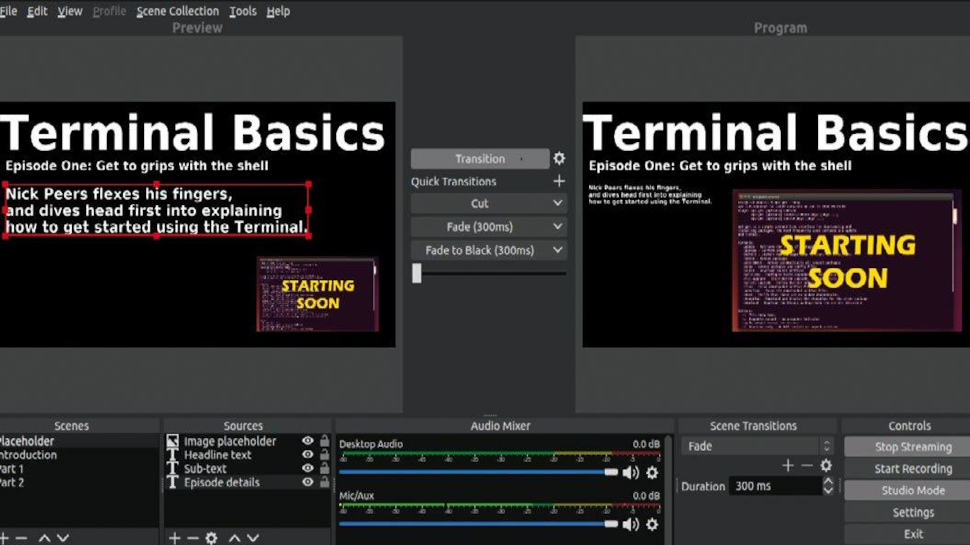
You can control the stream from the main window, but click Studio Mode and you’ll gain additional controls, such as being able to edit a scene without affecting your main stream. The Program window is what your audience sees, while any edits you perform are visible in the left-hand Preview window. Until you click Transition, your changes won’t be applied to the main feed.
Step 3: Apply transitions on the fly

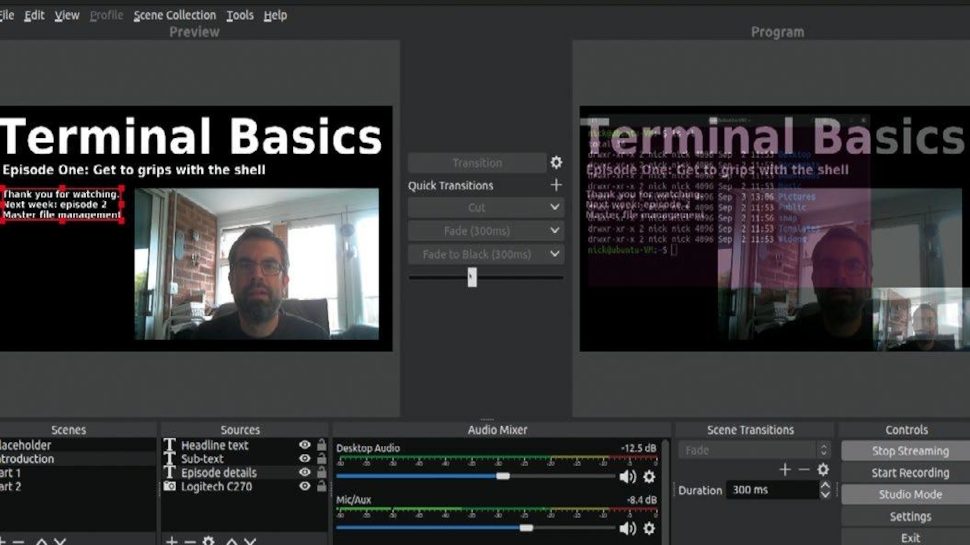
Studio View also makes it easy to apply different transition effects as you move between scenes. You’ll see Fade and Fade to Black options that quickly hide the screen (and bring it back into view when you click again), while any previously defined transitions appear here too as options for custom transitions. Use the bottom slider to lay the scene on the left over that on the right.
Step 4: End your stream

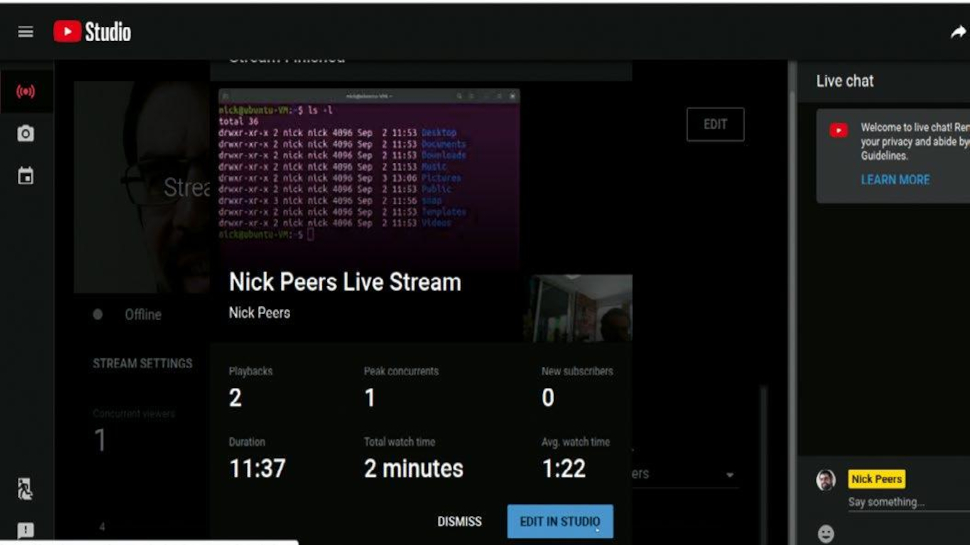
Once you’ve finished your stream, click Stop Streaming. Switch to your online account for additional options – for example, YouTube saves your video, which can be edited further using its own online YouTube Studio editor, then shared online as a regular video for those who missed the broadcast. You can also download the video to store on your PC or edit further.
Switch scenes automatically
It’s relatively simple to switch scenes manually during your live stream, but you can configure OBS Studio to automatically switch scenes depending on which program windows you select too – perfect if your stream involves a screen-sharing demonstration spanning multiple applications or displays.
One obvious case use is gamers wishing to demonstrate a game that has multiple executables.
First, make sure all the program windows you need are open, then set up your scenes – one for each program or program window.
Are you a pro? Subscribe to our newsletter
Sign up to the TechRadar Pro newsletter to get all the top news, opinion, features and guidance your business needs to succeed!
Once done, select Tools>Automatic Scene Switcher. At the top, select the program window you want to use as your ‘trigger’ in the left-hand drop-down, and the scene you wish to switch to when it’s triggered from the right-hand menu, then click + to add it to the scene switcher.
Add entries for each application you wish to automatically switch to when it’s the active window, then examine the settings beneath the +/- buttons to instruct OBS Studio what to do when the none of the configured windows are active – choose ‘Switch to’ and select another scene to move to (say a full-screen view of your webcam).
Finally, click Start and then test your settings by clicking each program window to make it the focus – you should see the scene update to reflect each choice.