How to make any webcam look better
Cheap or Pro, every webcam needs help looking its best

It's difficult to find the best webcams right now, with the huge surge in demand causing shortages of equipment needed to work effectively from home. With the more expensive options depleted, you may have opted to buy a cheap webcam from Amazon or eBay to get the job done – only to find the quality is terrible when you plug it in.
Built-in laptop webcams are also hardly known for being impressive bits of hardware either, but if you've found yourself stuck using a lackluster camera that's not on par with the best Logitech webcams, then don't despair. There are steps you can take to massively improve the quality of your broadcast, and many of these options are completely free.
- Here's our list of the best business webcams currently on the market
- This is everything you'll need to start streaming
- Should you buy a Logitech webcam?
1. Adjust your settings

Changing your webcam settings may feel like an obvious solution, but both Windows and Mac devices actually make this a lot harder than it should be. Windows-based PCs and laptops come with a preinstalled app that can be found by simply searching for 'camera' in the lower-left search bar of your desktop, but the changes that you can make on this are restricted to adjusting your camera resolution and enabling anti-flicker features.
It's still important to understand that these changes can also have an impact of course. When plugging in your webcam for the first time, it should default to the highest available resolution, with the standard options being 720p or 1080p. The resolution of your webcam should be clearly displayed on the product box, alongside the maximum achievable frames-per-second (or FPS) that the camera can capture.
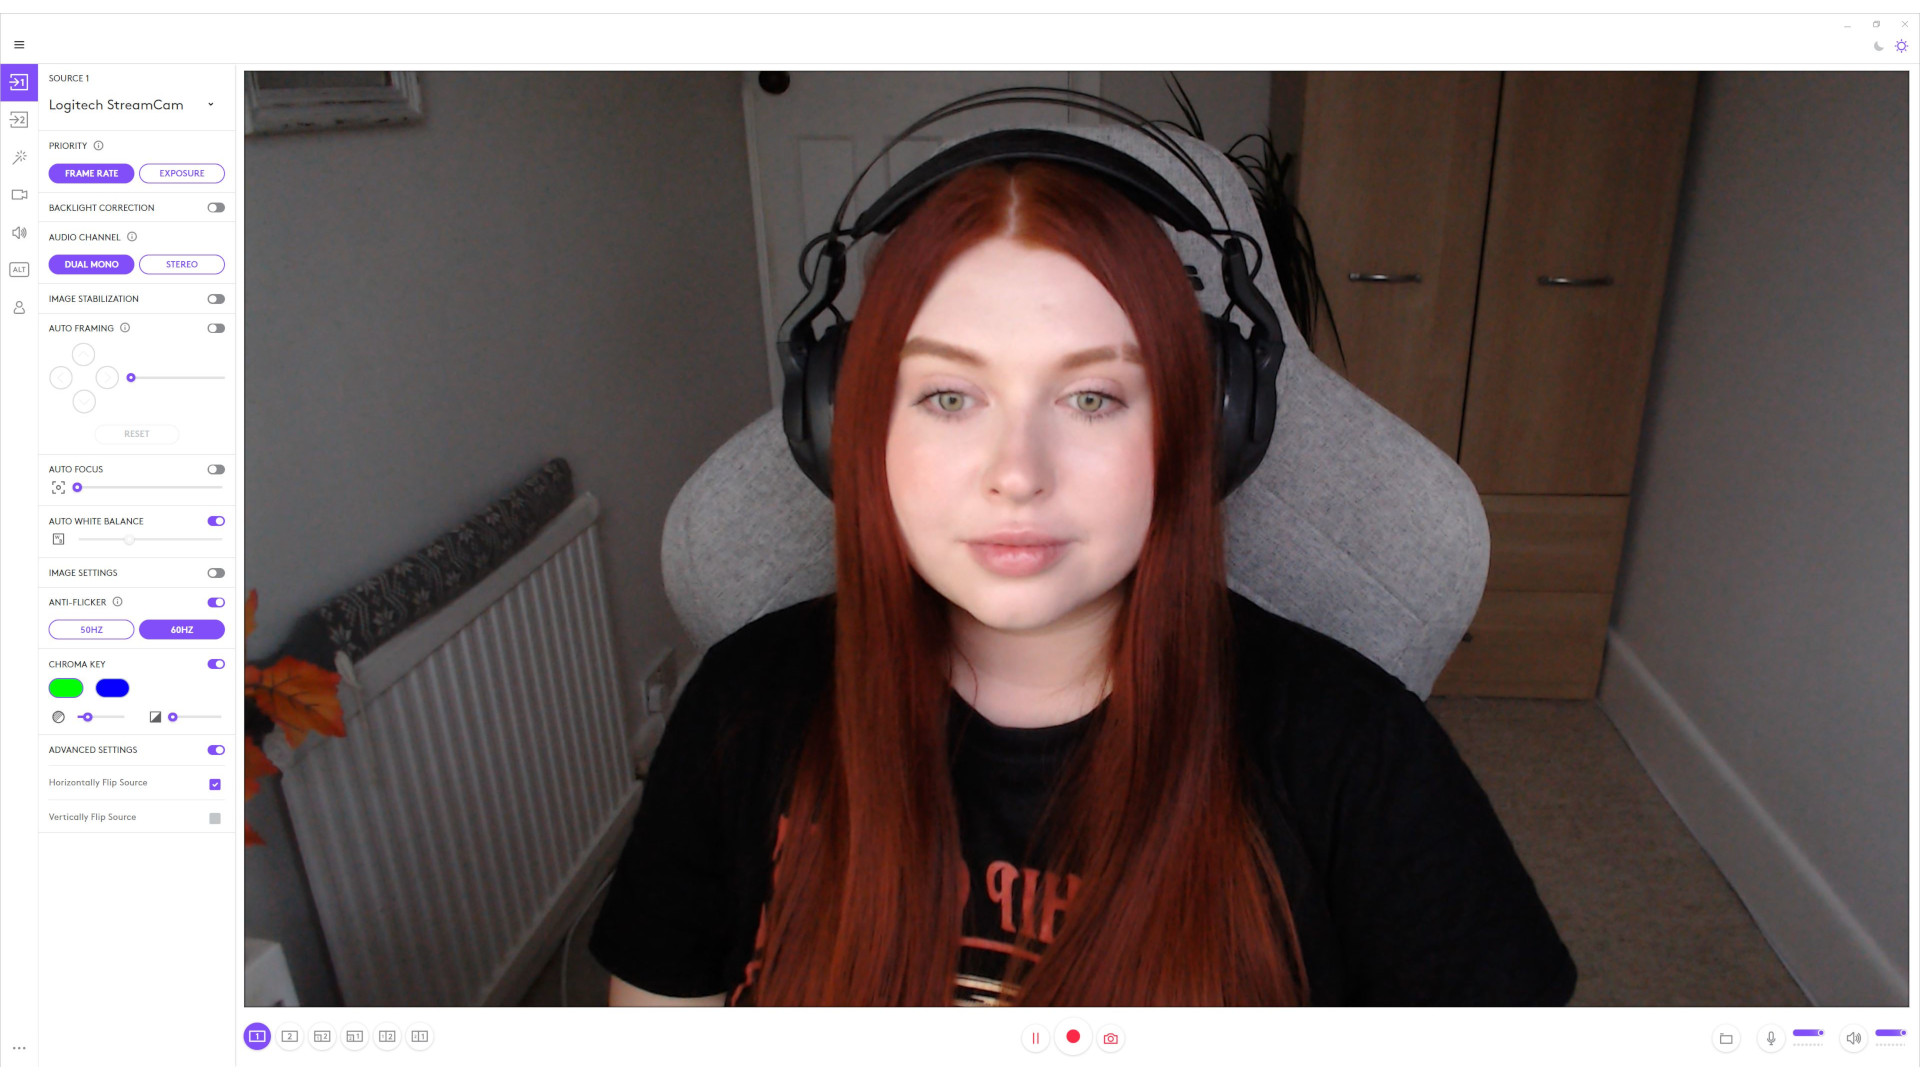
Generally speaking, your FPS is more important than your resolution when you get over 720p as it affects how smooth your video quality looks. Even a HD broadcast will look terrible if the footage stutters on the screen, so make sure your webcam is set to the highest FPS if the option is available.
Sadly there is no preinstalled camera app for Mac users, but that doesn't mean you can't alter your settings. In fact, both Windows and Mac users would benefit from using downloadable programs to improve the default camera footage.
Some webcams will come with their own software, such as Logitech Capture for Logitech webcams, CamEngine for AverMedia or even Synapse for Razer webcam devices. All of these programs will allow you to change things like the hue, brightness, and contrast of your webcam footage to better compliment your environment, and optimizing your video in this way will improve your overall result.
Of course, not all webcams have free software – but there are other free options available.
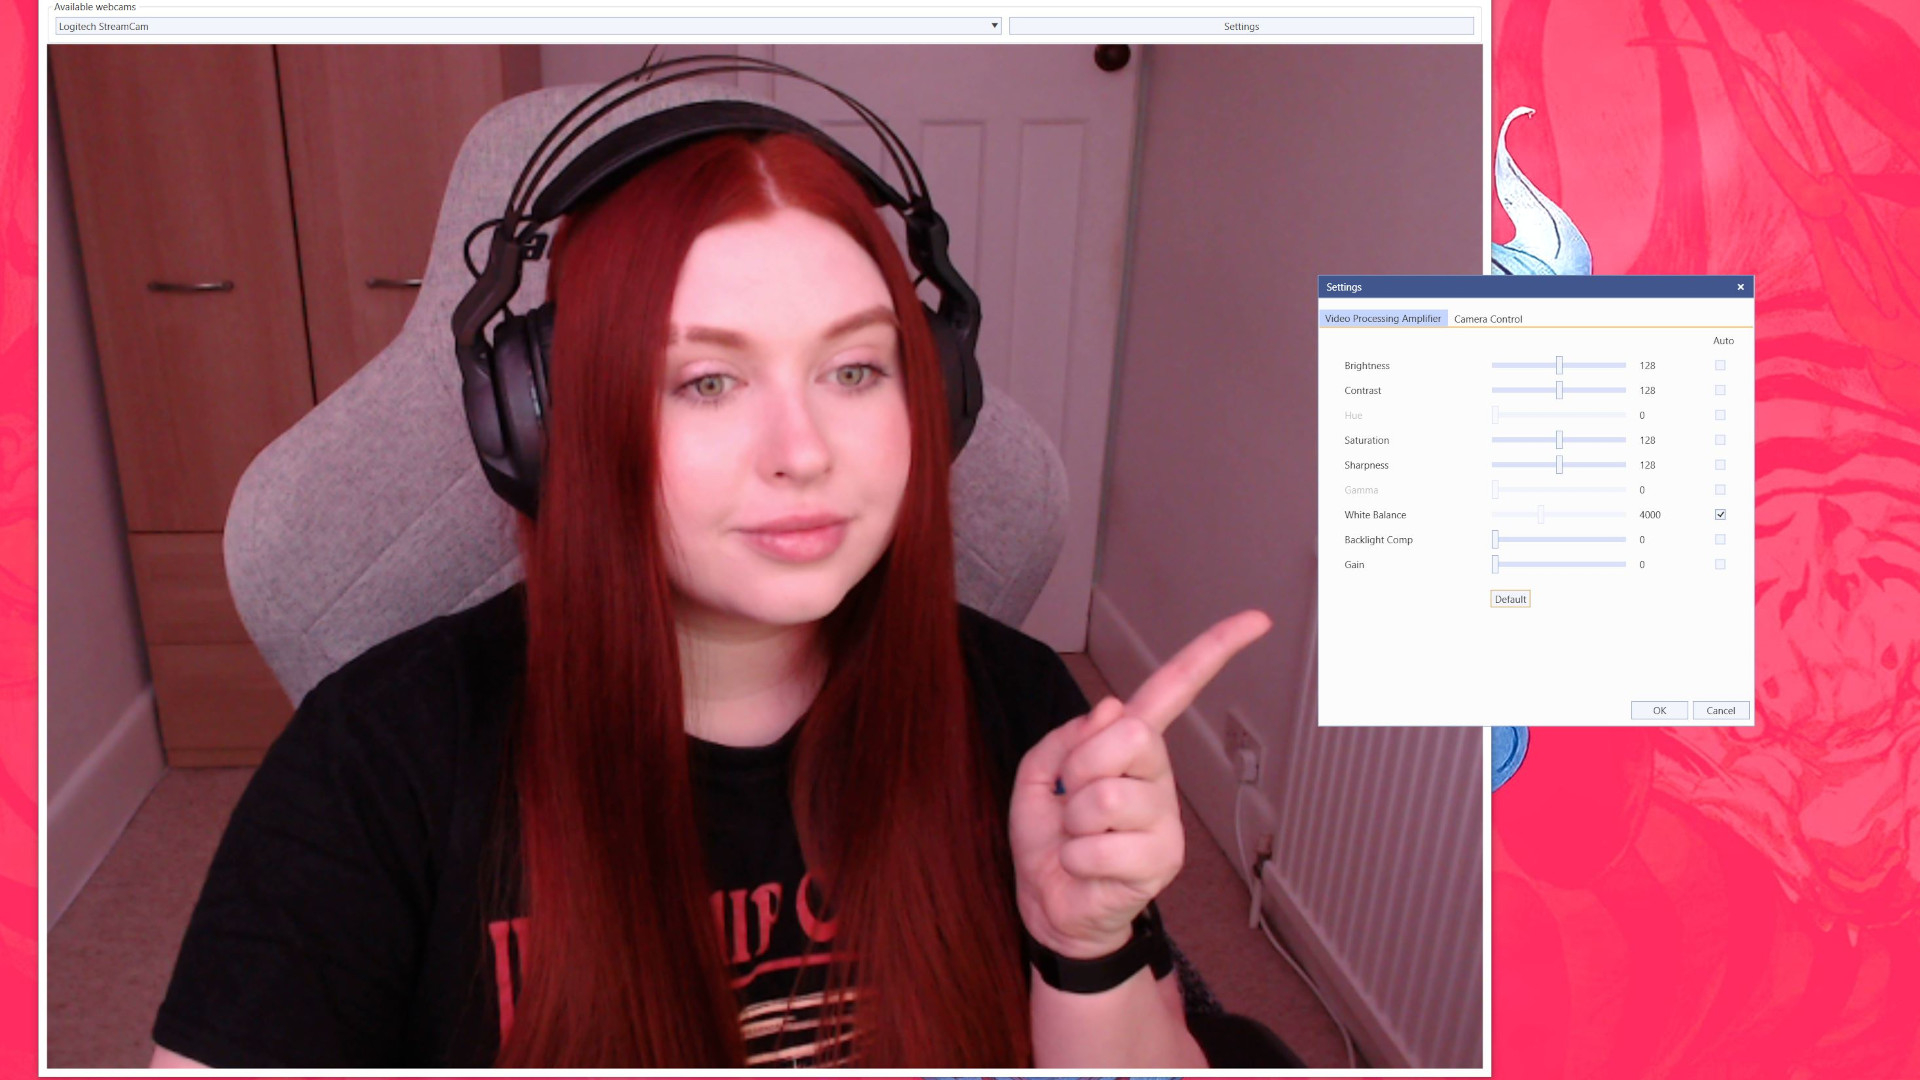
Programs such as OBS Studio are free to download and will feed into most video conferencing systems such as Zoom or Google Meets, allowing you to make changes in the OBS broadcasting software that will feed externally into your other programs. You need to make your adjustments on the 'Webcam' tab located on the lower screen of OBS by double-clicking and selecting into 'configure video'.
You will then need to go into the system settings of your chosen conferencing software and change from your webcam over to a new option that will read 'OBS Virtual Camera'.

If OBS doesn't suit you then we can also recommend using either Webcam Settings Tool (free) or the official Windows Webcam Settings app ($4.99, around £3.50 / AU$6.50) from the official Windows app store if you're using a PC. For Mac users, you can download the macOS Webcam Settings app from Mactaris through the app store for $7.99 (around £5.50 / AU$10.50).
There isn't a right or wrong way to make the adjustments on things like hue, saturation or contrast so have a play around until you're happy with the results. You won't be able to force the camera into a higher resolution than it can organically kick out, but color correction and crisper lines can make a world of difference,
For those who use work-mandated devices and can't install external programs, you may find you're unable to try the above suggestions without requested installation permission from your administrator or IT team. If making adjustments to the hardware isn't feasible then don't despair, as there are other changes you can make that should Improve your video quality.
2. Lighting, lighting and more lighting

If you've ever hunted for webcams on sites like Amazon, you'll have noticed that many cheap options are advertised with the same 1080p / 30FPS resolution and framerate as more expensive cameras from the likes of Logitech or Microsoft. So this surely means you're getting the same quality for less, right?
This sadly isn't usually the case, as there are many other factors that make a webcam objectively 'good'. One of the things that prominently affects how your video quality looks is the sensors used by the camera to detect light and movement.
If you've ever noticed a static-like background in your footage that makes you and your surroundings look grainy, chances are the sensor in your webcam is struggling to detect a subject to focus on due to low light levels. Introducing more lighting into your setup will usually greatly improve the overall quality, but it isn't as simple as turning the lights in your room on.
Overhead lighting isn't the best choice as it doesn't effectively light the front of your face. The best, and thankfully free solution is to position yourself in front of a well-lit window if possible. Natural daylight offers optimal lighting that illuminates the entire model (that's you).

If you work outside of daylight hours, or placing a desk in front of a window simply isn't an option then there are still steps you can take before you need to resort to installing professional lighting to get the most out of your webcam.
Placing two table lamps on either side of your desk will illuminate your face from either side rather than directly. Avoid using just one source of artificial light if possible as being lit from only one angle will usually be too harsh and create a 'white-out' effect where your features are too bright to see in the footage.
Plain white paper or kitchen towels can be placed in front of lights that are too bright to diffuse them, or alternatively, you can shine them against a wall to 'bounce' the lighting back less harshly.
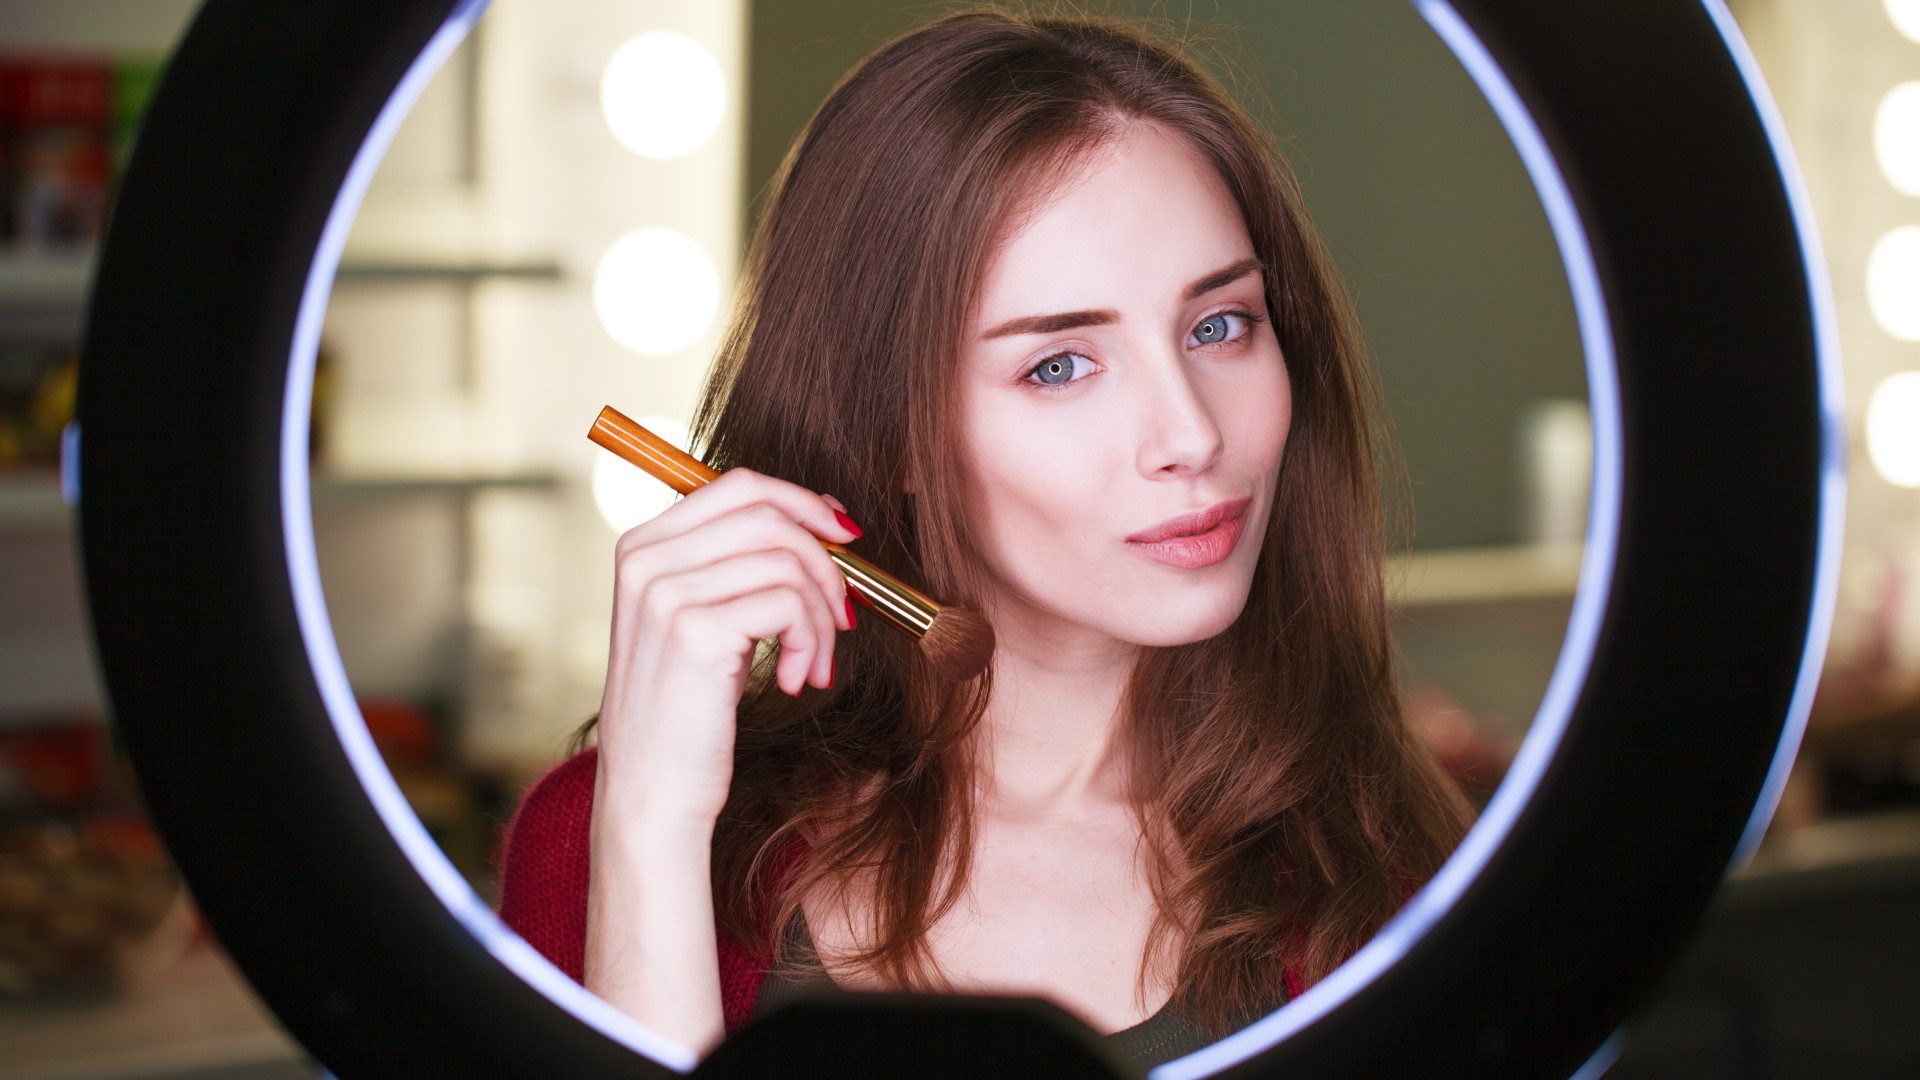
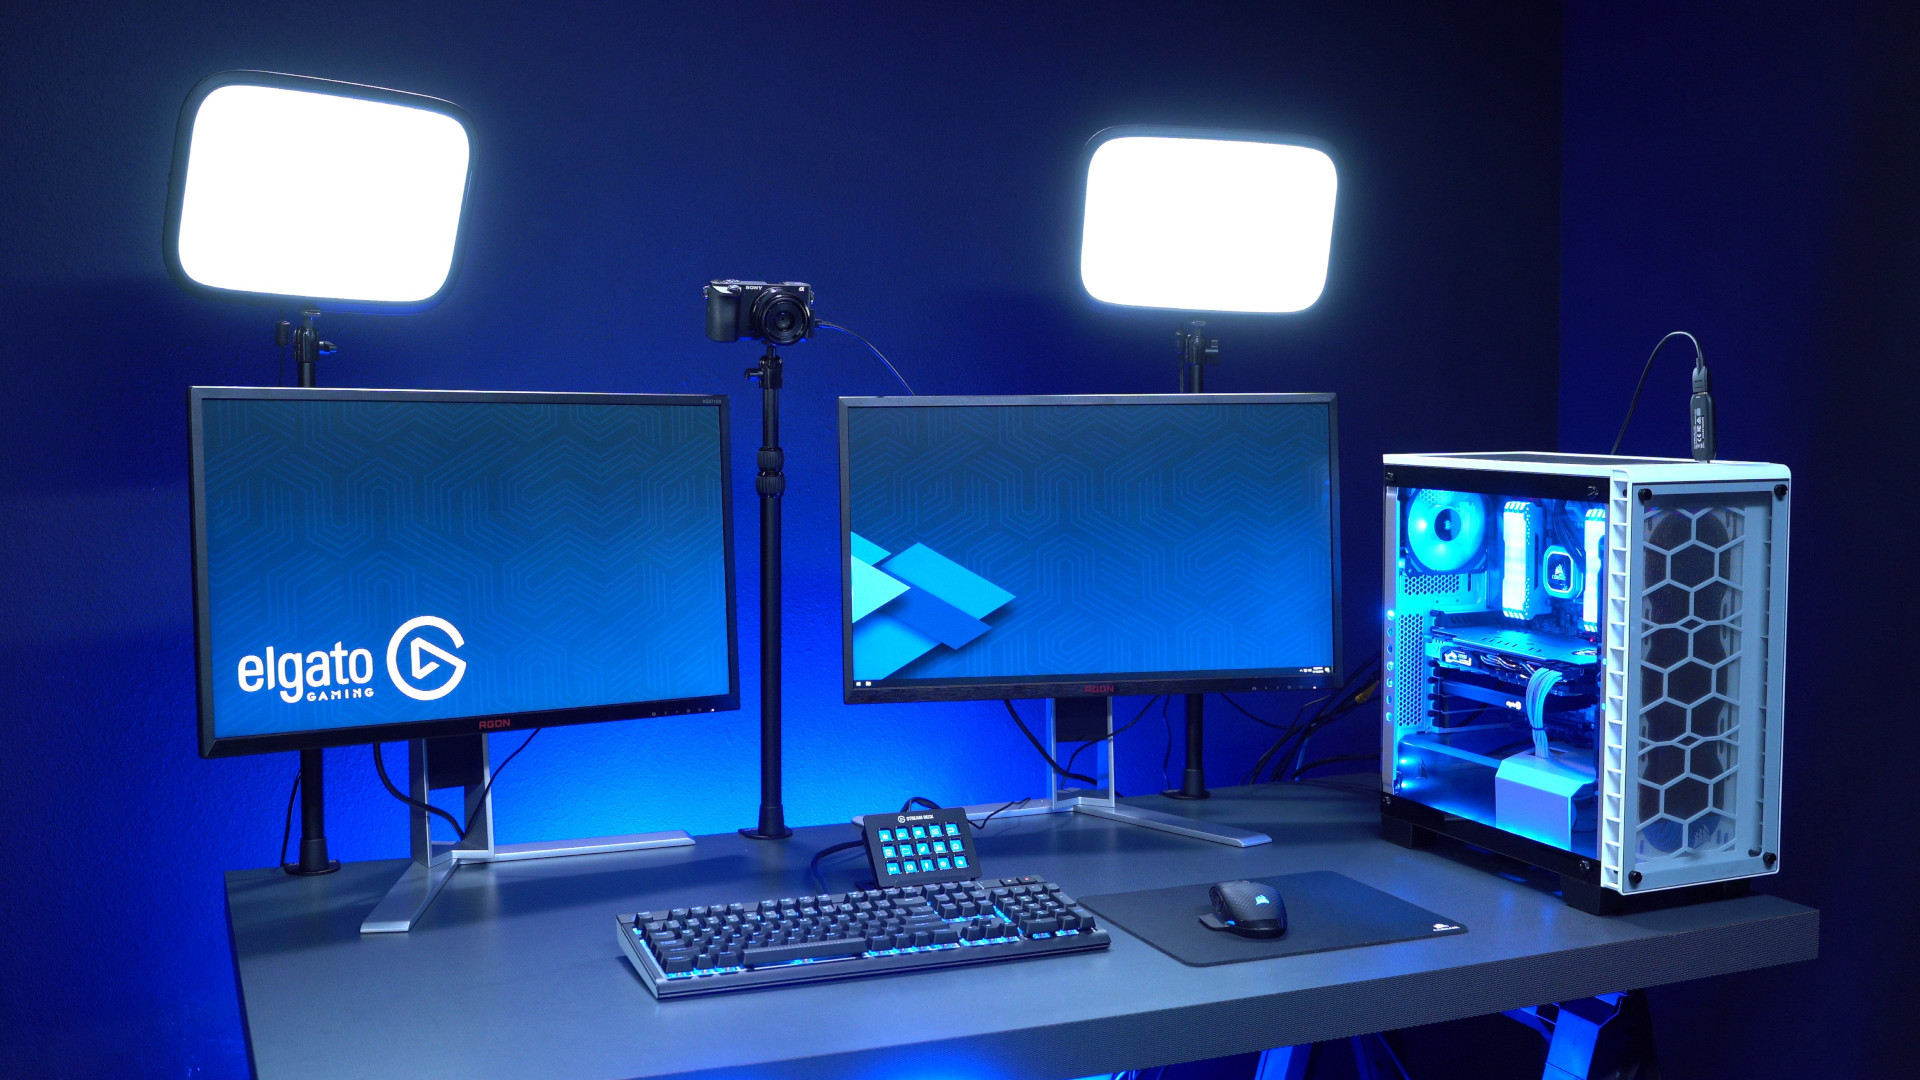
If you happen to have the cash, then investing in some studio lighting will greatly improve even the most expensive webcams like the Razer Kiyo Pro or the Logitech StreamCam. You can find plenty of ring lights from brands like Neewer on Amazon, or if you're looking for a seamless lighting kit that will work with streaming setups, Elgato sells its own ring light as well as key light panel options that communicate with existing Elgato software to be controlled remotely.

3. Your background needs some TLC
Just because you're the focal subject of your footage, doesn't mean you should neglect what's going on behind you. What's going on behind you can also affect the quality of your webcam, as well as the general feel of your presentation.
Where we advised sitting in front of a window for some natural light, please make sure you don't have another window or active light source located behind you when you film as this will throw the webcam sensor off. The more attention you bring to just yourself as the subject, the better the webcam can concentrate on making you look clear and in-focus.
Equally, try and film with a tidy or professional background environment. Having your device on a desk or table at eye level will look better than calling with a laptop on your lap while you sit on the couch. We understand this can't always be helped if you don't have the luxury of a permanent desk setup, but keeping a still, eye-level placement will prevent your webcam from having to adjust to rapid movement.
Speaking of movement, make sure nobody else is in your environment behind you walking around, or any other form of motion that could distract from you as a subject. Not only is this more work for your webcam sensor, but it will also distract other people watching your broadcast. Sit as still as possible to make sure you're not creating unnecessary work for your device.
Get daily insight, inspiration and deals in your inbox
Sign up for breaking news, reviews, opinion, top tech deals, and more.
4. Use better audio

Now we know what you're thinking – you want to improve your video quality, what does this have to do with audio? Well, sound also plays an important part in how professional your broadcast will be regardless of the situation, be it in a conference call, hosting a digital seminar, or live streaming on Twitch.
When on a call, make sure you're not playing your audio on a speaker as any microphone trying to pick up your voice will also start broadcasting sounds in a loop. The result is very unpleasant to listen to and can affect how people view the quality of your broadcast. Equally, many webcams (especially cheap ones) don't have great built-in microphones, so the audio being recorded to your audience may not sound clear. If people are unable to understand you when speaking, it won't matter how high your video quality is.
You can solve both of these issues by using a headset with a built-in microphone, or for anyone wanting a truly professional-looking video, wearing discreet wireless earbuds in combination with a dedicated microphone. Most gaming headsets also serve this function if you're looking to use your microphone for streaming games, and the aesthetic can complement your environment.
Using even a cheap USB mic will result in much better audio quality than any webcam, but a pair of old wired apple earphones will work in a pinch. Make sure when you start your meeting or broadcast, you go into the settings of your chosen software and change your audio and microphone devices, as programs like Zoom or Google Meets won't automatically switch to using a new microphone unless told to do so.
Jess is a former TechRadar Computing writer, where she covered all aspects of Mac and PC hardware, including PC gaming and peripherals. She has been interviewed as an industry expert for the BBC, and while her educational background was in prosthetics and model-making, her true love is in tech and she has built numerous desktop computers over the last 10 years for gaming and content creation. Jess is now a journalist at The Verge.
