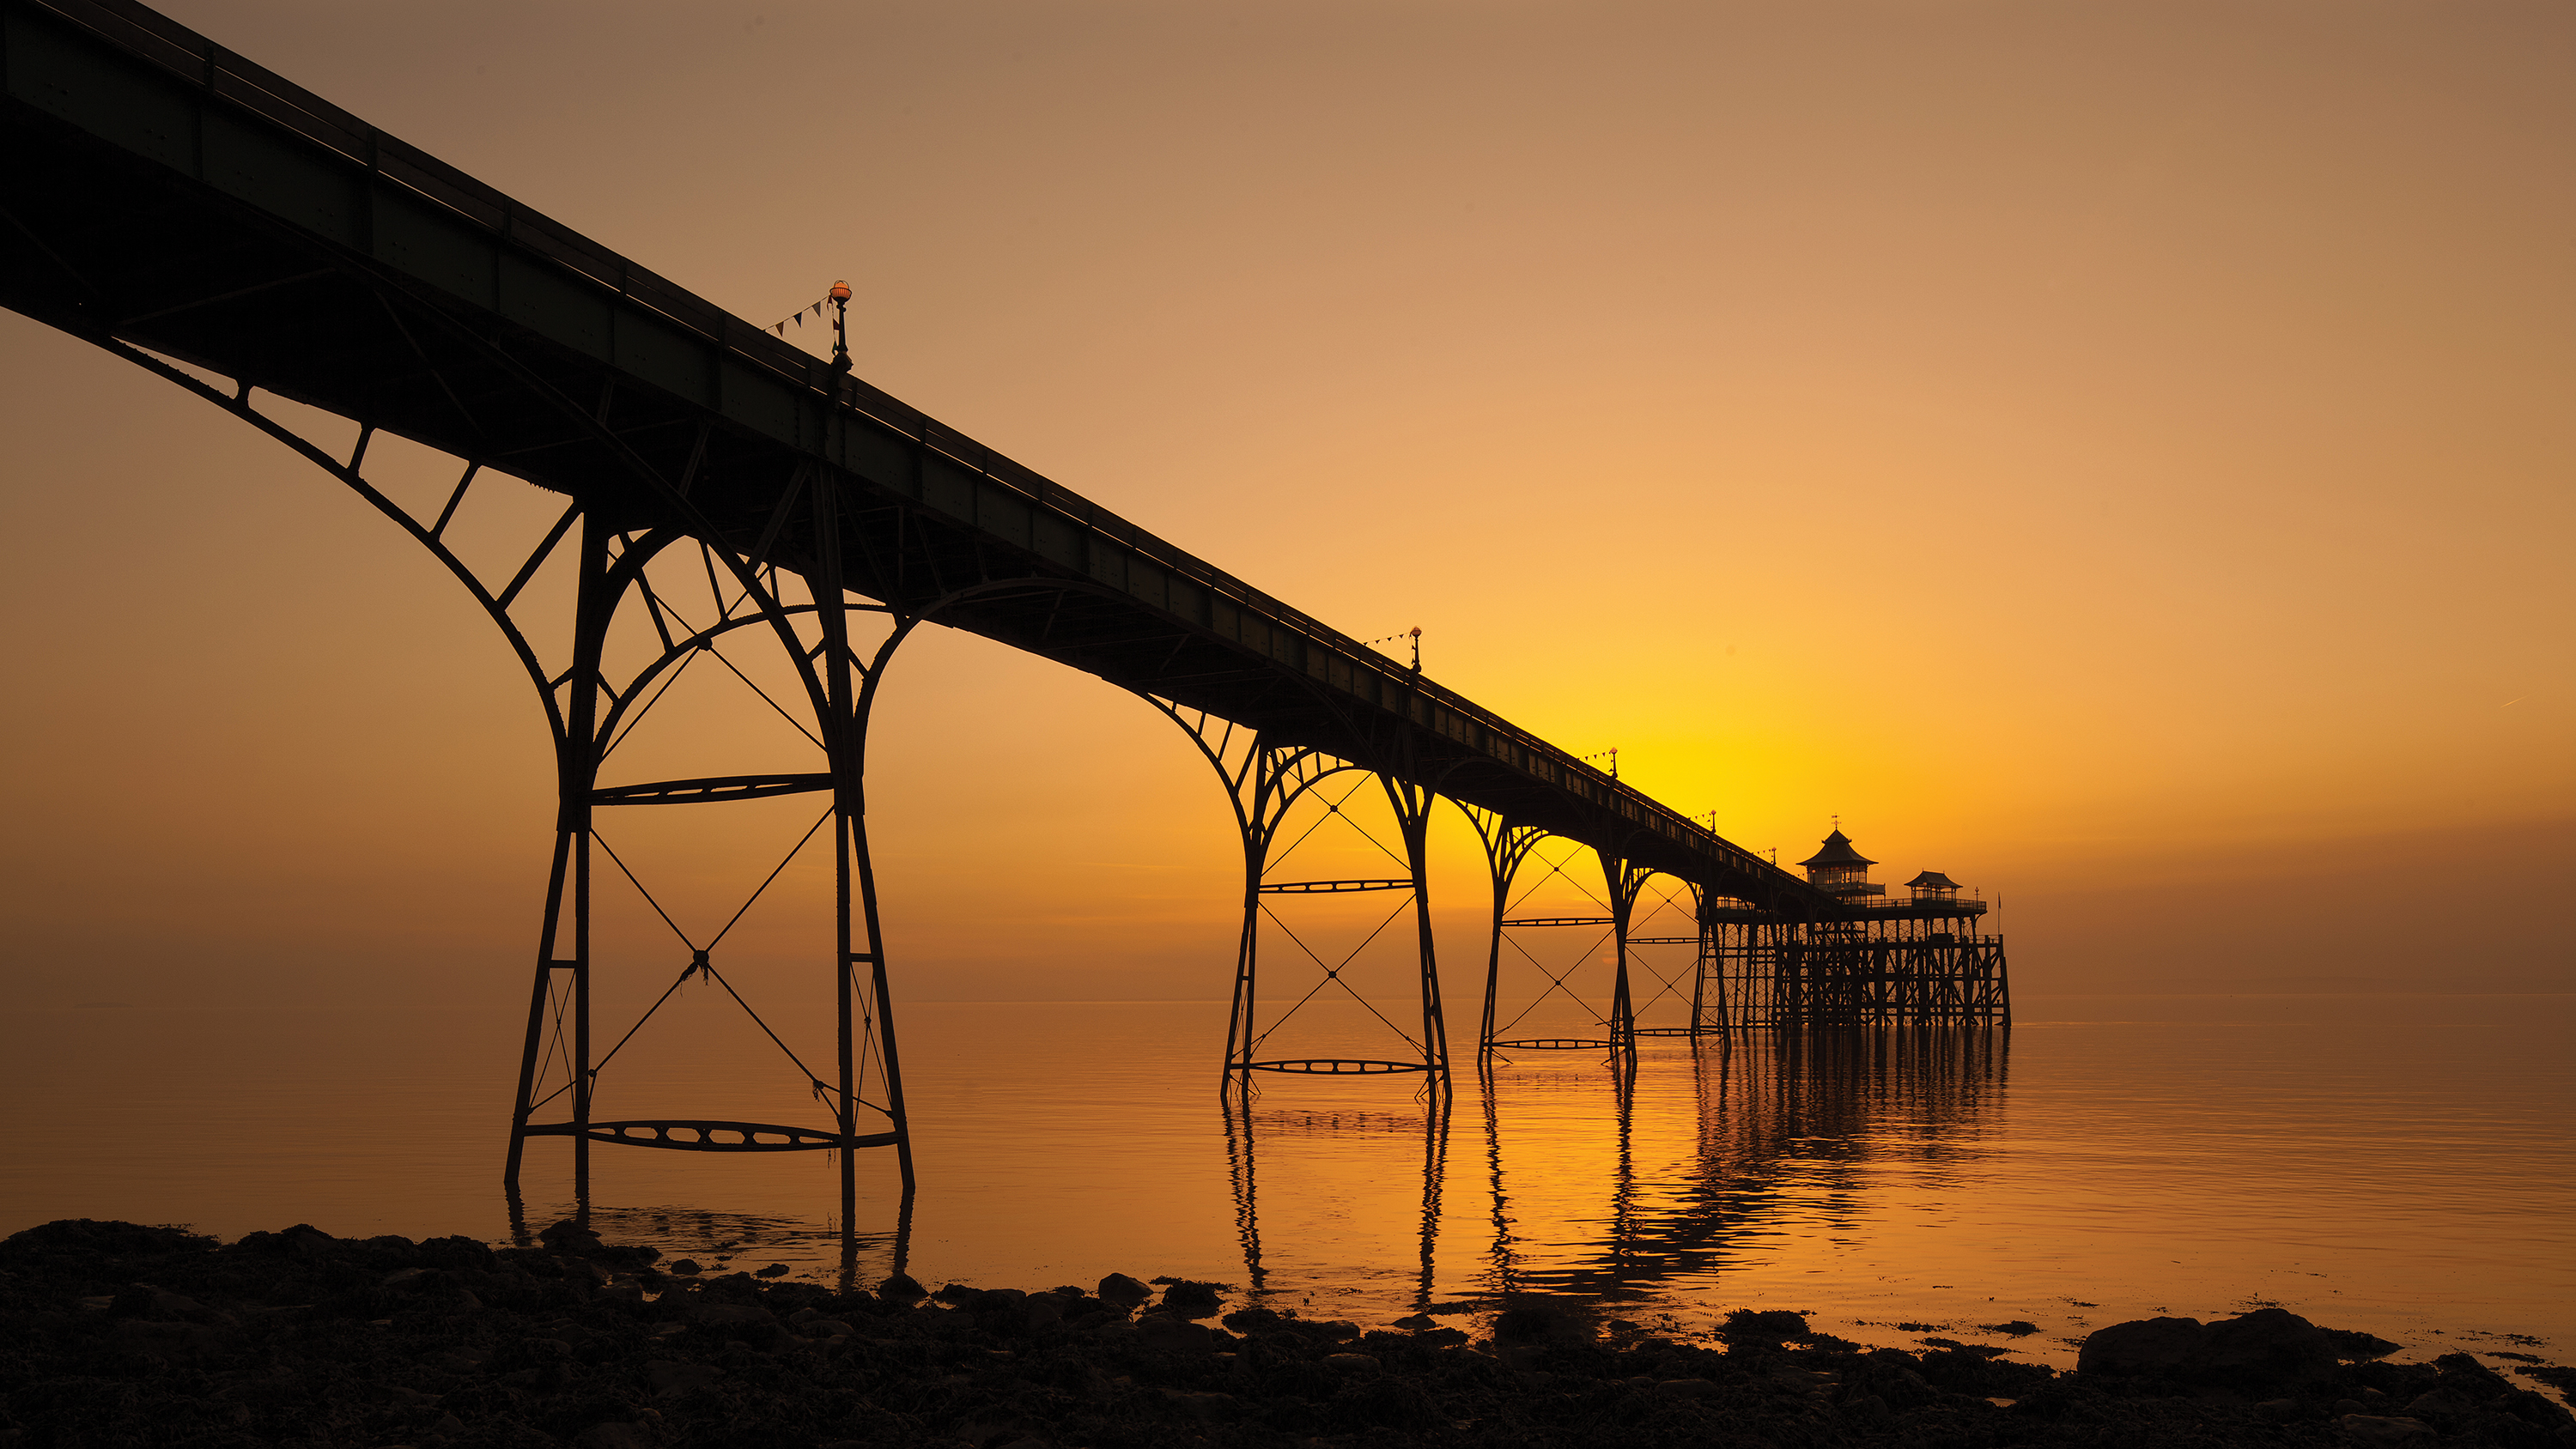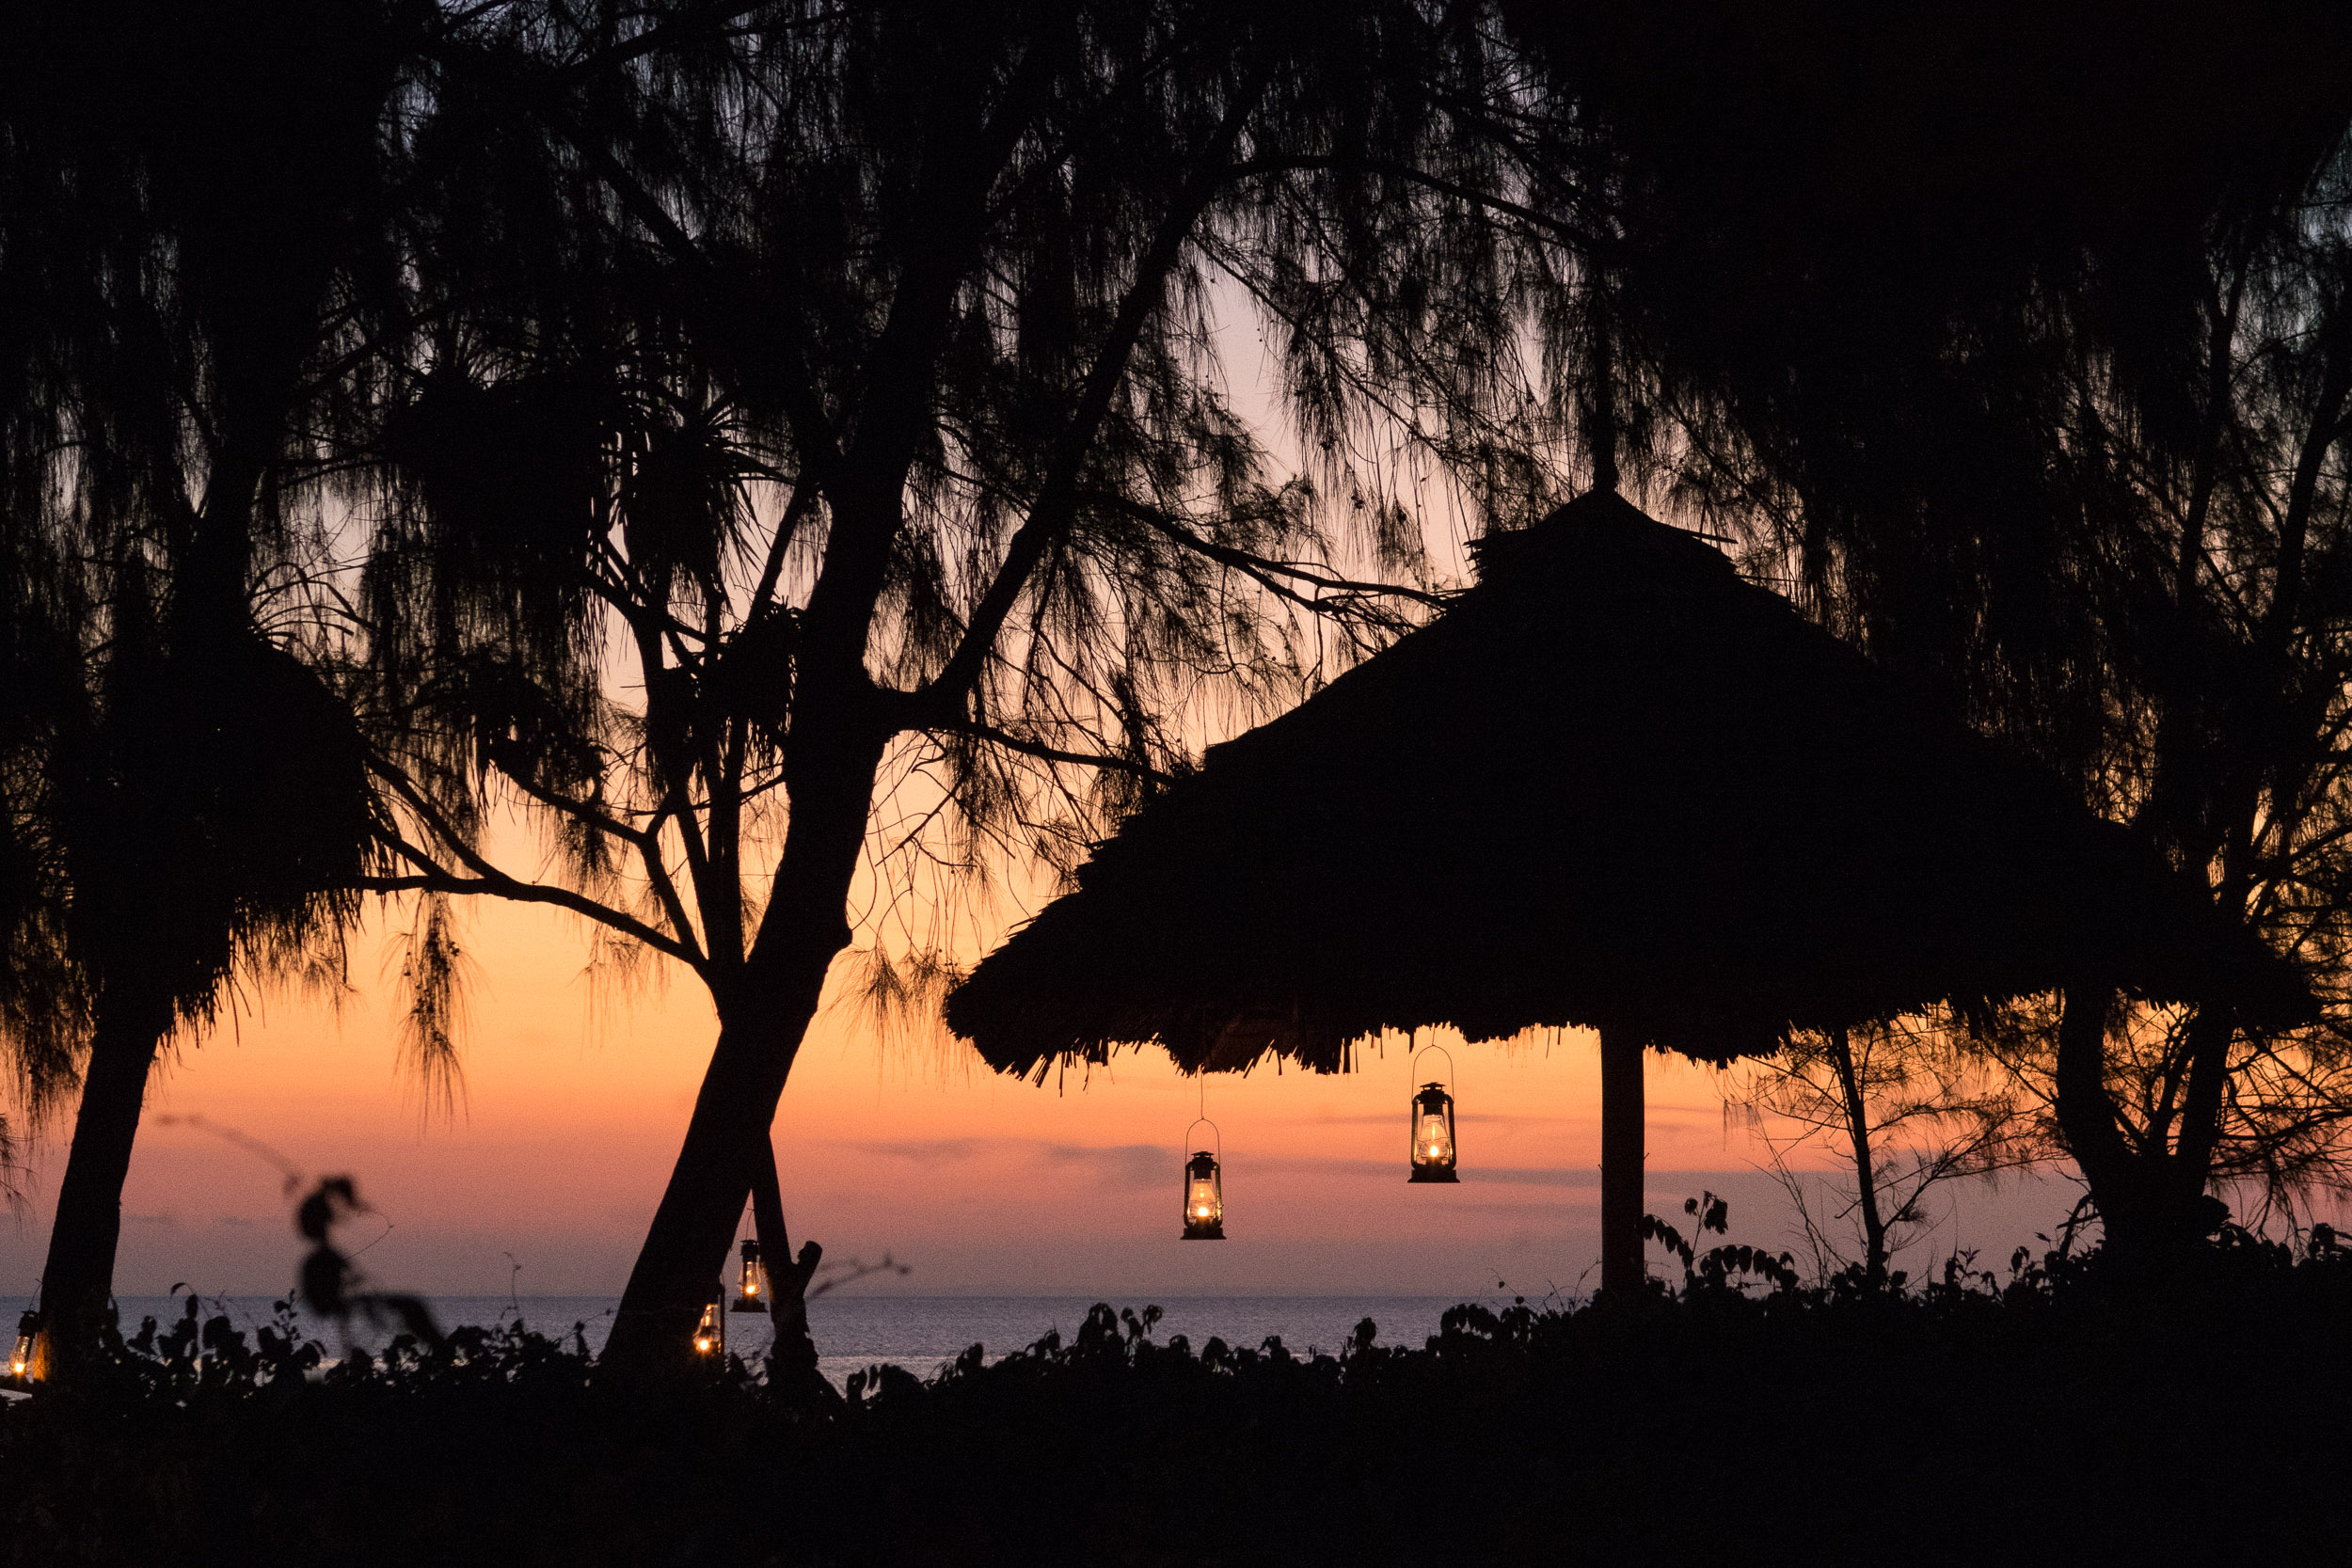
Sunset photography is a favourite subject any time of the year. The rich colors, dramatic lighting and strong shapes they offer can produce stunning shots with little need for much effort or clever planning from you.
However, you might find that your camera often captures pale imitations of the sunsets you see with your naked eye. Somehow, the intensity of the colors may have been lost, or the composition might not work.
So, here's our expert guide to help you shoot your best-ever sunset photographs, from composing your shots properly and adjusting your camera settings to make the most of the colors.

For most of us, the temptation to shoot a sunset when we first see it is overwhelming. But while there's something to be said for getting a shot in the bag quickly, in case the conditions change, it can be worth spending a little longer over it to make sure you get everything right.
Your focal length setting and choice of viewpoint will make a big difference to the picture. A quickly grabbed wide-angle shot might capture the broadest area of sky but won't necessarily give you the best composition.
A longer focal length and a more carefully chosen viewpoint can produce a much more effective result
A longer focal length and a more carefully chosen viewpoint can produce a much more effective result. The sun will be bigger in the frame and you'll have more control over the shapes and silhouettes appearing in your sunset photography.
The key with camera settings is to make sure you capture the sunset's colours as they are, not how the camera 'thinks' they should be. You might also need to adjust the exposure settings to suit the conditions, too, because in extreme lighting situations the camera might not interpret the scene in the way you expect.
Get daily insight, inspiration and deals in your inbox
Sign up for breaking news, reviews, opinion, top tech deals, and more.
- Learn more: The A to Z of Photography: Focal length
How to set up your camera for sunset photography
We mention White Balance and Picture Controls in our walkthrough, but you need to think about ISO settings too. Don't use Auto ISO if you're using a tripod, because you won't need higher ISOs and the quality will suffer.
If you're shooting handheld, though, Auto ISO can be a good safeguard, because light levels (and shutter speeds) can change much more quickly than you might expect.
1. First attempts

Conditions change rapidly, so it's good to get a few shots done quickly first. Here, we've used our zoom lens at its widest focal length, and got right up close to this old wooden lighthouse. This has resulted in a dramatic perspective, from tilting the camera upwards, but the sun is quite small in the background.
2. Change focal length

We've got a better shot by moving further away and using a longer focal length. The lighthouse is the same size and is much straighter because we haven't had to tilt the camera. There's a smaller area of sky in the background now, so the sun is larger and we've filled the frame with that rich, orange glow.
3. Play with White Balance

If you leave White Balance set to Auto, your camera might attempt to correct what it sees as a color cast, producing weak or distorted tones. To capture the hues as they really are, use the Direct Sunlight White Balance preset.
Making the colors in your landscapes warmer can be a simple matter of changing the white balance on your camera from Daylight to Cloudy or Shade.
But under certain shooting conditions you'll find that this global setting doesn't suit the whole scene, and when you're shooting at sunset or sunrise it may not be possible to capture a shot that looks suitably warm in all areas.
The most common situation is when the bulk of the sky, away from the areas where the sunset or sunrise colours are most intense, is clear. This blue sky acts like a giant reflector, filling in the shadows with a cool blue light, and as the sun is low in the sky, more of the foreground is likely to be in shadow.
In these conditions, if you set the white balance to Daylight or Cloudy to suit the sunset or sunrise the shadow areas will look very blue; but use a setting such as Shade to warm up the shadows and the sky can become too warm and orange.
The best way to get around this is to shoot in raw, set the white balance to suit the sunset or sunrise colours, and then adjust the shadows at the editing stage.
- Learn more: The A to Z of Photography: White balance
4. Use Picture Controls / Picture Styles

Take a look at your camera's Picture Styles. The Standard setting reproduces colors accurately, but switching to Vivid will boost saturation and give extra intensity. Better still, shoot raw files rather than JPEGs. This will give you more scope for changing the White Balance and color saturation later on in post processing.
- Learn more: The A to Z of Photography: Raw files
5. Hide the sun

Exposure can be a problem with sunsets, so make sure you check your images on the LCD as soon as you've taken them. If the sun is still quite high in the sky it might be too intense in the shot, so try hiding it behind another object, such as this lighthouse. You still get those rich sunset colors, but without the glare.
6. Shoot the sun

If you want to include the sun in the frame, you'll have to wait until it's much nearer the horizon, when it will be less intense. You'll still need to keep a close eye on the exposure. In extreme conditions like this, your evaluative metering system might not react how you expect, so be prepared to adjust the exposure.
- Learn more: The A to Z of Photography: Exposure compensation
7. Metering modes

Try using centre-weighted metering. This is less sophisticated than your camera's multi-zone metering mode, and more easily influenced by very bright areas, but that's exactly what we want for sunset photography. It's the colour in the sky that's important, and objects in the foreground should just be silhouettes. Try spot metering to take a reading from an area of sky.
- Learn more: The A to Z of Photography: Metering
8. Sunset calculators

The main secret with sunsets, of course, is to be in the right place at the right time. If you have a smartphone you can use a 'sunset calculator', which will tell you what time the sun will go down, and at what angle, for any date and location. LightTrac - £2.99 ($4.99) for iOS and £3.01 ($4.99) for Android - is a good option. You'll still need to arrive well in advance, though, to give yourself time to prepare.
- Learn more: How to predict the angle of sunrise and sunset
Phil Hall is an experienced writer and editor having worked on some of the largest photography magazines in the UK, and now edit the photography channel of TechRadar, the UK's biggest tech website and one of the largest in the world. He has also worked on numerous commercial projects, including working with manufacturers like Nikon and Fujifilm on bespoke printed and online camera guides, as well as writing technique blogs and copy for the John Lewis Technology guide.
