How to protect your files with Google Backup and Sync
Get that syncing feeling
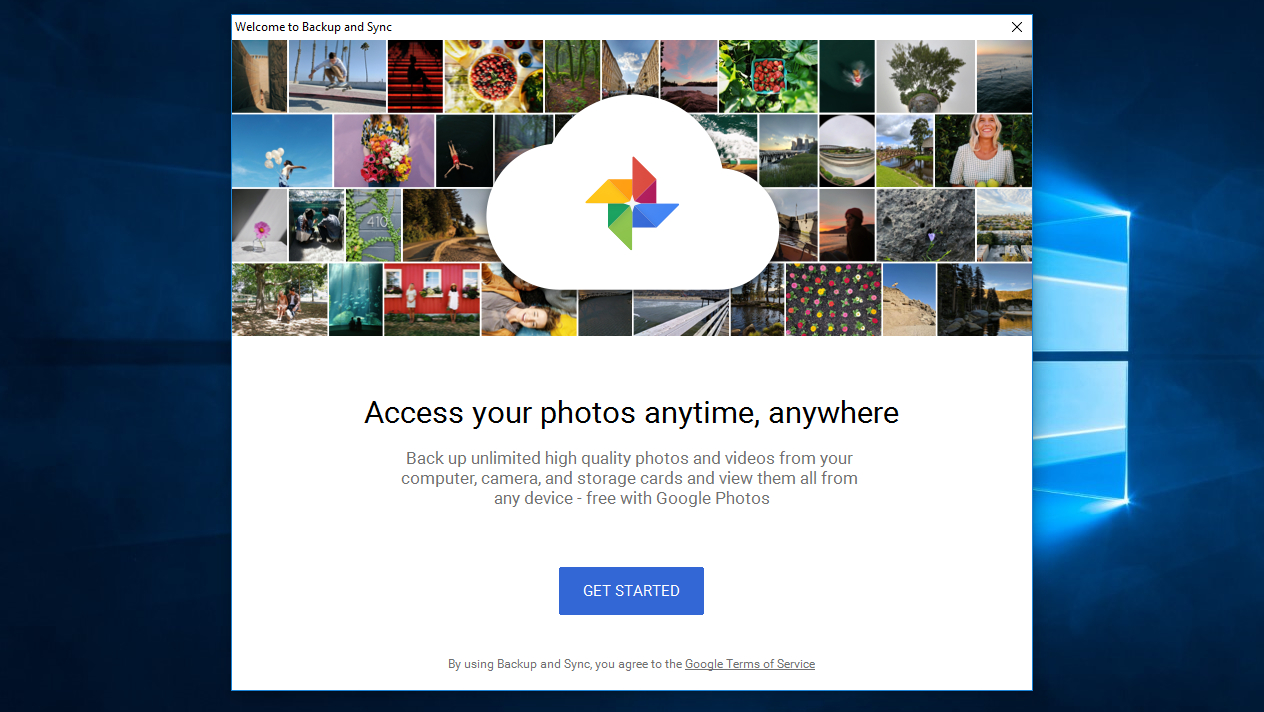
Getting frustrated having your digital working life spread across too many platforms and services? Tired of having to juggle work documents on Google Drive, and your photos on Dropbox and countless other services? Sounds like you need to consolidate your media all in one place – and we have just the solution for you.
Google has finally launched its Backup and Sync app, enabling you to automatically duplicate your important media files in the cloud, just in case your laptop or PC dies or gets pinched.

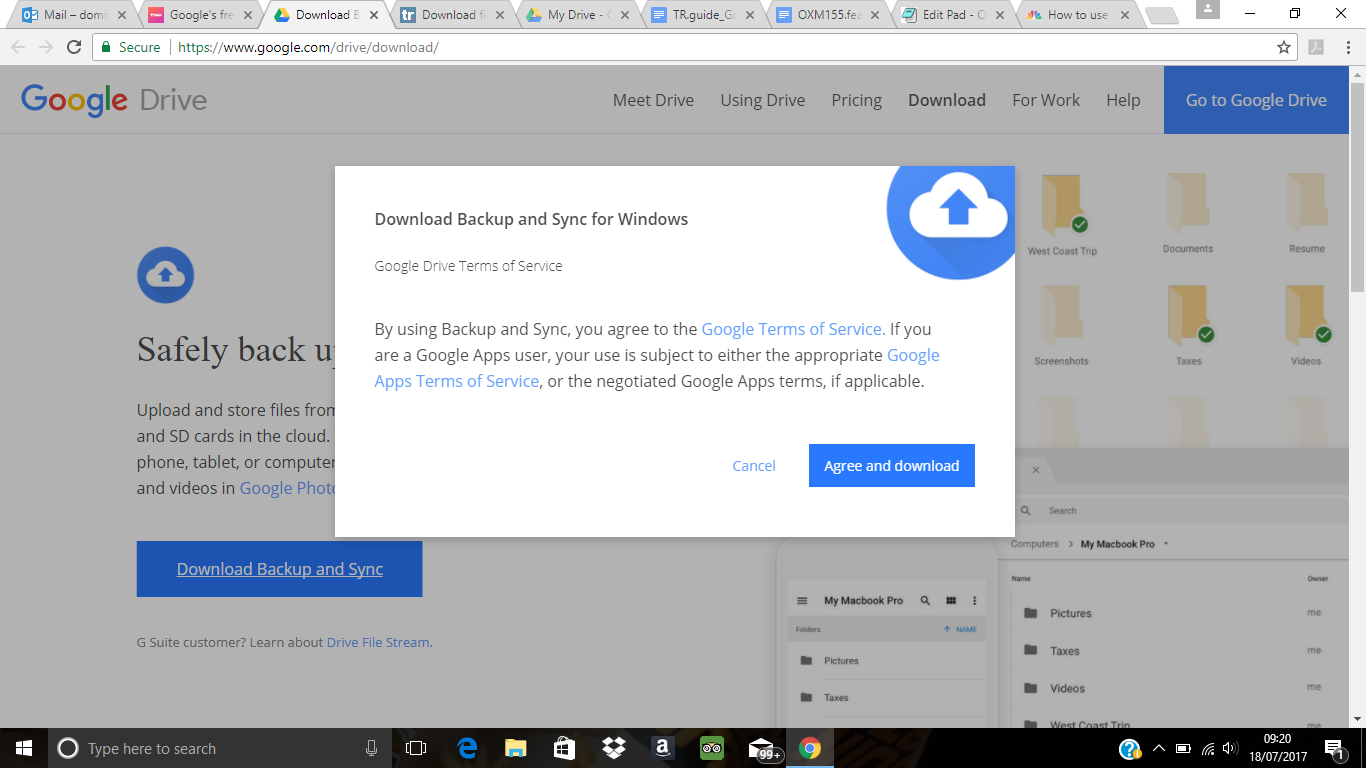
1. Download the Backup and Sync app
To begin, head over to Google's Backup and Sync page and hit the button marked ‘Download Backup and Sync’. If it doesn’t begin straight away, the page that follows has a second link that you can use to start it manually.
It should only take a few minutes to get the full package once you’ve granted it permission, and you’ll soon receive a message confirming the Backup and Sync app has been installed.

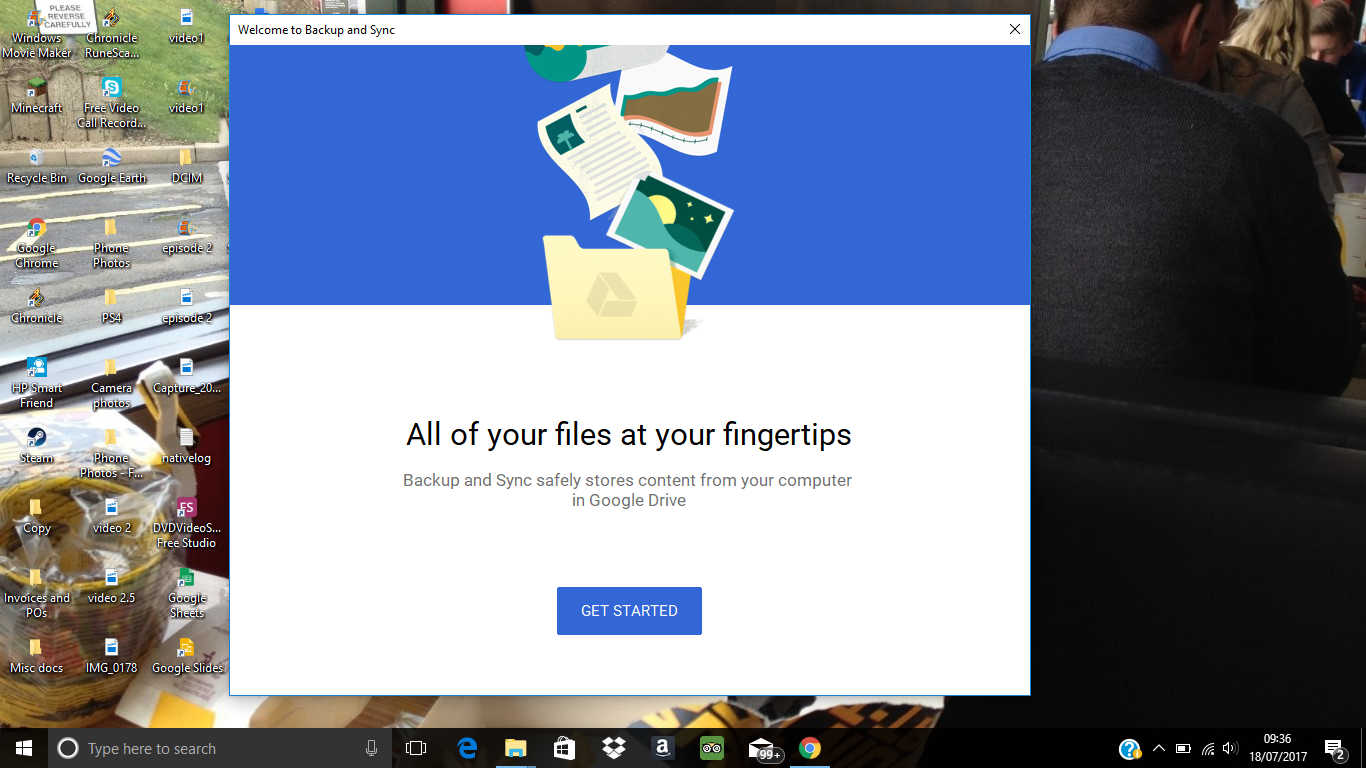
2. Sign into your Google account
Now that your download and installation are complete, the Google Backup and Sync app will automatically load its launcher. Click the ‘Get Started’ button. First you’ll need to sign into Google with the same account you use for Google Drive.

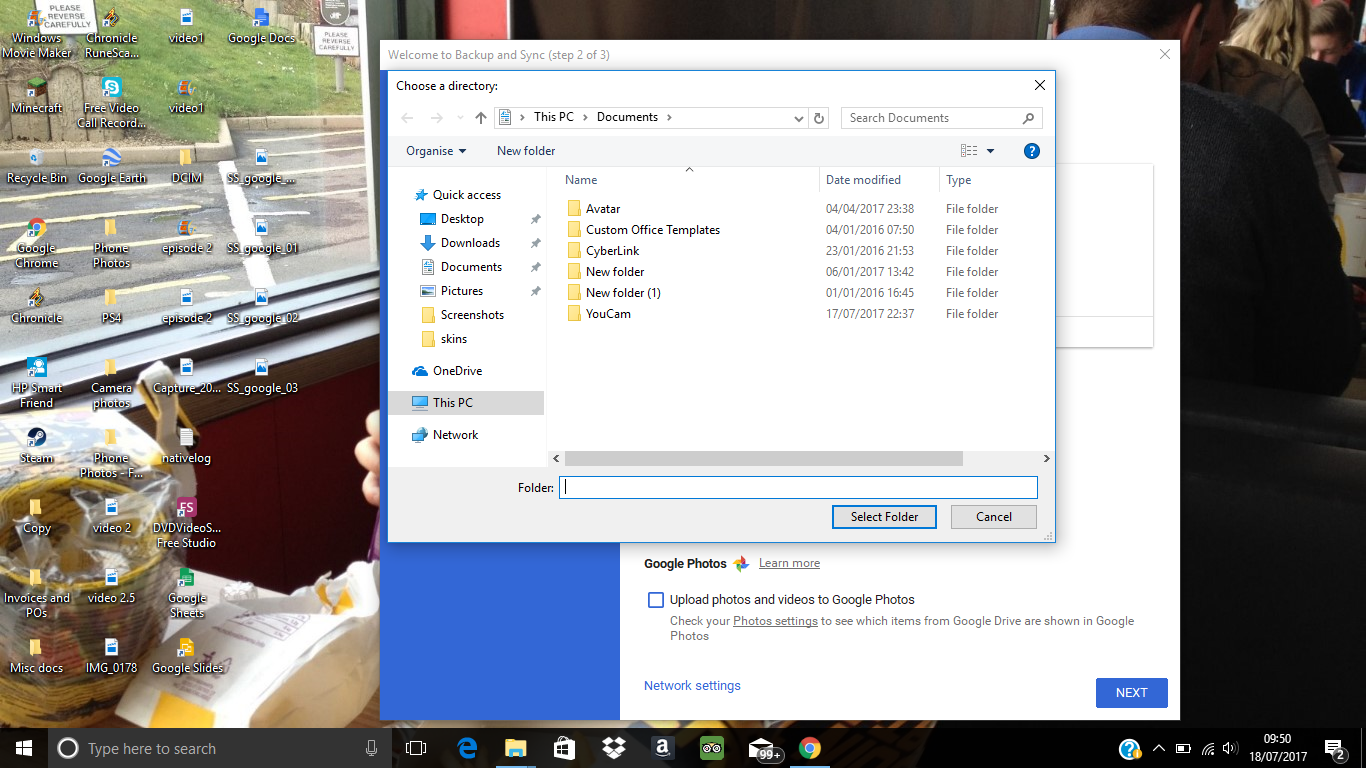
3. Select which files to back up
The next stage is about choosing which files on your laptop or PC you want to back up. Since Google is offering an impressively comprehensive service, you can select individual files or entire folders.
As standard, the contents of your desktop, your Documents folder and your Pictures folder will be automatically selected. Remove files from the folders you want to use, or simply deselect an entire folder to take it out of the equation.
Get daily insight, inspiration and deals in your inbox
Sign up for breaking news, reviews, opinion, top tech deals, and more.

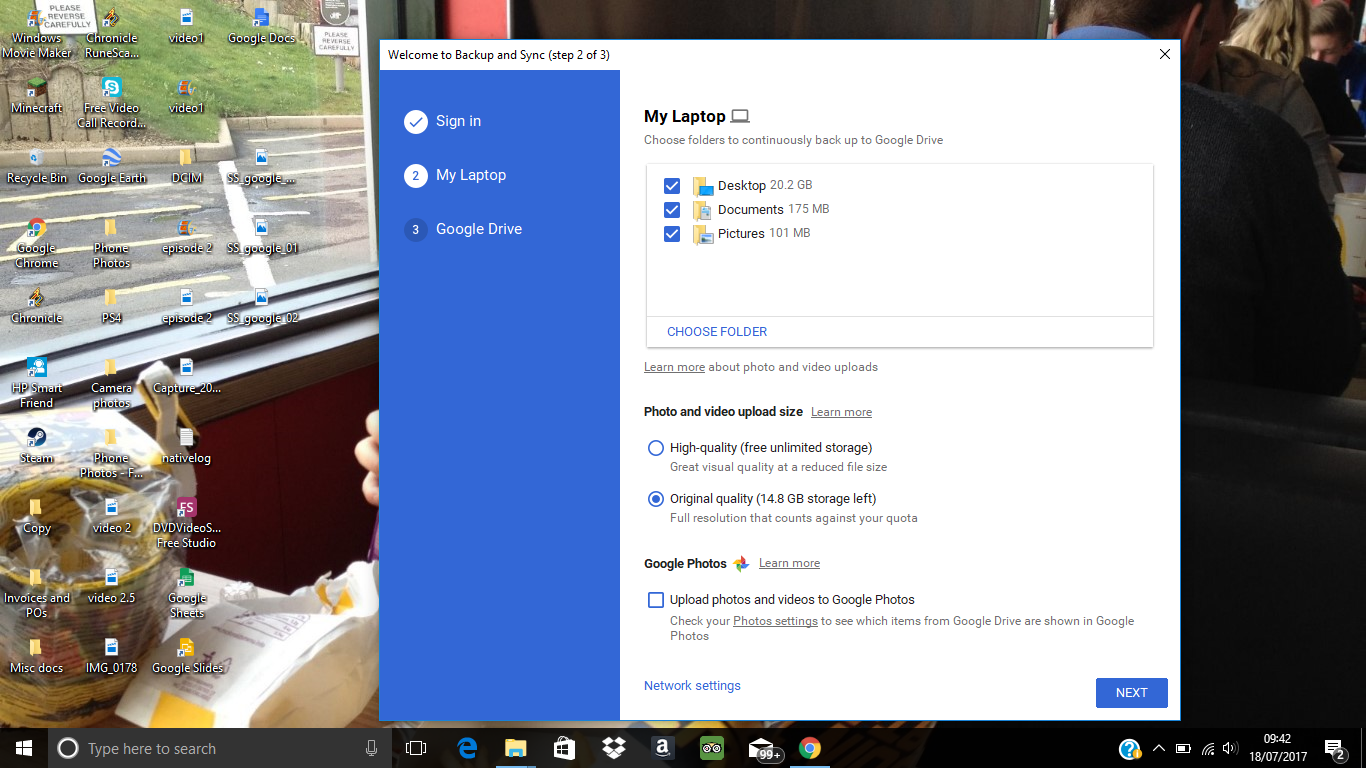
4. Choose the quality of uploaded photos
The Google Backup and Sync app enables you to save photos in either high quality, or in the original format. If you have a limited amount of storage on Google Drive, we suggest using the ‘Original quality’ option if you're backing up photos taken using a camera with a resolution higher than 16MP, or video recorded in 1080p.
Use the ‘High quality’ option if you've signed up to unlimited storage. Remember, if you have a Pixel smartphone, there are no storage restrictions.

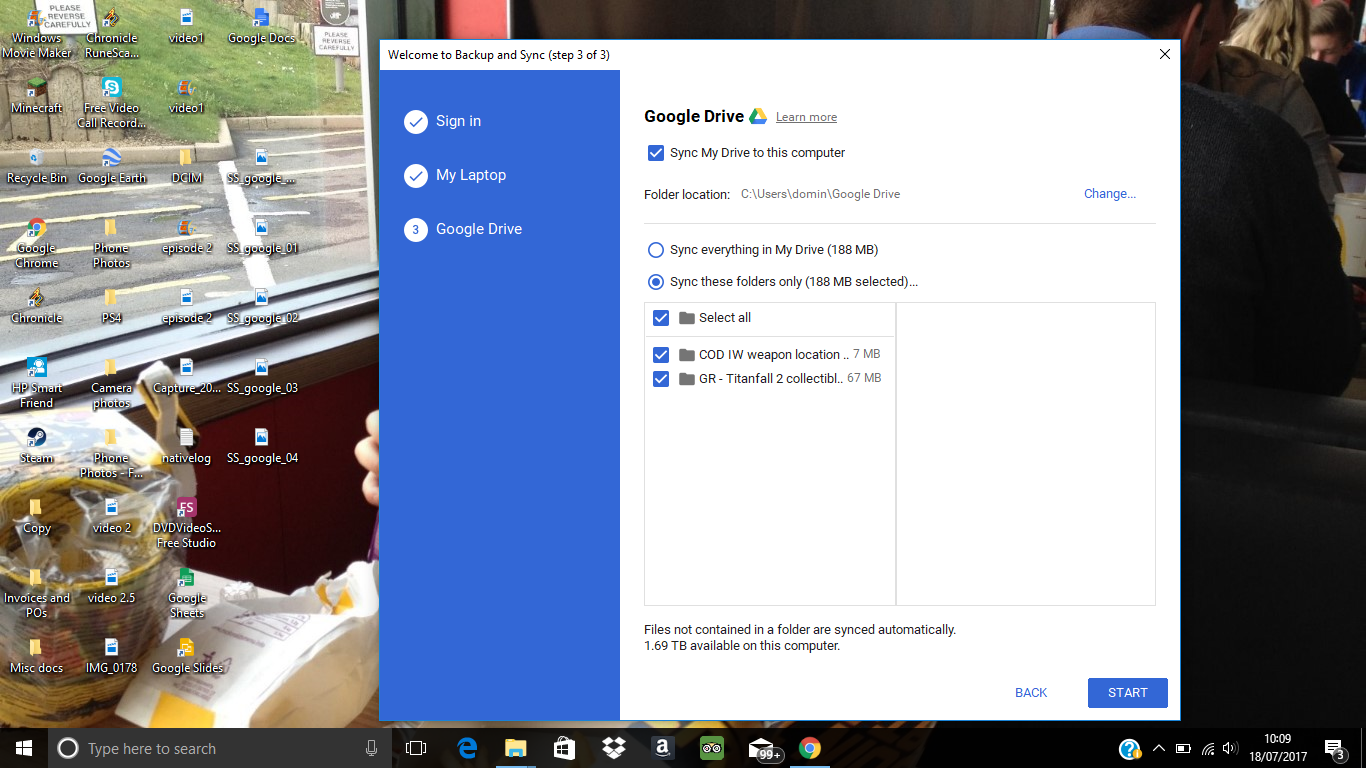
5. Sync your folders on Google Drive
The third part of the Google Backup and Sync process requires you to choose which folders you want to sync from your Google Drive account. You can let the app sync everything, or pick a selection yourself. Both options will give you a file size warning, so make sure there’s enough space available in your Google Drive account.

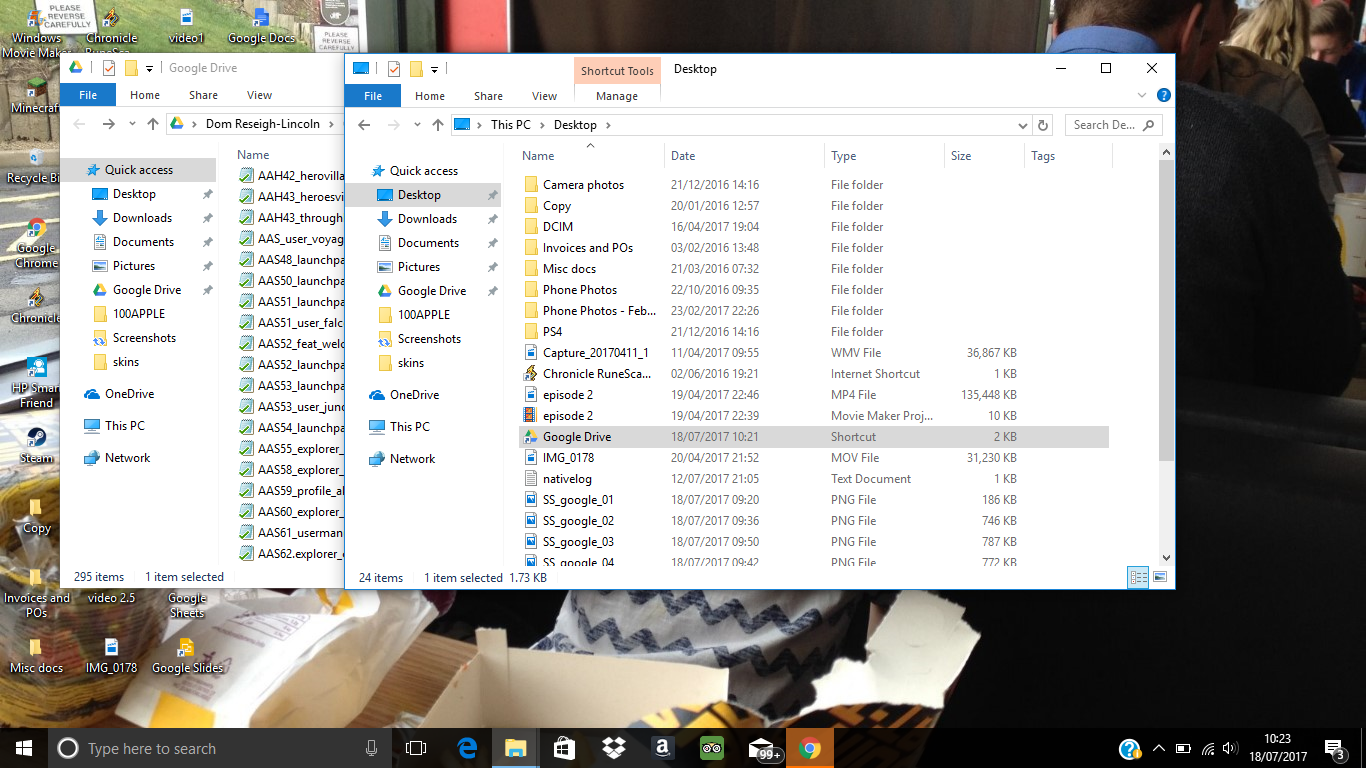
6. Create a sync folder on your desktop
Click the ‘Start’ button at the bottom right, and a new Google Drive folder will created on your desktop. This contains a backup of all the documents, photos and media files currently stored in your Google Drive account. Bear in mind that this folder can become rather large.

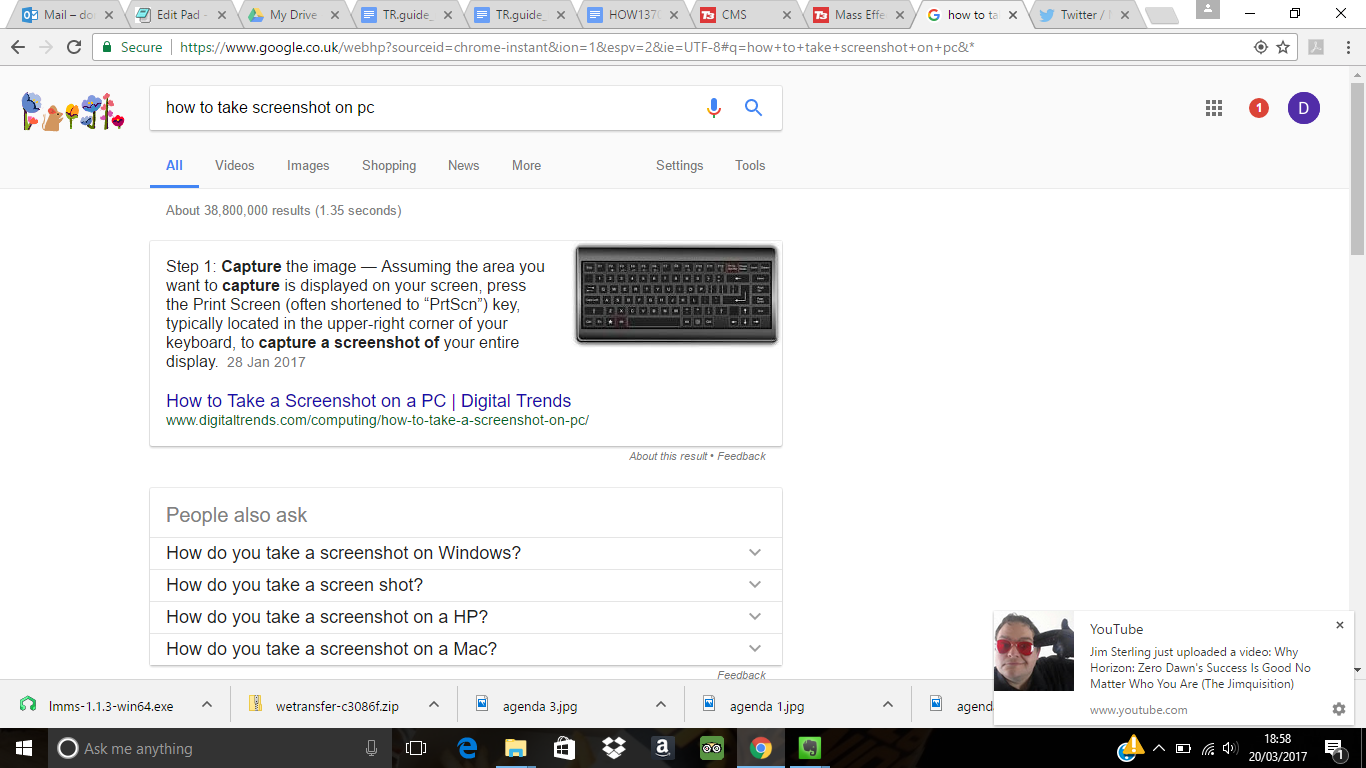
7. Enjoy automatic syncing
That's it – all your chosen files are now backed up and synced between Google Drive and your desktop. It’s a quick, easy and painless process that's ideal if you use Google Drive on a regular basis and want to keep your photos in the same place you work. Remember, all files and photos you drop into your chosen folders will be backed up automatically.

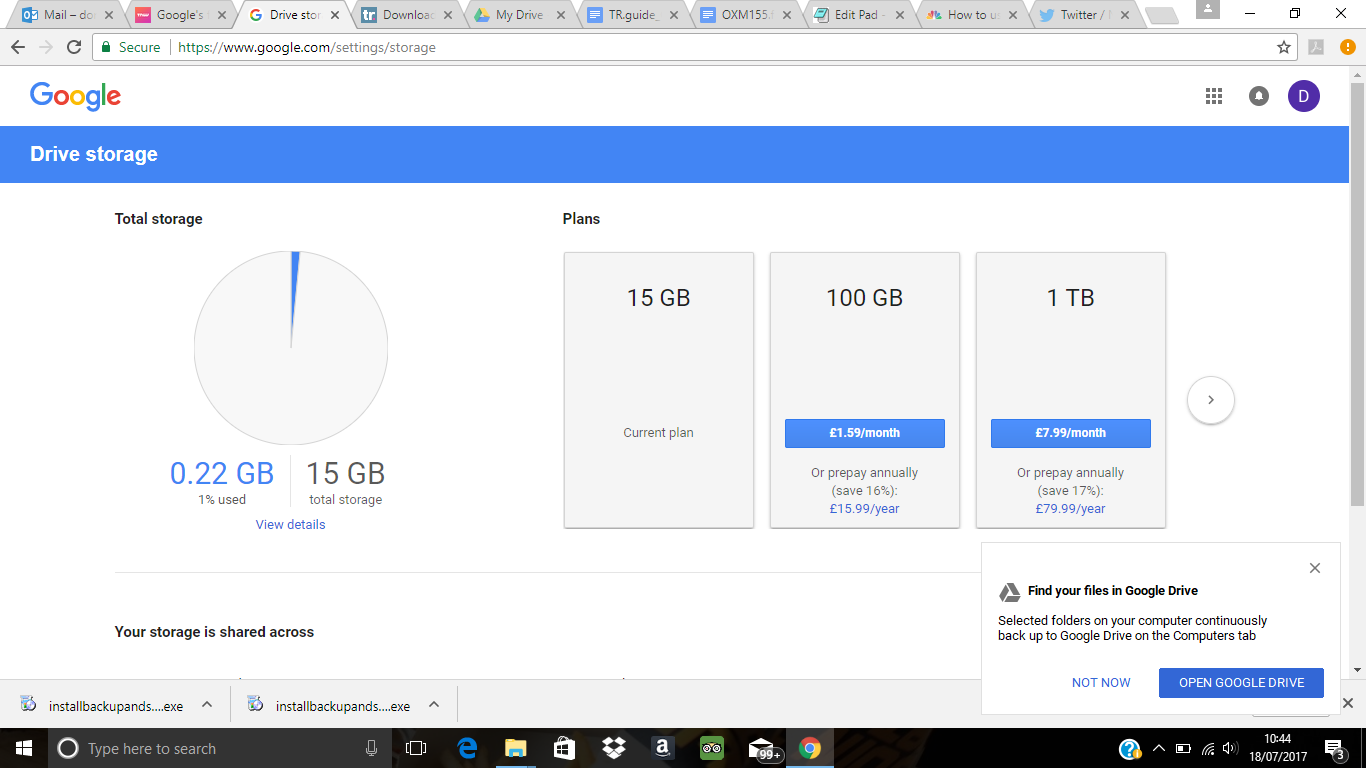
8. Upgrade for more space
As we mentioned earlier, you have the option to upgrade to a Premium Google Drive account, which gives you much more space for your backups.
- 100GB: £1.59/US$1.99 (about AU$2.50) per month
- 1TB: £7.99/US$9.99 (about AU$12.50) per month
- 10TB: £79.99/US$99.99 (about AU$126) per month
The first option will be plenty for most people, though keen photographers might appreciate the higher tiers for storing lots of large image files.