How to protect your privacy on your Android phone
How best to protect your Android phone

Android has a reputation for not being big on privacy. We’re all aware that Google makes most of its money from advertising, and so it’s in the tech giant’s interest to know everything about you, so it can push the ads you’re more likely to click. But the reality is that Android – especially the latest version, Android 11 – is packed with features to help you protect your personal information. However, few of them are turned on by default.
But we can help you change that. Read on to find out how you can take back control of your privacy, to prevent nosey people from looking through your notifications while also stopping Silicon Valley snoops from siphoning off your data.
If you want to go further, you could swap Google services such as Chrome and Gmail for privacy-enhancing apps, or you could use a VPN. If you have the tech skills, you could even ‘root’ your device to fortify your data at the firmware level. In this guide, we focus on making the most of the settings that come with stock Android.
Limit your lock screen
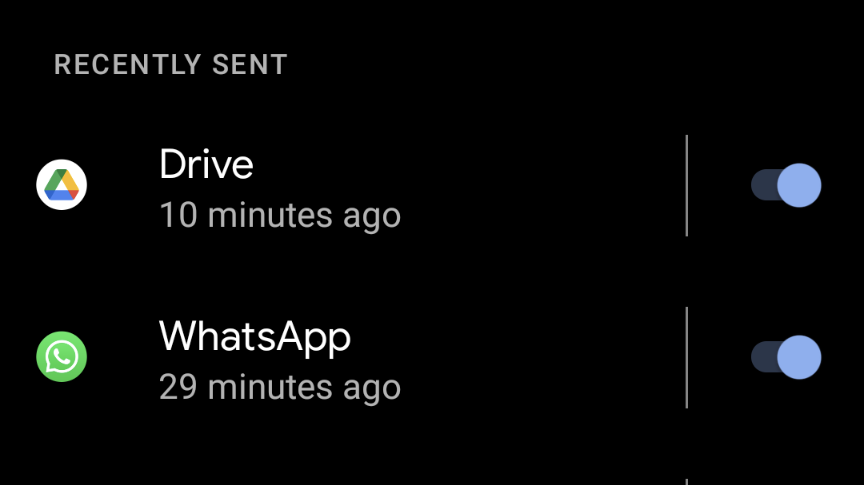
Being able to view your messages and other app alerts at a glance is convenient, but it can also be quite revealing. If you don’t want the content of your emails and text messages flashing up on the screen, you can limit your notifications.
First, go to your phone Settings, by swiping up and selecting the gear icon from the menu list. Then tap ‘Apps and notifications’ and select ‘Notifications’ from the list of options that appear. From this screen, turning off ‘Sensitive notifications’ is the quickest and easiest way to ensure your private conversations stay that way. This will only show which app an alert is from, but hide its contents until you unlock.
Alternatively, you can manage the apps that appear on your lock screen on a case-by-case basis. On the ‘Notifications’ screen, you’ll see a list of the apps that have recently sent you notifications. You can stop them from sending notifications to your lock screen just by flicking the switch next to each app’s name. If you tap ‘See all from last seven days’ you can view a more extensive list of apps that you can toggle on and off. Tap the ‘most recent’ button to change how this list is filtered, so it can display all of your apps or ‘most frequent’ first. You can also tap the magnifying glass icon in the top-right to search for a specific app by name.
Manage your Google Account

Your Google Account goes beyond Android. It’s what you use to log into Google services – from your email and calendar to your photos – on your PC, phone and tablet. The tech giant then syncs this data across all these devices, so it's accessible wherever you are. It’s also what gives the search giant a window into your world.
Get daily insight, inspiration and deals in your inbox
Sign up for breaking news, reviews, opinion, top tech deals, and more.
Technically, you could use your Android phone without having a Google Account; you could simply ignore the prompt to create an account when you set up your phone. However, do this and you’d never be able to download any apps onto your device – the Play Store requires a Google Account – or back it up. This would make for a very dumb smartphone.
Instead, your best option is to limit the data the Mountain View megacorp is able to collect. Go to Accounts in Settings – if you don’t see this option, it may be under ‘Users and accounts’. Then select your Google Account. From here, tap on ‘Data & personalization’ and then head to the section marked ‘Activity controls’. This includes ‘Web & App Activity’, which refers to the data Google collects on how you use its many apps and websites, both on your Android phone and any other devices. ‘Location History’ tracks your movements – again, on whatever device you use with a Google account – and ‘YouTube History’ logs every video you’ve ever watched.
Tap on any of these activity controls, and you can toggle them off completely or refine how they use your data. This includes ‘Auto-delete’ to set limits for how long Google can keep using data – from three to 36 months – and ‘Manage activity’ to delete individual data logs.
Finally, if you scroll right to the bottom of ‘Data & personalization’, there’s ‘Ad personalization’. Tap ‘Go to ad settings’. With just the flick of a switch, you can stop Google from using your personal information to tailor ads to your interests. Or you can leave it on, but control what Google includes in its online profile, from your vital statistics – such as age and gender – to your interests. These are all listed under ‘How your ads are personalized’. Just tap on an entry and you’ll be given the option to turn it off.
Restrict app permissions
While a passcode will stop anyone physically rummaging through the files and data on your phone, your apps might already be doing it. While Apple has forced developers to add ‘nutritional labels’ to the App Store to detail the data they collect, Android users aren’t so lucky. However, you can still restrict the features on your phone – such as your camera, contacts list or microphone – an app can use. While an app will ask for permission to access a feature via a pop-up when you first use it, you can change your mind at any time.
To manage your app permissions, once again head to ‘Apps and notifications’ in Settings. Tap the app you want to inspect. If you don’t see it, tap ‘See all apps’ or ‘App info’. Once you’ve selected your app, go to ‘Permissions’ and you’ll be able to see which features it has permission to use. To change this, just tap on the name of the feature.
For many of the features, the choice will be limited to Allow or Deny. But for location, camera and microphone permissions, more recent versions of Android give you greater control. In Android 10, you can choose between ‘Allow all the time’, ‘Allow only while using the app’, which limits background usage, and ‘Deny’. Android 11 goes one step further. While apps can still use your location services all the time, camera and microphone permissions are limited to ‘Only while using the app’ and ‘Ask every time’. Such one-time permission allows you to test apps and their features without fear.
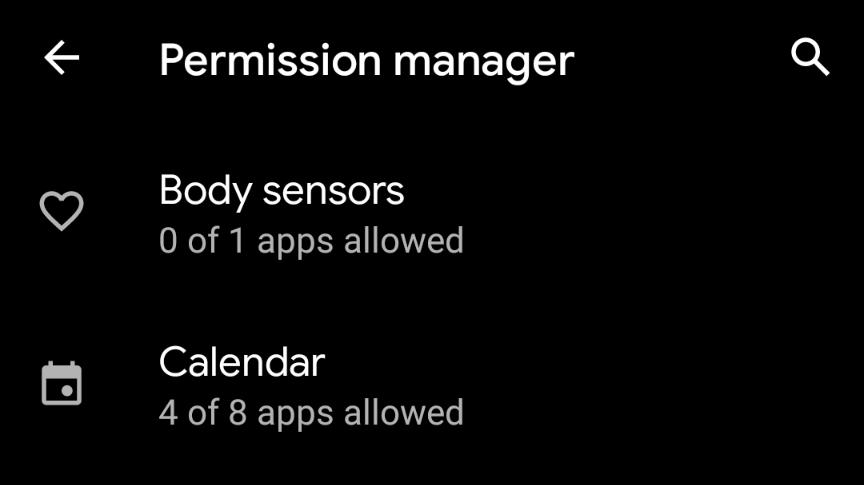
Alternatively, if you’re concerned about how a particular feature – such as your camera – is being used by all of your apps, head to ‘Privacy’ in Settings. Tap ‘Permission manager’ to view a list of all the available permissions on your phone, as well as a quick overview of how many apps have been granted access to them. Clicking on any of the permissions will display which specific apps have requested this particular feature. You can then limit access as you would above.
In Android 11, you also have the ability to set apps that rarely use automatically to lose their permissions after a specified time. Go to ‘Permissions’ in the ‘Apps and notifications’ settings once again and toggle on ‘Remove permissions if app isn’t used.’
Take control of Chrome
It is through Chrome that you look up the answers to every dumb question, passing interest and darkest desire that comes to mind. This data feeds directly into Google’s elaborate ad profile of you, while the websites you visit can track you too. As a result, when it comes to protecting your privacy, the browser deserves special attention.
Stop Google services from using your data
To get started, press the three-dots icon in the top-right of the Chrome app, then select ‘Settings’. If you tap your account name and email address, you’ll be given the option to ‘Sign out and turn off sync’. This will prevent your browsing data from being sent to Google’s servers. However, it will also mean that you can no longer close your browser on your phone and reopen it in the same tab on your laptop.
If this is something you don’t want to lose, choose ‘Sync and Google services’ from the Settings menu instead. From here, tap ‘Manage sync’ to refine exactly the browser data – tabs, bookmarks, passwords and more – you want to keep syncing between devices and, by extension, continue sharing with the search giant.
Back on the ‘Sync and Google services’ screen, you might also want to toggle off ‘Auto-complete searches and URLs’. This will prevent Chrome from sharing what you type into Google before you press enter – although it also means it won’t be able to predict what you’re typing.
On the same screen, turning off ‘Show suggestions for similar pages when a page can’t be found’ will stop Chrome sending your typed text to Google to provide a list of URL suggestions when you enter a web address incorrectly.
While the above may impact your online experience, you can switch off both ‘Help improve Chrome’s features and performance’ and ‘Make searches and browsing better’ without it hindering anything. They both just send your data – including URLs you visit, usage statistics and crash reports – to Google to help it improve Chrome, with no immediate benefits to you.
Stop websites tracking you
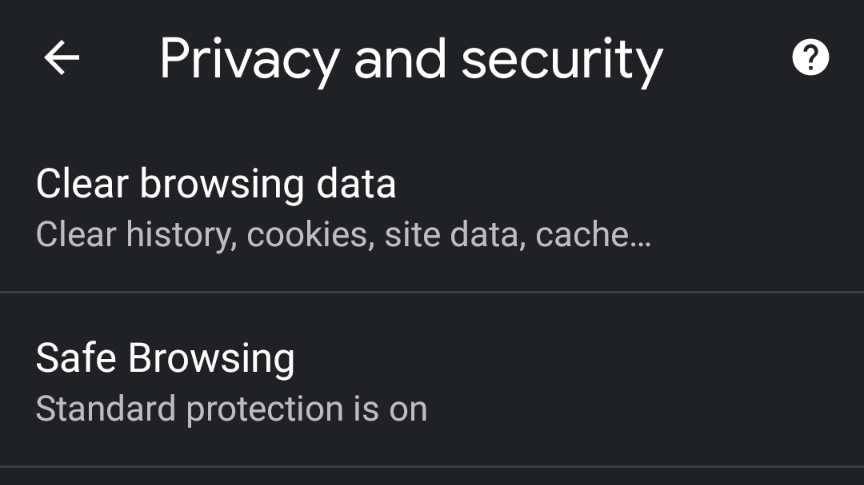
Finally, go back to Chrome’s Settings main menu and tap ‘Privacy and security’. Then tap ‘Clear browsing data’. You’ll be given the option to erase your search history, cookies and cached images. If you select Advanced, you can also delete saved passwords, auto-fill form data such as your name and address, and any site settings. Then choose a time range, from the last hour to all time. Press the ‘Clear data’ button in the bottom-right to complete the process.
Next, toggle off ‘Preload pages for faster browsing’ to stop sites that Google predicts you’re likely to visit next – but you might not – from being able to set a cookie and track you across the internet.
You might also want to toggle off ‘Access payment methods’, which lets sites you visit check if you have credit cards, debit cards or payment apps saved in Chrome.
Finally, tap and turn on ‘Do Not Track’. From then on, Chrome will send a request to any website you navigate to and tell it not to track you with the cookies sitting on its website. Note that many sites ignore this setting, so it isn’t an all-encompassing solution. Nevertheless, it’s better to have this toggled on than not turned on at all.