How to record your screen on Android for free
Quickly record your call or game in an instant
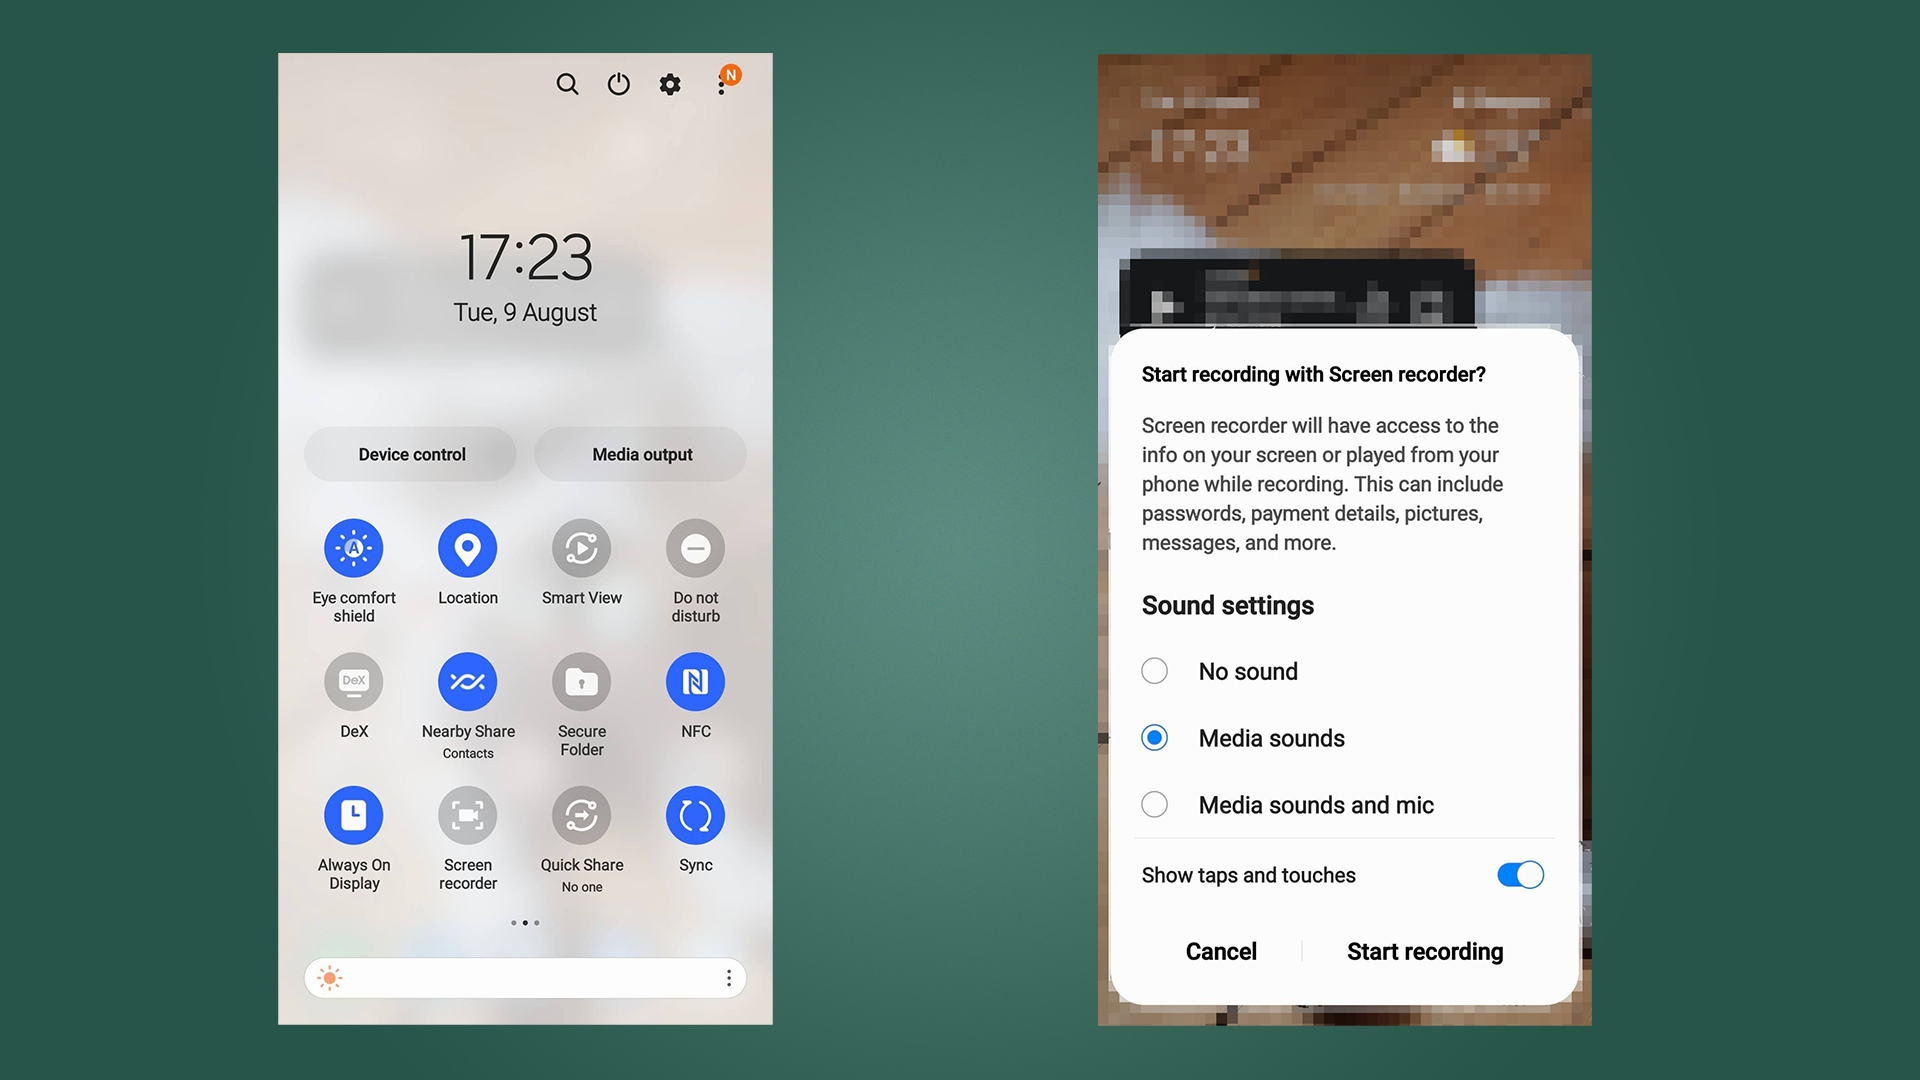
Whether you’re a content creator looking to record gameplay from an app, or you just want to show something funny to a friend, being able to record your phone’s screen is an incredibly helpful tool on both Android and iOS.
If you own a smartphone running Android, you can record the screen directly through the phone itself. This functionality was added to Android since the release of Android 11 back in 2020 and can be found on subsequent versions of Android.
The steps may vary slightly depending on what Android-based phone you’re using. With the Google Pixel 7 and Pixel 7 Pro debuting, you may want to find out how to record your screen on these devices if you're upgrading to them. With this in mind, we’ll take you through the steps required to record your screen on Android.
Recording your screen
- Drag your finger down from the top of your Android device
- In the menu, select 'record screen'
- When you're done, press 'stop record' to save it as a video
Tools and Requirements
- Android device running Android 11 or later
- Free memory storage on your smartphone (Either internally or from a Memory Card)
Step by step guide
1. Turn on your phone and pull down the notification bar
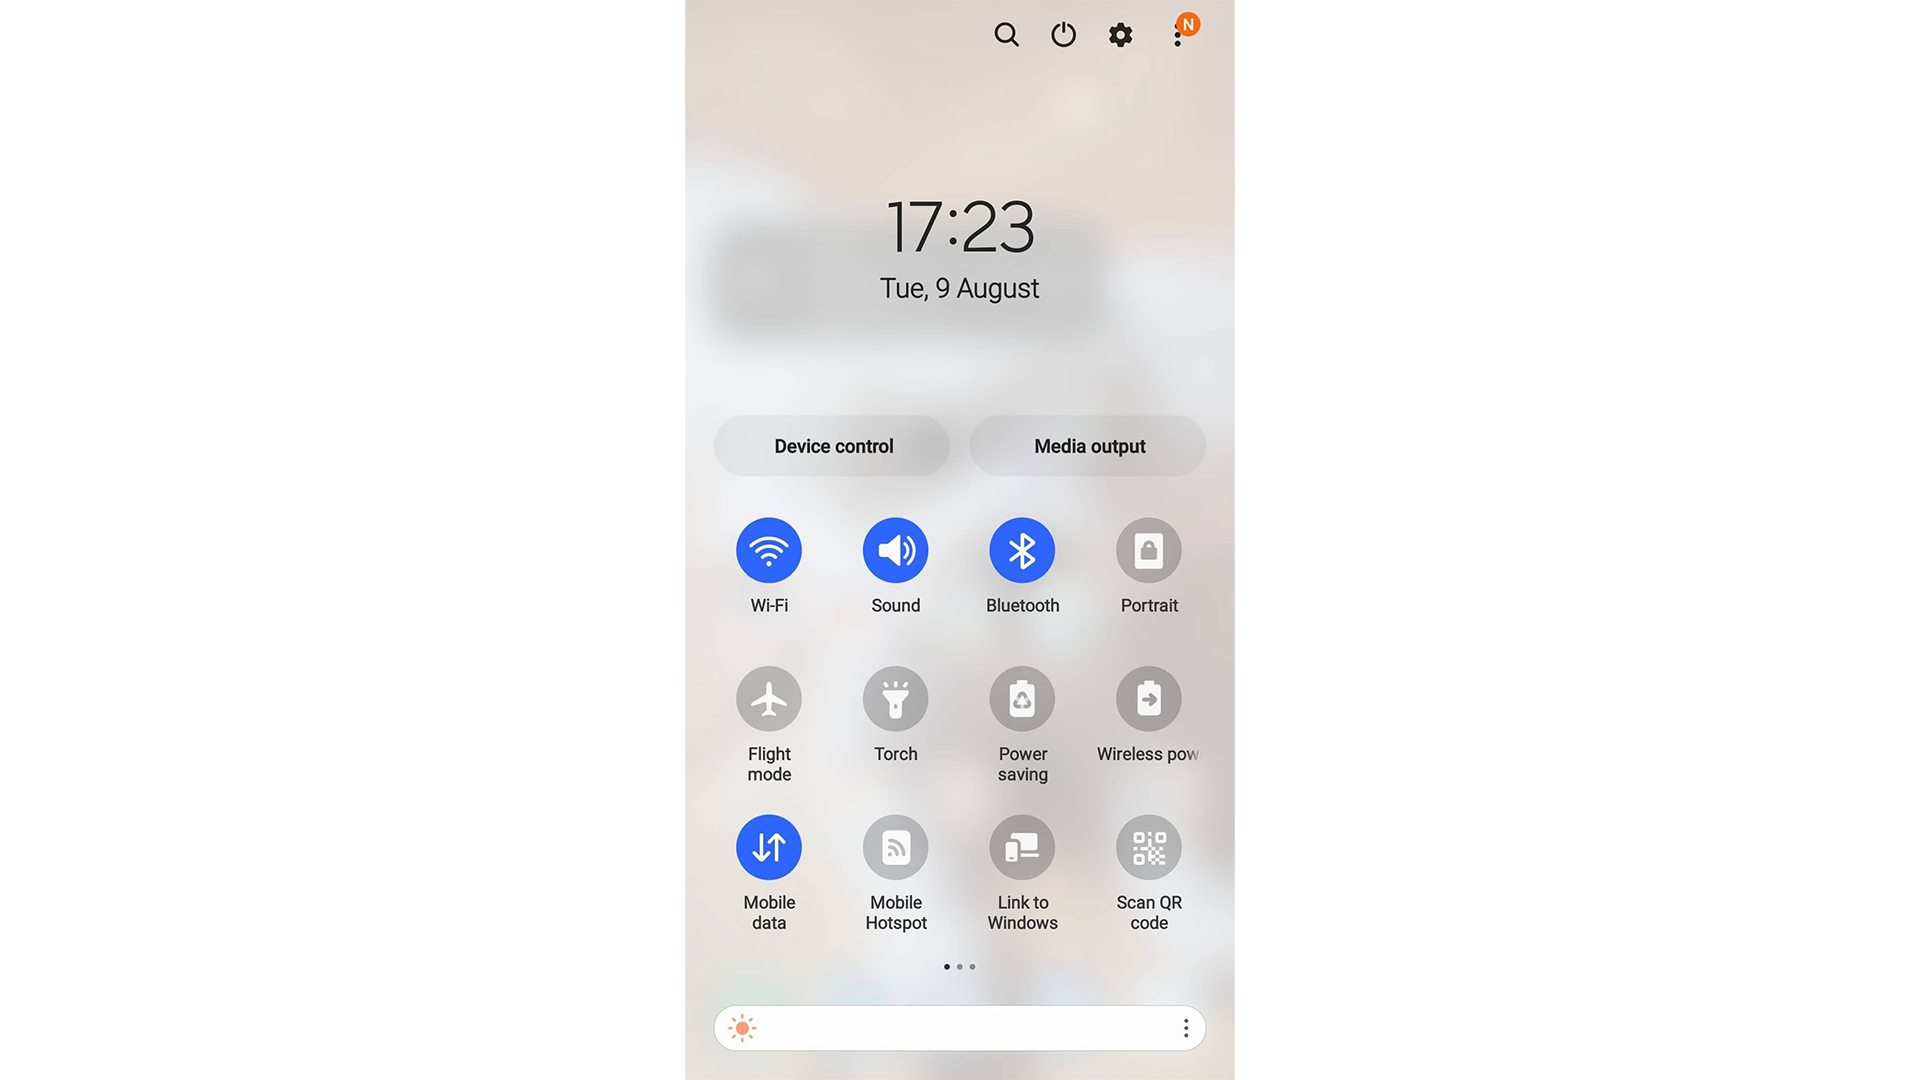
Your notification bar will be found at the top of your phone. To access it, just drag your finger from the top of the screen, in a downward fashion. Drag your finger a second time to access the full notification bar menu, which is where we will later find ‘Screen Recorder’.
For quick access, use two fingers the first time to instantly get access to the notification menu.
Some models of Android smartphones may require you to drag specifically from the top right side of the screen.
You’ll know you’re on the right menu when you see multiple icons for different functions, such as WiFi, Torch, Sound, Auto-Rotate, and Mobile Data. Among these icons is where we will find the ‘Screen Recorder’ function.
2. Find and select the ‘Screen Recorder’ icon to start recording
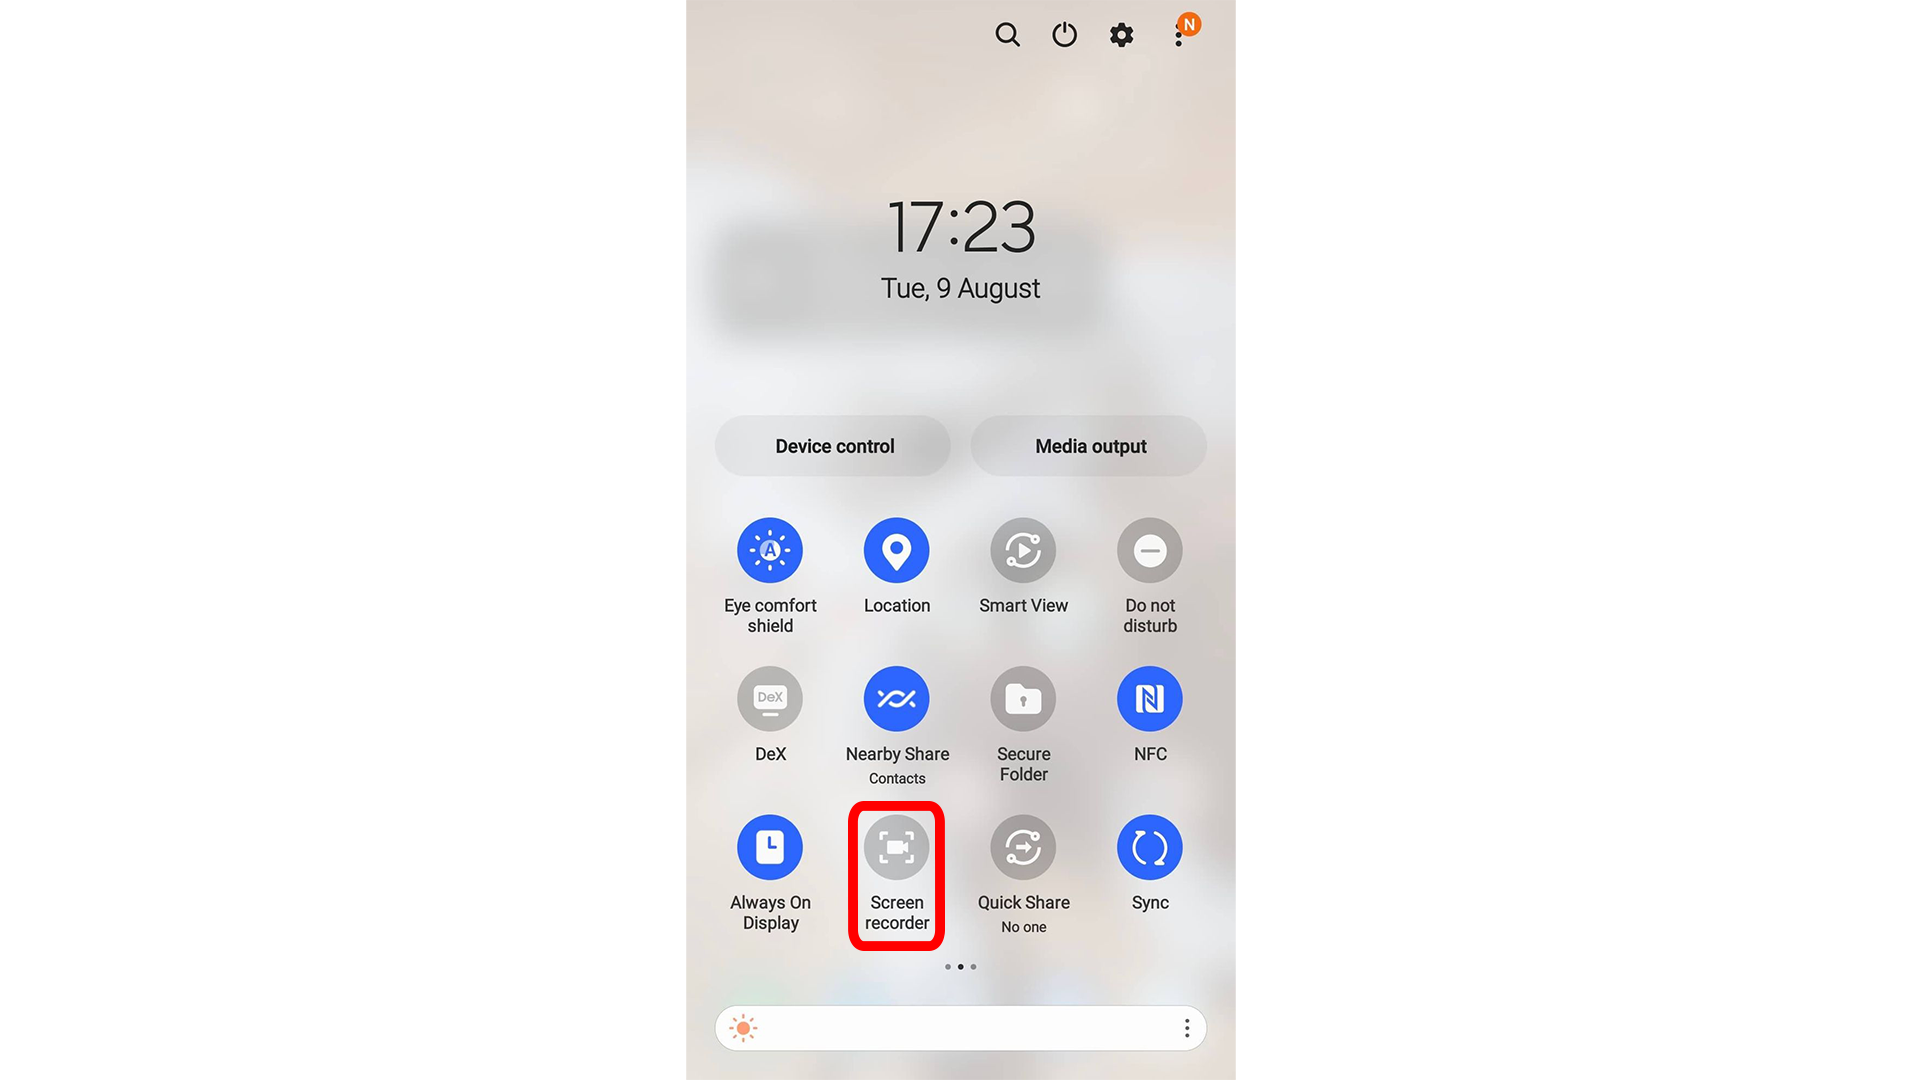
When viewing your notifications bar, you’ll find quick access to a lot of functions for your phone. These functions, like your phone's Torch, will be represented by their own grayed-out icon.
To find the ‘Screen Recorder’ icon, you may need to scroll to the second page. You can do this by dragging your finger from the right side of the screen to the left.
The ‘Screen Recorder’ icon will be represented by a small film camera, inside a dotted frame. Select the icon to begin recording.
3. Choosing between no sound or with sounds
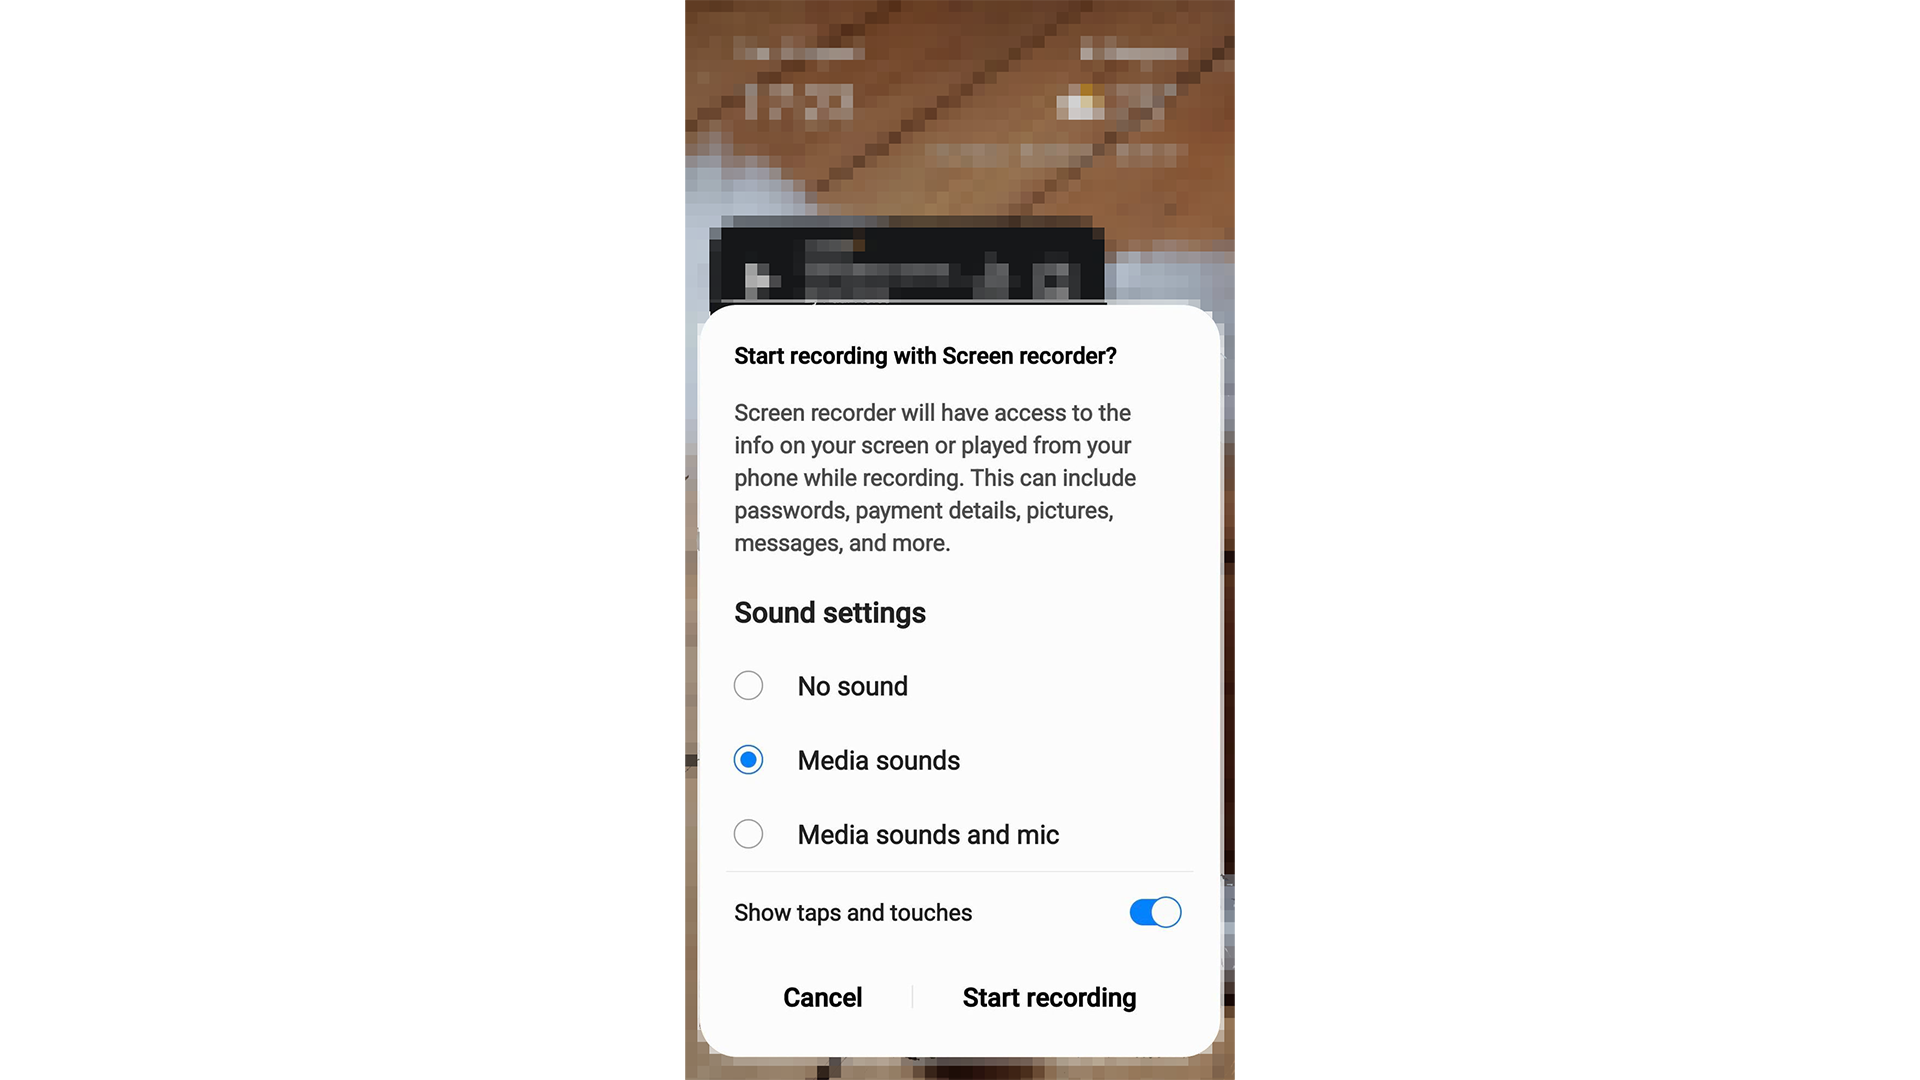
Selecting the ‘Screen Recorder’ icon will bring up a pop-up box. This box will warn you that while recording, this will mean anything you view on your phone, such as confidential information, passwords, etc, will also be recorded.
Do not view anything that displays any confidential or identifying information, while recording. Especially if you plan on uploading your screen recording online.
The pop-up box will also ask you how you want to record your phone’s screen, giving you three options to choose from. By selecting ‘No Sound’, when recording your phone, only the visuals will be recorded. Any sounds that may play from videos, or apps, won’t be included.
By selecting ‘Media sounds and mic’, sounds that may play from videos or apps will be recorded, as well as the audio picked up by your phone’s microphone. This can be helpful if you want to record a narration over the footage you are recording.
4. Your video will start recording after a three-second countdown
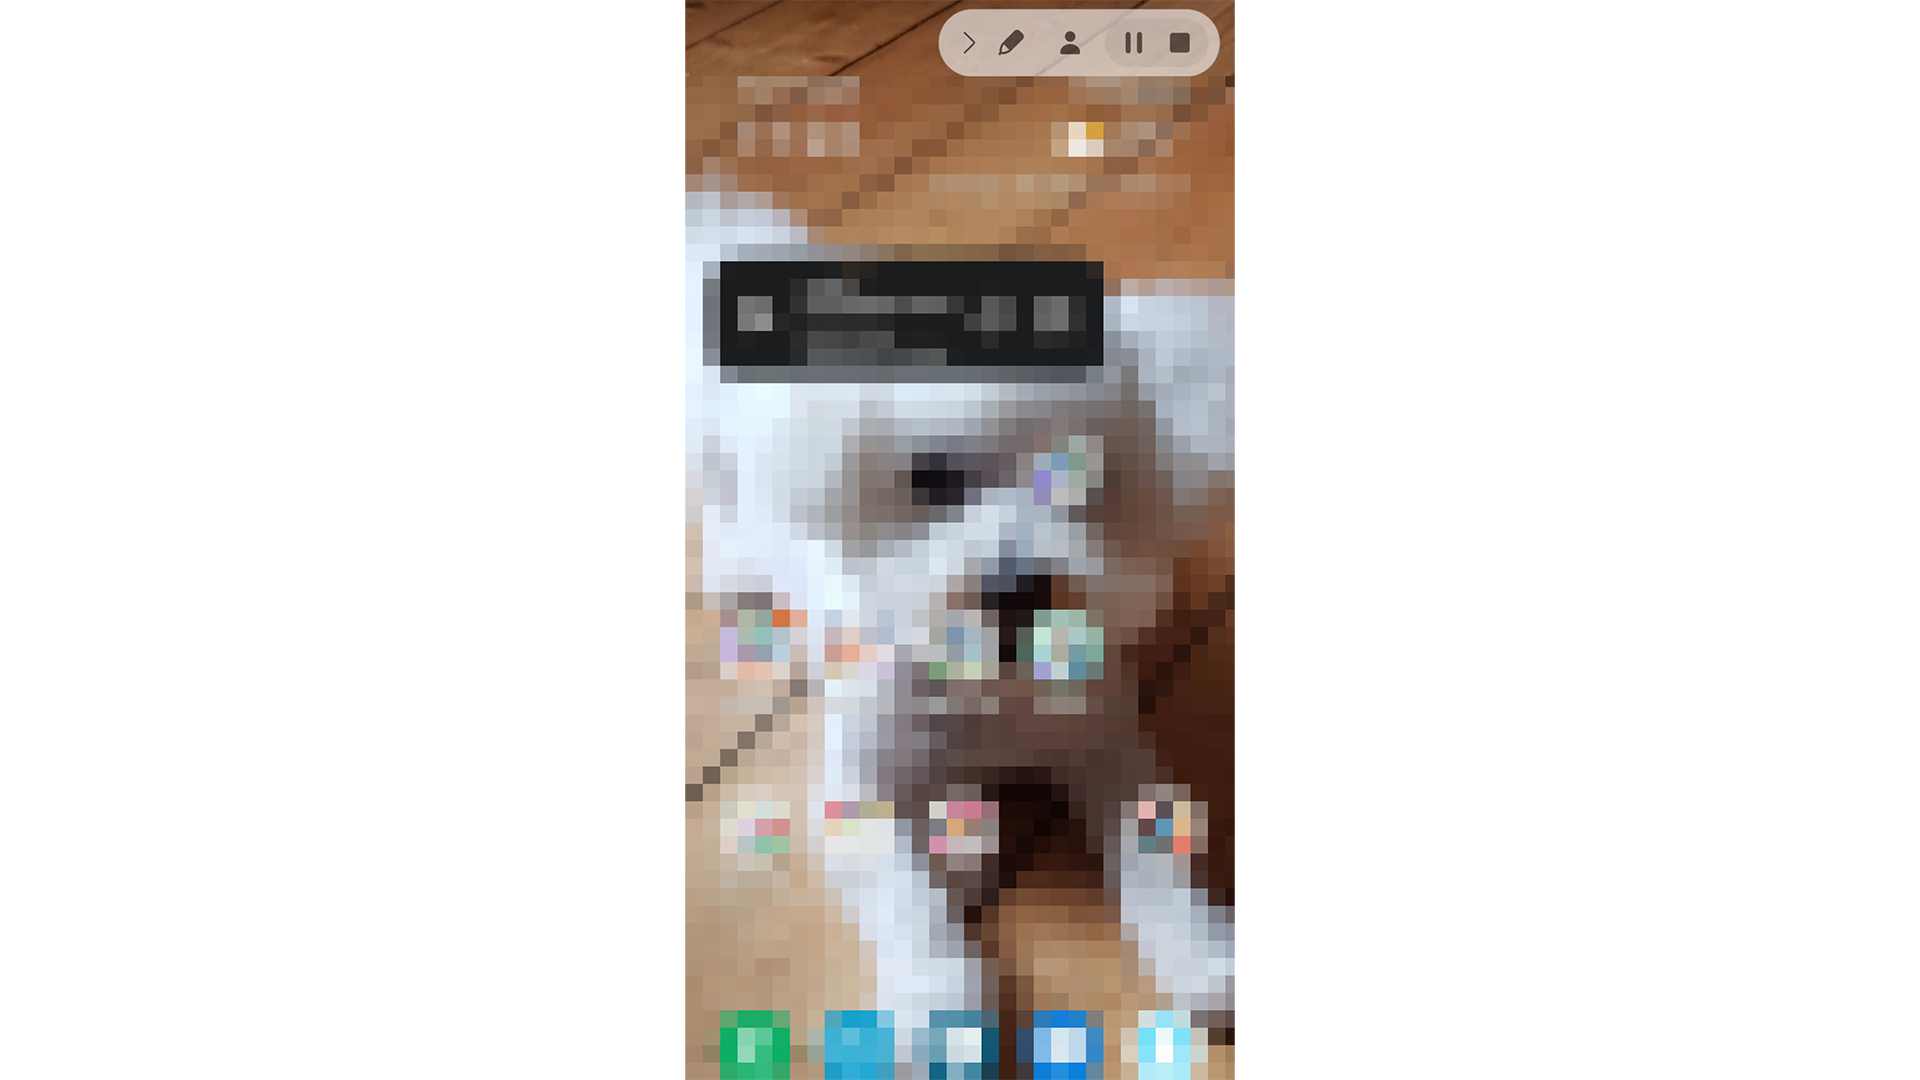
Some smartphones on Android will have a countdown before the recording starts.
The countdown will flash on the middle of your screen, and once it finishes, everything you do from that point onward will be recorded.
5. To stop recording, select the visible tab on your phone screen
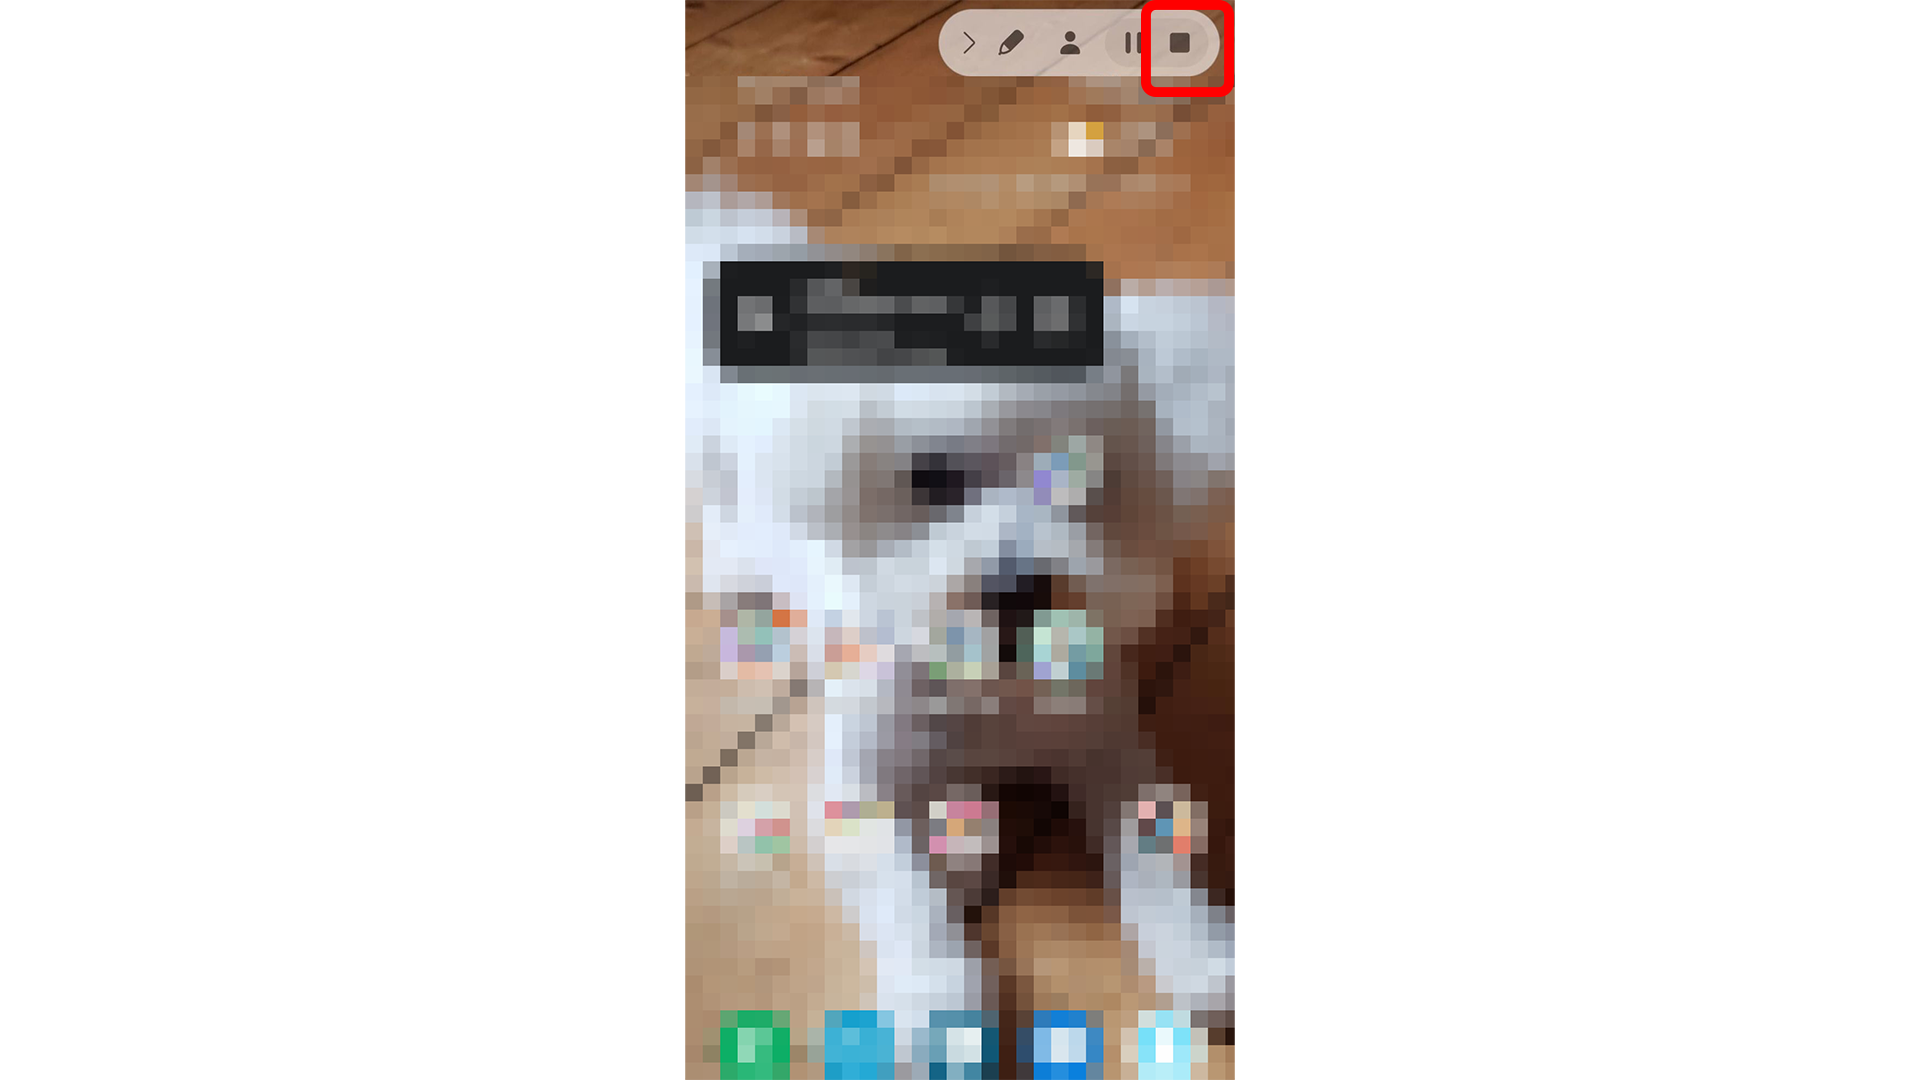
While recording, a tab will appear on your screen. This tab won’t be visible in the footage you record but instead is visible to you so you have access to settings during your recording process.
The tab will allow you to pause or stop your recording. To pause, select the icon that appears as two gray lines close together. To stop your recording altogether, select the icon that appears as a grayed-out square.
6. To get your footage, access your phone’s files or gallery
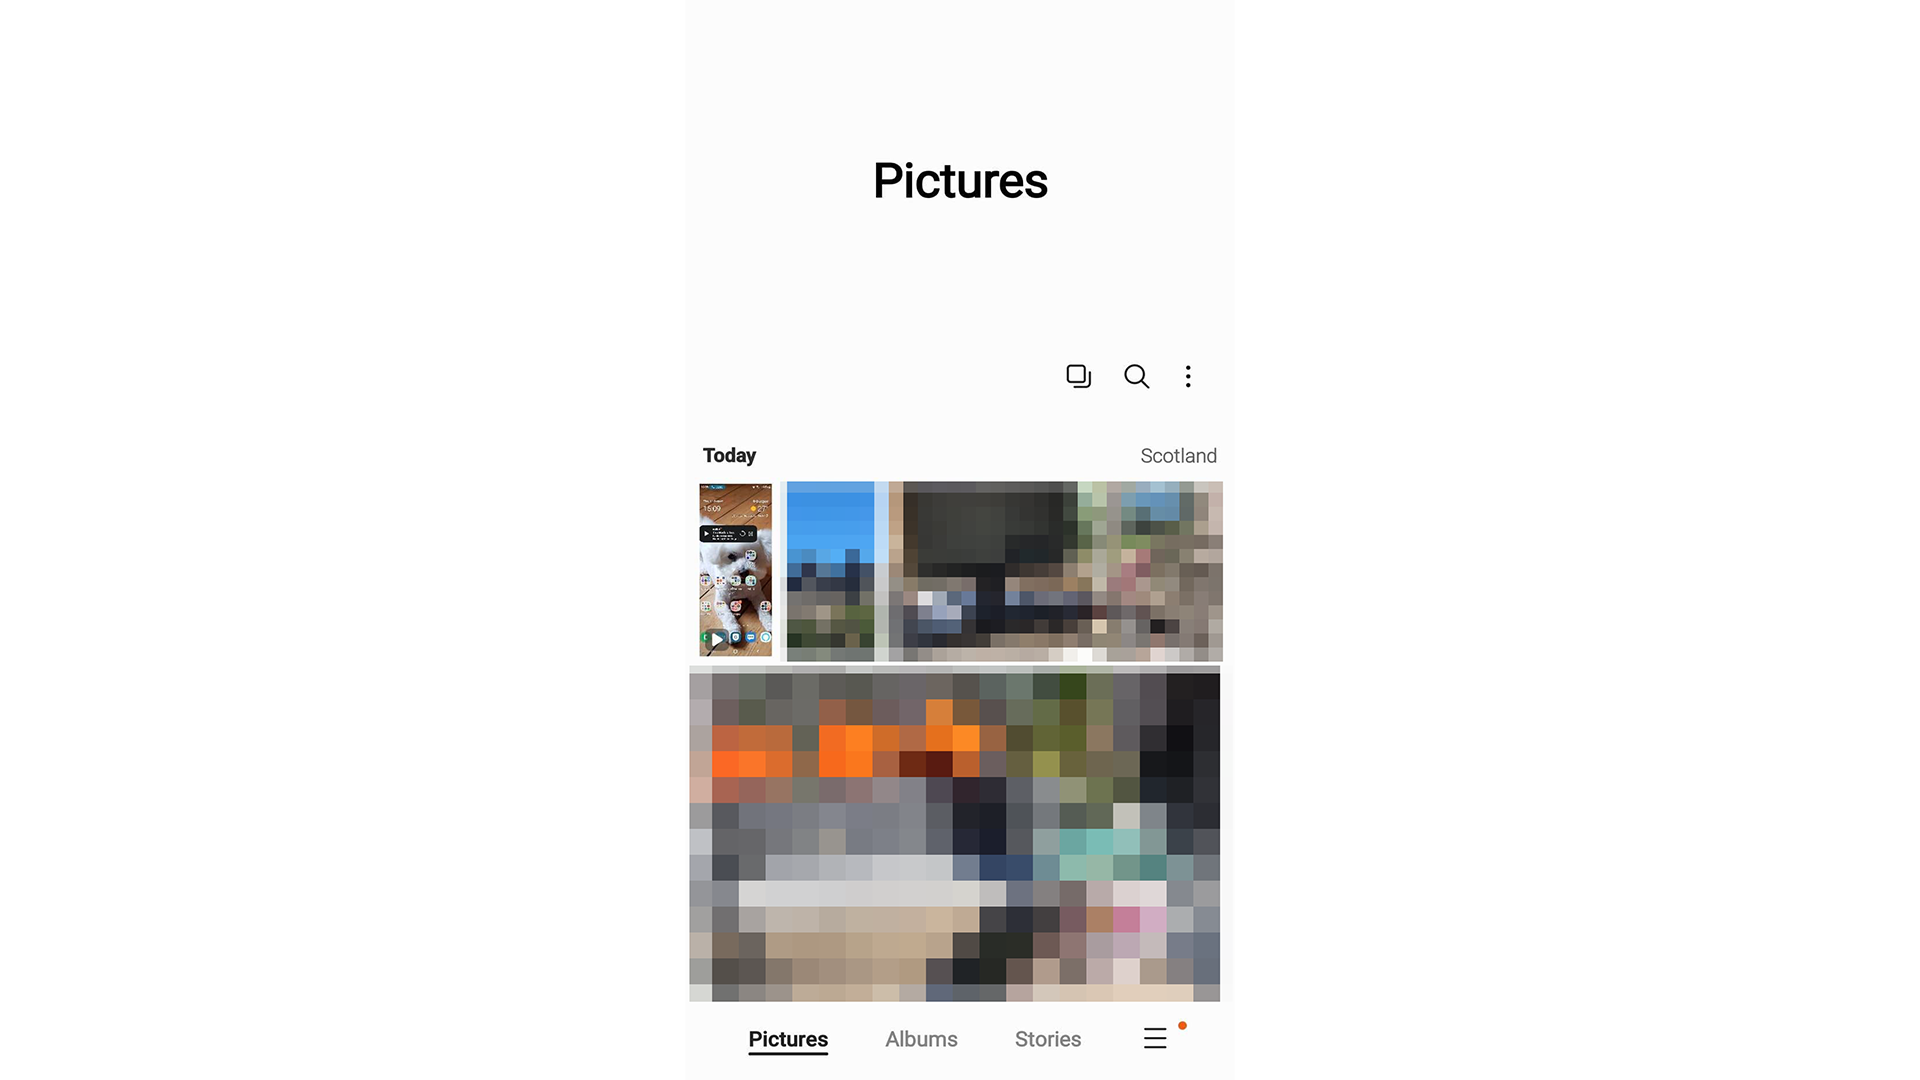
After you finish recording, your footage will automatically be saved to your phone.
You can access it one of three ways; via your phone’s gallery, via Google photos, or from your phone's files.
To find your footage, locate your Gallery app, the Google Photos App, or your ‘My Files’ app.
Selecting the app of your choice will allow you to see all the photos and videos you’ve taken on your smartphone. Along with any images you’ve downloaded from the internet or social media.
All of these apps function very similarly, and the screen recording you just took will be available as the most recent video, or file.
FAQs
Are there any screen-recording apps for Android?
Here are some of the screen recording apps we recommend, which can be found via the Google Play Store:
Screen Recorder - X Recorder (Inshot Inc)
Final thoughts
If you feel like the screen recording options built into your Android-based smartphone aren't in-depth enough for your needs, or you have an older phone unable to run Android 11 or the most up-to-date Android OS, you can use a third-party app to record your screen instead.
Though using a third-party app can be a helpful alternative, remember that some may require payment to unlock extra functions, and some may have advertisements that pop up during their use. Like with any app, read the reviews and research it to ensure that it’s the best option for your screen recording requirements.
Get daily insight, inspiration and deals in your inbox
Sign up for breaking news, reviews, opinion, top tech deals, and more.
