How to root an Android phone
Unlock your phone's bootloader to unlock its potential

Wondering how to root an Android phone? When you've exhausted all of the best Netflix movies, played every game on Xbox Game Pass, and read every iPhone 17 rumor on the internet, you'd be forgiven for considering such an audacious move.
Rooting is the Android equivalent of iPhone jailbreaking. And, like jailbreaking, Android rooting isn’t as popular as it was back in, say, 2012. We like to think it’s because almost every custom Android interface made by every major manufacturer is now pretty good.
One of the main things you can do with a rooted phone is to install a different version of Android, known as a ROM. Non-rooted Android phones let you change the top layer – the ‘launcher’ – but not the whole lot beneath.
In this article, we examine the advantages and disadvantages of rooting an Android phone, and explain how to do it.
Before you start
Before you root your Android phone, it's important to be aware of the consequences for your device's software, security, and warranty. Below, we've listed the advantages and disadvantages of rooting.
The disadvantages
You can easily brick your phone during the root procedure, or at least send it into what’s called a boot loop. This is where Android doesn’t load properly, likely sending you into a spiral of headaches that might, if you’re lucky, end up back where you started after hours of effort.
The best way to avoid this is to follow installation instructions very carefully. Doing this doesn't guarantee that things will go well, but usually allows you to navigate around unfortunate events caused by sheer carelessness.
Get daily insight, inspiration and deals in your inbox
Sign up for breaking news, reviews, opinion, top tech deals, and more.
A rooted phone is also more susceptible to certain security threats. You give third-party software deeper access to the phone, bypassing security layers that Google put into the Android OS for good reason.
This is why banking apps can’t be used with most forms of rooted Android. A few methods still allow for this sort of access, but banks don’t block rooted Androids because they're party poopers. It’s because rooting is unsafe, and using an unusually exposed device for this sort of stuff can prove costly to both the bank and you. Don’t be stupid.
Rooting your phone will also invalidate its warranty, which is why we tend to only recommend trying it out on older Androids. Ideally your ‘old’ phone, not your current one – in case something bad does happen in the process.
Some types of root will also stop your phone from receiving official OTA (over-the-air) software updates. And the first step of the process, unlocking the bootloader, will also completely erase your data. So, make sure to back up anything you don’t want wiped before you start.
The advantages

Not put off yet? There are some decent enough reasons to root your phone.
The first is for the pedants. You can remove bloaty system apps in rooted phones. These are the ‘junk’ apps manufacturers pre-install, but don’t let you uninstall.
We don’t find these particularly annoying anymore. The majority take up barely any space, and the manufacturers that shovel on the most will often have an option to ‘hide’ apps without uninstalling them. They may take up a few megabytes of storage, but won’t take up a space in your app drawer.
Custom ROMs are potentially more interesting. These are alternative Android-based operating systems, replacing the one installed by default on your phone.
They may look different, and will usually have a slightly different layout and additional features. Some let you run the CPU at a faster clock speed. And, the most important bit, these ROMs have been updated years after your own old Android stopped receiving updates.
LineageOS is a good example. The version available for the Moto G (2015) is based on Android 10, whereas the last official update for that phone is Android 6.
There are also some apps that only work on rooted phones. These include AdAway – an ad blocker – and Viper4Android, which is a system-level audio enhancer. Rooting gives apps deeper access, allowing them to do things ordinary apps simply cannot, impacting your experience as other apps are used.
Fully convinced about rooting your Android phone? Let's get into the steps.
Tools and Requirements
- An Android phone
- A Windows PC
- Android SDK Platform Tools on your PC
- Team Win Recovery Project on your PC
- Magisk on your Android phone
- A USB cable
The basics
The rooting process varies depending on the phone you use and the method. Rooting is not as simple as it once was, in part because Android is a more secure system than it was back in the pre-Android 7 days.
We’re going to guide you through the most common method in 2024. It can be broken down into three stages, and you will need a Windows computer.
First, we prep the phone so it can connect to your computer properly. Then we unlock its bootloader, the starter motor of your phone that gets the actual Android software running. This lets us fiddle with what goes on before Android is loaded.
We wedge another piece of software in before this Android loading happens and use it to modify the Android kernel, the bridge between the phone’s hardware and the operating system.
Step-by-step guide for how to root an Android phone
1. Unlock your phone’s developer mode
First, we need to unlock your phone’s developer mode. Go to Settings > About Phone and tap Build Number seven times to add a Developer options section to its Settings menu.
In this Developer section, which should now appear in Settings, we need to enable OEM Unlocking and USB Debugging, which have separate entries in the menu. If you can’t find the new Developer section, use the search box in Settings.
2. Download Android SDK Platform Tools
Next up, download Android SDK Platform Tools on your computer. This lets the phone communicate properly with your PC.
Install it to a folder of your choice on your computer. We recommend a short folder title, as we’ll have to type it in manually later.
You may also need to dig out your phone's USB drivers. A Google search can help you with that one, but you may find they install automatically when you plug your phone into your laptop with a USB cable.
3. Unlock the bootloader
The next step varies depending on the phone you use. We’re about to unlock the bootloader, the one piece of interface we can access before Android proper runs.
For example, with our tester Moto G4, we had to get a bootloader unlock code from Motorola’s own website. But some other phones don’t demand that sort of interaction.
Have a OnePlus 9? On your laptop, bring up the Command Prompt app by typing CMD into the search box on the taskbar, then navigate to the folder in which you installed the Android SDK Platform Tools earlier.
Not au fait with command prompt commands? If you installed those tools into a folder called Tools, you’d type ‘cd tools’ to get into that folder. ‘cd..’ takes you out of a folder if you need to get back to the root of your C drive. And if all this sounds like techy drivel, consider whether you should really be going around rooting phones.
Next, type ‘fastboot flashing unlock’ to unlock the bootloader.
This is just one example of the sort of process involved. You’re best off searching the internet for the specific procedure involved with your phone. And, as with all things rooting-related, the XDA Developers forums are an essential resource.
The entire point of this article is to introduce rooting to people who don’t have the sort of base-level knowledge required to understand what the folks over at the XDA Developers forums are going on about.
4. Download TWRP
Our next step is to get TWRP up and running. This is Team Win Recovery Project, and is the software we’ll use to flash our Android.
On the Devices page on the TWRP website, you’ll find versions for stacks upon stacks of phones. They come as an ‘img’ format file, and we want to download this to the computer, not the phone, at this point.
Download the file and transfer or copy it to the folder in which you put Android SDK Platform Tools in the last step of this guide. We recommend renaming it to ‘twrp.img’, as it will have the full name of the phone in the file name as standard and – again – we’re going to have to type it out shortly.
Plug your phone into your laptop/desktop and bring up Command Prompt once more by typing CMD into the search box on the taskbar. Then navigate to our trusty Android SDK Platform Tools folder once more, the folder into which we just dropped the twrp.img file.
5. Load up TWRP on the phone

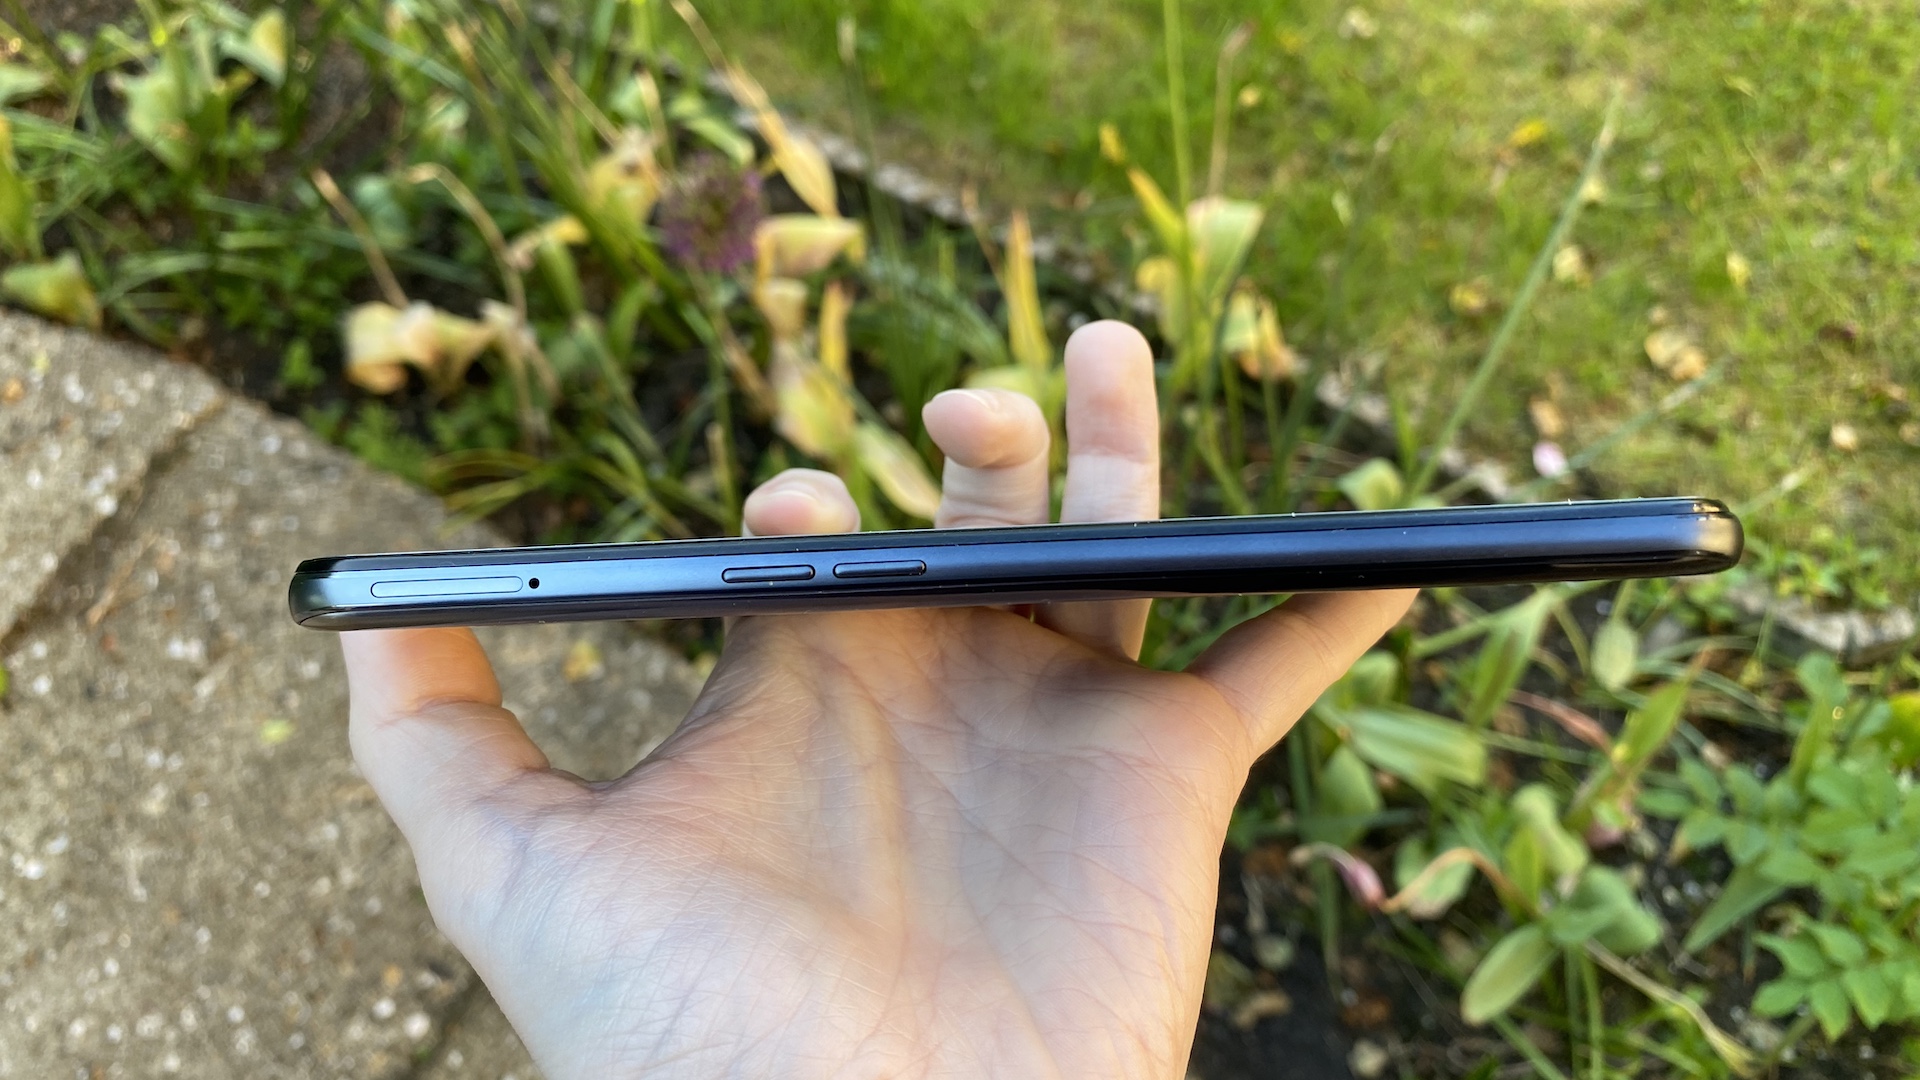
Power off your phone and get it to go into its own bootloader by pressing and holding down the power and volume down buttons at the same time while powering up. You can hold them down until the text-based bootloader screen appears. If this doesn’t work, your phone may need a different button gesture. Google can help.
Now, back to the laptop/desktop. In Command Prompt, type ‘fastboot flash recovery twrp.img’. The feedback on-screen may make it look like the procedure hasn’t worked, but it should have. Use the volume buttons on the phone to select ‘Recovery’, and then tap the power button. After a few seconds, the phone should boot into TWRP.
For now, use the reboot option in TWRP to get back into Android proper.
6. Download Magisk
The method we’re using for this root demo calls for Magisk. This is a rooting tool that does not overwrite or edit your phone’s system. It means some things that would usually be blocked for rooted devices may not be, but we still think you should be exceptionally careful when using a rooted phone for sensitive things like online banking. In other words, don’t do it.
Download Magisk from GitHub on your phone. There are sites dedicated solely to the software, but these are reportedly unofficial sources. They may offer compromised downloads, or may just be there to make some money off display ads, but you should always download from the official source if you can.
7. Install Magisk

Have that file downloaded? Turn your phone off again. Use the power/volume down (or similar) gesture to get to the bootloader screen, then use the volume buttons to select Recovery. This should take you back to TWRP again.
From here, select Install and head to the download folder to find the Magisk file. Select it, install it, and then run the Wipe Cache & Dalvik option at the bottom. We’re not 100% sure this is essential, but it seems to be the done thing. Now reboot and the phone should launch into Android once more.
Launch the Magisk app and update it to get the full app’s interface. And there you go, you’re done. You have a rooted phone in your hands. There are apps available on Google Play that can check whether your phone is properly rooted or not.
Troubleshooting

The last part of the above guide sounds easy, but we actually ended up almost ruining our Moto G4 test phone in the process. Proof that no two Androids are identical in rooting behavior, it refused to boot at all. Just a black screen following that Magisk installation.
We thought we’d bricked the thing completely, but could get back into the bootloader, which we then used to reinstall the ‘stock’ ROM – the software the phone has as standard – from scratch.
So, did we get it working? We did. The Moto G4 apparently needs to run a custom kernel called ElementalX before Magisk will work properly.
Most of you should hopefully have no such issues, but it’s a reminder of the pitfalls of rooting, and the headaches it can cause. And as noted earlier, the XDA Developers forums are the place to head with issues. Any questions you have may well have already been asked there, or on Reddit.
Also consider
- Make the most of your phone with the best Android apps
- How to back up an iPhone
- How to transfer your data from iPhone to iPhone
Andrew is a freelance journalist and has been writing and editing for some of the UK's top tech and lifestyle publications including TrustedReviews, Stuff, T3, TechRadar, Lifehacker and others.
