How to set up your new iPhone 14
Get up and running with your new iPhone in no time
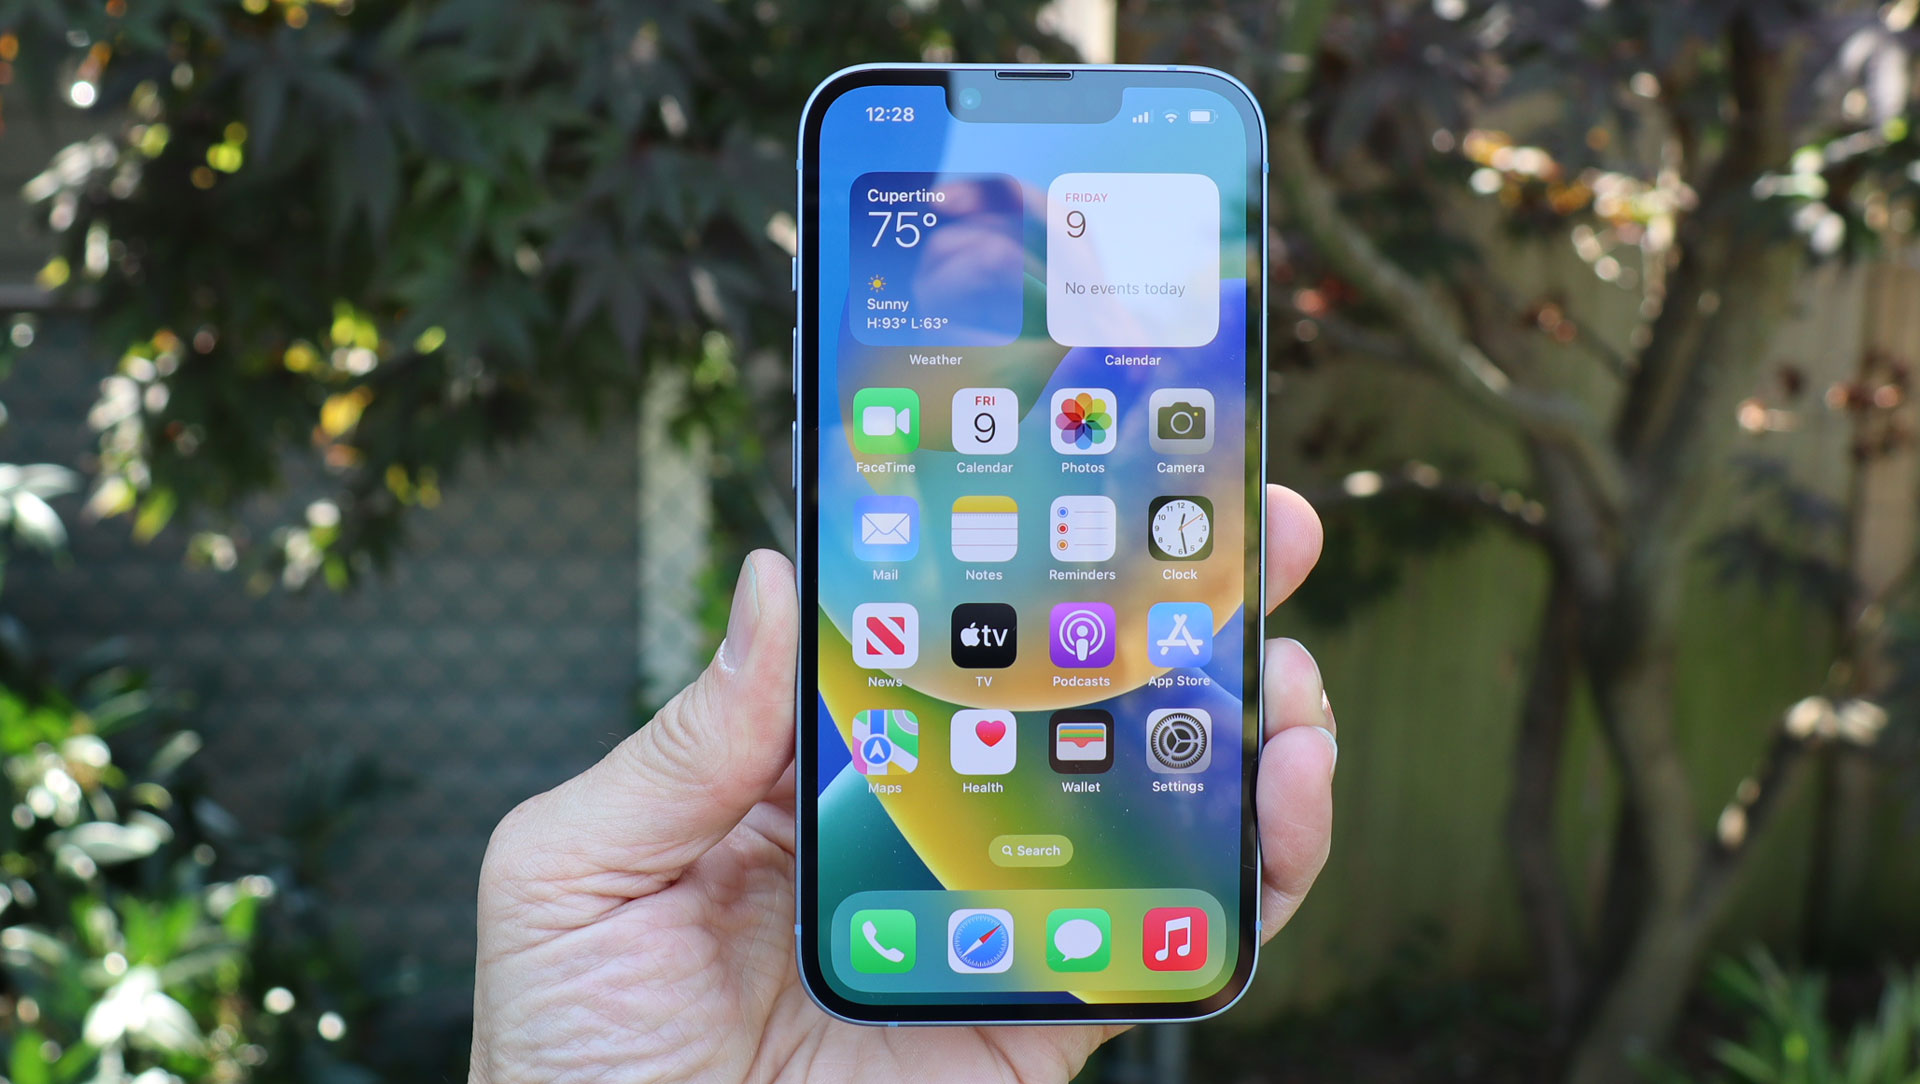
If you’ve been lucky enough to get an iPhone 14 for Christmas – whether it was a treat to yourself or gifted from someone else – then you’ll need to set it up before you can start making use of all its excellent features.
In our iPhone 14 review we praised the iPhone 14’s TrueDepth camera, emergency satellite communications, and impressive battery life, among other things, so there’s plenty to get stuck into – and fortunately, getting your new iPhone 14 up and running is fairly straightforward.
Below, we’ll guide you through that process, whether you’re new to iPhones or are upgrading from an older model, or from Android. And while we’re focusing on the iPhone 14 here, the setup process is largely the same for other iPhones too.
1. Switch on your iPhone 14 and choose your setup method
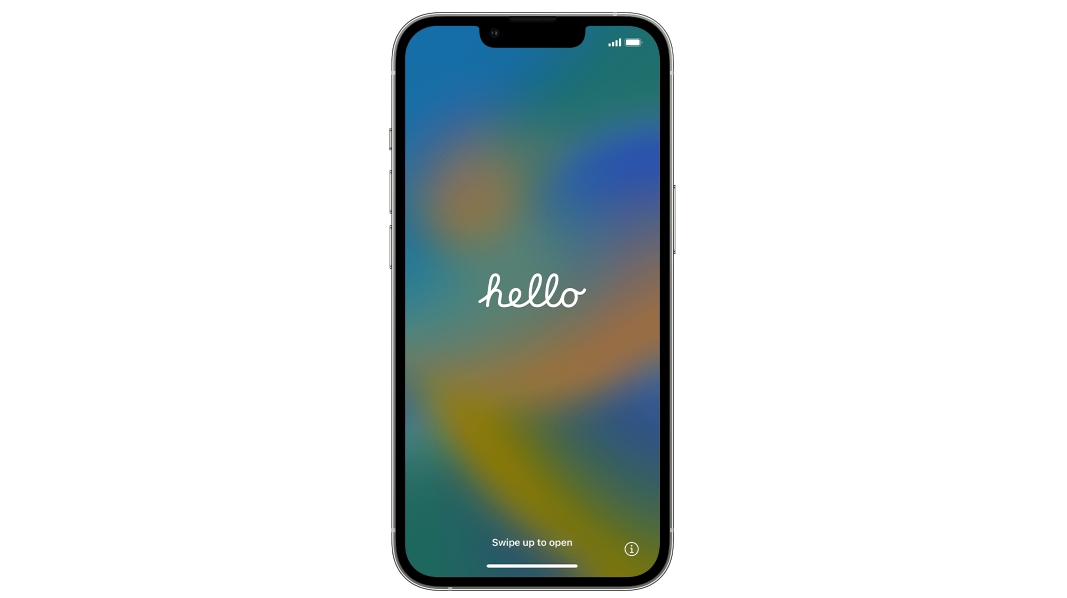
You've probably worked this bit out already, but the very first step is to switch on your iPhone 14. Do this by pressing and holding the power button on the right edge until you see the Apple logo.
You’ll then see ‘hello’ written on the screen, and the display will cycle through various languages, but just swipe up to get started.
If you’re visually impaired you can turn on the Zoom or VoiceOver accessibility features here. You’ll then be asked to choose whether you want to use Quick Start or set up the device manually.
You should pick the former option if you have access to an old iPhone or iPad, while you should choose the latter if not.
Get daily insight, inspiration and deals in your inbox
Sign up for breaking news, reviews, opinion, top tech deals, and more.
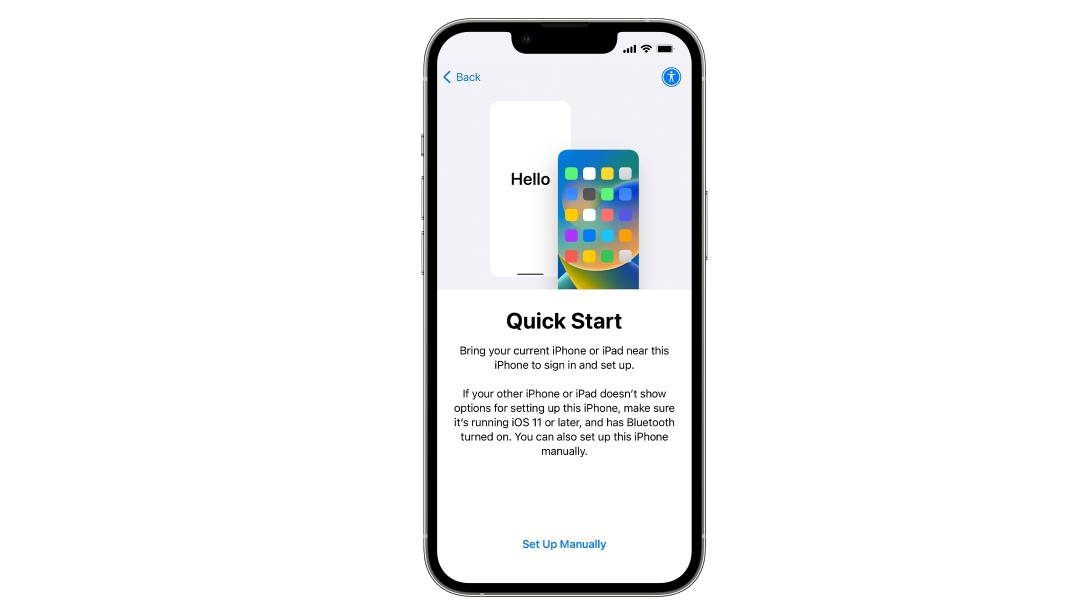
The process is similar in either case, but where there are differences we’ll highlight them below.
2. Connect to Wi-Fi
If you’re using Quick Start, turn your old device on, ensure that Wi-Fi and Bluetooth are both enabled, place the device next to your new iPhone 14, then follow the initial instructions.
Whether you're using Quick Start or manual setup, you should shortly be asked to connect your iPhone 14 to Wi-Fi or a mobile network, so do this by tapping the relevant Wi-Fi network and entering the password.
Or, if you’d rather use a mobile network (and your new iPhone 14 has an active SIM card or eSIM) you can tap ‘Continue without Wi-Fi’.
3. Set up security
Next you’ll be asked to set up Face ID on your iPhone 14, so that you can unlock it just by looking at the screen.
Follow the on-screen instructions for this, after which you'll be prompted to create a six-digit passcode, which is used as an extra level of security at times, and as a back-up if Face ID fails.
You can also tap Passcode Options to use a four-digit passcode, a custom passcode, or no passcode – though we wouldn’t recommend that last option.
4. Restore or transfer your data
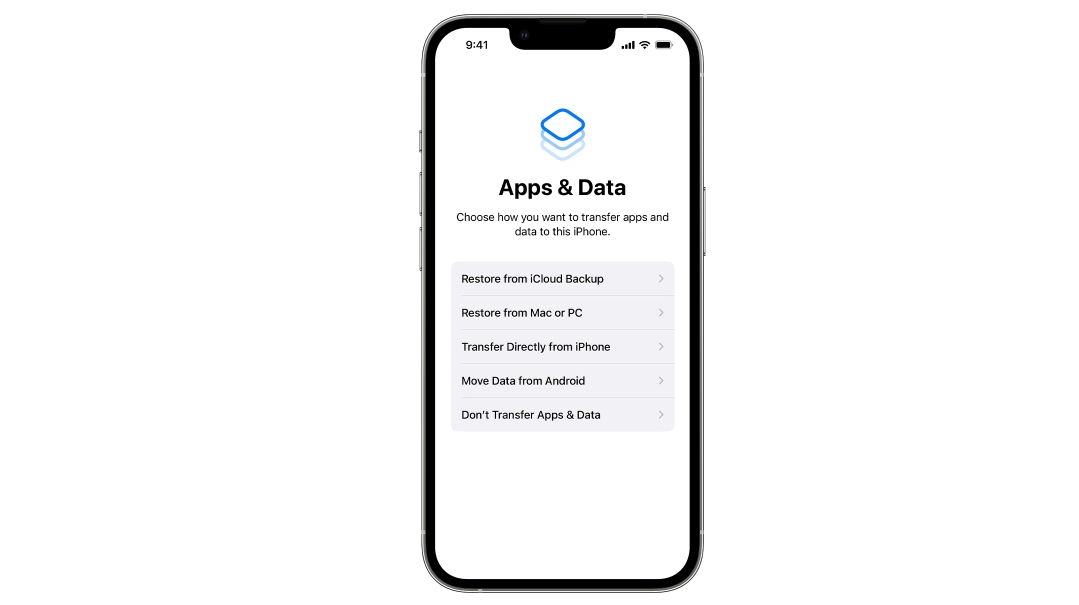
The most time-consuming part of setting up an iPhone 14 is restoring or transferring apps and data from either your old device or the cloud.
You’ll be presented with a number of options, including transferring from an iCloud backup, transferring from another iPhone, transferring from a backup on your computer, or moving data from an Android phone.
Most of these options will prompt you to sign in with your Apple ID, and in the case of iCloud your data and apps will be downloaded in the background, so you can start using your iPhone 14 before all the content is restored.
If you’re restoring it from an old device or a computer then you’ll have to wait while the process is carried out.
Whichever method you choose, there will just be a few simple instructions to follow, but note that if you’re restoring data from an old phone then you should keep it next to your iPhone 14, and that if you’re restoring from Android you’ll need to download the Move to iOS app on your Android phone.
If in doubt, check out our full guide on How to switch from Android to iPhone or How to transfer your data from iPhone to iPhone.
If you don’t have a device to restore data from, or you want a clean slate on your new phone, just select ‘Don't Transfer Apps & Data’ instead.
5. Finish setup
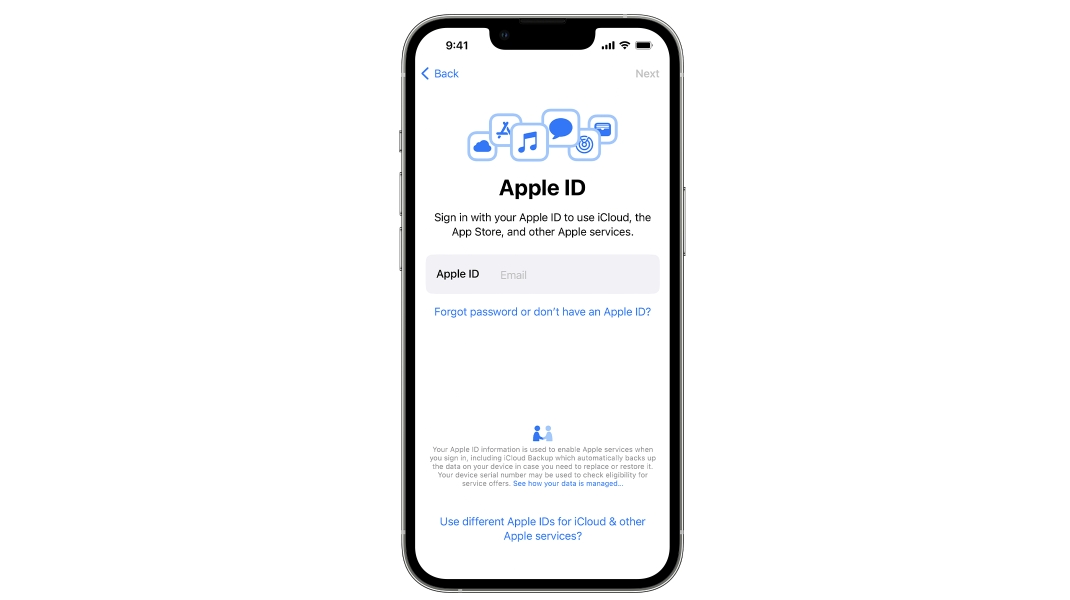
If you haven’t already been asked to sign in with your Apple ID, you'll be prompted to do so now. So do this, or select 'Forgot password or don't have an Apple ID?' to create one.
Then there are just a few final steps which the on-screen instructions will guide you through. These include allowing iOS to automatically update, choosing whether to enable location services and analytics, and setting up Siri, FaceTime and iMessage.
Finally, you’ll be asked whether you want to enable Screen Time, which provides information on how much time you spend using your iPhone. You’ll also be able to toggle or customize various display options at this stage, such as Display Zoom, which adjusts the size of icons and text on the home screen.
You can of course change any of these settings after you’ve finished setting up your phone.
With that done, you’ll be presented with your iPhone 14’s home screen, and you're free to start using it. If you’re not sure where to start, check out our iPhone tips and tricks guide, or head to our best iPhone apps and best iPhone games guides to load your iPhone up with content.
James is a freelance phones, tablets and wearables writer and sub-editor at TechRadar. He has a love for everything ‘smart’, from watches to lights, and can often be found arguing with AI assistants or drowning in the latest apps. James also contributes to 3G.co.uk, 4G.co.uk and 5G.co.uk and has written for T3, Digital Camera World, Clarity Media and others, with work on the web, in print and on TV.