How to speed up Ubuntu 18.04
Turbo charge your Ubuntu installation
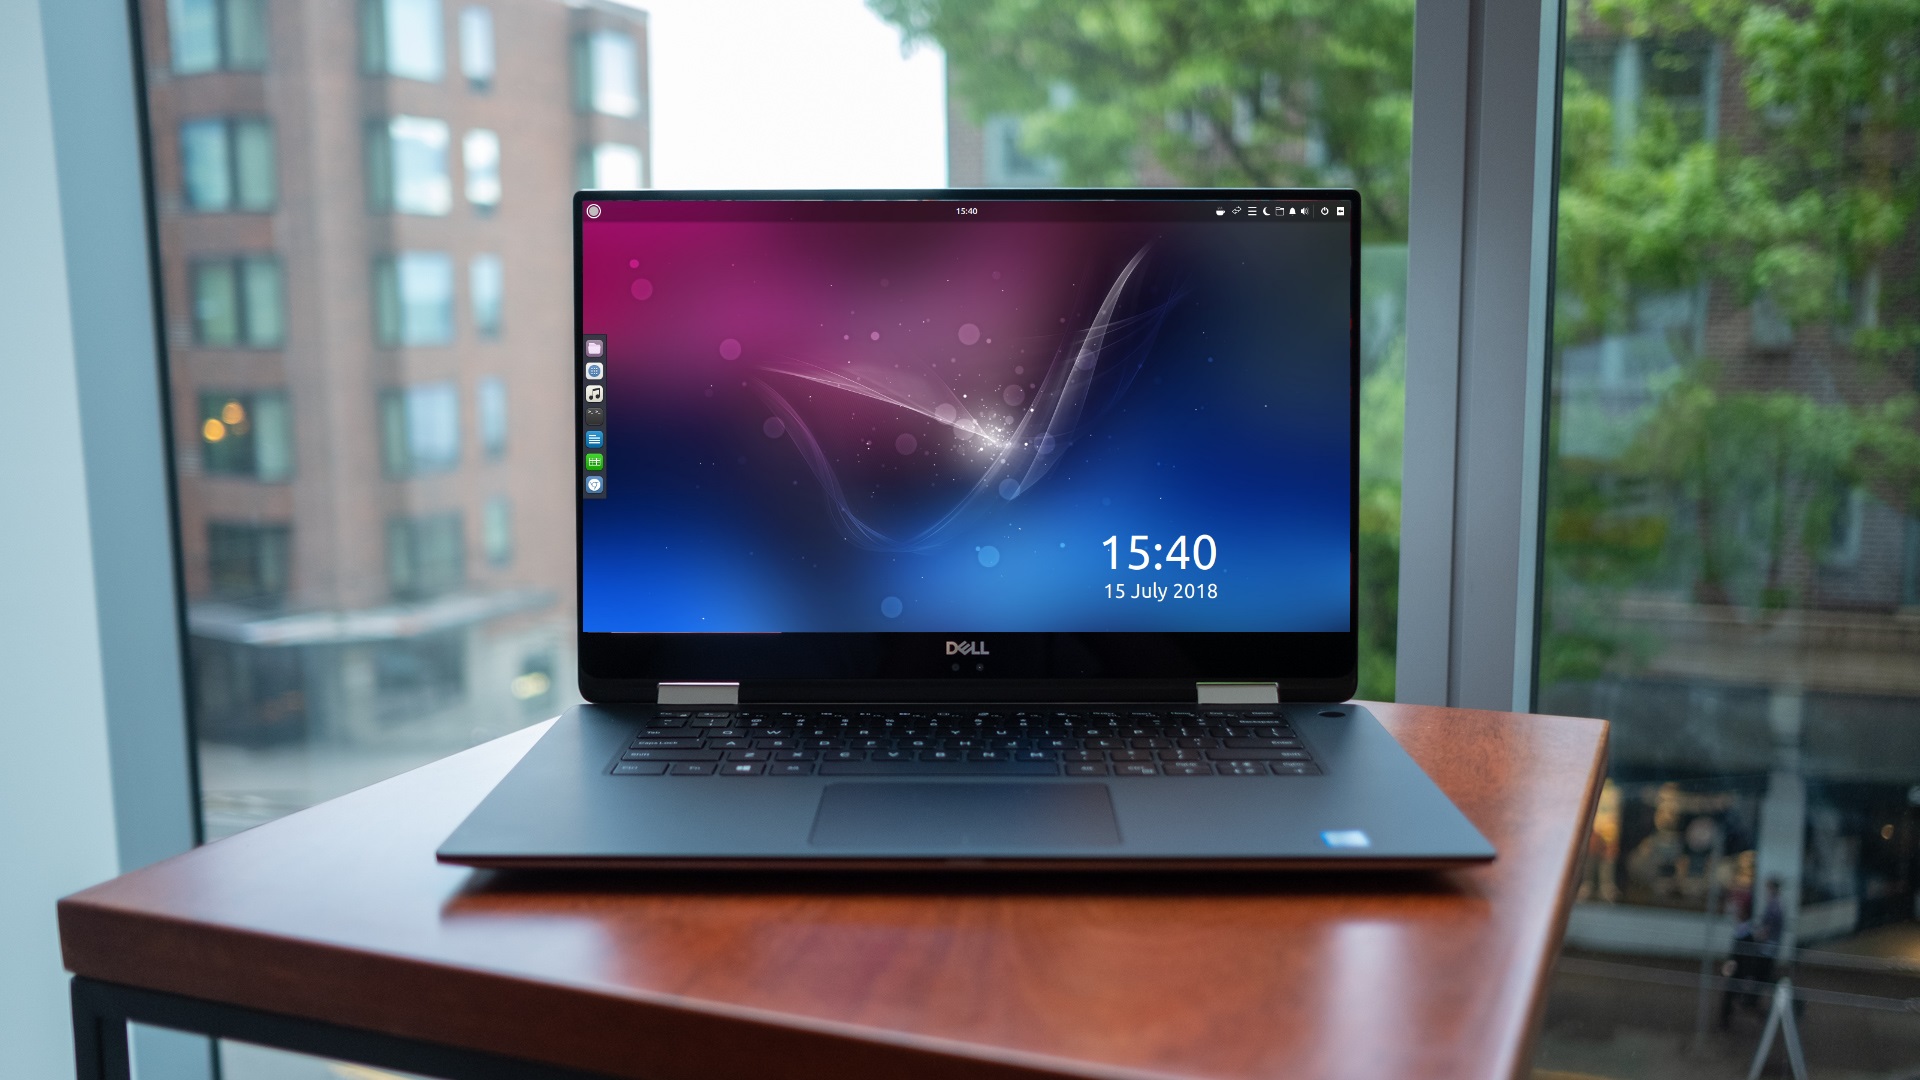
In this guide we'll show you how to speed up Ubuntu 18.04, currently the most recent version of the Linux distribution from Canonical. The Ubuntu operating system is based on the Linux kernel. Both are free and open source software, meaning that the code used is available online for others to use and review. Canonical, the main developers of Ubuntu, work with the Linux Community to make sure the OS is as efficient as possible.
Over time however, your Ubuntu 18.04 installation can become more sluggish. This can be due to small amounts of free disk space or possible low virtual memory due to the number of programs you’ve downloaded.
In this guide on how to speed up Ubuntu 18.04, you’ll discover our ten best tips to make sure your Ubuntu 18.04 system fires on all cylinders. These Ubuntu speed up tips cover some obvious steps such as installing more RAM, as well as more obscure ones like resizing your machine's swap space.
1. Restart your computer
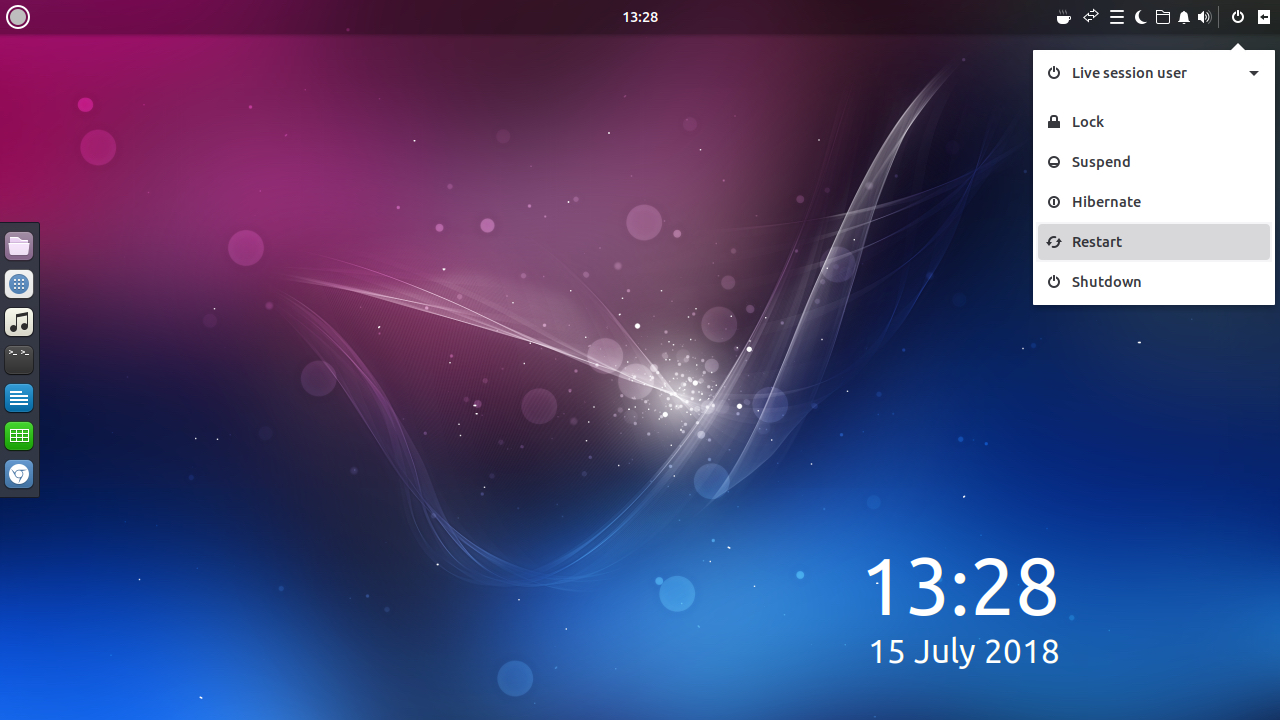
While this may seem an obvious step, many users keep their machines running for weeks at a time. Although your display may automatically go to sleep, any running processors will continue. This means that over time they can accumulate and slow down your computer.
An easy way to speed up Ubuntu 18.04 is by shutting down your machine every day when you’ve finished using it. Try to close any running programs and save any open files before your do so. If your computer has slowed down so much that you can’t even access the Ubuntu system menu to shut down, hold down your machine’s power button until it’s fully powered off.
2. Keep Ubuntu updated
Canonical continually releases updates for Ubuntu, and these are designed to fix common bugs which reduce system performance. Some of these updates are fairly minor, whereas others, such as new versions of Ubuntu, are released twice a year and make significant changes to your system, maximising efficiency.
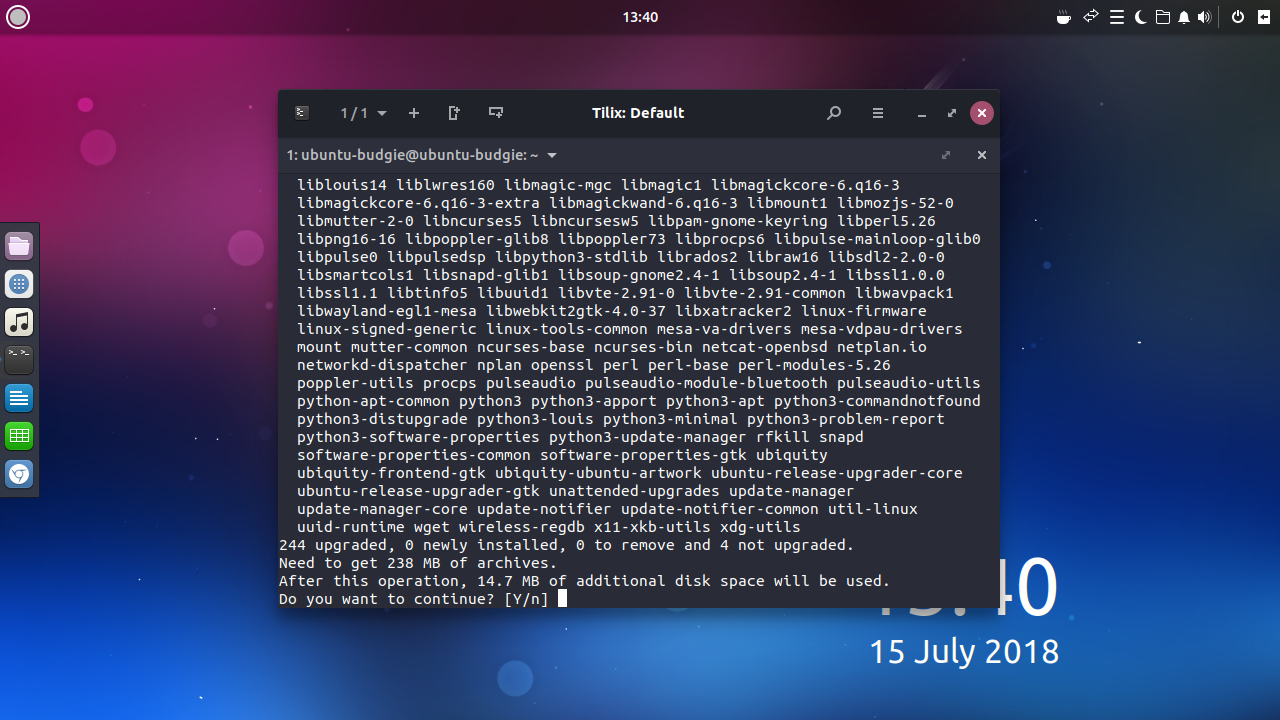
To search for and apply updates, open the Linux Terminal and type:
Are you a pro? Subscribe to our newsletter
Sign up to the TechRadar Pro newsletter to get all the top news, opinion, features and guidance your business needs to succeed!
sudo apt-get updateTo check if a major upgrade is available, open Terminal and run the command:
sudo apt-get upgradeTerminal will then prompt you to press ‘Y’ to continue.
Make sure to save any open files and run a full backup of your system before doing this.
3. Use lightweight desktop alternatives
The standard version of Ubuntu 18.04 uses the GNOME 3 desktop which is designed to strike a balance between slick graphics and resource efficiency. If you have an older machine, it may struggle with some of the more advanced features.
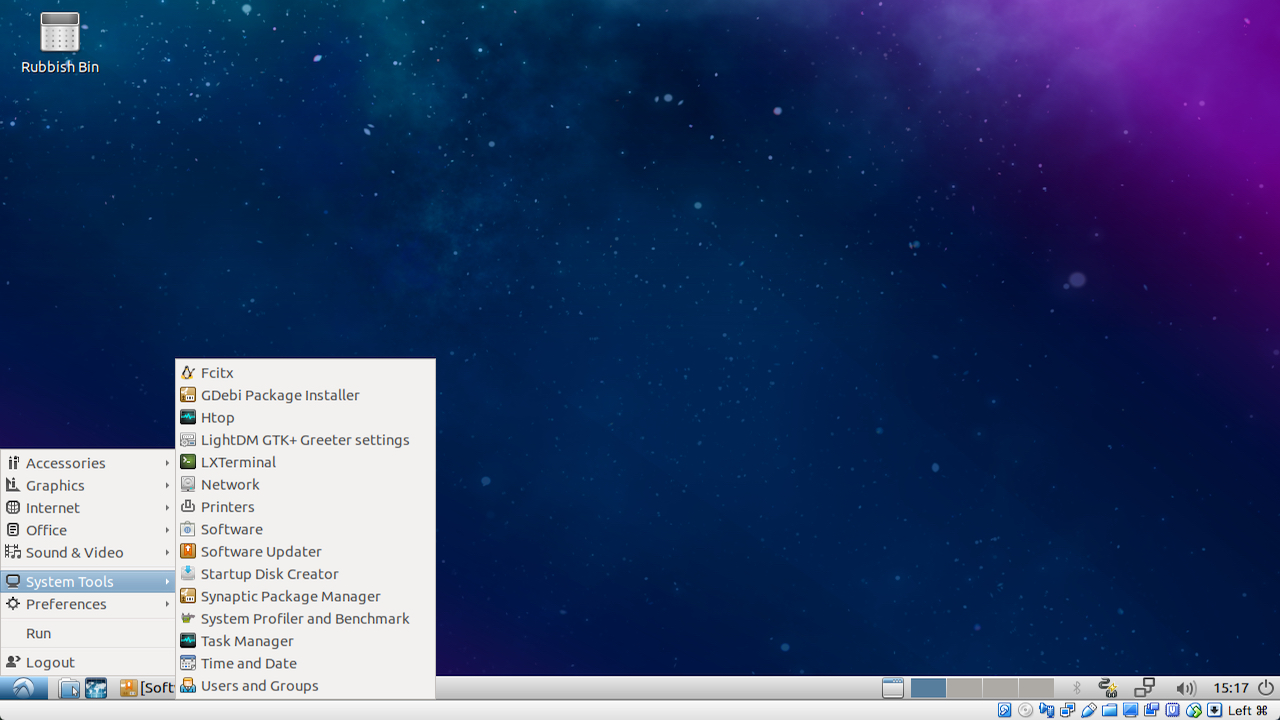
Fortunately, there are lightweight desktop alternatives available for Ubuntu. One of the best known is Lubuntu, which is based on the ultra-efficient LX desktop environment.
To get started, simply open Terminal and type:
sudo apt-get install lubuntu-desktopOnce installed, you can load Lubuntu desktop from the login screen by clicking the icon next to your name.
Alternatively, visit the Lubuntu homepage to download a pre-packaged version of Ubuntu which uses this speedy desktop environment. Lubuntu also comes with a variety of apps which have been handpicked for being easy on system resources.
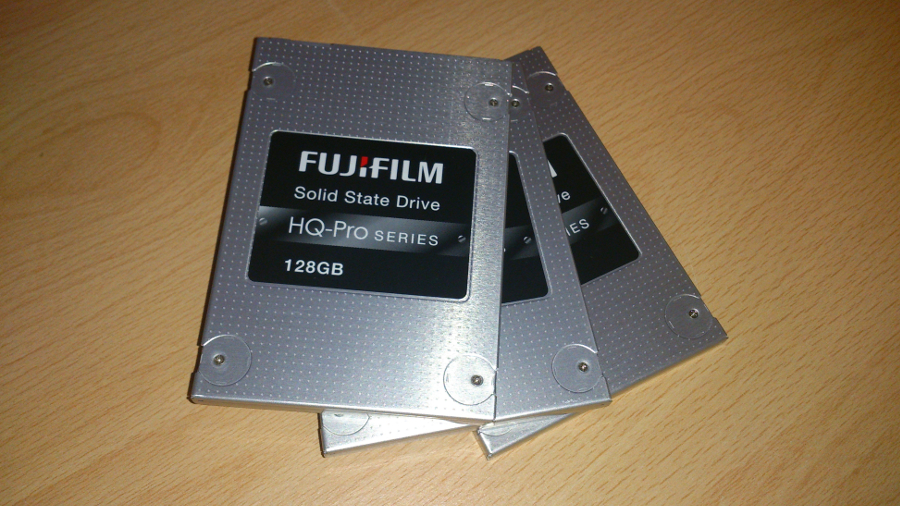
4. Use an SSD
SSD's (Solid State Drives) use Flash memory, the same kind found in USB sticks. They allow for much faster access and writing times then traditional mechanical hard drives which use magnetized disks.
SSD’s tend to cost more per gigabyte than regular hard drives but will make for a much more efficient system if you’re willing to cover the cost. If you want to buy an SSD to install yourself make sure you have the correct size for your machine (2.5-inch for portable devices, 3.5-inch for desktop machines).
You can use free software such a Clonezilla to copy content form your current hard disk to your new SSD. See our guide on how to clone your hard drive with Clonezilla.
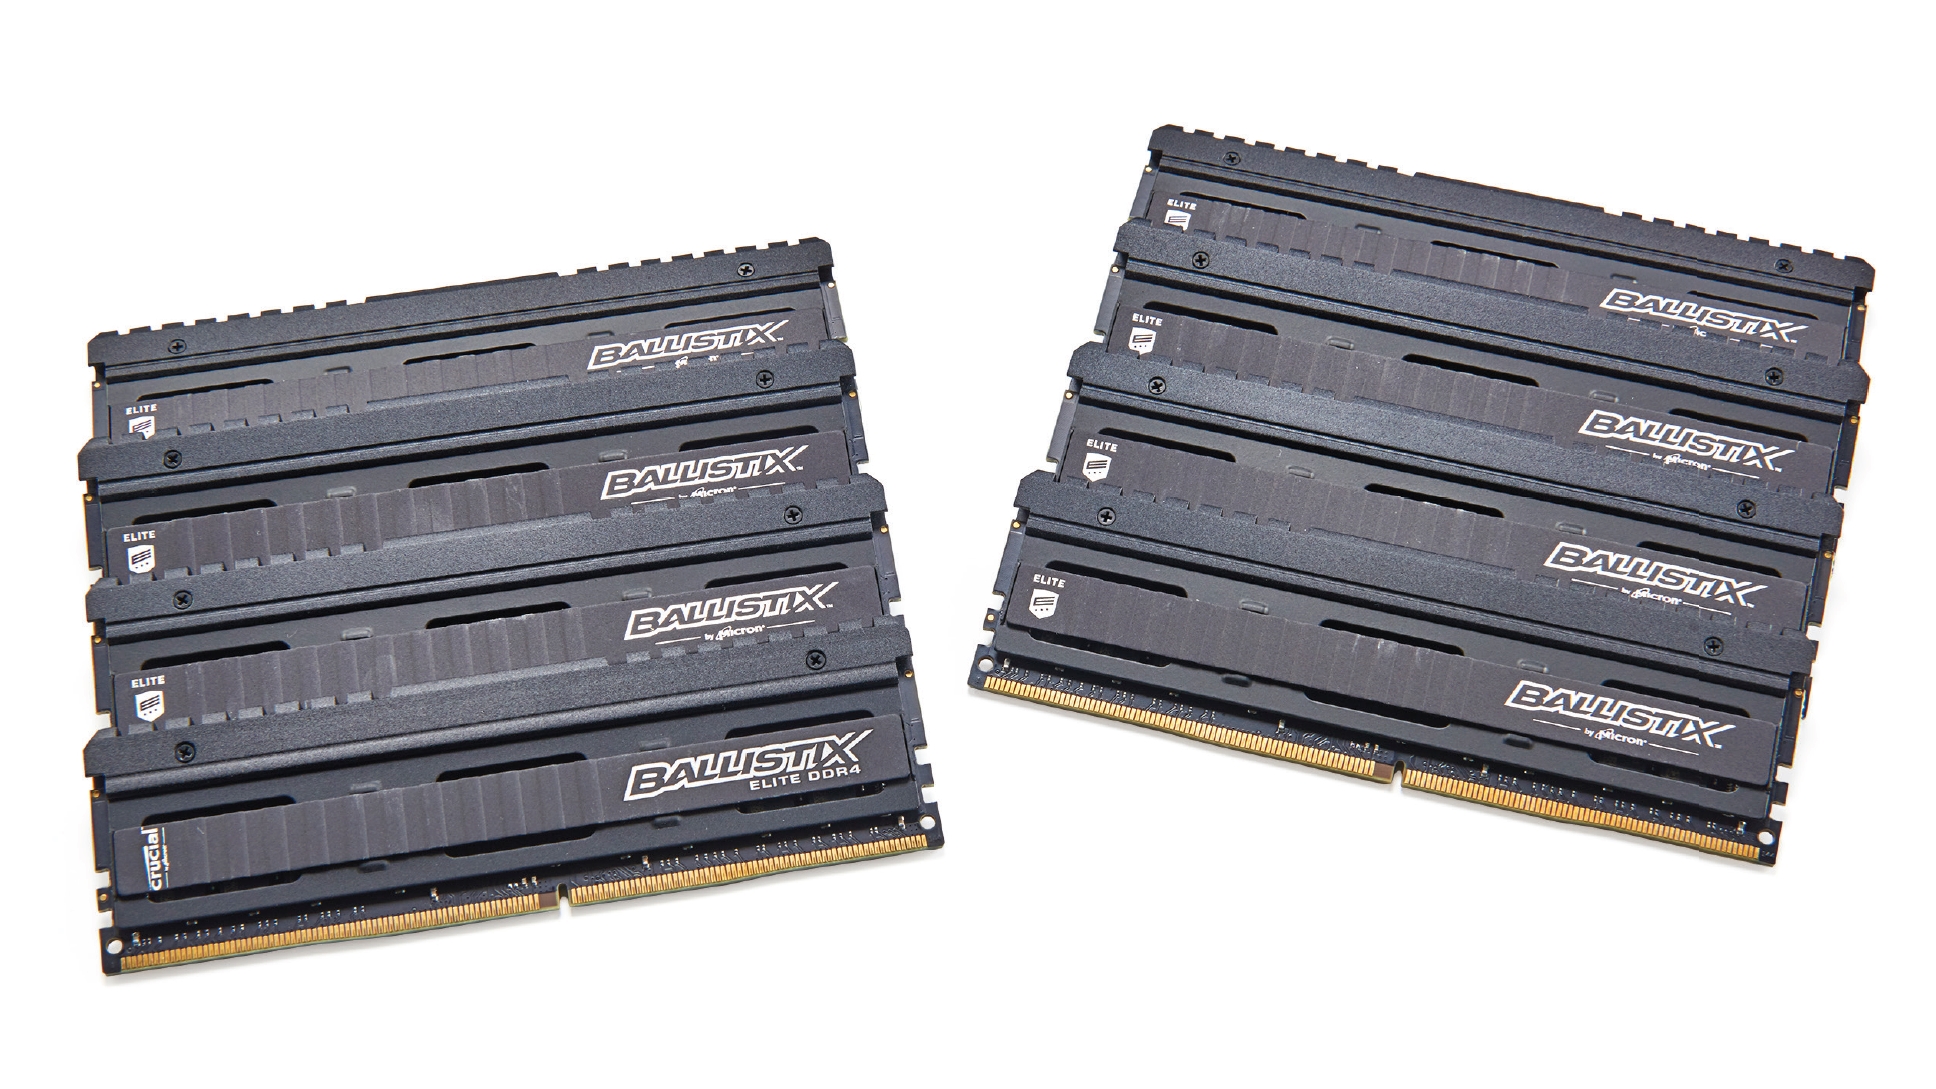
5. Upgrade your RAM
Your PC's overall speed can be hugely improved by increasing the amount of virtual memory (RAM). Ubuntu 18.04 requires at least 2GB RAM to run smoothly, although this does not take into account resource hungry applications such as video editors and certain games.
The easiest solution to this is to install more RAM. Your PC has a certain number of RAM 'slots' into which you can insert chips. Make sure to run a search for your particular model of machine to find out the specific type of RAM it uses e.g. DDR3.
To display the total available amount of RAM in Ubuntu type in the following into the Teminal:
free –mTo display RAM type and speed, use the command:
sudo lshw -c memoryInstalling new RAM chips is quite simple. If you do it yourself use an anti-static wrist strap to prevent damage to delicate components.
Alternatively, many PC repair stores will be happy to do the hardware upgrade for you, for a small fee.
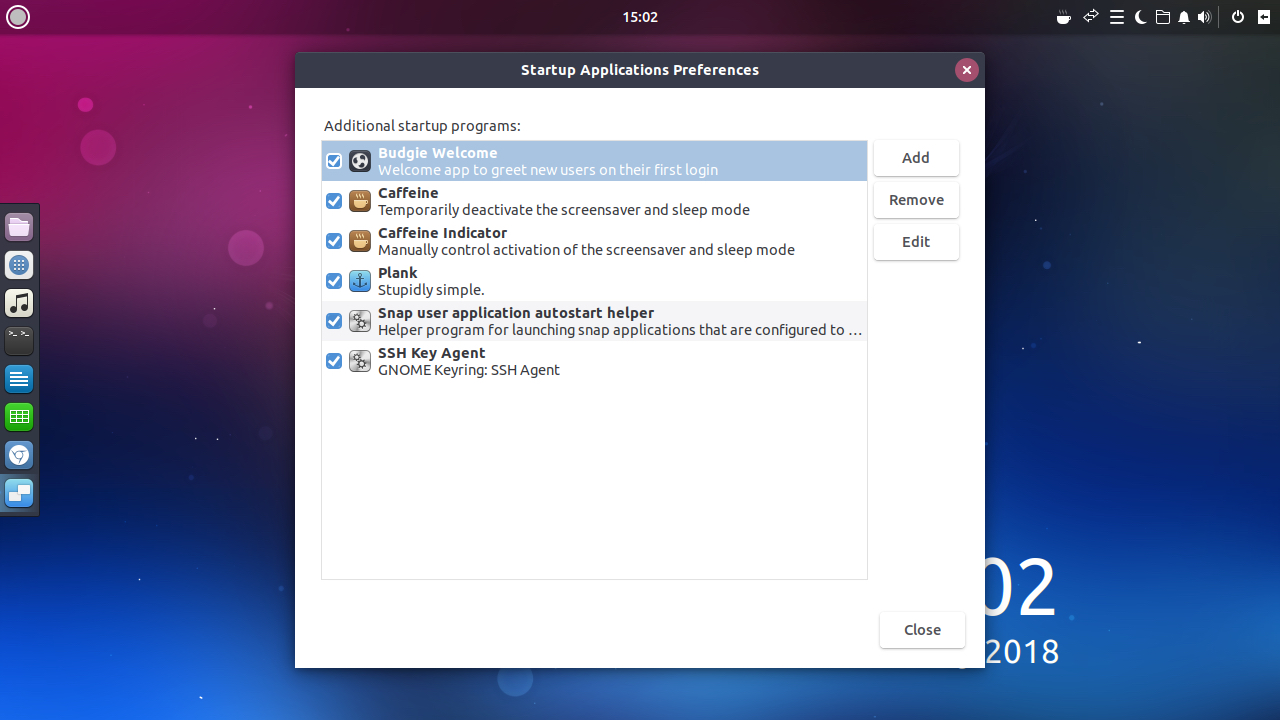
6. Monitor startup apps
Linux aims to use your system memory as sparingly as possible. However over time as you install more apps, your machine can slow down due to the number of applications trying to launch on login.
Ubuntu 18.04 has a handy graphical app named ‘Startup Applications’. Launch this from the GNOME menu to view a complete list. Use your mouse to click on individual apps and choose ‘Remove’ to prevent a program from launching.
In Ubuntu 18.04 you can list any services launched at startup by opening Terminal and running the command:
service --status-all To stop a running service, enter the command:
sudo service <name> stopTo remove an existing program from Ubuntu open Terminal and run:
sudo apt-get remove <program name>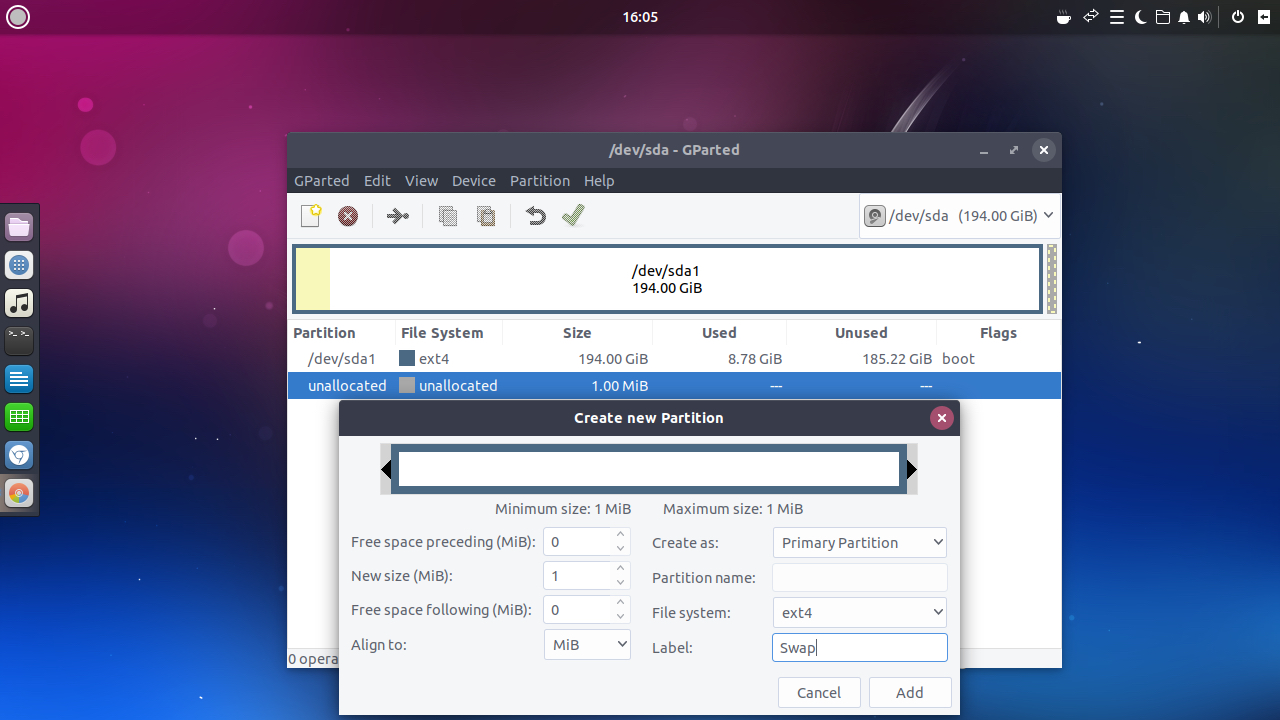
7. Increase Swap space
If your Linux machine needs more resources than your RAM chips can provide, it can make use of ‘Swap’ space, which can help speed up Ubuntu 18.04. In simple terms, this is an area of your hard drive which Linux uses in exactly the same way as RAM.
The Ubuntu installer will automatically assign a dedicated swap partition on your hard drive during setup. This is usually sufficient but you can increase its size using Ubuntu’s default disk manager ‘GParted’.
To get started, insert the latest Ubuntu DVD/USB into your machine and boot into the ‘live’ environment. Open GParted from the GNOME menu. From here you can delete your existing swap partition and shrink your main one.
Next, click ‘Create a new partition’ to add a new, larger swap space. If you need assistance using GParted make sure to read through the manual. The help section of the Ubuntu website also has detailed instructions.
Resizing your hard drive is risky if you are not a power user. Make sure to run a full backup of your data before proceeding.
8. Install Preload
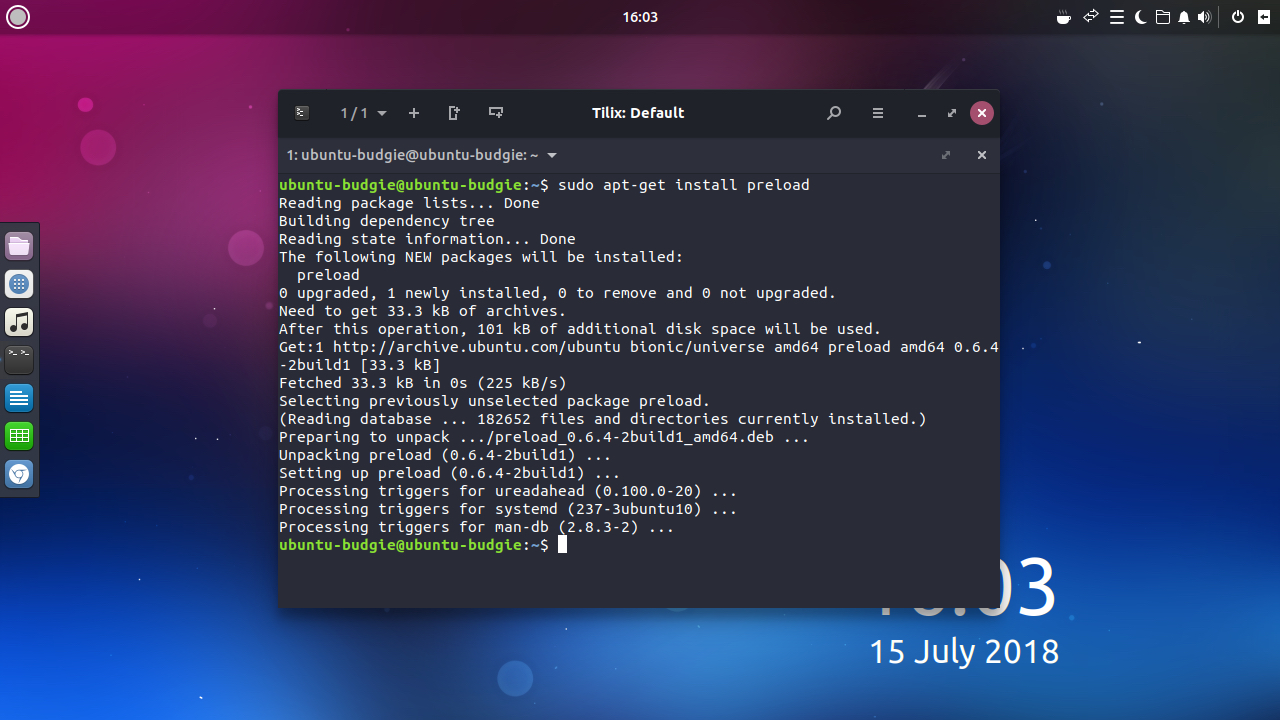
In computing terms ‘Preloading’ is the practice of keeping necessary files in RAM. This is many times faster than placing files on the hard drive.
The Preload daemon works by running in the background and monitoring which applications you use most frequently. This gives your system a better picture of programs you’re likely to need and ensures that they’re the first to load on login, which reduces your start-up time significantly.
To get started open Terminal and run the command:
sudo apt-get install preloadOnce installation is complete, simply restart your machine and Preload will run in the background.
9. Use local mirrors
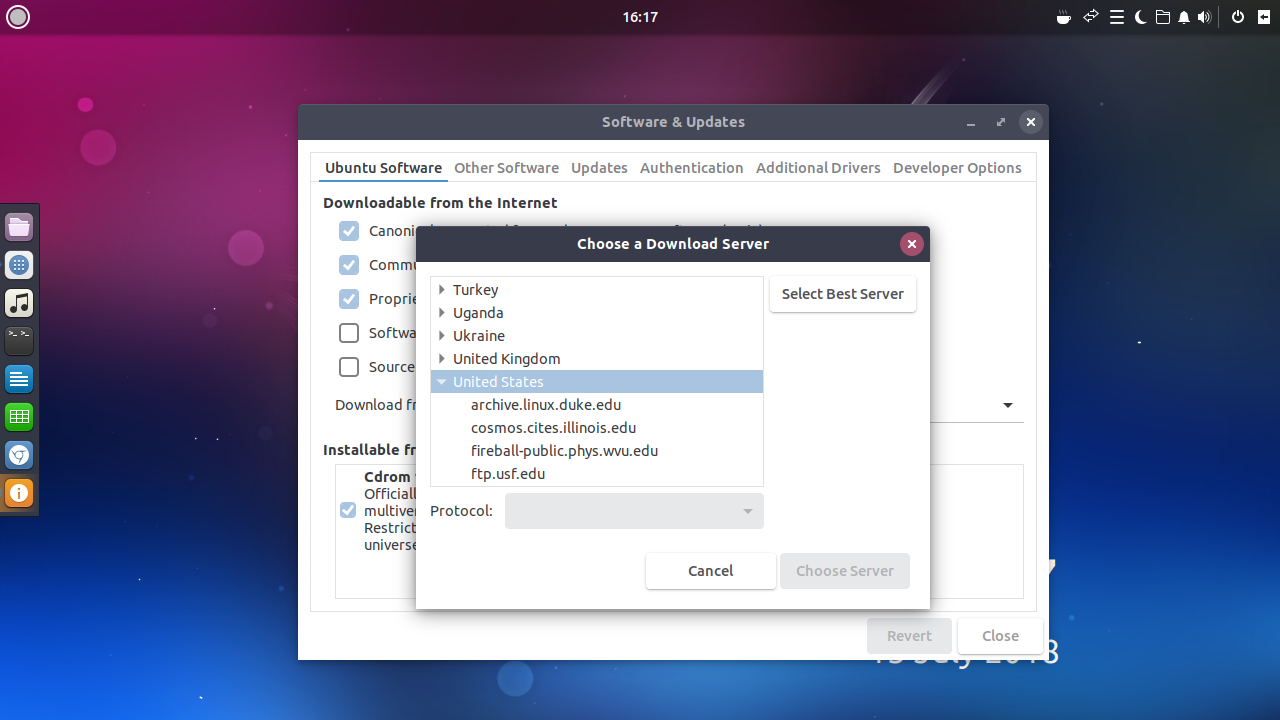
To get the best download speed when updating software, you should always use a mirror that’s close to your location as possible. Ubuntu software repositories are mirrored across the world. You should verify that you are using the one that is nearest to you. This is usually selected for you automatically during setup.
To change mirror settings, go to ‘Software’. Click on the menu button on the top left of the screen and select ‘Software and Updates>Ubuntu Software tab>Download From’. From here choose ‘Other’ and then choose the server nearest to you.
10. Clean out old files
It stands to reason that the more free space you have on your hard drive, the fewer files Ubuntu has to process to find what you need. For this reason, you should always remove any unnecessary files or programs.
In terms of files, the most common culprit is the ‘Downloads’ folders as this usually contains only files from the Internet. It's usually safe to remove these as you can just download them again.
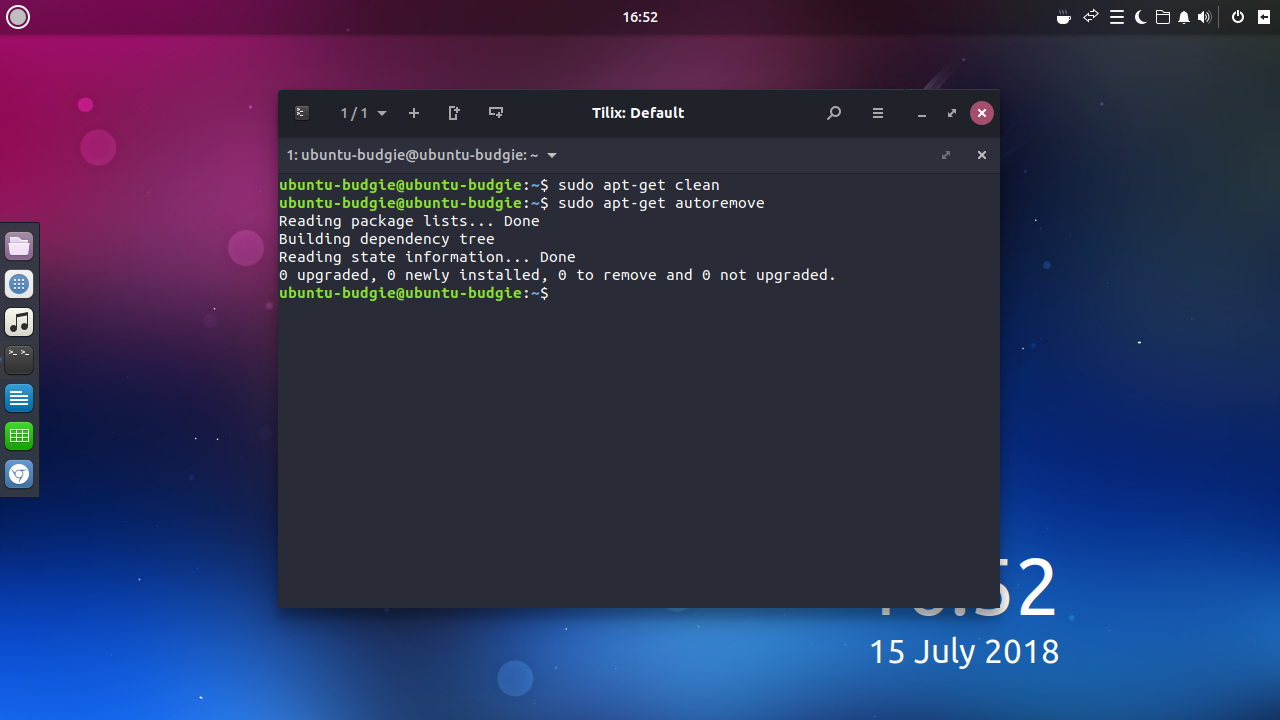
To empty the temporary cache used by ‘apt-get’, run the command:
sudo apt-get cleanThis will not remove any actual applications.
While you’re spring cleaning, you can also remove any unused packages and dependencies by opening the Ubuntu 18.04 terminal and running:
sudo apt-get autoremoveNate Drake is a tech journalist specializing in cybersecurity and retro tech. He broke out from his cubicle at Apple 6 years ago and now spends his days sipping Earl Grey tea & writing elegant copy.