How to start a blog with Joomla
Learn how to use popular CMS, Joomla
Joomla is one of the world’s most popular content management systems (CMS). It’s an open-source platform that’s free to install, and offers enticing blogging tools. It can, however, be somewhat challenging to learn and use.
To help you get started, we’ve put together a step-by-step guide to creating a blog with Joomla. It may seem difficult at first, but you don’t need any special technical or coding skills. It’s worth persevering to unlock the full potential of this leading CMS.
Joomla "free web" hosting offer: $41.88 $0
TechRadar Pro exclusive: Get Joomla with Hostinger's web hosting package plus everything you need to build your website with a WordPress friendly hosting plan that comes with 30GB of storage and 100GB bandwidth. We partnered with Hostinger to deliver a free web hosting offer for TechRadar readers (T&C apply). Grab a full refund of $41.88/£41.88 in Amazon vouchers when you purchase Hostinger’s single shared hosting package. *Initial purchase required
How to start a blog with Joomla: Preparation
Before you create your blog, there are a few things you should do. First, choose a web hosting provider. We used Hostinger, a top-rated host with packages from $1.99 per month but we managed to blag an exclusive deal from that into a freebie.
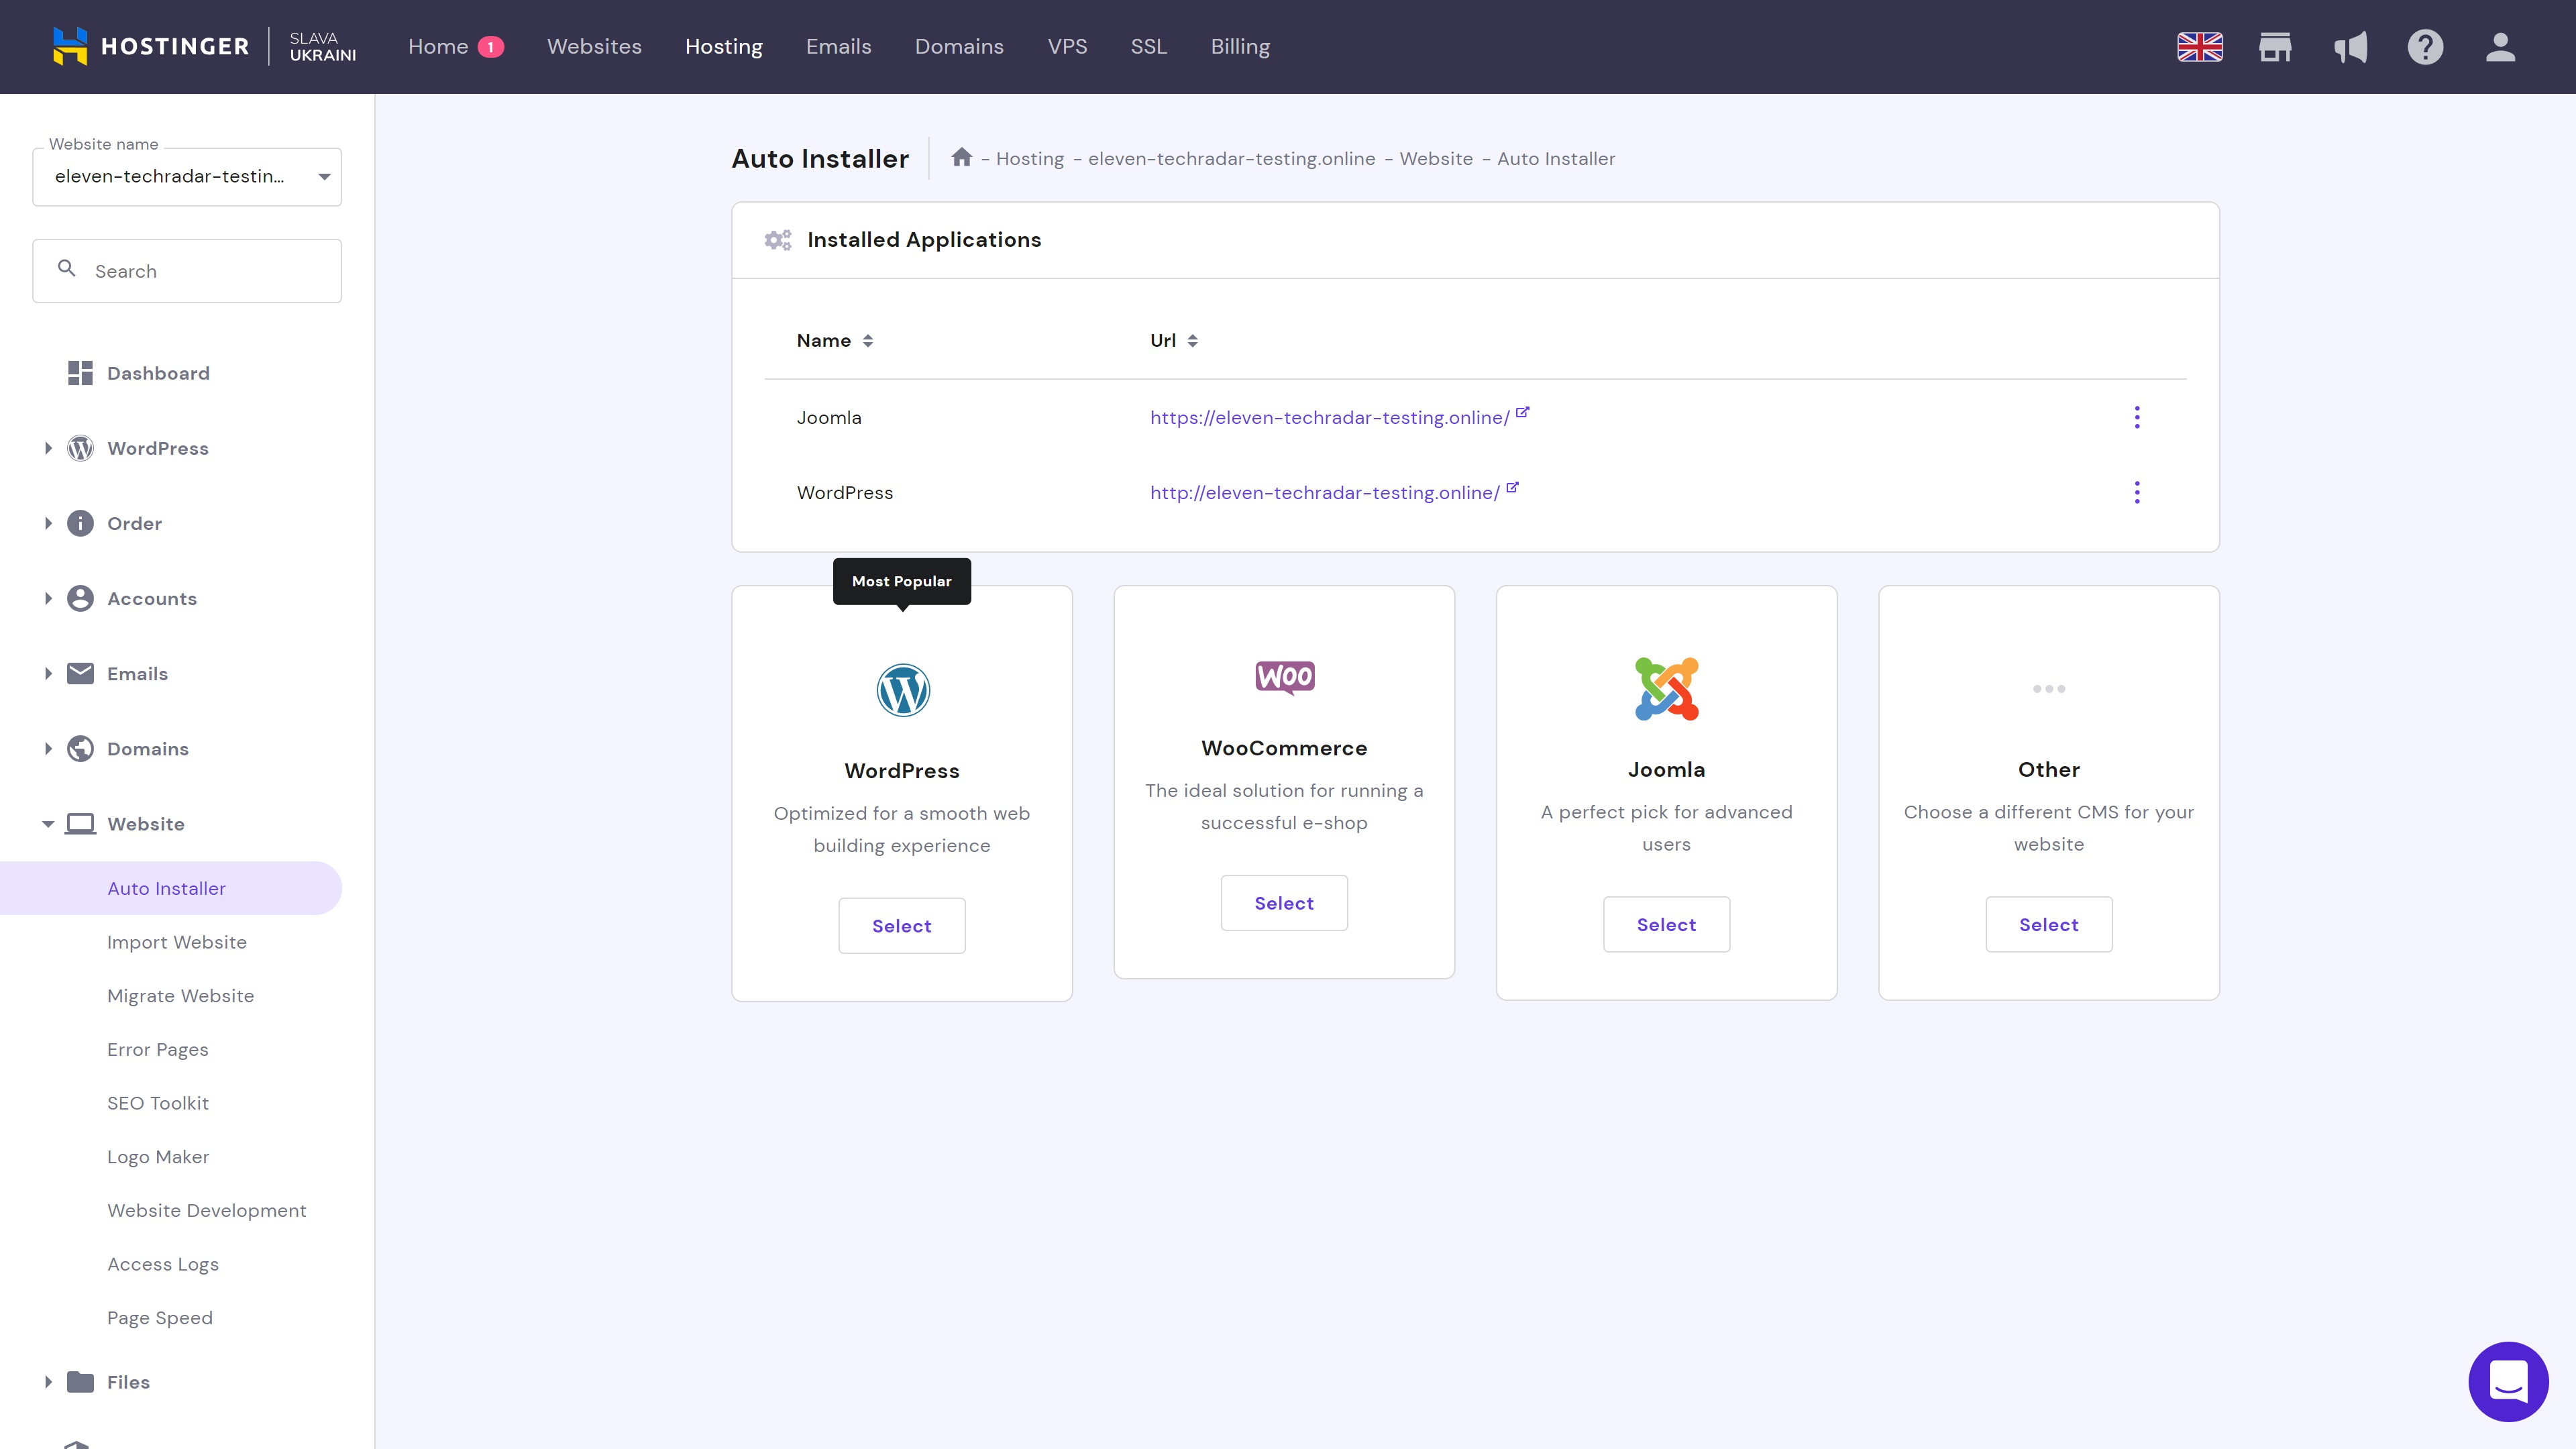
Next, you have to install the Joomla CMS on your hosting server. Hostinger offers a tidy auto-installer that enables you to install Joomla in a couple of clicks. Simply find the Auto Installer button on your hPanel control panel, then follow the prompts. Or, see Hostinger’s complete guide to installing Joomla.
Many leading web hosts offer some form of one-click installation. This is often performed via the Softaculous one-click installer, though some hosts have their own programs.
If one-click installation isn’t available, you should be able to install the Joomla script manually.
Step 1: Find and install a template
Unlike most other CMSs, Joomla doesn’t have a central template library. This means you will have to find a third-party template. Fortunately, there are quite a few free and premium options available, and a quick search should reveal many results.
Are you a pro? Subscribe to our newsletter
Sign up to the TechRadar Pro newsletter to get all the top news, opinion, features and guidance your business needs to succeed!
Once you’ve selected a template, it’s time to upload it. Head to the System menu and hit the Extensions link under the Install heading. Add your template files via direct upload or URL, and wait a few minutes for the files to install.
Step 2: Customize your design
Next, we suggest you customize your blog's design. It doesn’t have to look perfect yet, but it’s a good idea to get at least your basic layout down.
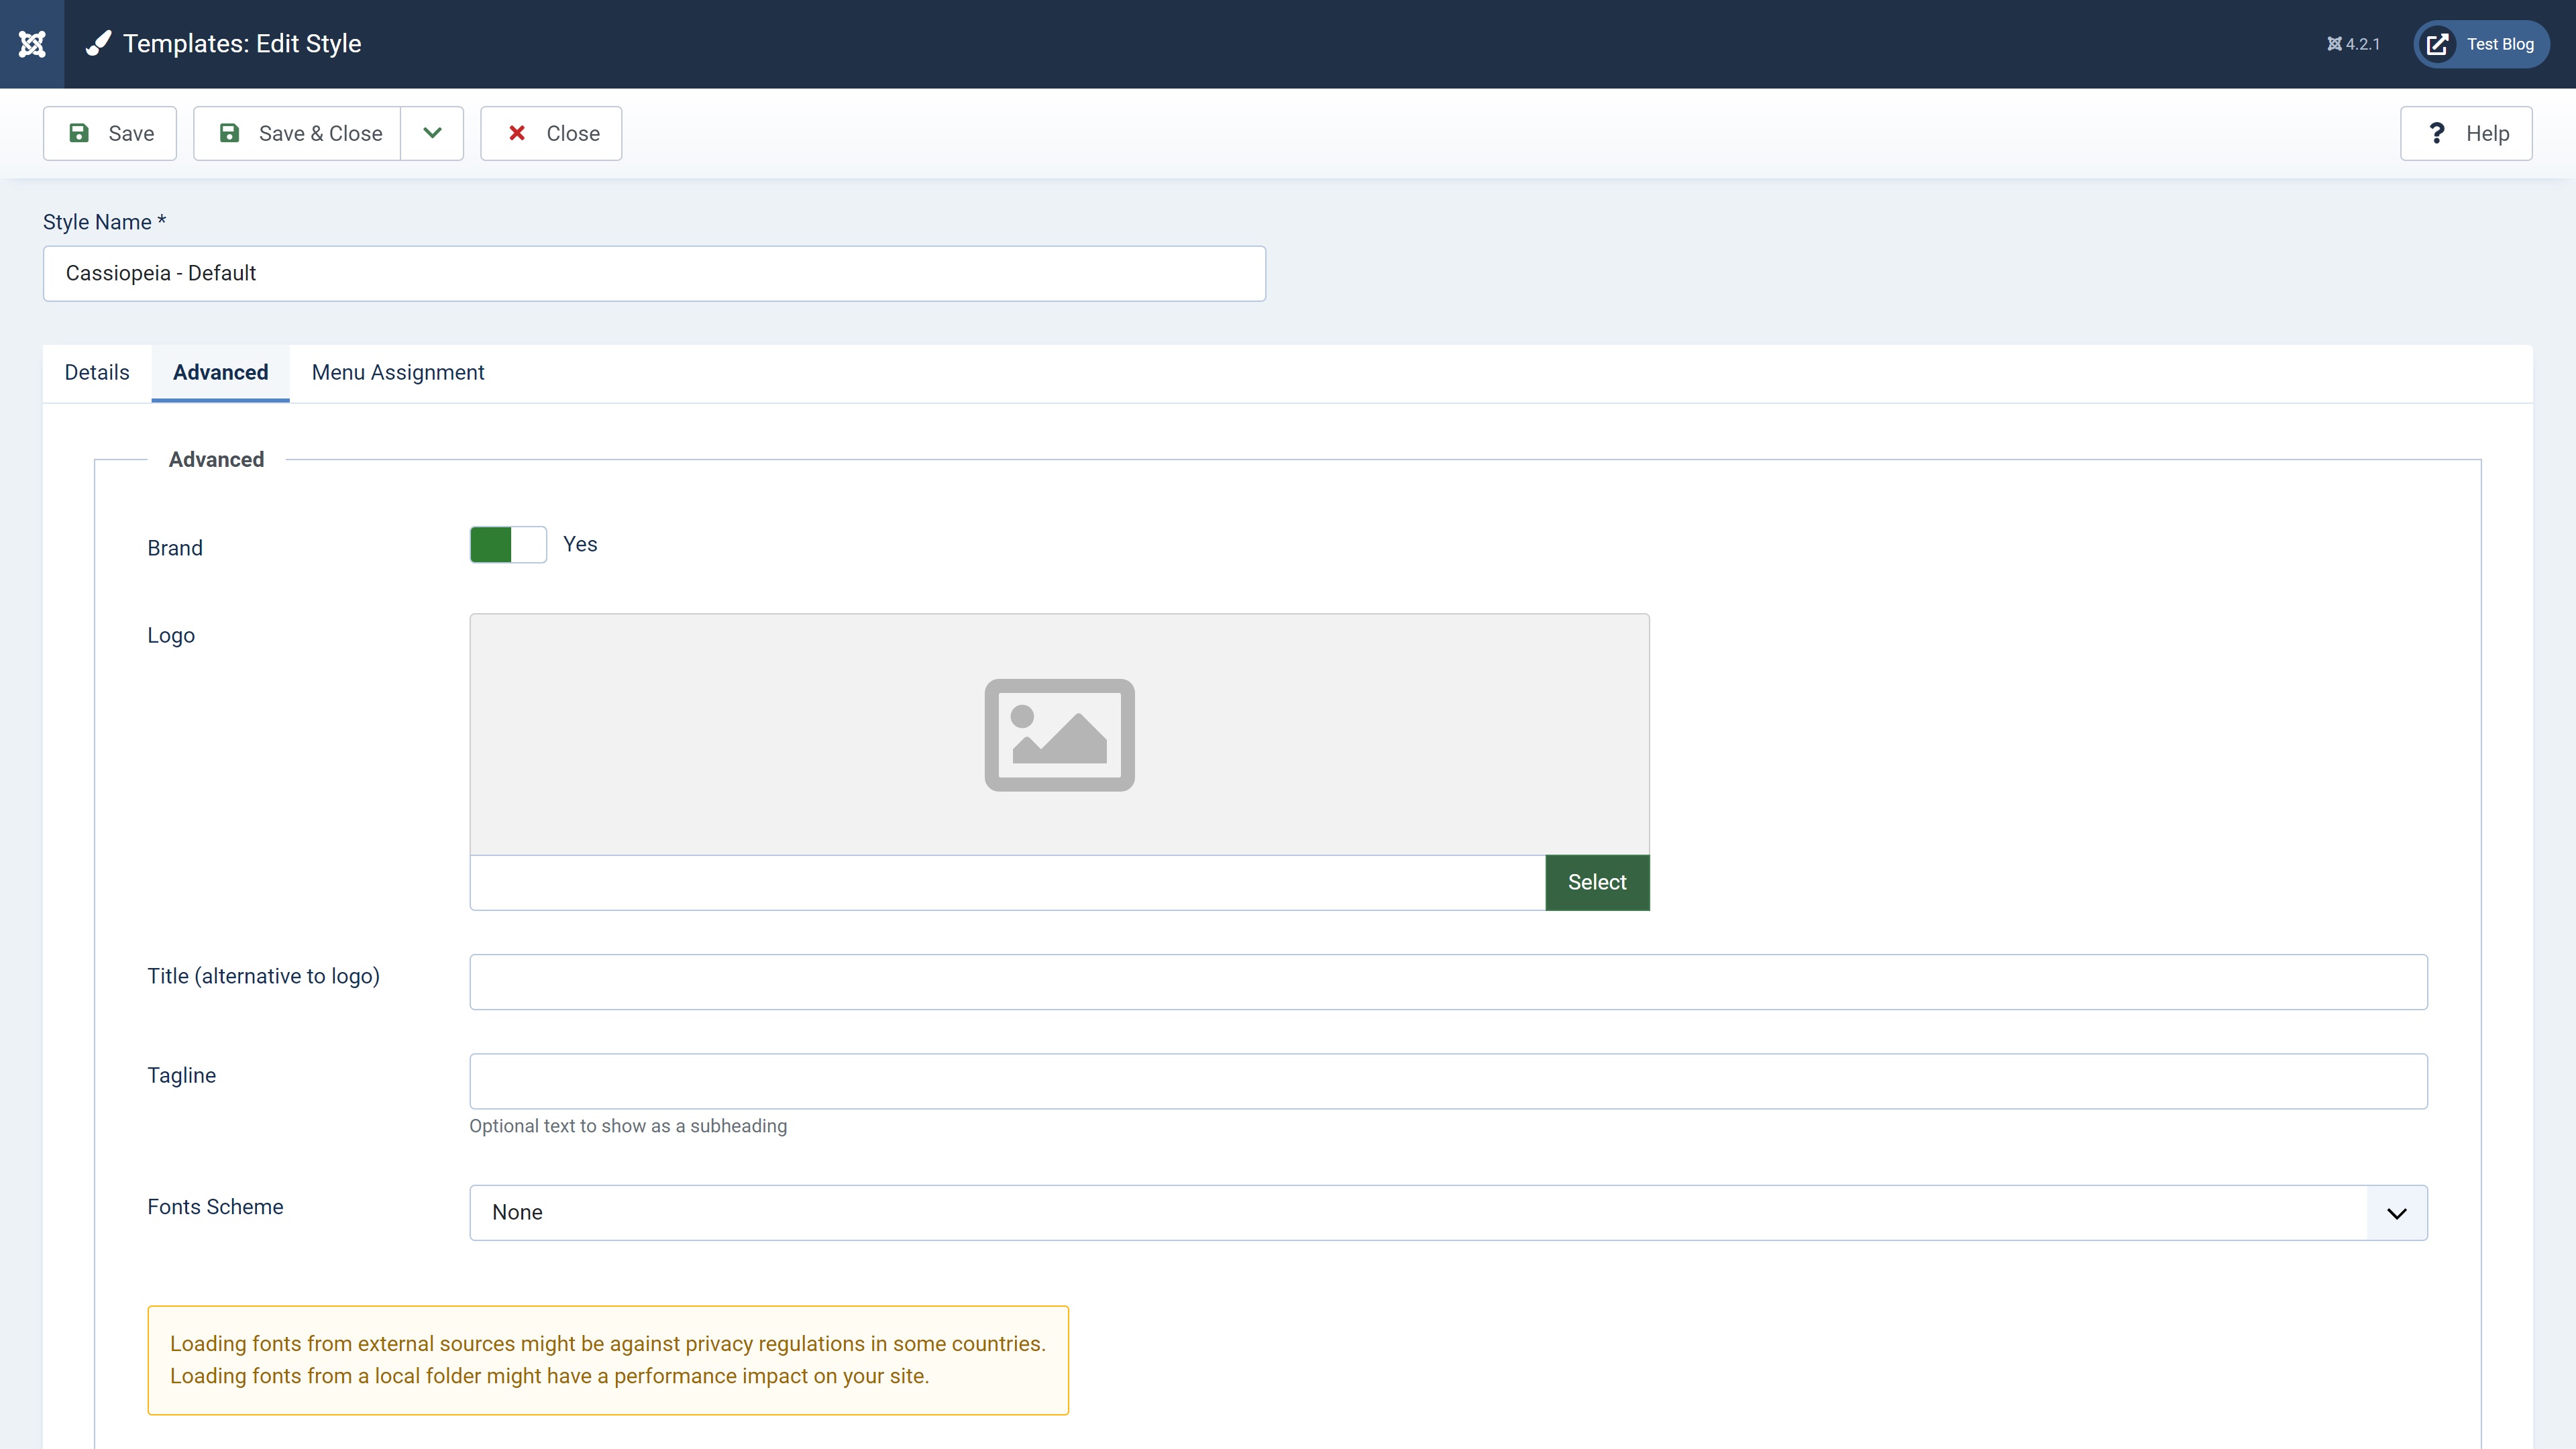
Customizing your template can be a little difficult with Joomla without coding knowledge, but most templates offer basic design tools. You can find these by going to the System menu and clicking the Site Templates Styles button.
Select the template you want to edit, and you will get access to various customization tools. These vary by template, which means ease of customization could be something you need to think about when selecting a theme.
Step 3: Configure site menus
Creating and customizing site menus is super-easy with Joomla. A menu tab on the main dashboard taskbar enables you to add new menus, edit existing menus, and change the way they behave.
Step 4: Add content
Next up is content creation, which is a major part of starting a new blog. The Joomla dashboard has an entire content area with various tools, but we’ll let you explore them for yourself. To begin adding new articles, click on the Articles tab under the Content menu.
Here, you will find a list of all your blog posts (articles). These can be edited, marked as featured, archived, or deleted as required. There’s also a Hits column detailing the number of views each post has had.
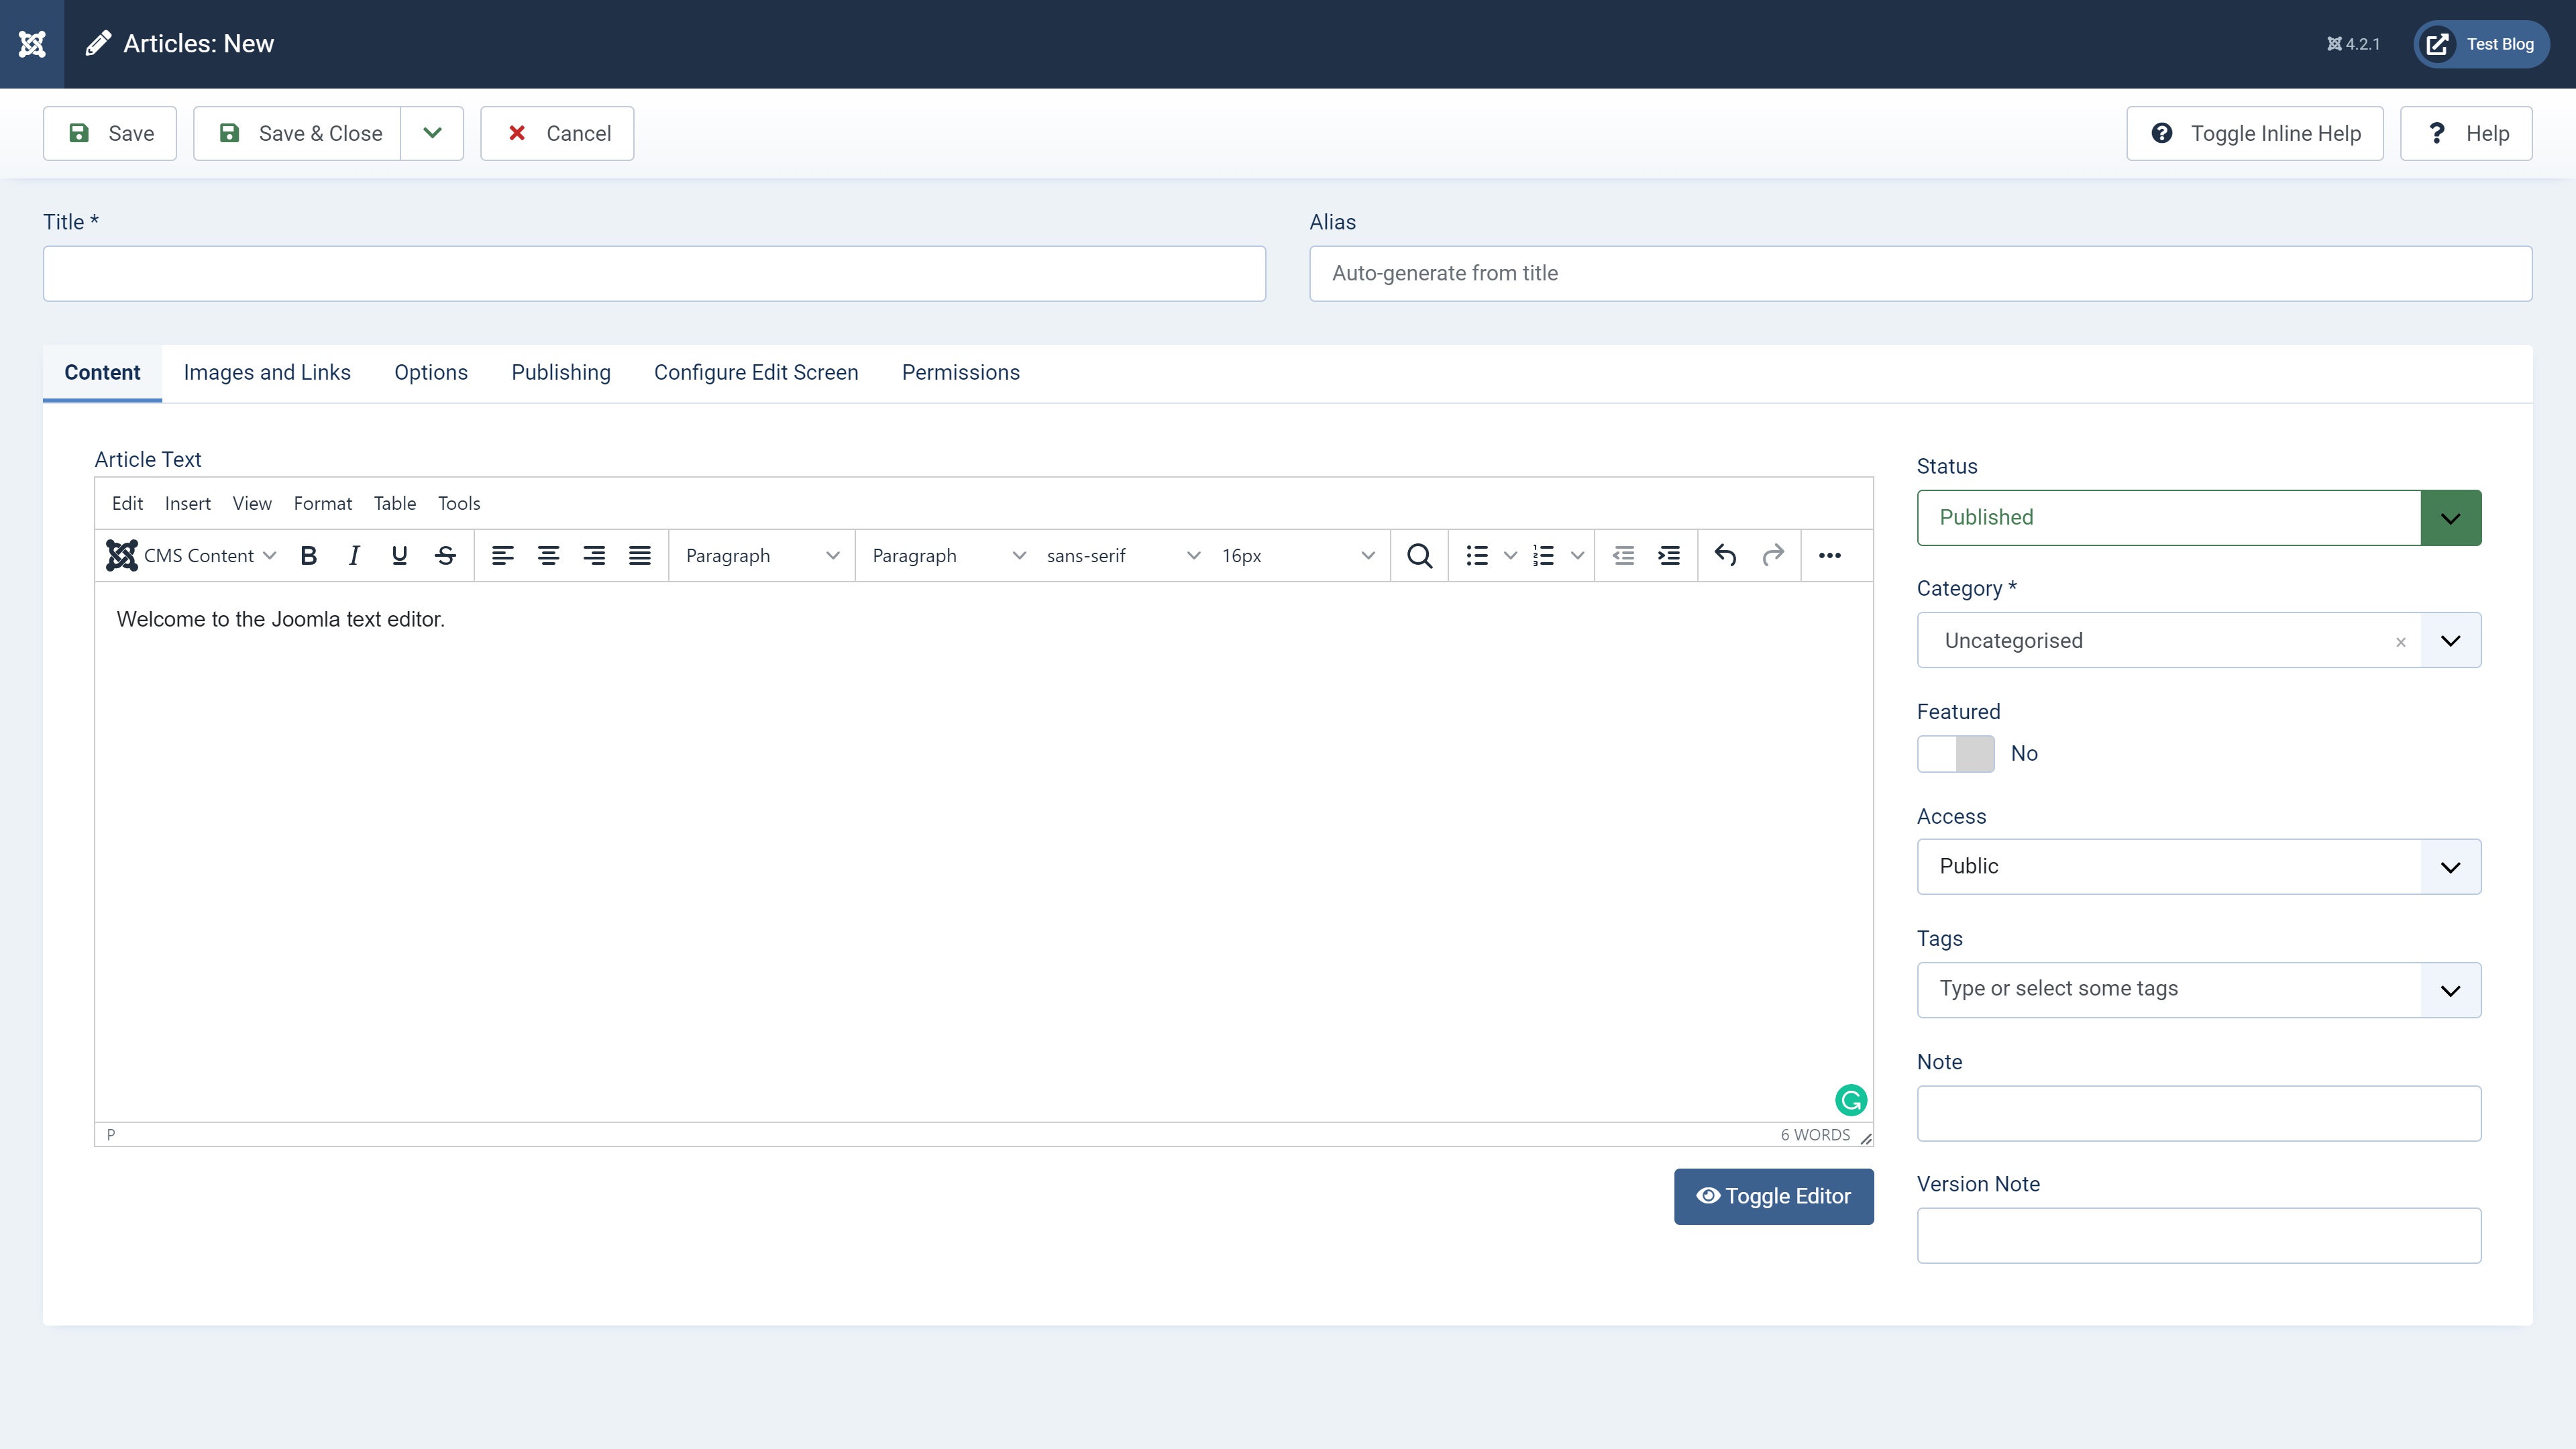
To create a new article, hit the New+ button. Joomla uses a simple text-based blog editor, which means that on the surface at least, the layout options are limited. You can customize plenty of other things though, and add HTML code if you want to change your layout or make fine-tuned personalizations.
You can also assign tags and categories to each article, if required.
Step 5: Create blog categories
You can make it easy for readers to find the type of content they’re looking for by categorizing your blogs. Joomla makes this super-easy with a management panel dedicated to categories.
Here, you can add and remove categories, copy existing categories to new ones, and configure access controls (for when more than one person has CMS access). You can also see how many articles are published, unpublished, archived, and trashed in each category.
Step 6: Add extensions if required
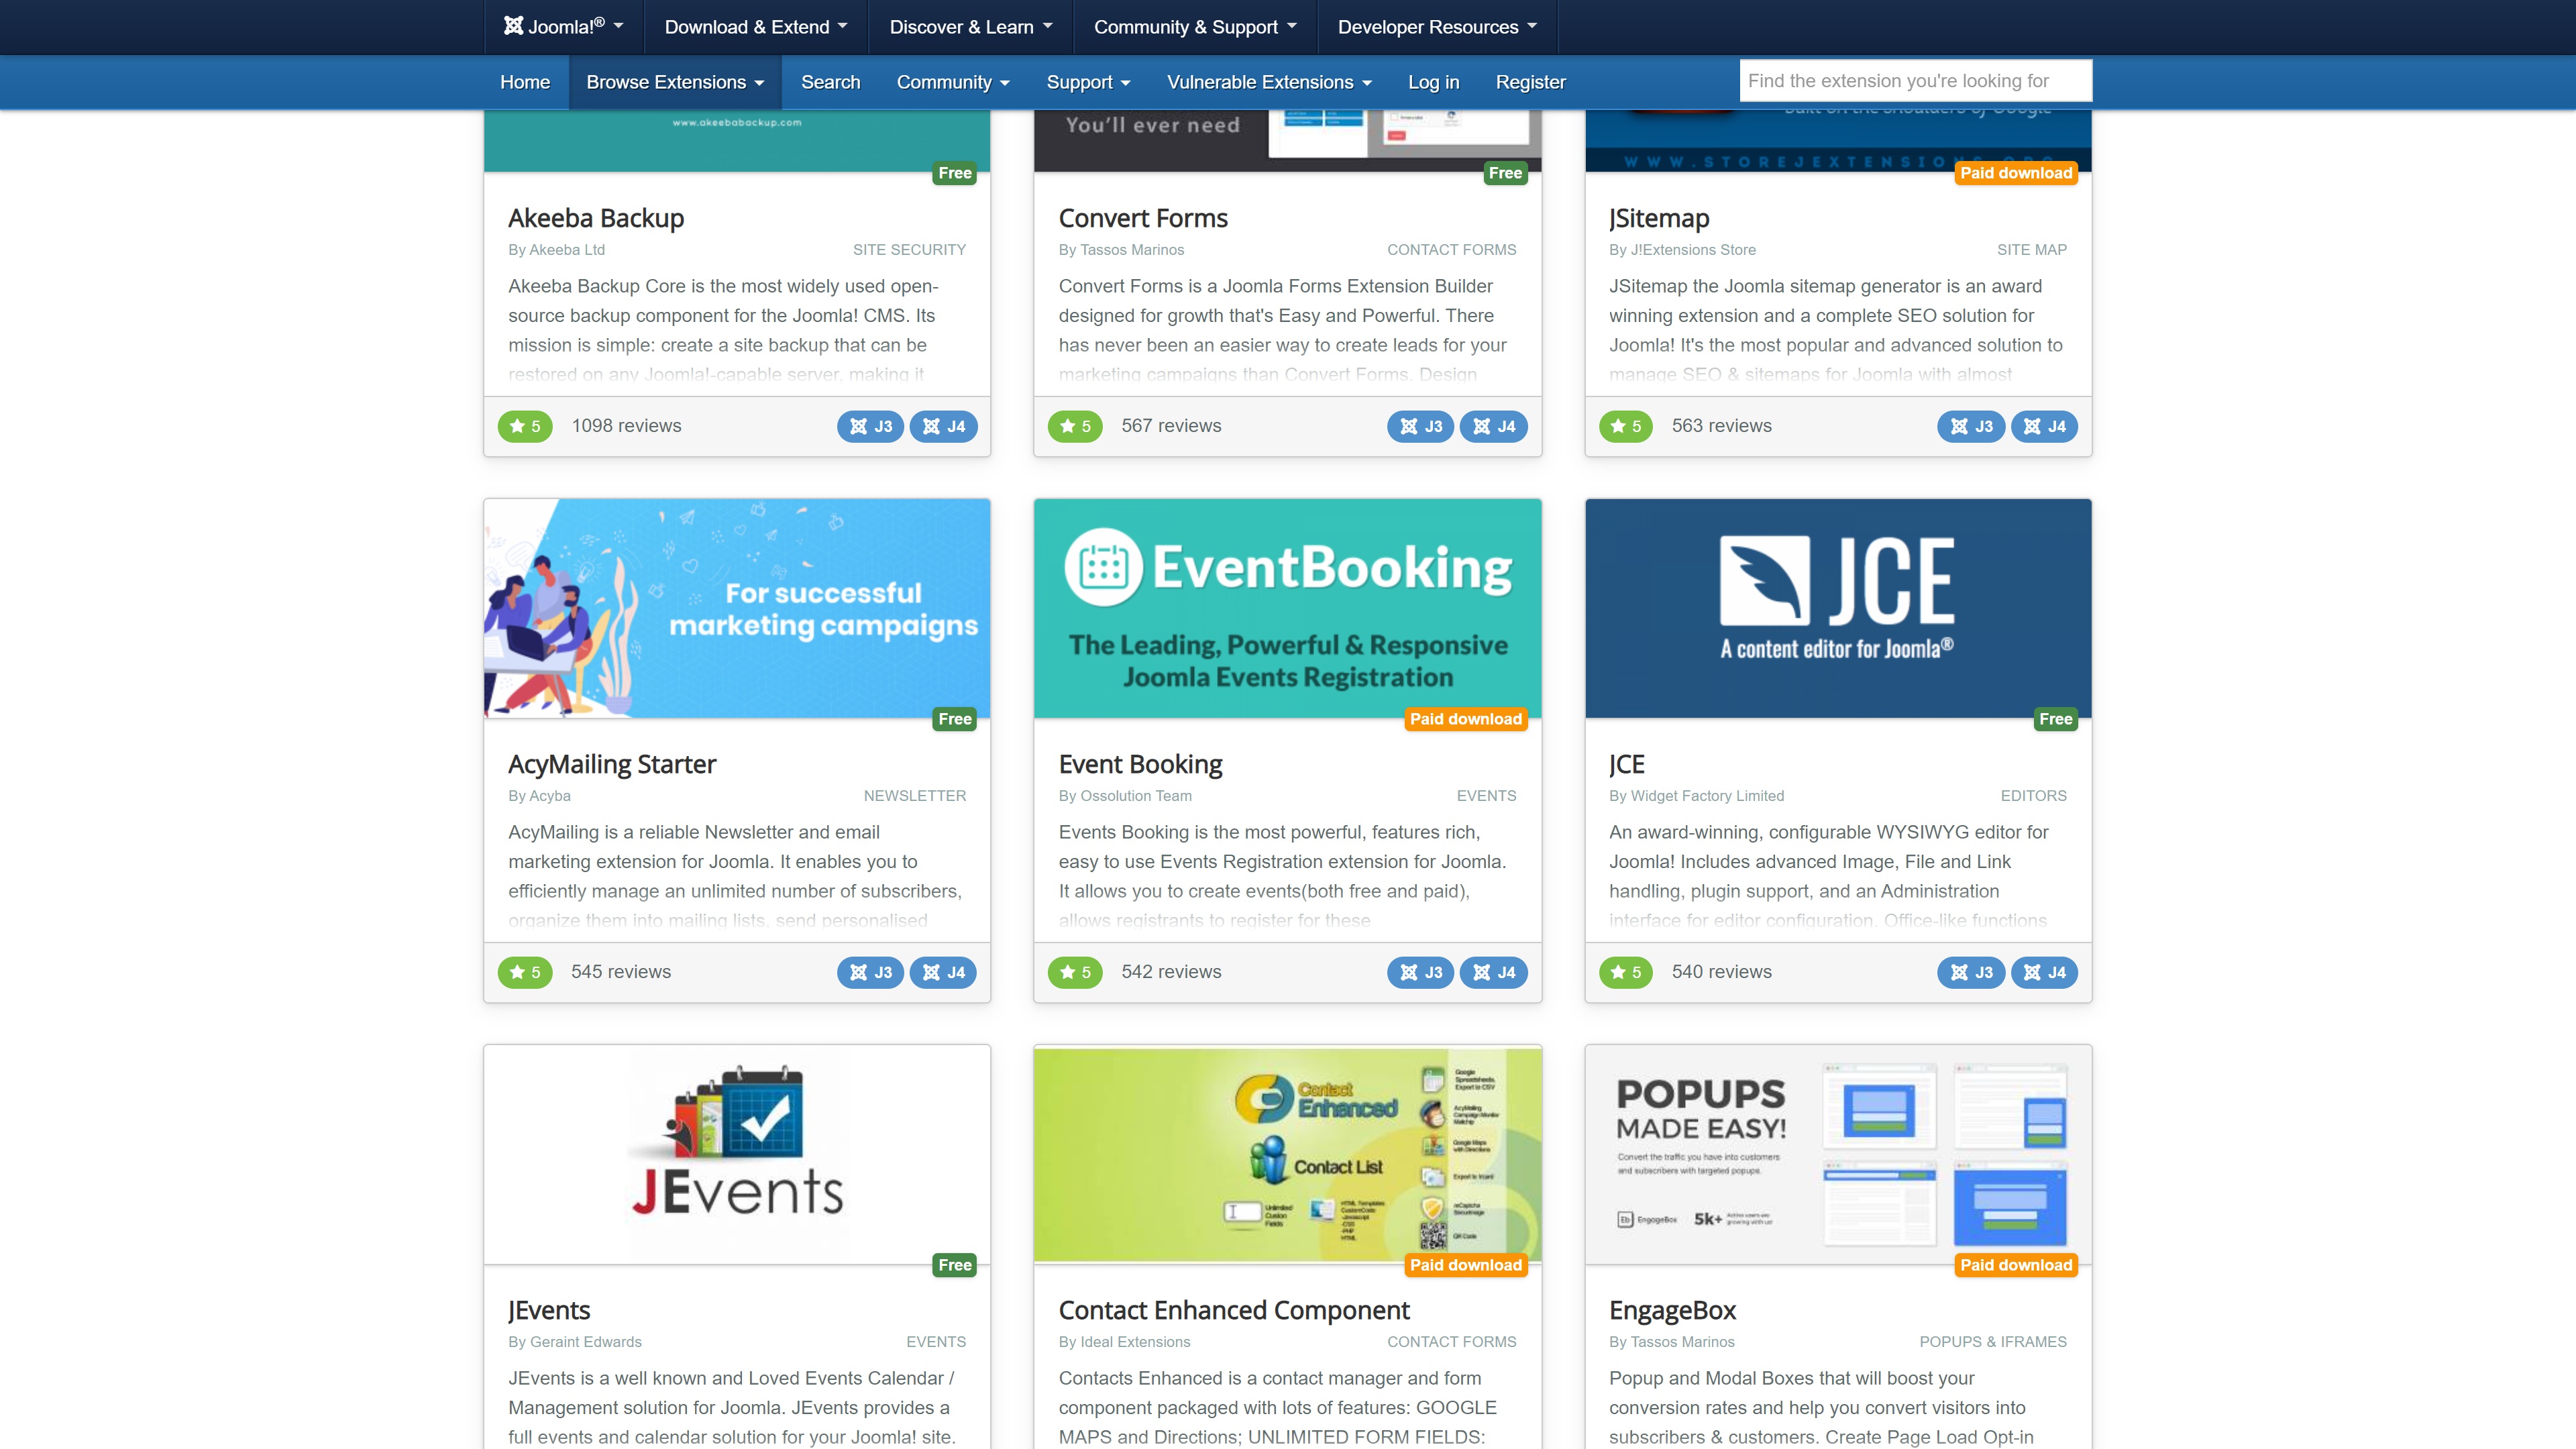
By now, you should have a functional blog, but chances are it’s still quite basic. This is where Joomla’s extensions come to the rescue. The Joomla Extensions Directory contains thousands of plugins and add-ons you can use to add functionality to your site, including over 400 social media extensions.
Let’s say, for example, you want to add a photo gallery to your homepage. The 130+ different gallery extensions can help you do this. Browse the top options, use the filters to fine-tune your search, and follow the prompts to install the most attractive option.
Note that not everyone will need to install extra extensions. If you’re happy with a simple blog, Joomla’s base template has everything you need.
Summary
Starting a blog with Joomla is a relatively straightforward process, especially if you use a host like Hostinger that supports one-click installation. The interface can be confusing to get to grips with, but it’s worth persevering to learn how to unlock Joomla’s true power.
To learn more, read about the best free website builder services you could use instead of Joomla. Or, find out more about CMSs and exactly what they are in our best CMS guide.
- We've featured the best blogging sites on the market
Read more in this series:
- Build your own CRM using SugarCRM
- How to host your files online using Nextcloud Hub
- How to start your own help desk with Hesk
- How to build an HR System using OrangeHRM
- How to generate your own invoices using Invoice Ninja
- How to install live chat software with Sales Syntax
- Run your own ecommerce platform with PrestaShop
- How to create your own website with Soholaunch
- How to launch your own website with WebsiteBaker
- How to learn search engine optimization with SEO Panel
- How to kickstart your own Ancestry.com alternative with webtrees
- How to install a free ERP software called Dolibarr
- Demand gen vs lead gen: What's the difference?
- Host your own private forum with MyBB
- Build your own calendar application with WebCalendar
- Set up your own groupware service with Tiki Wiki CMS
- How to build your own email marketing service with phpList
- A Google Photos alternative: Store your photos online with Piwigo
- How to start with project management using The Bug Genie
- Make your own poll platform with LimeSurvey
- Roll out your own Wikipedia clone with MediaWiki
- How to host your own learning management software with Moodle LMS
- Set up an accounting system with FrontAccounting
- Produce your own bills with BoxBilling
Daniel is a freelance copywriter with over six years experience writing for publications such as TechRadar, Tom’s Guide, and Hosting Review. He specializes in B2B and B2C tech and finance, with a particular focus on VoIP, website building, web hosting, and other related fields.

