How to take great background blur photos with your phone
Boost your bokeh

Bokeh phone photography has proved an enduring hit. In its early days many thought it would go the way of the 3D TV: quickly fade into the shadows because it was never really any good.
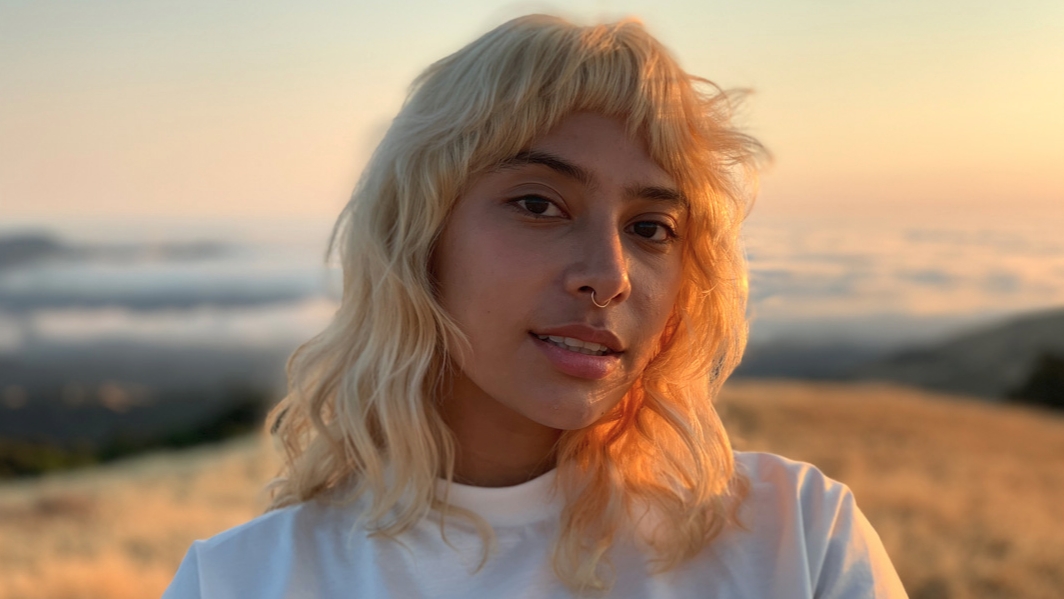
Now, it's an essential part of the arsenal of any phone photographer, and can make portraits of people, in particular, look fantastic.
However, even the top background blur modes in phones are not foolproof. Here are the tips you need to check out to get the most from your phone’s shallow depth of field images.
Keep your distance
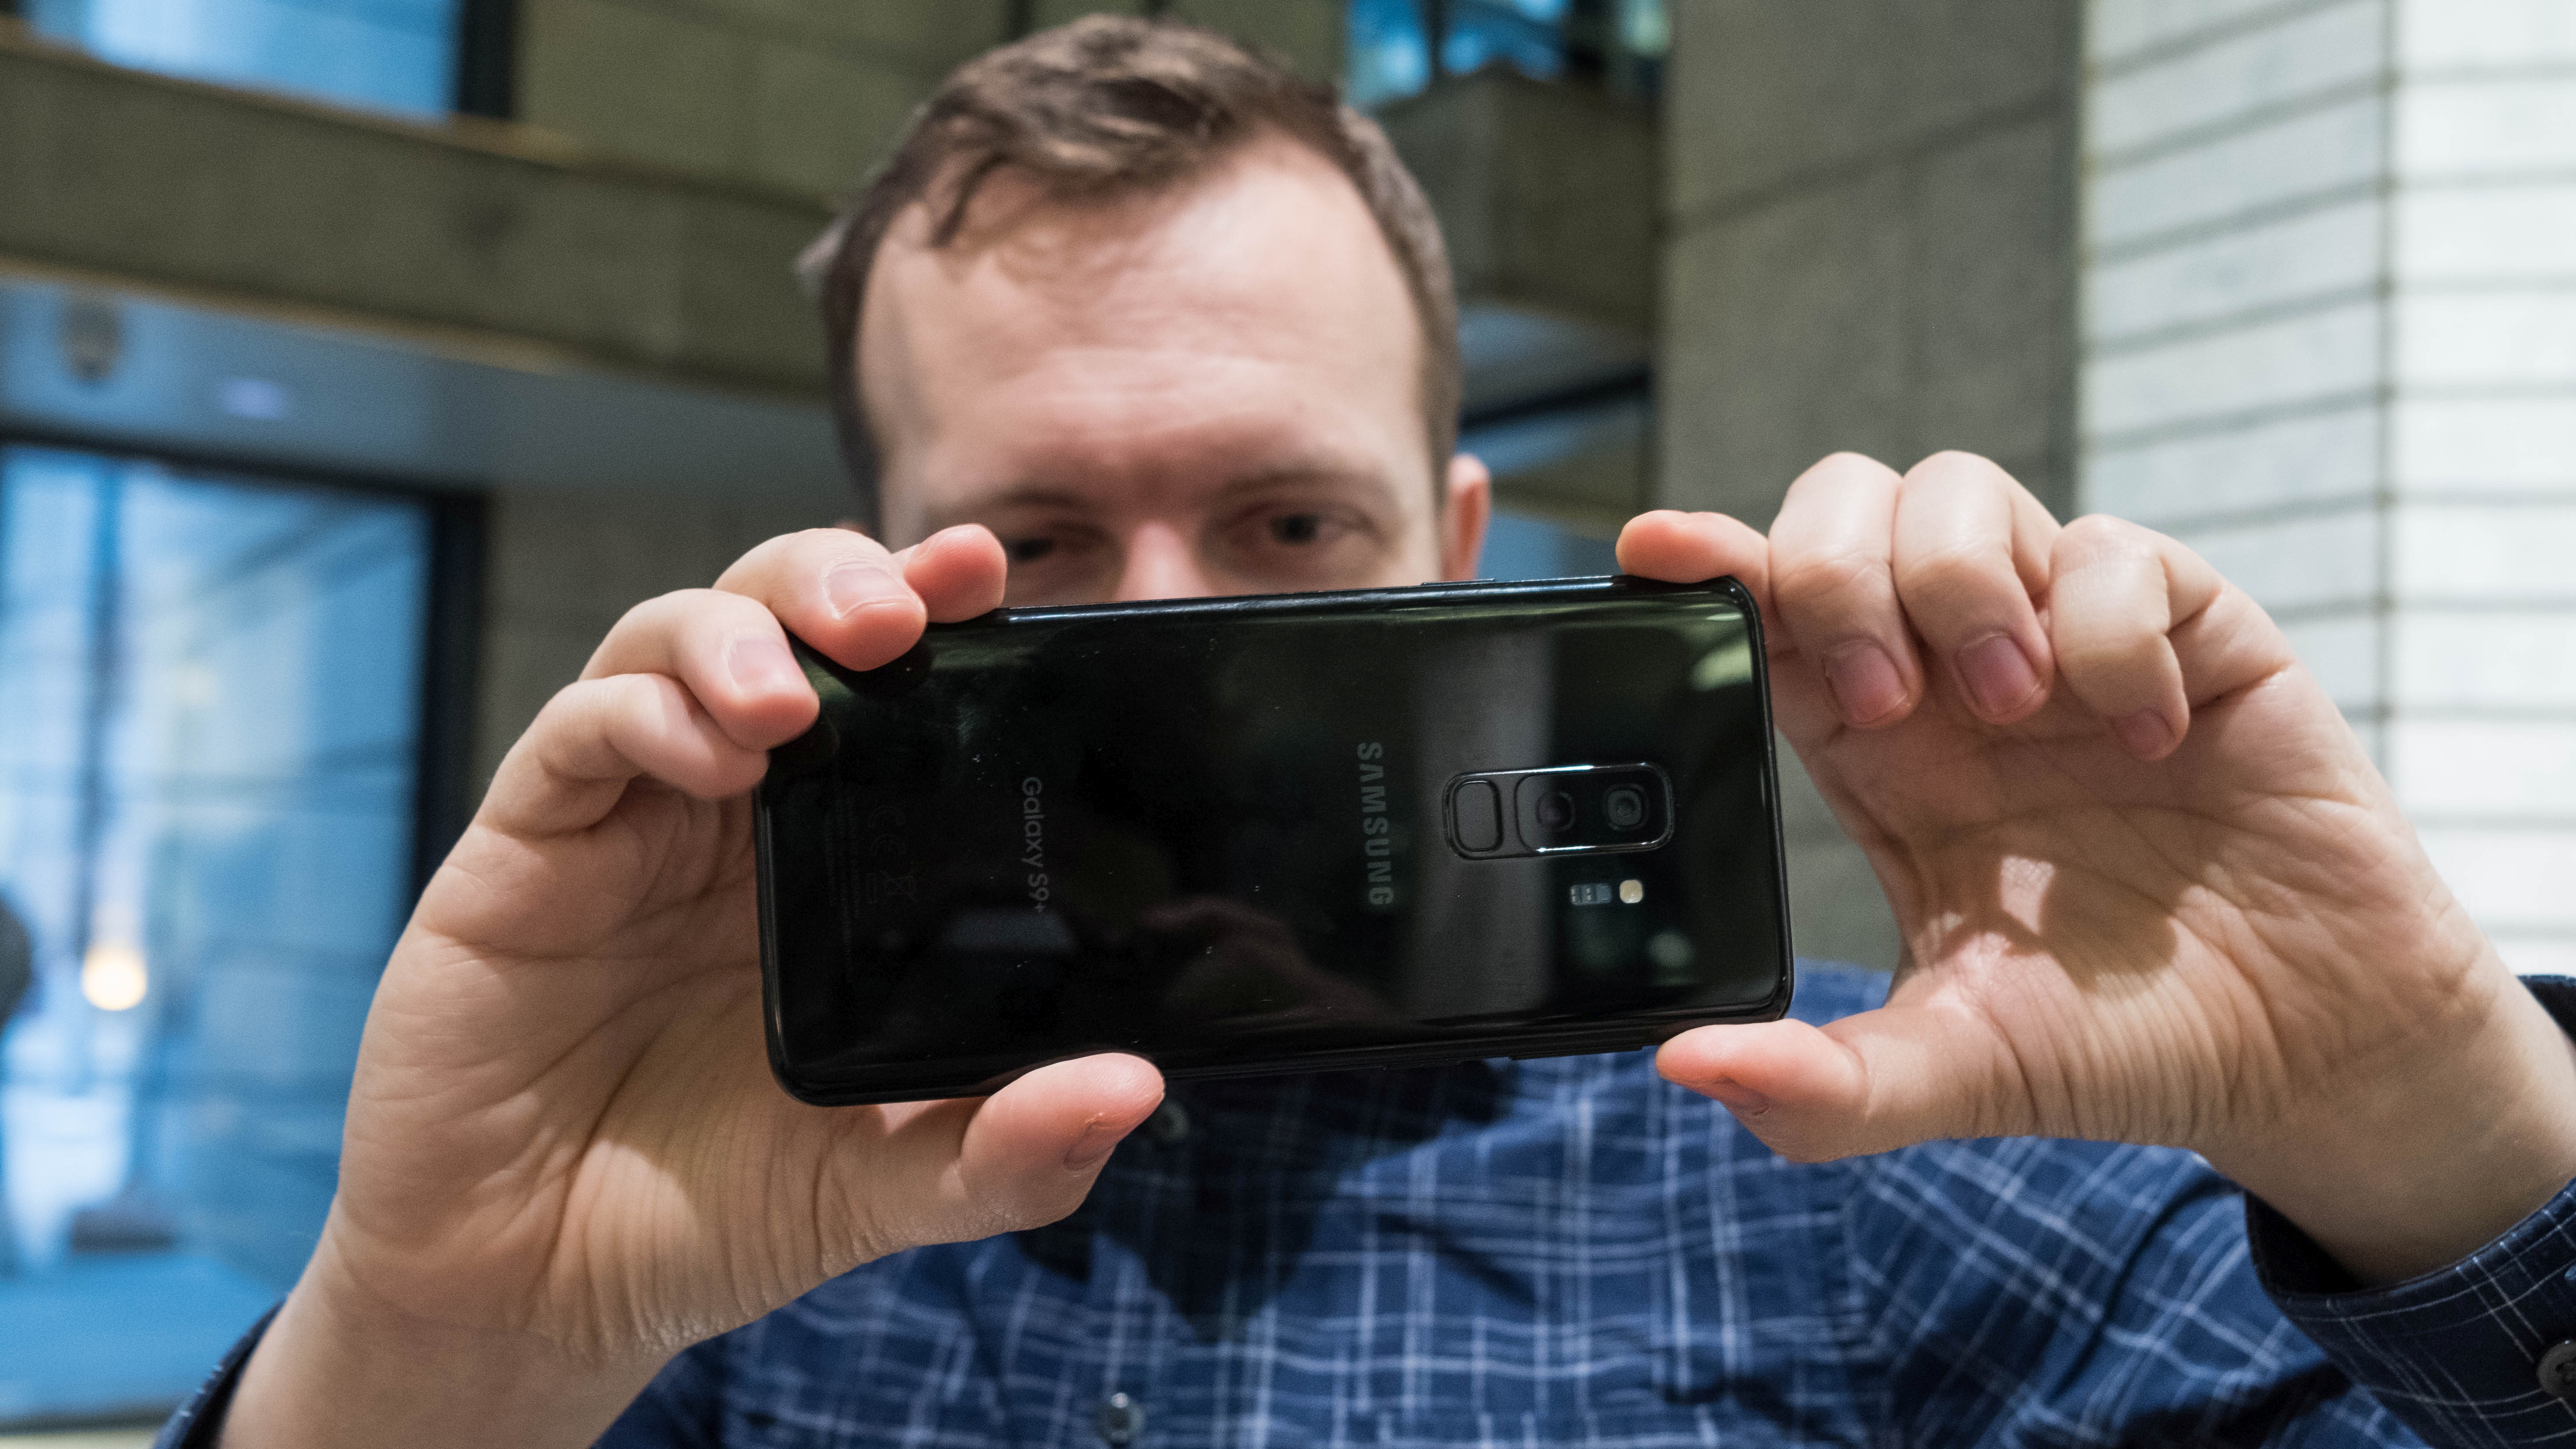
Most background blur modes recommend a distance of around 1.5 meters between you and the subject. And few work very close-up, in part because the difference between the view of the two rear cameras then becomes too great (although some phones manage it with a single sensor).
Some phones will flat-out refuse to engage the bokeh mode if the object you’re pointing at is too close. The best policy is to actively get to know your phone’s camera, and test what sort of distances work best for your subject.

The gap between foreground and background
The most important tip of the lot is to make sure there’s a big gap between foreground and background. This gives the software less work to do.
Problems in blurring algorithms are often caused when there’s some question over where foreground becomes background. By shooting scenes where there’s a clear delineation between the two, you are far more likely to get clean-looking results closer to what a DSLR with a wide aperture lens would produce.
Get daily insight, inspiration and deals in your inbox
Sign up for breaking news, reviews, opinion, top tech deals, and more.
If you can, get at least 2 meters between your subject and any surrounding objects.
Keep object outlines simple
Bokeh modes have improved significantly since they became somewhat popular on smartphones in 2014. However, complex outlines will still outfox even the better sensors on modern smartphones.
The kind of patterns you want of try to avoid are those that mix small parts of the background with the foreground. Frizzy or messy hair, angled beard shots and other complicated textures like this make creating a clean delineation between in-focus and blurred parts very difficult.

Avoid too many reflective and translucent objects
Transparent, translucent and reflective objects can also cause bokeh problems. Someone wearing glasses with their face angled away from the camera is the classic example.
Shot with a large-sensor and wide aperture lens, the image seen through the glasses’ lens would also be blurred. Phone bokeh modes tend not to add any blur to these elements. While the final image will still look good if the outline of the glasses’ frame is maintained, this is a giveaway that it was taken with software enhancements, not using a traditional optical effect.
Given that’s what you’re trying to avoid, it makes sense to review your snaps after the shot to check nothing is awry.
Tweak the ‘aperture’ pre or post-shoot
A lot of bokeh phone modes let you simulate different camera lens apertures, measured by their f/stop rating. When you alter aperture in a conventional camera, the ‘hole’ that lets in light gets larger as the f/stop rating number decreases.
Huawei’s background blur modes let you go all the way from f/0.95, for very pronounced blur, to f/16, a setting that adds no additional blur. Some of Samsung’s phones have variable aperture with a physical iris that changes the size of the hole too.
You can alter the virtual aperture as you shoot, or after doing so when looking at the image in the phone gallery.

You still need to focus
Post-shoot customizable aperture also usually means you can re-pick your focal point after shooting. However, don’t lean on this too much.
When a phone re-blurs an image post-shoot it is simply applying a very clever software filter to an image with an associated depth map. There’s still a conventional flat photo at its center.
This means you should still be careful about selecting your focus point when actually shooting, particularly if your subject is relatively close-up. Bokeh modes may use supplementary images, but do not usually combine a whole series of them taken through the phone’s focus range.
If the background has a slight blurred effect because of the camera lens’ natural depth of field, you can’t suddenly make it pin sharp post-shoot. There is an area of photography that does exactly this, though. It’s called light field photography, seen in Lytro cameras.
Look for the right light sources
It’s easy to think of bokeh modes as just simple blur filters, but there’s actually more to the blur process than simply finding which parts to blur. The best bokeh modes also emulate some of the specific effects of wide aperture optical lens blur.
Shoot with some narrow-source lights in the background, perhaps some fairy lights, and these bloom out. They become distinct circles of light, not just blurred blobs.
Shooting a scene with a background of these small light sources is one of the best ways to get a true DSLR look.
If you don’t have a bokeh mode, get as close as possible
So far, we have talked about phones with built-in bokeh modes. But what can you do if your phone doesn’t have one?
You can get a degree of background blur by using the natural depth of field of the camera’s actual lens. As we’re dealing with a phone, which has a very small lens and a small sensor, you’ll only notice this natural bokeh if you get very close to your subject.
It’s great for macro-style nature shots, but is not much use for portraits. Get far enough back to fit in someone’s face and you won’t be able to notice the lens’s own blur.
Is that not good enough? You can also try to fake the effect with filters. Google’s Snapseed app has circular and linear blur filters that let you try to roughly outline objects with blurring. It’s a far less refined approach than bokeh blurring, but can create bold or arty-looking images.
Brought to you in association with Nokia and Android One, helping you to make more of your smartphone. You can learn more about the new Nokia 7.1 here, and you'll find more great advice on getting the most from your phone here.
Andrew is a freelance journalist and has been writing and editing for some of the UK's top tech and lifestyle publications including TrustedReviews, Stuff, T3, TechRadar, Lifehacker and others.
