How to use Google Meet breakout rooms
A step-by-step guide for using Google Meet breakout rooms
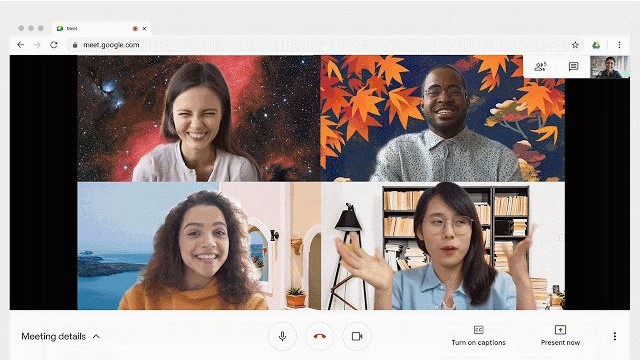
Google Meet is a popular choice of video conferencing software that gives groups—from business teams to teachers and students—an effective way of collaborating remotely.
To enhance team work, some versions of Google Meet include breakout rooms, which enable a meeting moderator to split participants into smaller, independent groups.
Currently, Google Meet breakout rooms are available to use with a selection of Google Workspace plans, and a maximum of 100 breakout rooms can be created per call.
In this article, we’ll show you how to use this feature—whether you’re a moderator or a participant.
How to use Google Meet breakout rooms: Preparation
Firstly, it’s important to note that Google Meet breakout rooms are not available to moderators (i.e., meeting organizers) who only have a free, personal Google account.
Google Meet breakout rooms are included in the following paid Google Workspace plans: Workspace Essentials, Business Standard, Business Plus, Enterprise Essentials, Enterprise Standard, Enterprise Plus, and Google Workspace for Education Plus. If you have a G Suite Business account (which is no longer offered to new users), then you’ll already have access to Google Meet breakout rooms.
It’s worthwhile taking some time to properly explore and compare all these Google Workspace plans, as each one is differently priced and comes with a varying number of additional features—some of which you and your team/students may find useful.
Are you a pro? Subscribe to our newsletter
Sign up to the TechRadar Pro newsletter to get all the top news, opinion, features and guidance your business needs to succeed!
For participants to join a call with breakout rooms, they must firstly make sure they are logged into their Google account and have the correct meeting link. To join via a mobile device, participants need the newest version of either the Google Meet app or the Gmail app—both of which are compatible with iOS and Android operating systems.
Step 1: Organize breakout rooms before a meeting
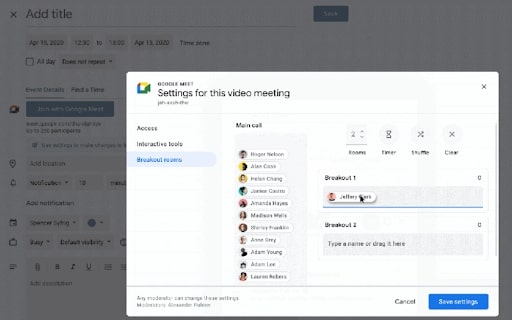
Google has recently made it possible for a moderator to set up breakout rooms and assign them to participants, while scheduling a video call meeting through Google Calendar.
To do this, start by creating a Google Calendar event, selecting the Add Google Meet video conferencing option, and adding participants. If you want to create breakout rooms for an existing scheduled meeting, start by selecting the Edit event option.
Next, by clicking on the Change conference settings icon (which looks like a cog), followed by the Breakout rooms option, you can select the number of breakout rooms you want and name them, before placing participants in each one.
To move participants to specific breakout rooms, you can drag and drop names or directly type them in.
Step 2: Create breakout rooms in a meeting
As a moderator, you might prefer to create breakout rooms during a meeting, which can be achieved via the Google Meet interface.
Firstly, you need to select the Activities menu icon (consisting of a small triangle, square, and circle) that’s situated to the top right of the interface, then click on Breakout rooms.
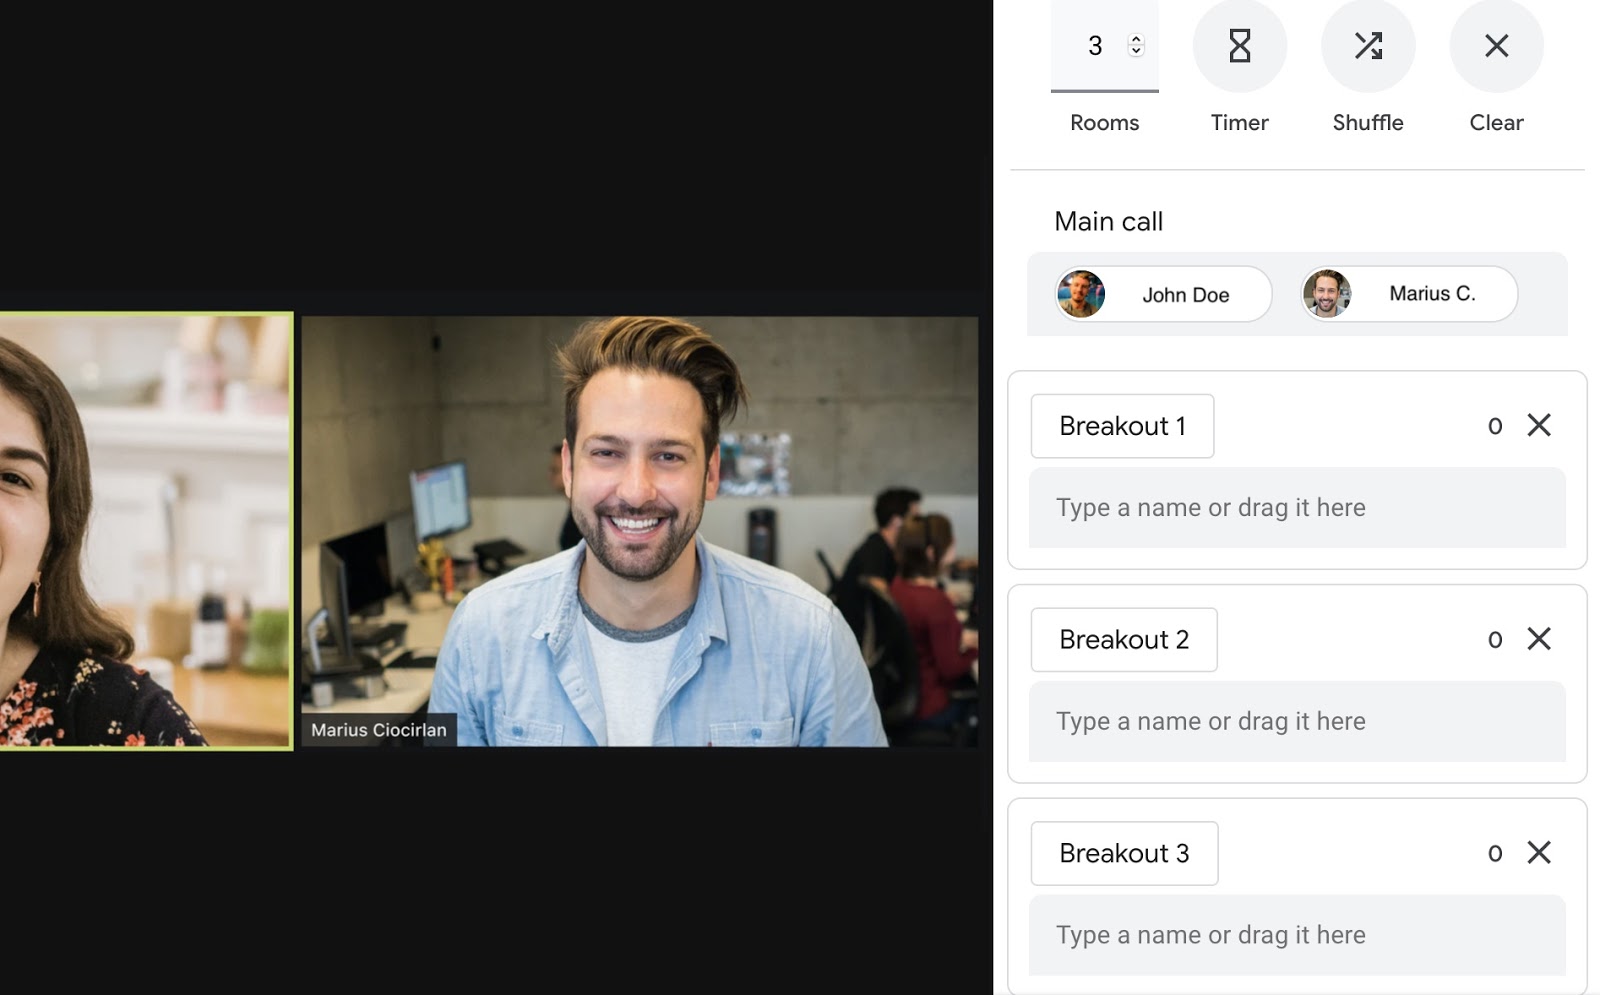
Next, from the breakout room control panel, you can select the number of rooms you want to create, then title them accordingly in the fields provided.
You can allocate breakout rooms to participants by dragging, typing, or actioning a random shuffle of names into each of the displayed rooms.
Once you have organized your participants, select Open rooms to create the breakout rooms.
Step 3: Edit breakout rooms
During a meeting, you may want to alter the breakout room set up, perhaps by reorganizing the distribution of participants, renaming the rooms, or adding more rooms.
This can be achieved by selecting Edit rooms at the top of the breakout room control panel. Once you’re satisfied with the changes, click Save to action the changes.
After the edits are complete, participants will be automatically prompted, via in-call notifications, to join their new or revised breakout rooms—or be automatically taken back to the main meeting room.
Step 4: Join a breakout room (for participants)
If you’re joining a group video call as a participant, you will start off in the main room with all your team members and the moderator.
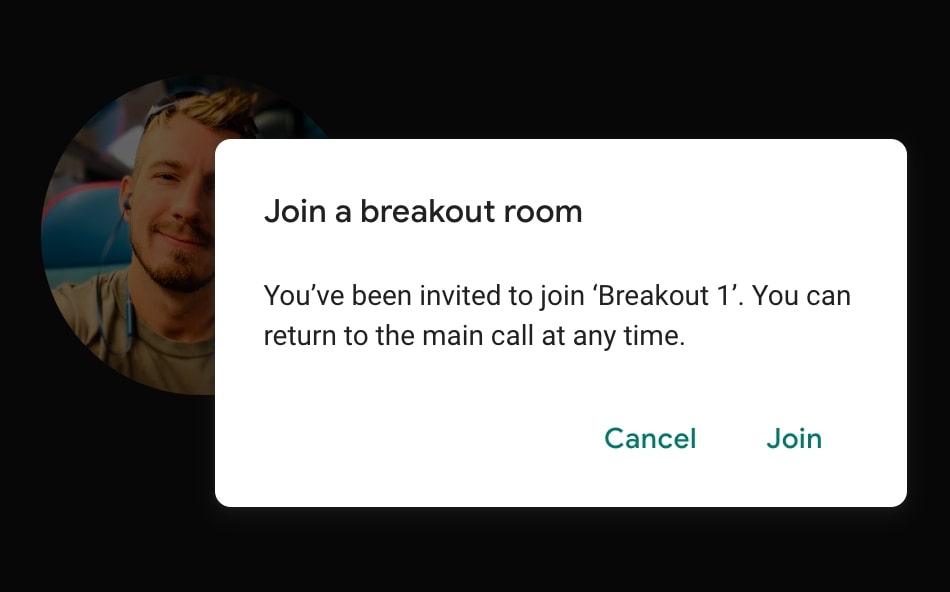
When the moderator begins the breakout room sessions, you will receive a notification to join your allocated room, from which you can select Join or Cancel. If you select Cancel, you will remain in the main room.
Once in your breakout room, you will see its name in the top left of the interface on a banner—which also features an Ask for help option that, if selected, sends a request for assistance to the moderator.
Step 5: Leave a breakout room (for participants)
As a participant, you can choose to leave your breakout room at any time by selecting Return to the main call, which is found on the banner at the top of the interface (next to the Ask for help option).
Once in the main room, you can rejoin your breakout room at any point. However, as a participant, you are not able to leave one breakout room and freely enter another; only the moderator can transfer participants to an alternative room.
Furthermore, when the moderator decides to end the breakout room sessions, all participants will receive a notification that they are returning to the main room.
Step 6: Join a breakout room (for moderators)
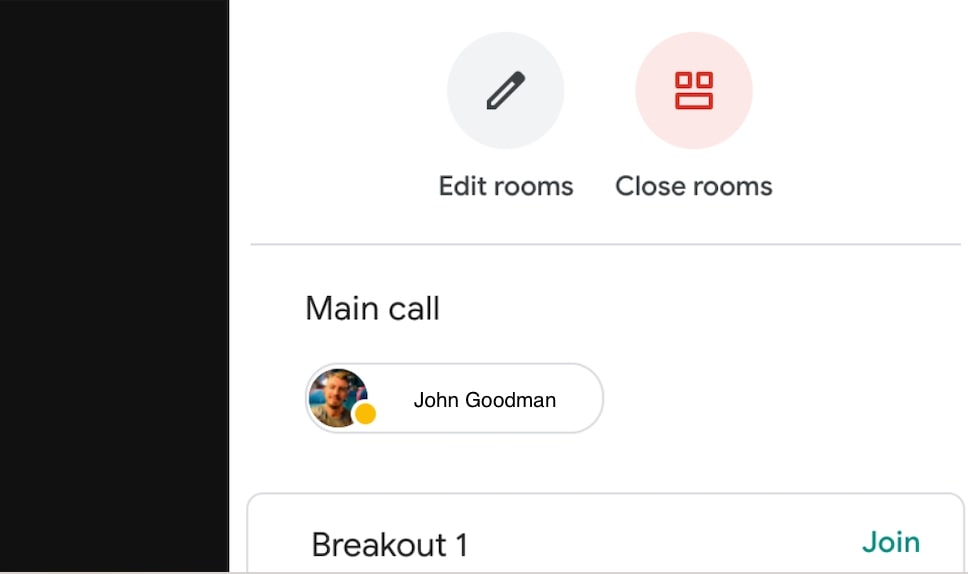
As a moderator, you don’t have to stay in the main room; you’re free to join participants in breakout rooms. This can be done by going to the breakout rooms control panel (under Activities) and selecting Join next to the room you want to enter.
You can also join a breakout room if a participant sends you a notification for help from their designated room. Once prompted, you can either select Join to immediately enter the room, or Later if you’re busy.
Step 7: Leave a breakout room (for moderators)
If you’re a moderator, you can move from one breakout room to another using the breakout rooms control panel. Simply select Join for the room you want to transfer to. As you do this, you will simultaneously leave the room you’re currently in.
If you want to exit a breakout room and return to the main room, then click Leave on the breakout rooms control panel.
Step 8: Close breakout rooms
By selecting Close rooms at the top of the breakout rooms control panel (followed by the Close all rooms option), a moderator can end all the breakout room sessions simultaneously and return all participants to the main room.
Alternatively, there’s an optional Timer feature, which allows the moderator to set a time limit for breakout room sessions before they are created. If initiated, participants in each room will be able to see a countdown during the last 30 seconds of their session, after which they will move back to the main room.
Summary
Thankfully, getting used to Google Meet breakout rooms isn’t tricky or time consuming.
The Google Meet in-call interface provides plenty of on-screen prompts and notifications to ensure easy navigation between the main room and a breakout room for participants, and between every room if you’re a moderator.
As a moderator, you can create, edit, join, and leave breakout rooms all from one comprehensive control panel, which can be found under Activities on the video call interface. Furthermore, it’s now also possible to create, populate, and edit breakout rooms in advance using Google Calendar.
Finally, if you want to use Google Meet breakout rooms, it’s important to remember that they’re only available with a selection of Google Workspace subscription plans.
Liam is a freelance content writer with two writing-based university degrees. He has accumulated knowledge in a variety of tech topics, including VPNs, antivirus products, cybersecurity, TV streaming, and popular apps. He also contributes to an arts and culture online magazine called Now Then, based in Manchester, England. In his spare time, he enjoys reading and writing poetry.
