How to use Microsoft Teams online
This guide gives you everything you need to use Microsoft Teams online

Microsoft Teams is up there with the most popular video conferencing tools on the market, giving workers a simple way to check in with their colleagues, clients and partners.
More than just a method of engaging in video calls, however, Teams has a multitude of features for individuals to enjoy. These include channel-based working, customizable alerts, audio conferencing, screen-sharing, and much more.
What’s more, to remain competitive with the likes of Google Meet and Zoom Microsoft has continuously updated Teams in the past year or so, adding features like locked meetings, automatic recordings, and AI-powered live transcription. The updates appear to have paid off, with Teams almost doubling its user numbers between April 2020 and the same time this year, reaching 145 million users.
Although many individuals will likely access Teams through its desktop application (or perhaps the smartphone app), the most accessible way of using the platform is through your web browser. If you’re not a particularly experienced Teams user - or you’re migrating from one of the other video conferencing tools - this guide will tell you everything you need to know about how to use Microsoft Teams online.
Step One: Visit the Teams web address

When using Microsoft Teams online, the first step involves visiting the correct web address. Load up your browser and navigate your way to the following link: teams.microsoft.com. Alternatively, you could enter something like “Microsoft Teams online” into your search engine of choice. Fortunately, Teams is supported across a variety of web browsers.
Step Two: Sign up or sign in
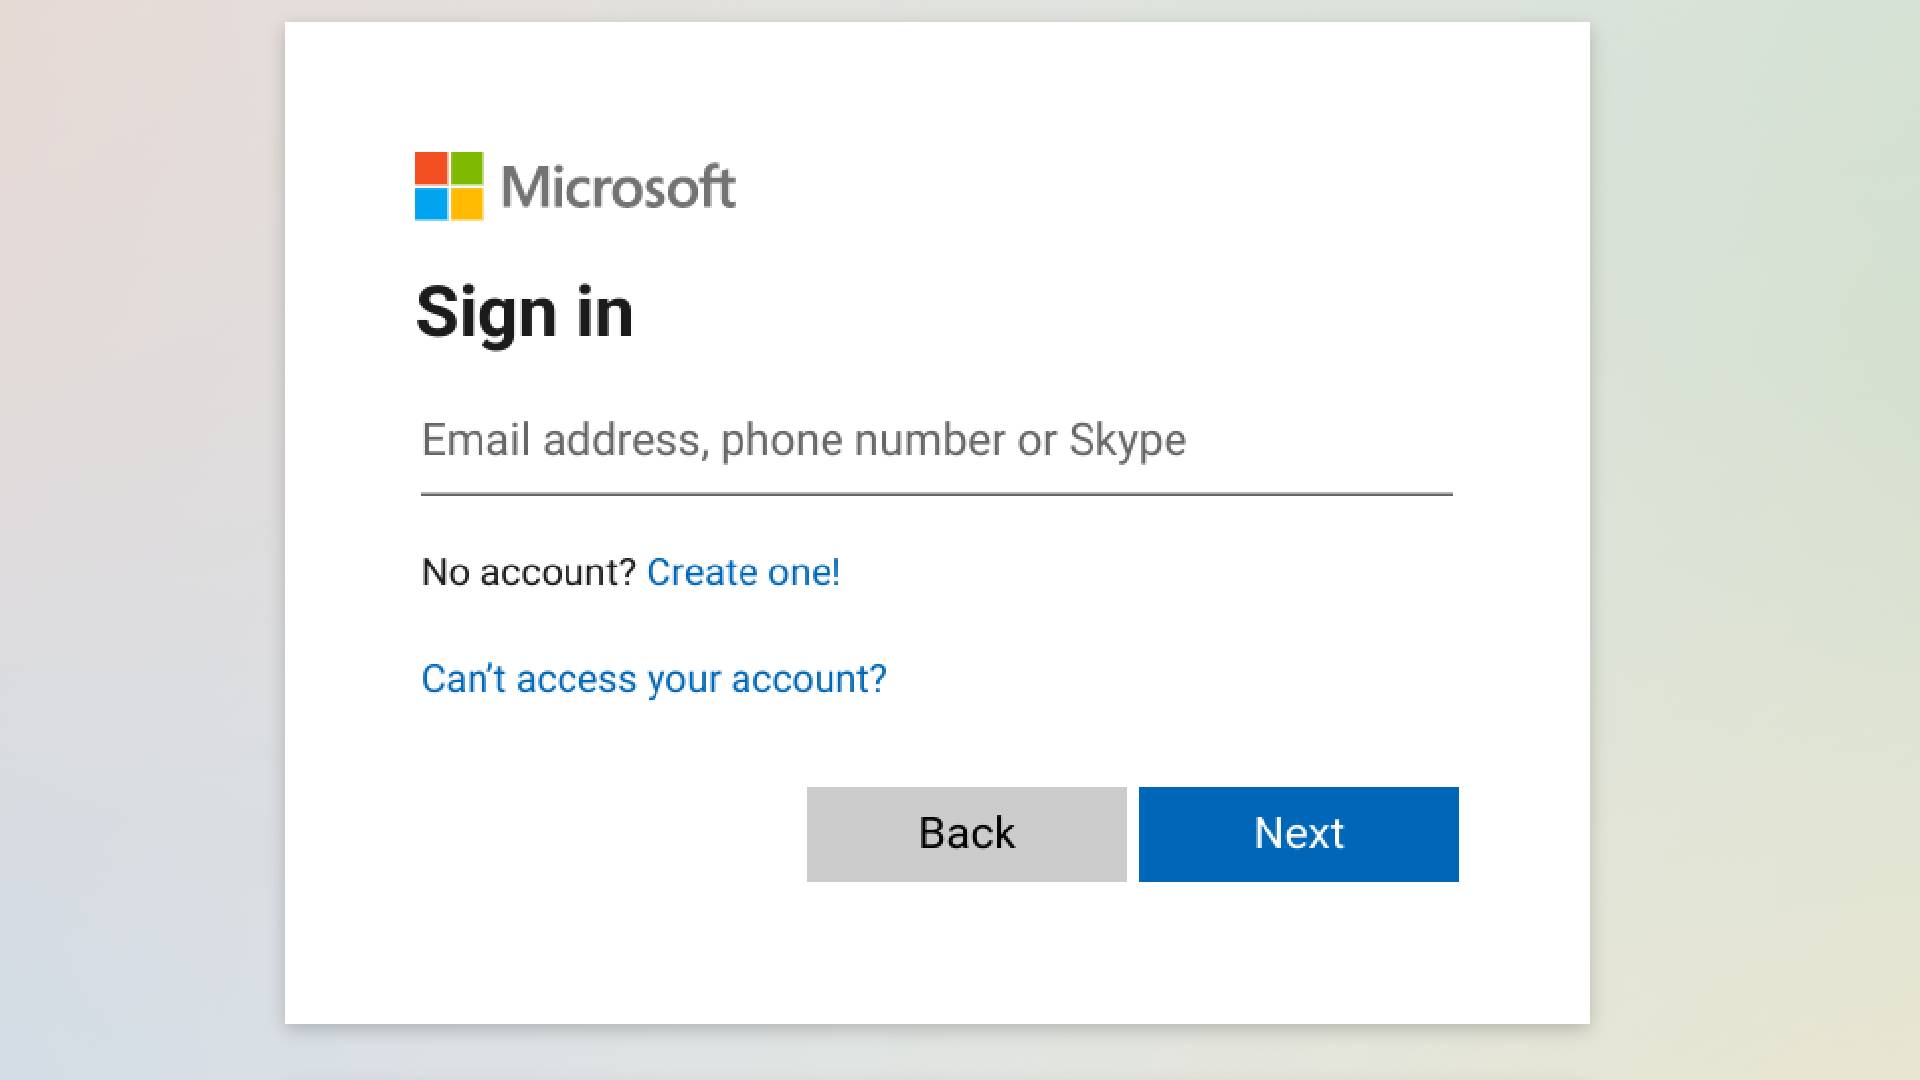
Once you’ve reached the Microsoft Teams web client, you’ll be asked to enter your Teams credentials. If this is your first time using the software, you may need to sign up first. In order to do so, you’ll need to create a Microsoft account (unless you already have one). Then simply enter your Microsoft account name and password.
Step Three: Select your Teams environment
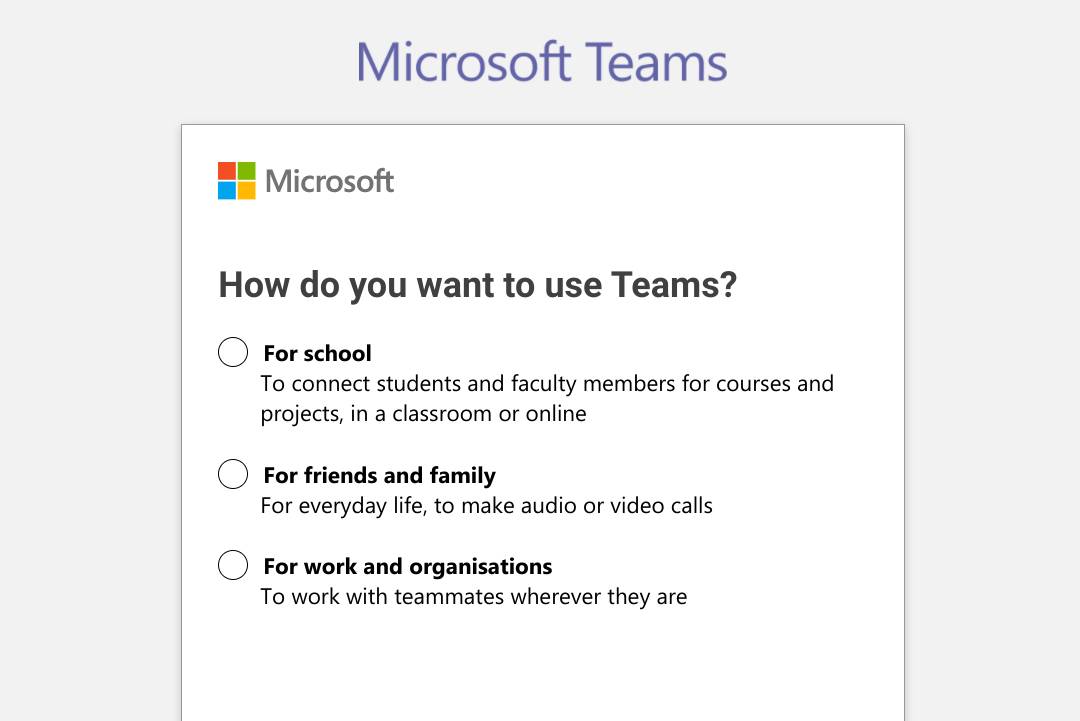
It is sometimes forgotten that Microsoft Teams is useful for more than just office workers. As such, one of the first things Team users will be asked is whether they will be using the software “at a School, with Friends and Family, or in a Business”. Each environment slightly customizes Teams, although the underlying technology will remain the same.
Are you a pro? Subscribe to our newsletter
Sign up to the TechRadar Pro newsletter to get all the top news, opinion, features and guidance your business needs to succeed!
Step Four: Start a video chat

Perhaps the first thing that people think of when they are looking to download a video conferencing tool like Microsoft Teams is starting a video call. Fortunately, this is straightforward when using the web app.
If users want to fire up a meeting immediately, they can simply click “Meet now” in the top right corner of the online interface. They will then be given the chance to come up with a meeting name and receive a link that they can share with other participants. It’s then simply a case of clicking “Start meeting” and you can begin engaging with teachers, colleagues, and friends remotely.
Of course, unless your other meeting participants are extremely flexible, you probably won’t often look to start a meeting immediately. Instead, it’s more likely that you’ll want to schedule a new meeting. To do this, click “New meeting,” which will take you to a page that allows you to set your meeting details. Fill in things like the meeting tile, date, time, and, of course, the contact details of your other participants. They’ll be sent an invitation, and then it’s simply a case of waiting for the meeting to begin.
Step Five: Create your team
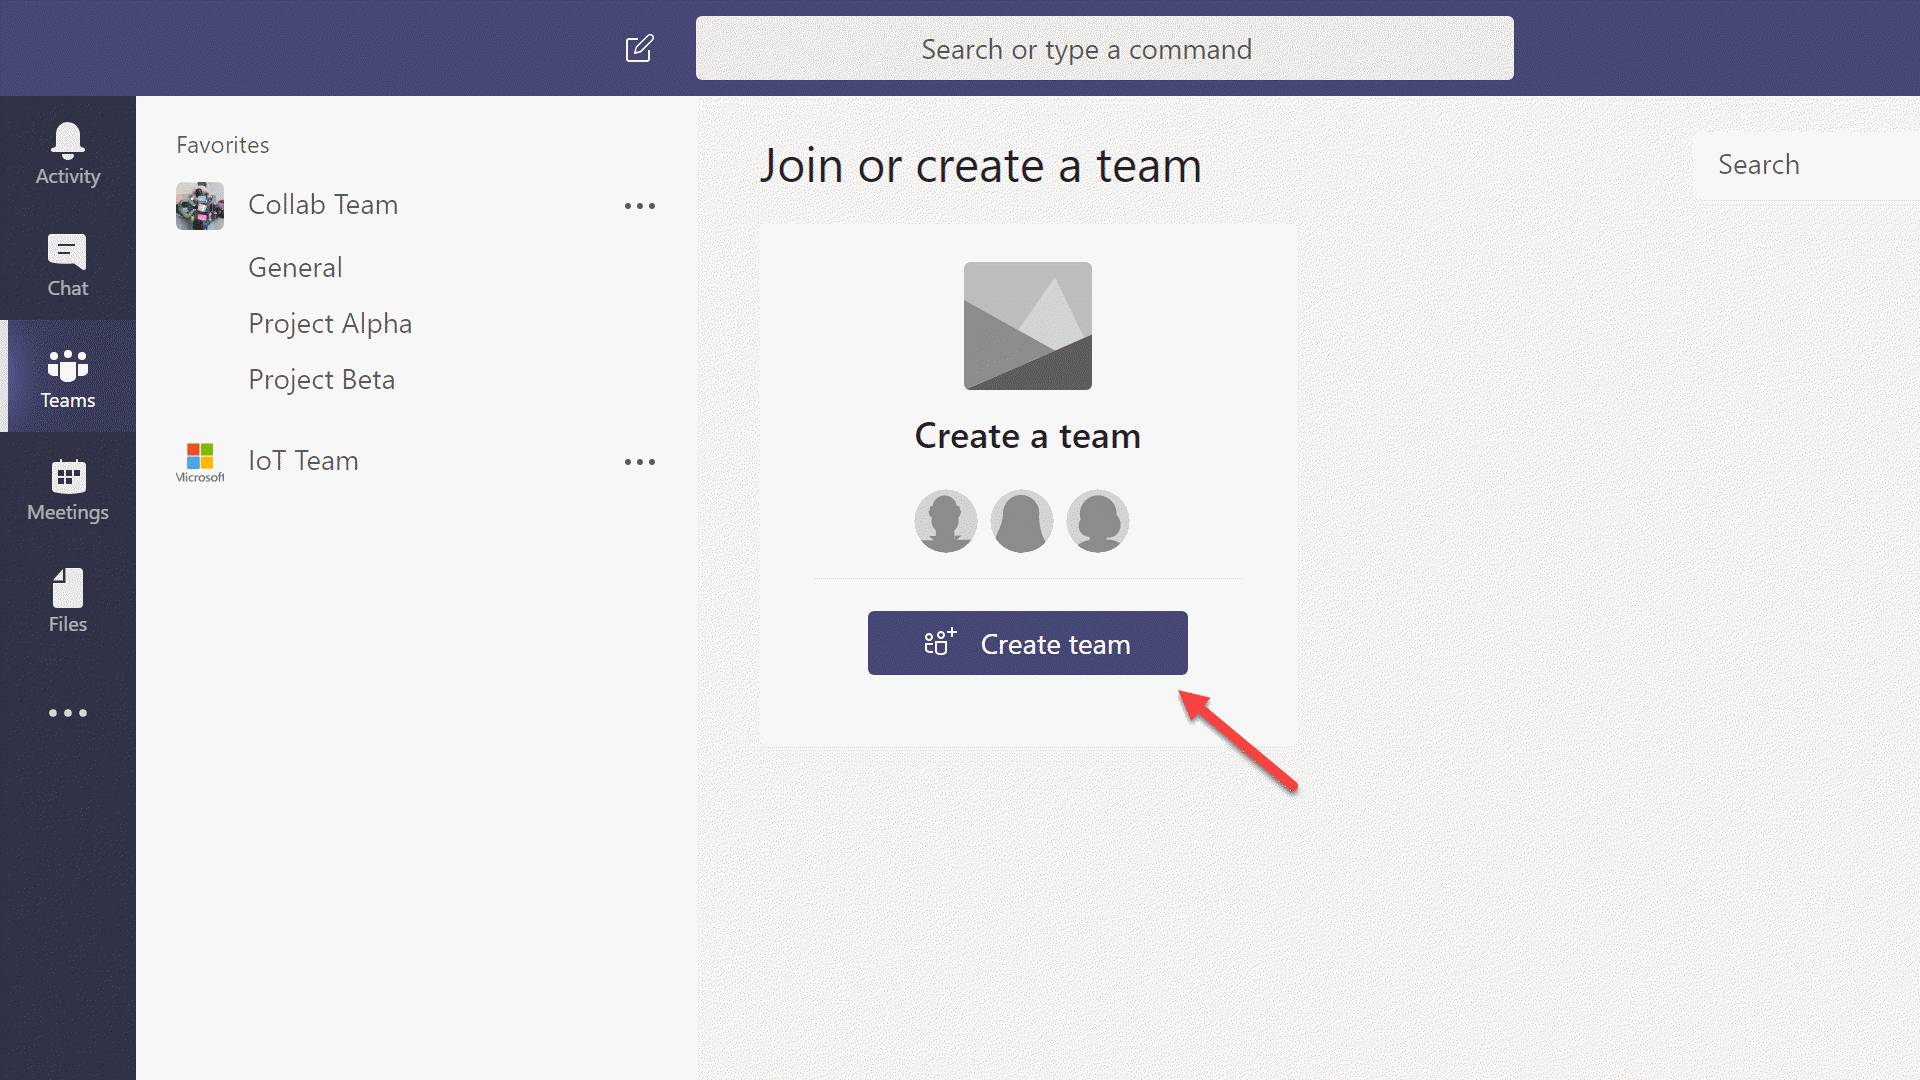
Unsurprisingly, one of the core features within Microsoft Teams is the creation of a “team.” To create your team, navigate to the “Join or Create a team” area, which can be found at the bottom left of the app. If your business is already using Microsoft 365, it will be easy to use the associated groups to create teams but, alternatively, you can create one from scratch.
When you’ve formed your team, you can choose to make it public, private, or org-wide. You’ll then be asked to name your team and give it a description. After your team is created, it will appear on the Team list. From here, its members can be reviewed, along with any recent activity.
Step Six: Create a channel
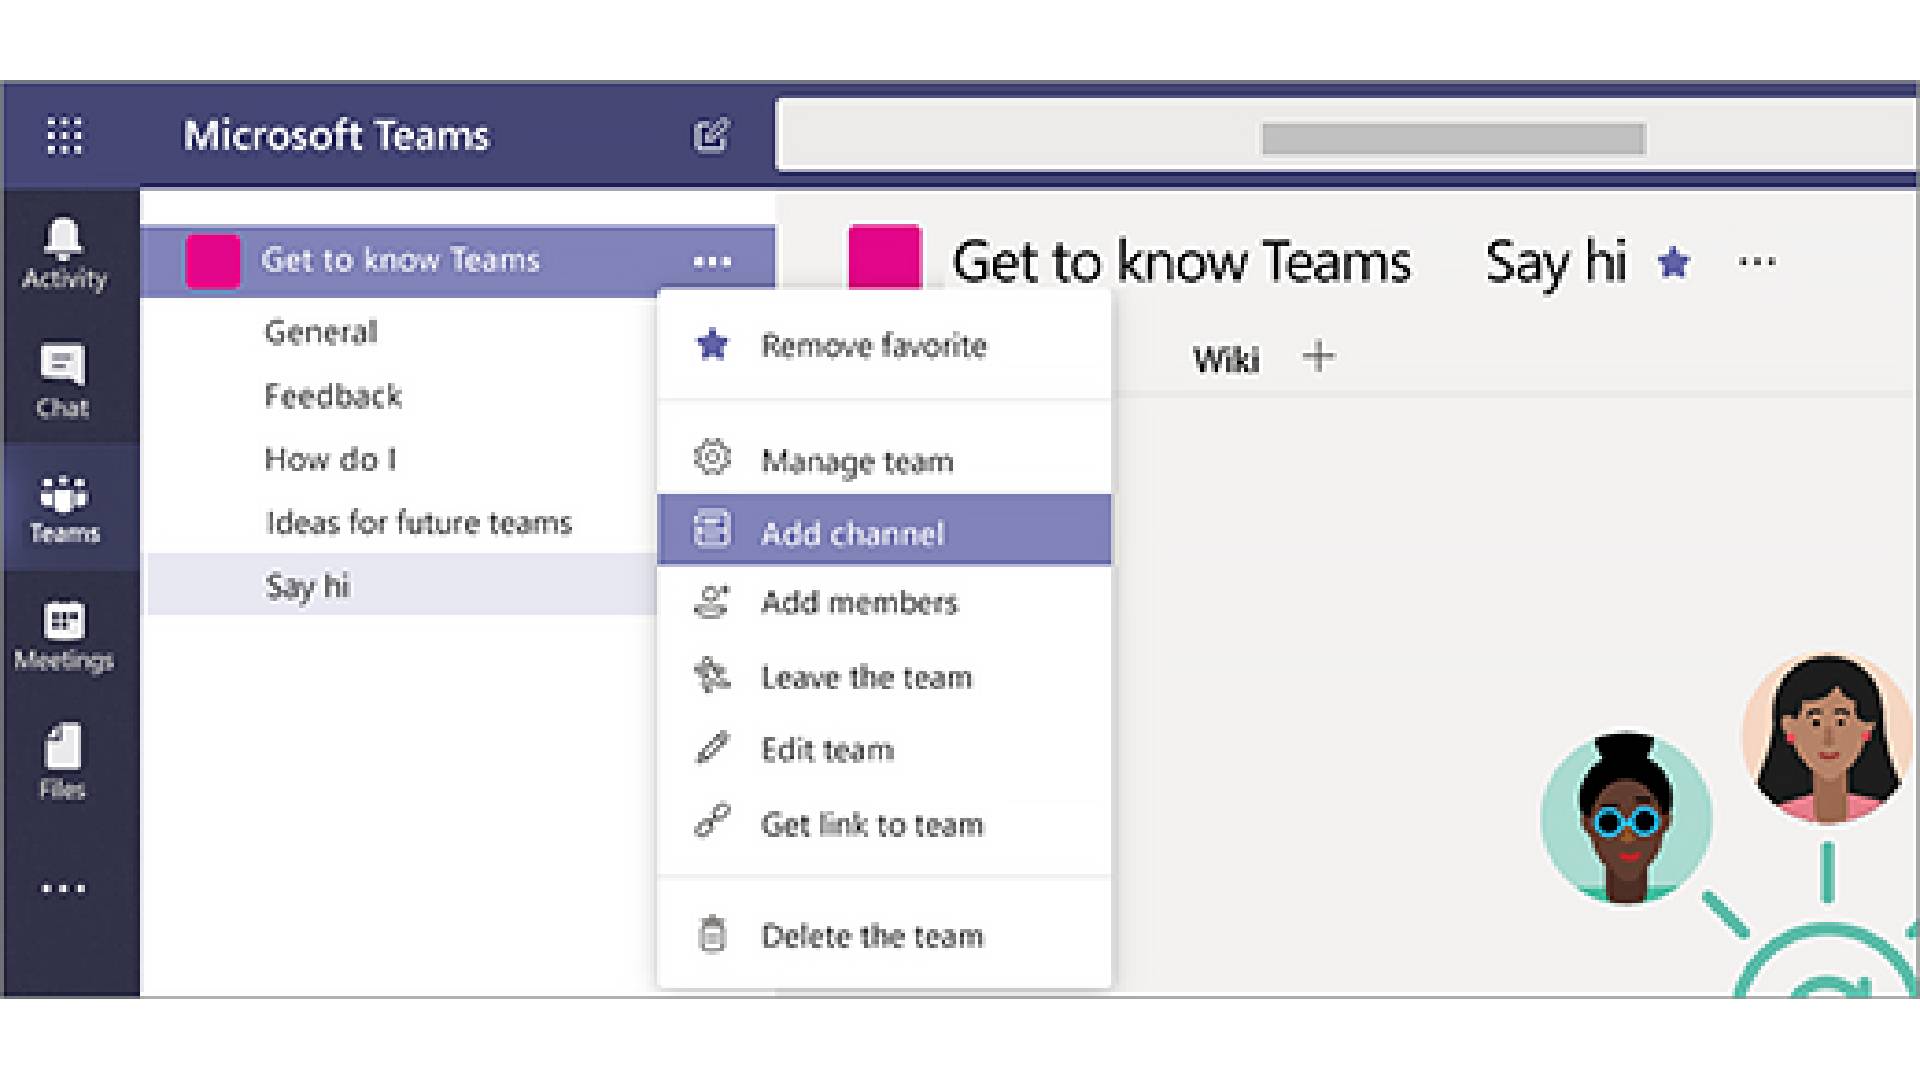
Similar to the creation of a team, users of Microsoft Teams online may also want to create a channel. Essentially, these are conversations that you have with your teammates, with each channel being dedicated to a specific topic, department, or project.
Like a team, a channel should have a title and description and, similarly, you can set it as standard or private. In order to create a standard channel, users must first visit the team list. Find the relevant team name and click “More options,” followed by “Add channel”. You can create up to 200 channels over the lifespan of a team, with that number including channels you create and later delete.
If you want to enter a conversation with a team member without sharing it with anyone else on the team, a private channel can be created instead. Only owners and members of the private channel can access it, which makes it a great place to discuss sensitive topics like budgets, HR issues, etc. You can create up to 30 private channels over the life of a team.
Once your channel is created, you can add posts, load files, and interact with others in the team. This can be a great way of keeping your engagements separate from your general team interactions, such as when starting a new, distinct project.
Step Seven: Turn on notifications
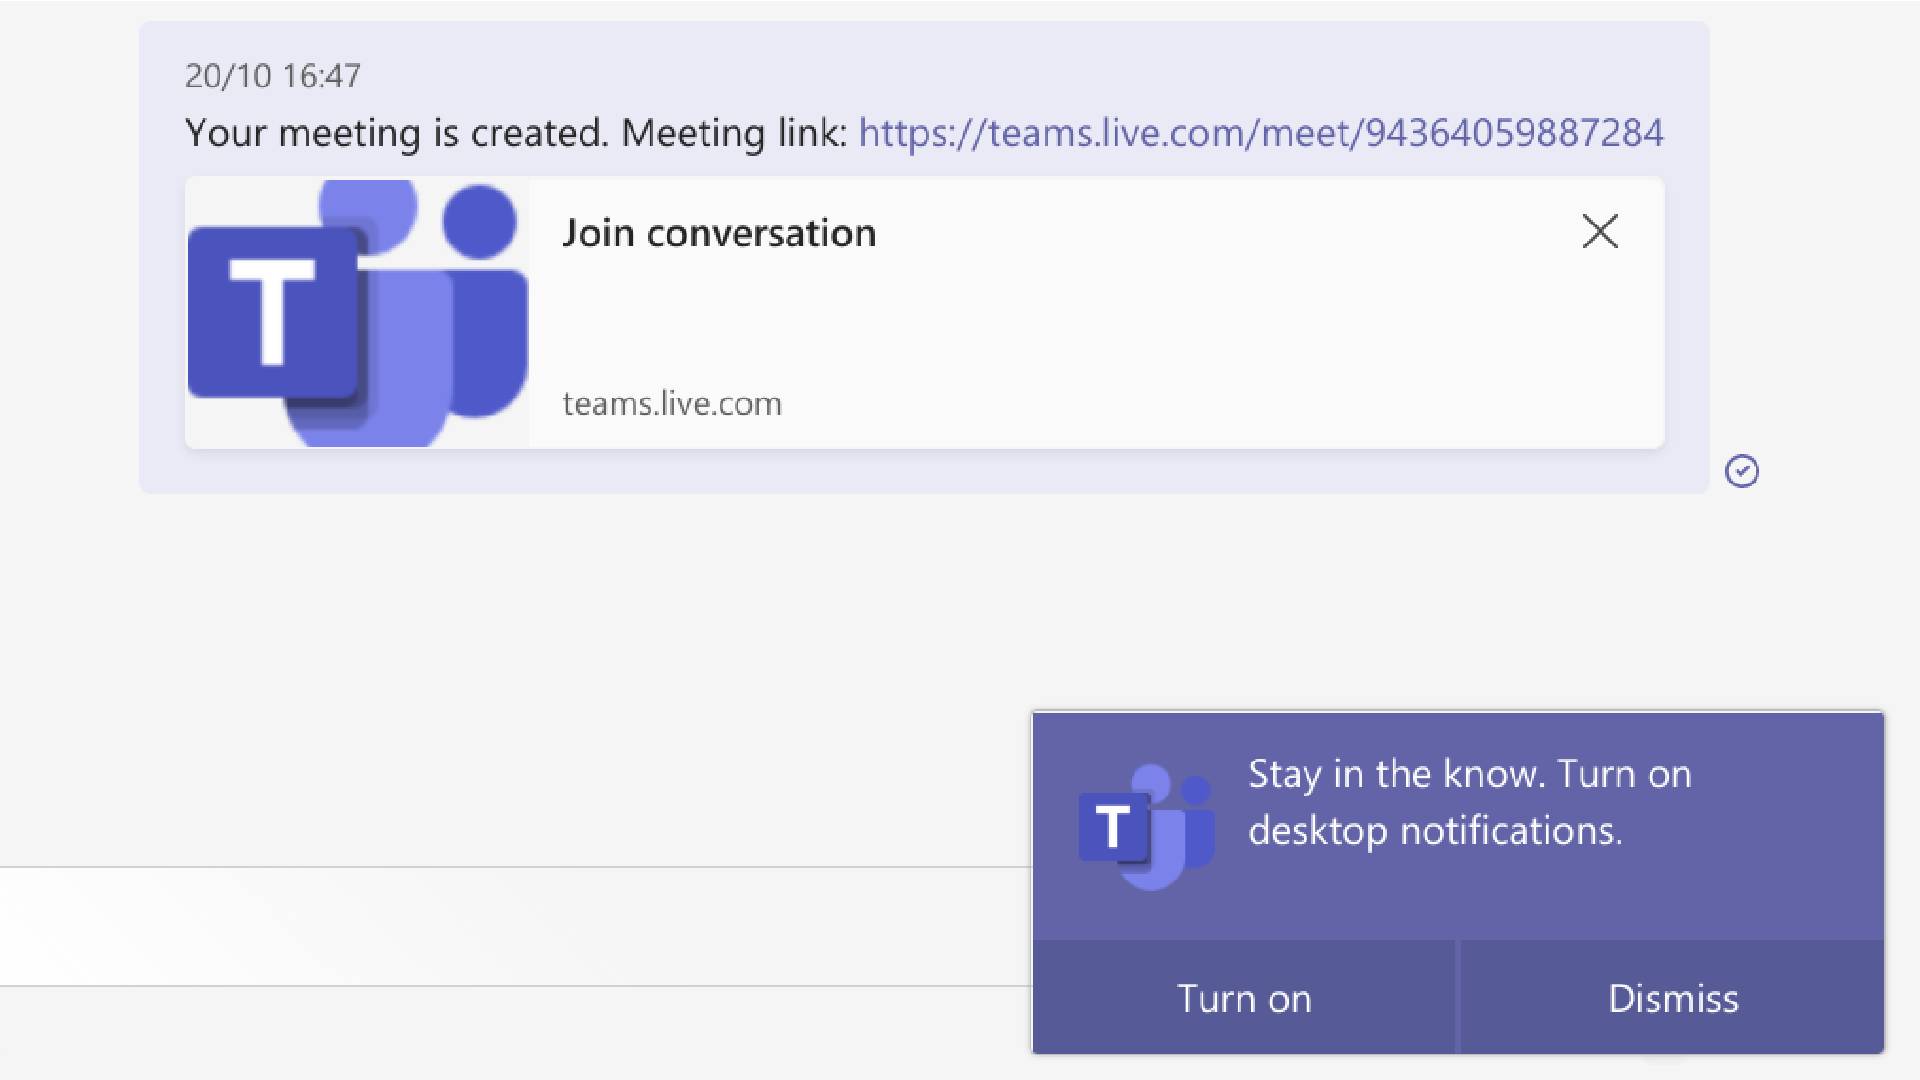
There are certainly pros and cons to using Teams online. For example, depending on the browser you are using, the web version offers limited functionality when compared with the desktop and mobile apps. However, you are much less likely to encounter sign-in issues.
If you are worried about missing out on Teams interactions because you are using the web version, be sure to turn on notifications. These will appear in the tab where you are using Teams, or some browsers will provide desktop notification as long as you have set teams.microsoft.com to “allow” in your browser notification settings.
Barclay has been writing about technology for a decade, starting out as a freelancer with ITProPortal covering everything from London’s start-up scene to comparisons of the best cloud storage services. After that, he spent some time as the managing editor of an online outlet focusing on cloud computing, furthering his interest in virtualization, Big Data, and the Internet of Things.
