Introduction
Adobe Photoshop is the tool of choice for professional photographers the world over. Its enormous toolset gives experts an incredible degree of control over their pictures, enabling them to tweak and edit their shots to pixel perfection. That kind of power doesn’t come cheap though, and although Photoshop’s interface is quite intuitive, it takes a long time to master.
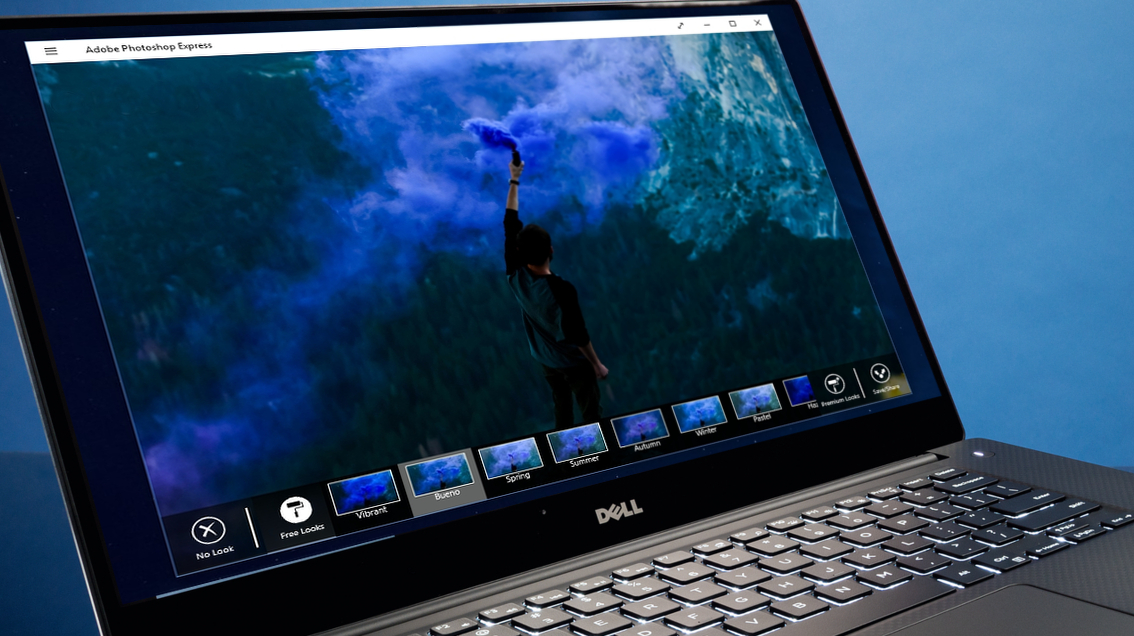
That’s where Adobe Photoshop Express comes in. This fantastic free photo editor is essentially a cross between Photoshop and Instagram, with simple but effective tools to help you correct common photographic flaws, plus an array of fun filters for a touch of vintage flair. There are a few paid-for options, but the vast majority of its tools and features are completely free.
For a limited time, you can sign in with a free Adobe ID to get premium features like noise reduction and extra filters. Just install the software as normal, then follow the instructions the first time you run it.
Photoshop Express very easy to use, with a simple interface that’s ideal for mice and fingertips alike. Download it and let's get started.
1. Compose and crop
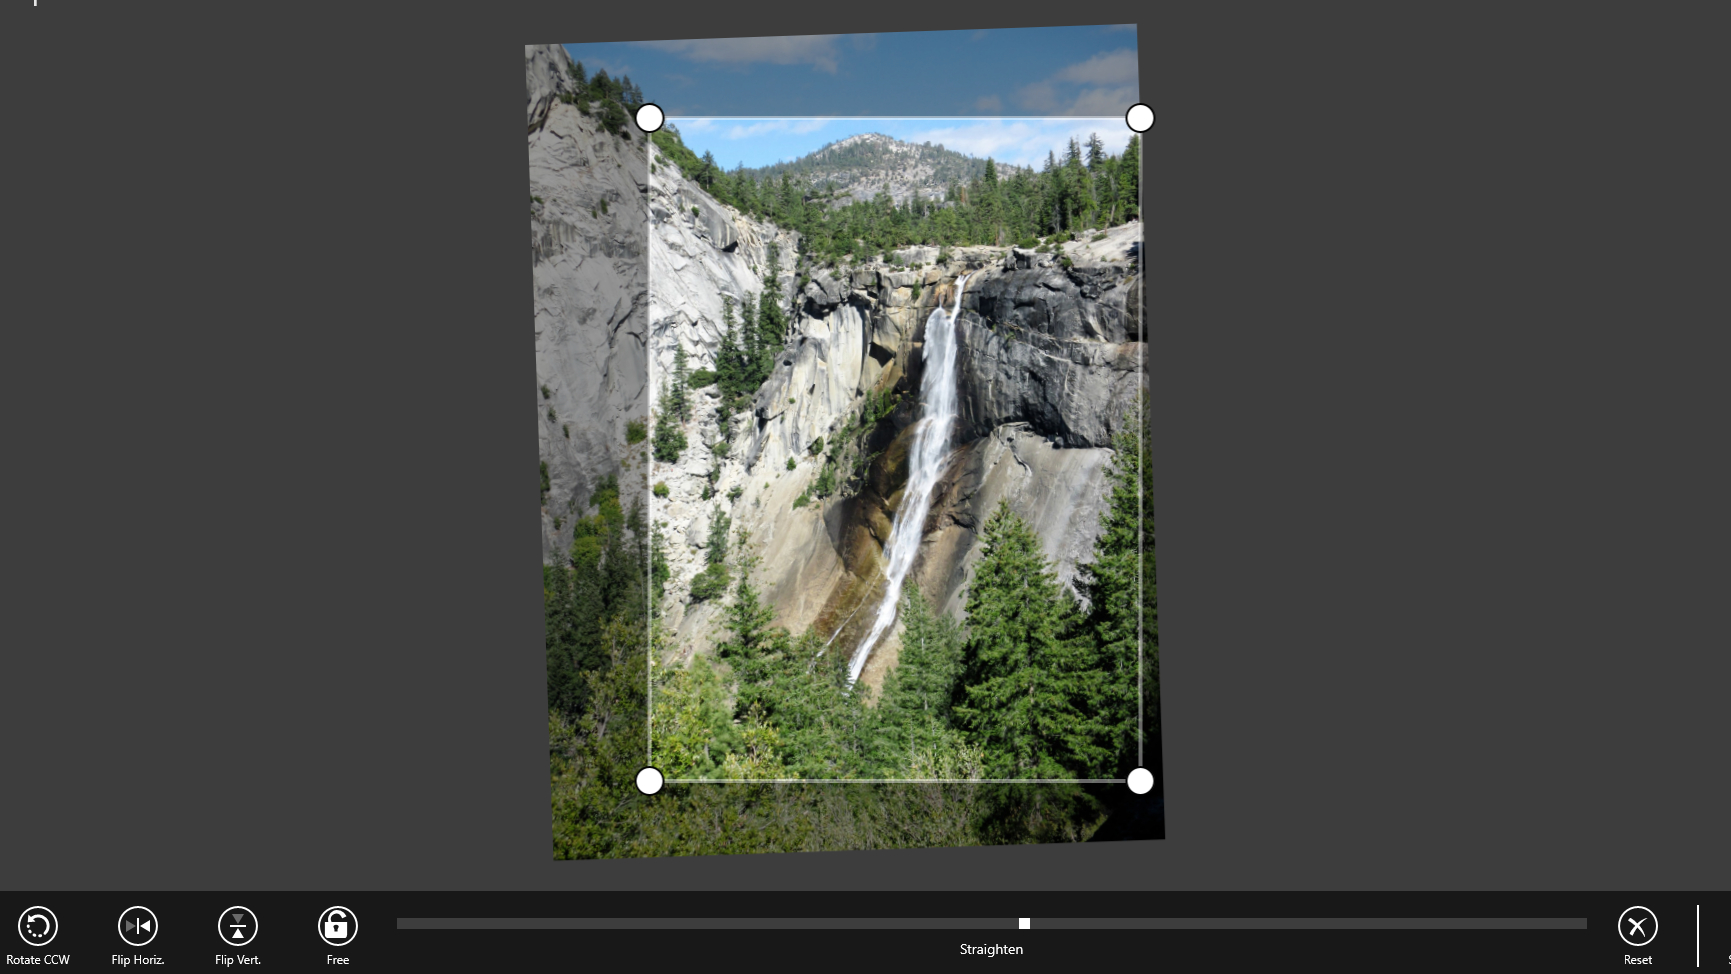
Open the photo you want to edit and select the ‘Crop’ icon at the bottom left. Large handles will appear at each corner of your picture. While cropping your snaps, it’s worth bearing in mind the rule of thirds – a guide to composition that can help you create more dramatic-looking and appealing images.
You can also use the Crop tool to rotate your image – ideal if you’ve snapped your picture with a phone held at a jaunty angle.

2. Changed your mind?
Once you’ve finished cropping and straightening, click the ‘Back’ arrow at the top left to return to the main editing screen, where you can begin applying filters and refining colors.
If you change your mind about any of the edits you’ve made, simply tap the ‘Undo’ arrow at the top right; none of the changes you’re making will become permanent until you save the picture at the end.
3. Compare and contrast
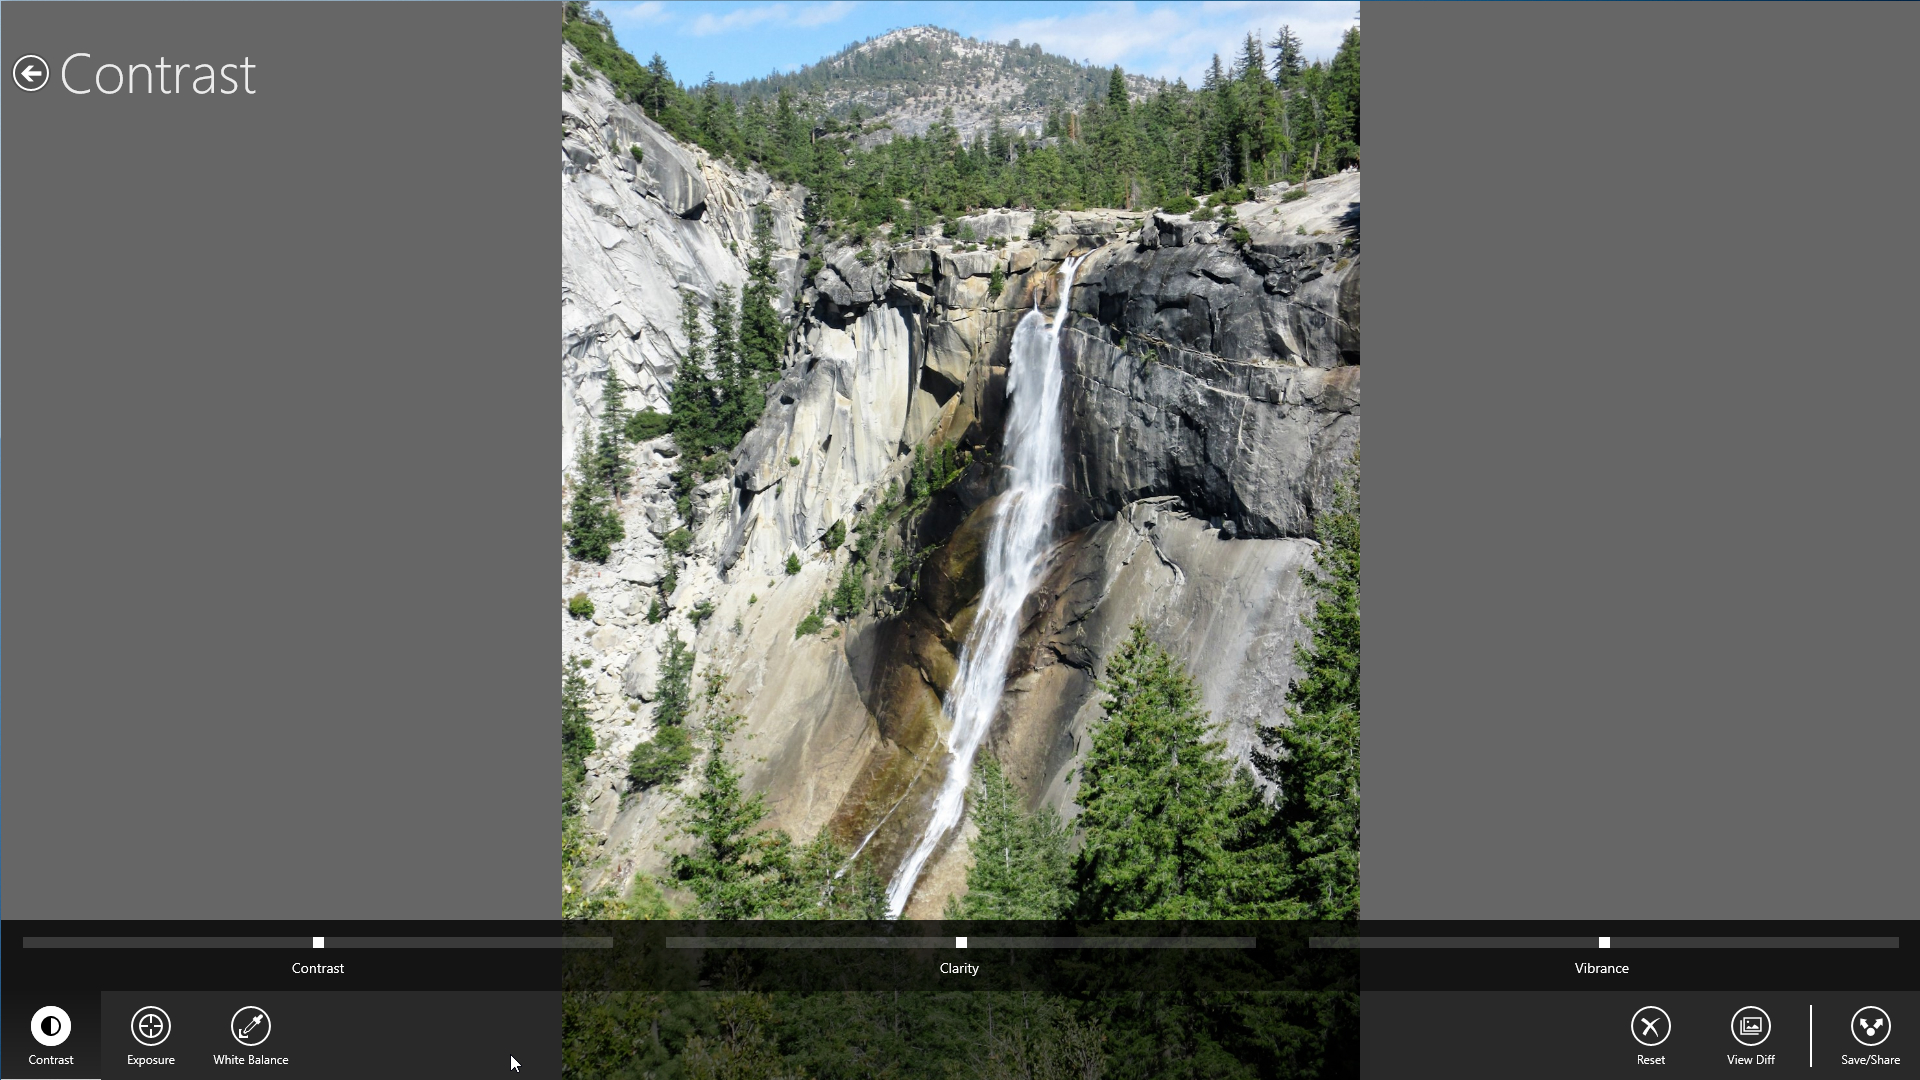
Select the ‘Correct’ tool and three tabs will appear at the bottom – Contrast, Exposure and White Balance. Select ‘Contrast’ and you’ll see three sliders: contrast, clarity and vibrance.
Contrast is the difference between the brightest and darkest parts of your image, clarity makes the midtones in your image lighter or darker (resulting in a softer or ‘harder’ effect), and vibrance is colour saturation. For a natural look, keep your alterations fairly small.
4. Decent exposure
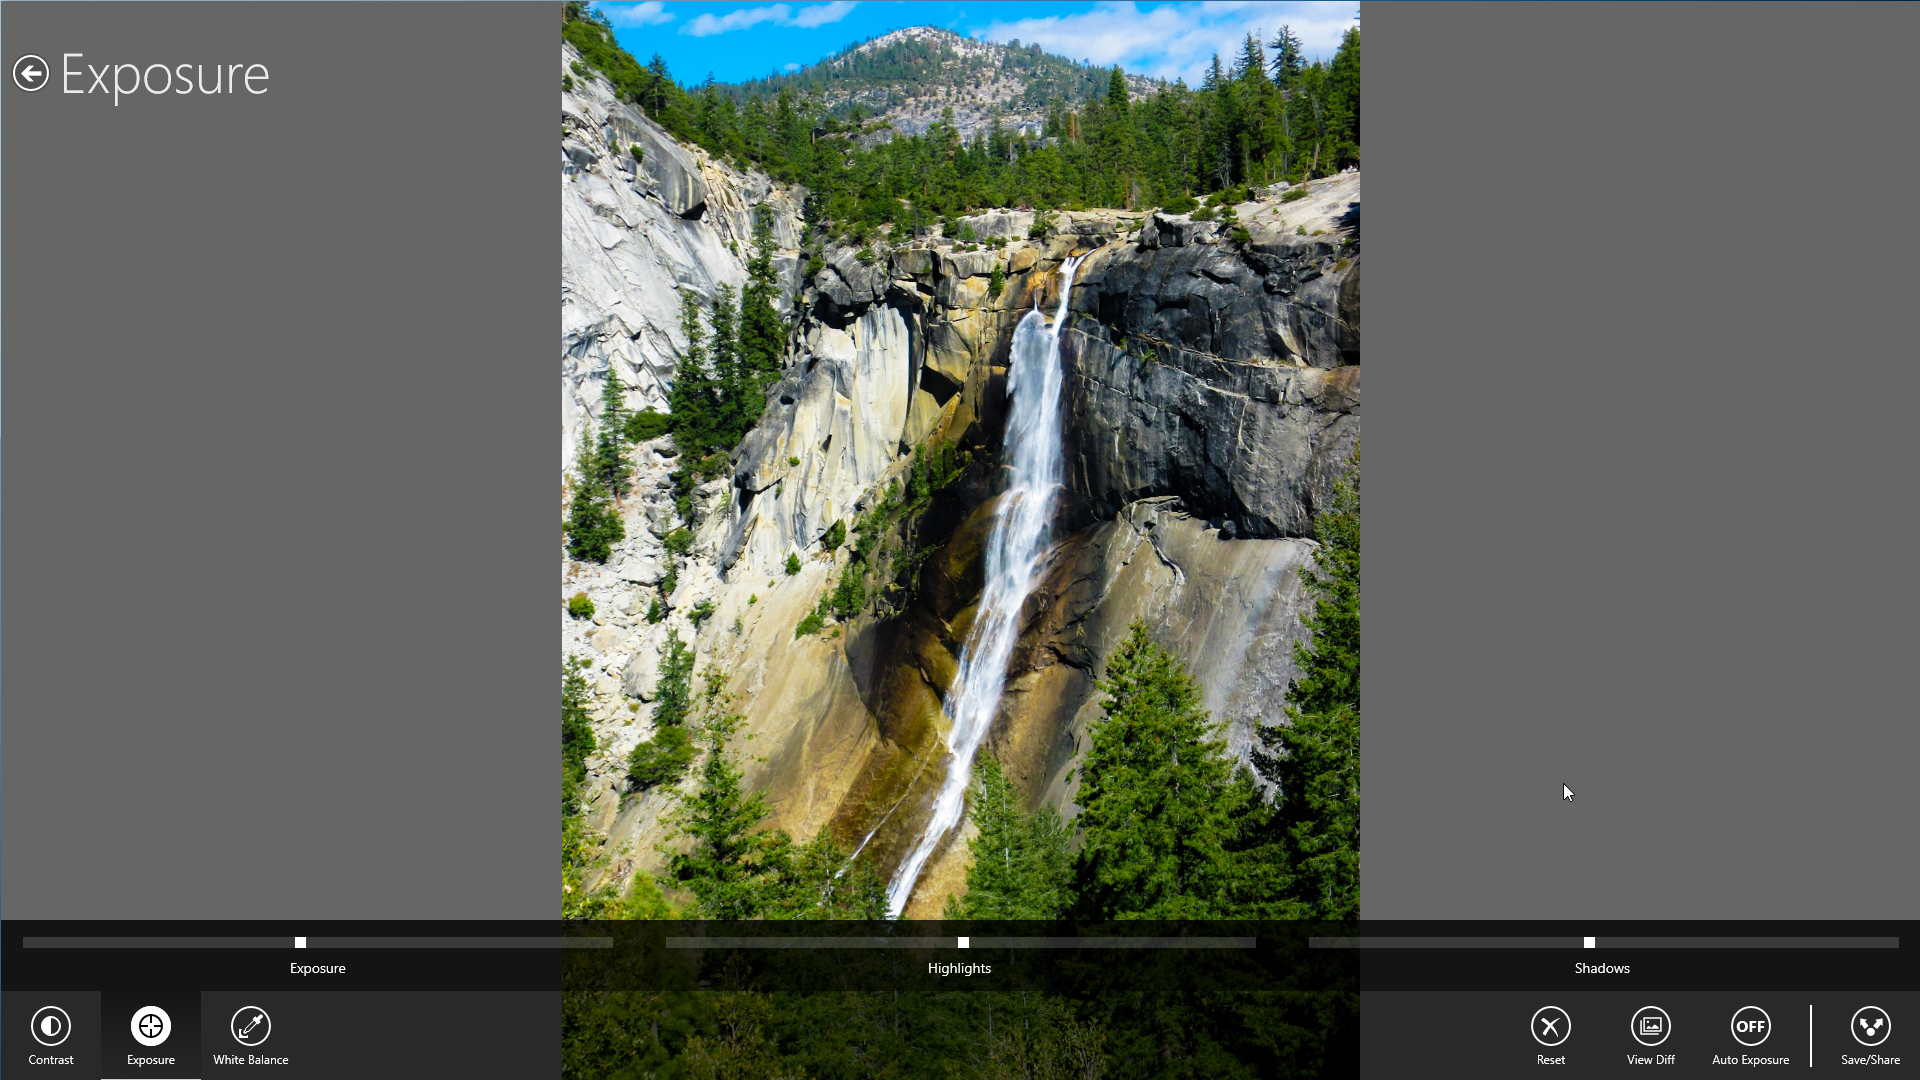
Selecting the Exposure tab will reveal three different sliders – Exposure, Highlights and Shadows. These aim to replicate the effect of more or less light hitting the sensor in your camera.
Adjusting the exposure can be a useful way to brighten up a picture taken on a dull day, but bear in mind that it can never restore detail from a part of your picture that’s in total darkness; the data simply isn’t there. The same is true of overexposed pictures, where the highlights are entirely white.
You can also use Photoshop Express to compensate for color casts created by artificial lighting. Indoor lighting is rarely actually white, and different types of lighting can tint your photos a different colour. For example, an incandescent lightbulb gives off noticeably warmer (more orange) light than a fluorescent bulb.
The ‘White balance’ tab can help you counteract this effect. The Temperature slider will make your image more orange (warm) or blue (cold), and the Tint slider will shift it towards purple or green.
5. A new look
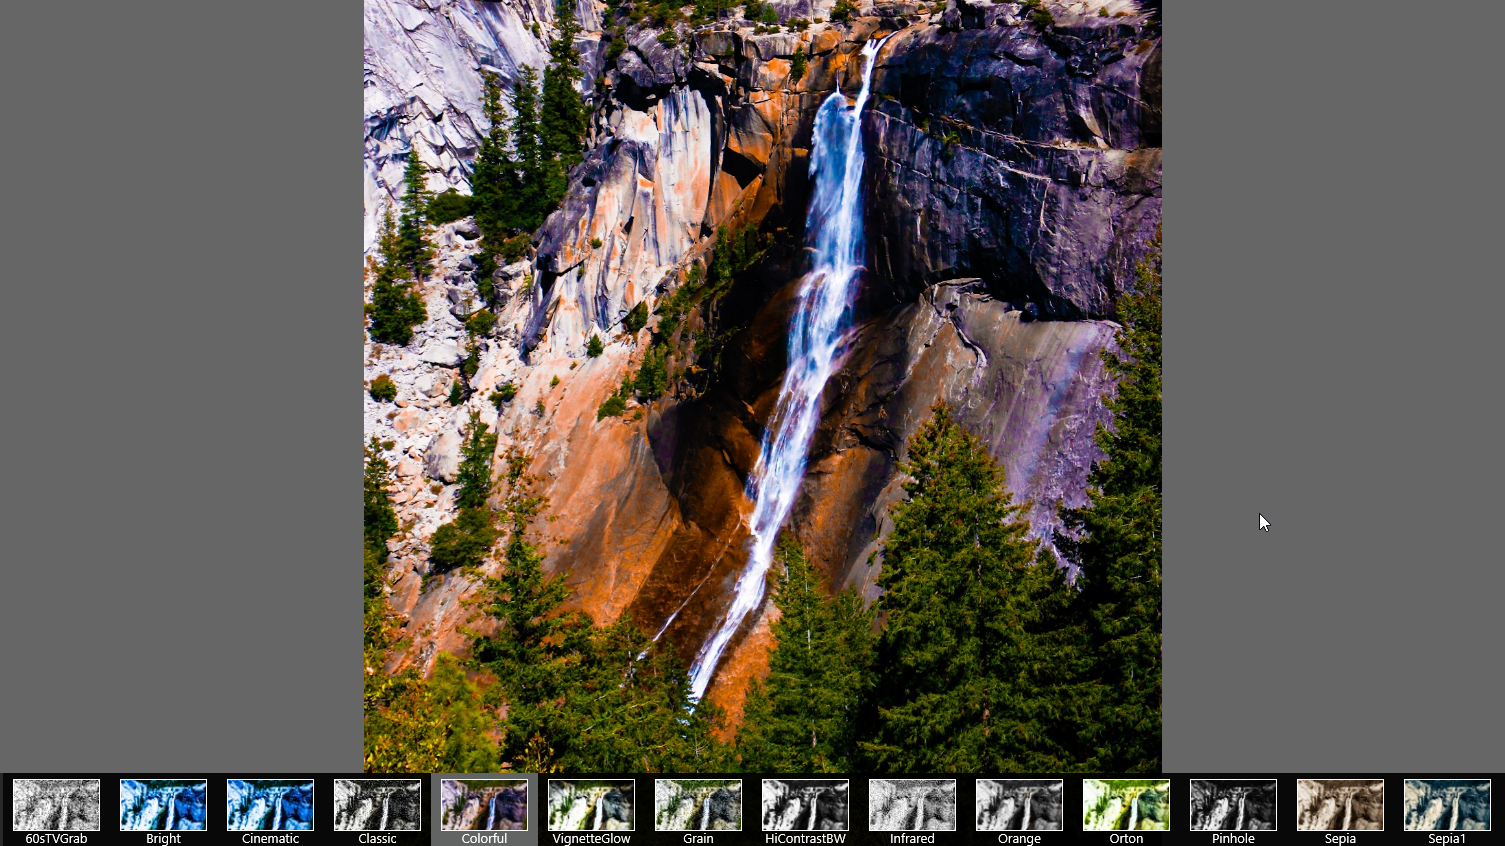
Instagram is best known for its retro-style image filters, which are a great way to liven up your shots. Photoshop Express has a similar selection of options, known as ‘Looks’. There are lots of free Looks, plus an array of premium ones, which you can preview before deciding whether to commit to a purchase.
For more ways to apply retro filters to your photos, check out XnRetro – a free photo editor dedicated to the task.
6. Share and enjoy
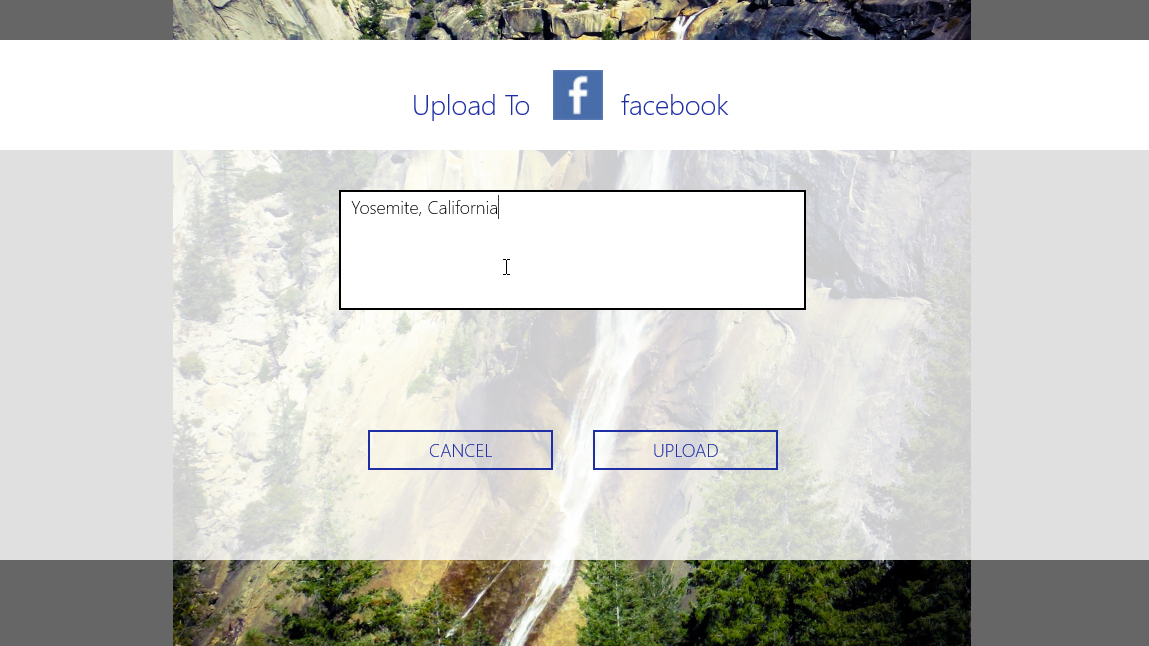
Click and hold the ‘View original’ button at the bottom left to see the differences your edits have made to your photo. Once you’re happy, select ‘Share/save’ and choose whether you’d like to save it to your PC, or share it on Facebook or Revel. If you choose Facebook, you’ll be asked to authorise the app and choose a privacy setting for your pictures. You can then enter a caption and share your polished snap with the world.
If you’d prefer to store your picture locally, just choose a location, enter a filename and click ‘Save’. The editor will close and you’ll be ready to start perfecting another picture.

Cat is TechRadar's Homes Editor specializing in kitchen appliances and smart home technology. She's been a tech journalist for 15 years, having worked on print magazines including PC Plus and PC Format, and is a Speciality Coffee Association (SCA) certified barista. Whether you want to invest in some smart lights or pick up a new espresso machine, she's the right person to help.