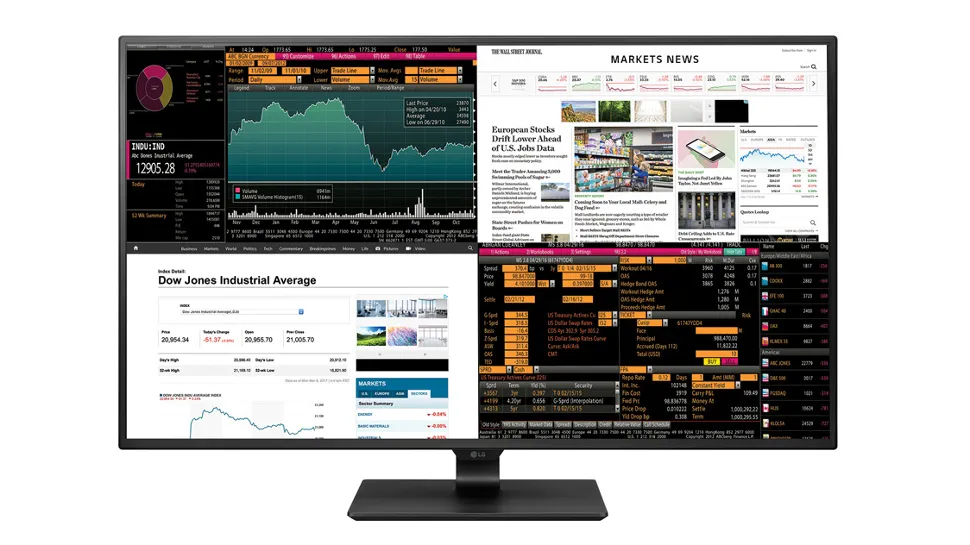
Ever feel like you need a second monitor, or maybe a third or fourth, when juggling multiple tasks on your computer? If you have only got one monitor available then split screen is the way forward. Imagine being able to easily compare documents and keep an eye on your social feed at the same time, all on the same monitor. Of course, split screens really come into their own on larger monitors, where you can take full advantage of all that lovely screen real estate.
The split-screen concept isn't new. Windows introduced the 'Snap' feature with Windows 7 in 2009, but Windows 11 takes it to the next level with easy-to-select layout options, while retaining all the classic features you might be familiar with.
Article continues below1. Select application

To select an application, go to the top of its window and click on the taskbar, holding the mouse button down for a few seconds. Then, you can drag the application to its new position.
There are two ways you can activate split screen. Firstly, by moving the application manually to a side or corner of the screen. Or secondly, by selecting a layout from the Windows 11 layout options menu. We'll cover each of these methods in the next two steps.
If you'd prefer to use keyboard shortcuts, then skip to Step 4.
2. Snap to the side or corner

Drag the application to the left or right-hand side or one of the four corners to snap it into place. A gray box will appear on your screen, showing the location where your application will appear. Just release the mouse to drop it into place, and it will snap into its new position.
3. Choose from layout options

Windows 11 also offers an alternative method to splitting screens that wasn't available in previous Windows versions. You can choose the split screen layout you want from a menu at the top of the screen.
To access the menu, drag your cursor to the top of the screen, and the menu will appear, showing visual representations of different split screen options such as half screen, quarter screen, a two-thirds/one-third layout, and a combination of half and quarter screens. Choose the layout and the position of your application by moving your cursor onto the required position until it is highlighted in blue and then selecting it.
Alternatively, you can see these options by hovering over the maximize icon in an application.
4. Use keyboard shortcuts

If you don't want to drag and drop and would prefer to use your keyboard, then Windows has got you covered. By selecting the Windows key and a combination of the up, down, left, and right buttons, you can snap your applications into the desired split screen locations.
Split-screen keyboard shortcuts
Snap window to left or right half: Win + left/right arrow
Snap window to corner/quarter of screen: Win + left/right arrow, then up/down arrow
Make window full screen: Win + up arrow until full screen
Expand ¼ window to ½ window: Win + up/down arrow
5. Select thumbnail

Regardless of which method you used, you should now see your application in its split-screen position. Windows will show your three most recently used applications or documents in the other split-screen position. If you have chosen an option that has more than 2 locations, it will display the thumbnails in one of them.
Click on a thumbnail to fill that area of your screen with your chosen application. If you're using your keyboard, then press the tab key until the correct thumbnail is highlighted and press Enter.
6. Select more thumbnails

If you have a 3- or 4-application layout, then the remaining thumbnails will appear in the next section, and you can repeat the process.
7. Use part of the screen only

However, you don't need to keep selecting thumbnails until the screen has been filled. If you prefer, you can just start working on your document or using your application. The thumbnails will disappear and the remainder of the screen will just show what was there beforehand.
8. Adjust size

You can adjust the size of the windows by hovering your cursor on the edge or corner of the window until a double-headed arrow appears. You can then drag your window until it is the size you want. The other windows will snap into a new size to accommodate this.
9. Change split-screen defaults in settings

You can change your split-screen settings by going to Settings, then System, and selecting Multi-tasking. The options are:
When I snap a window, suggest what I can snap next to it
Show snap layouts when I hover over a window's maximize button
Show snap layouts when I drag a window to the top of my screen
Show my snapped windows when I hover over taskbar apps, in Task View, and when I press Alt+Tab
When I drag a window, let me snap it without dragging all the way to the screen edge
By default, these are all switched on, but you can untick options if you find it easier to do without them.
You can also change the number of thumbnails that are displayed. The default is the 3 most recent tabs, but you can also opt for 5 or 20, or switch off this feature altogether.
10. Use PowerToys FancyZones for more options

If you want to adjust your split screen layout beyond what you can select from the layout options and manually adjust, then Microsoft PowerToys is the answer. You will need to install PowerToys if you haven't done so already and then choose the FancyZones option. Here, you can choose from a range of options, such as three horizontal windows, or create your own customized layout.
Start multitasking
And there you have it. Now you know how to use Windows 11 split-screening to make you feel like a multitasking wizard. Whether you’re managing your fantasy football lineup while crunching spreadsheets or following a cooking tutorial with your emails on the side, split screens let you do it all without breaking a sweat. After all, why settle for one window when you can have them all?
