How to use Universal Control
It was worth the wait
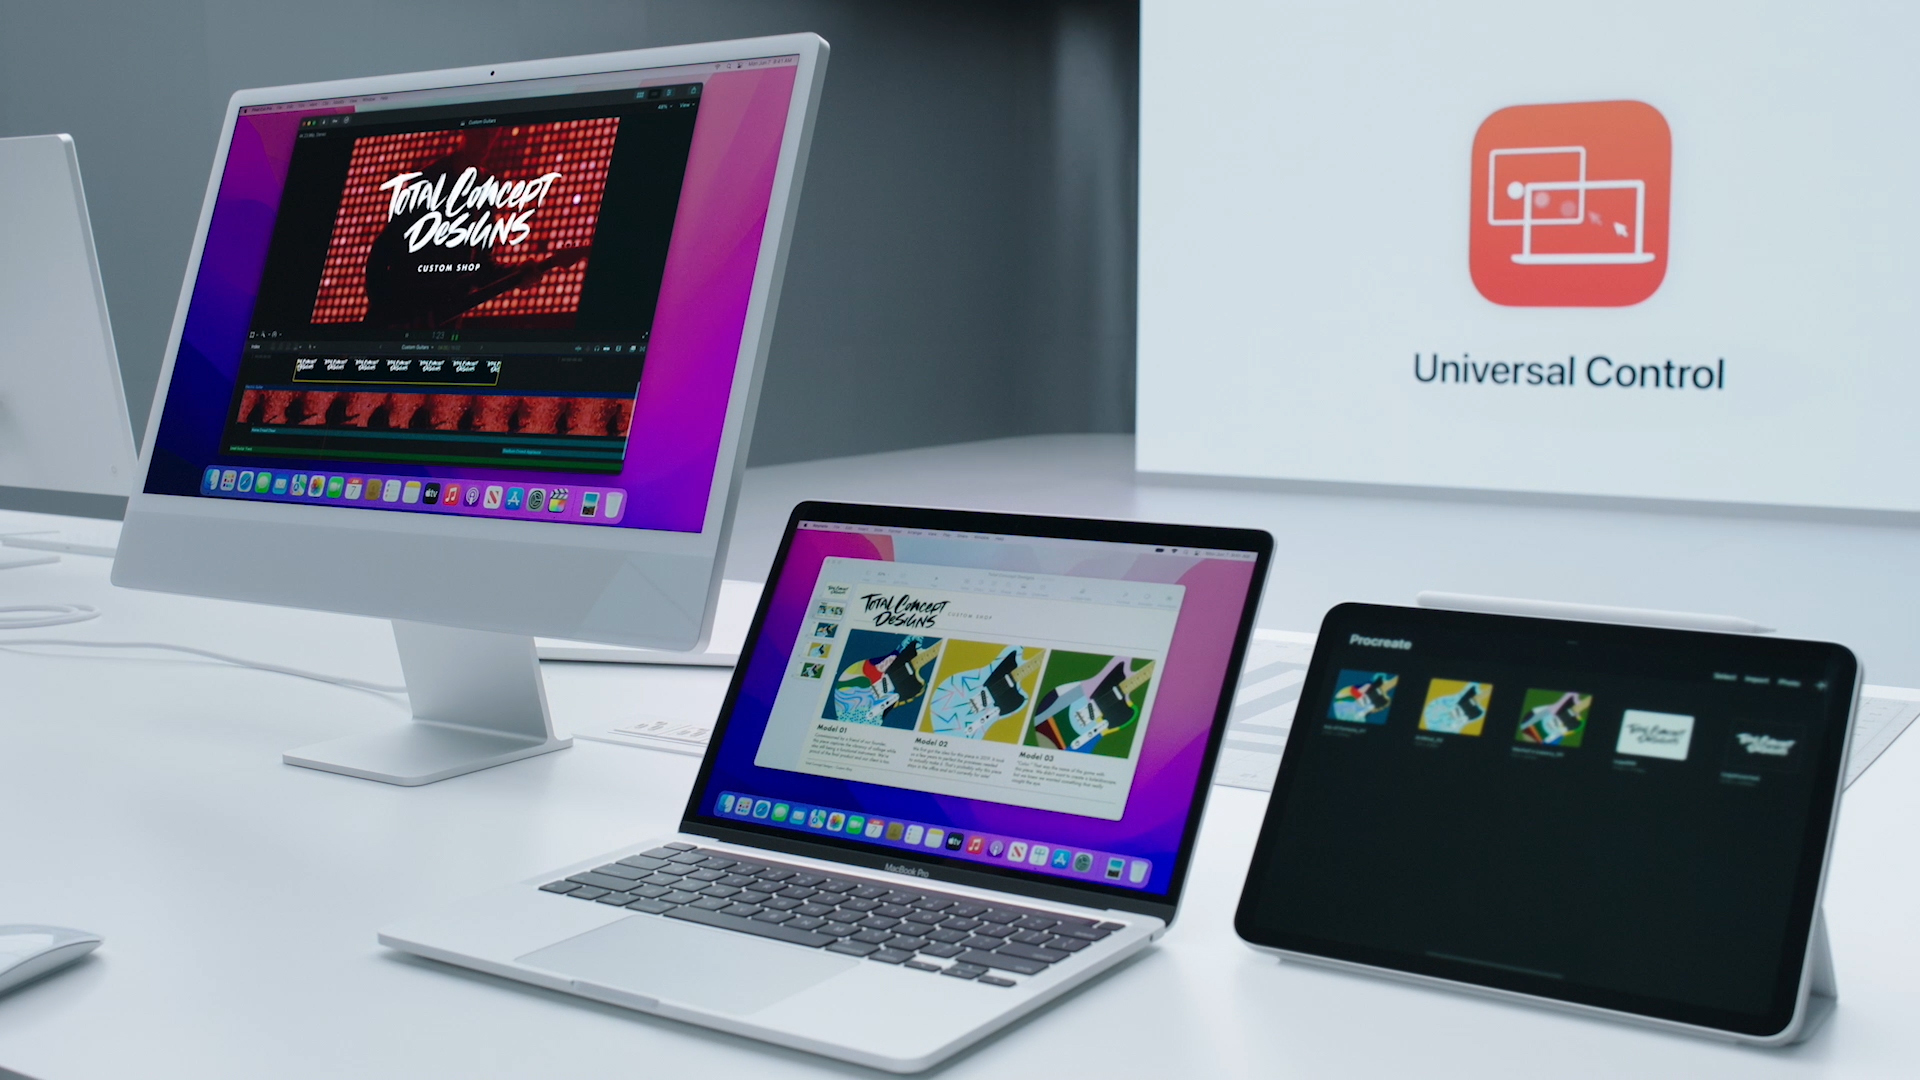
Universal Control is one of the most exciting features of macOS Monterey, letting you control multiple Apple Macs and iPads with a single keyboard and mouse.
That means you can drag files from one device to another, or type on your Mac and then on your iPad with the same keyboard, all in a way that feels incredibly smooth and frictionless.
The feature was first announced at Apple’s WWDC show in June 2021 but only entered beta in early 2022. Better late than never, though. In this article, we’ll guide you through the set-up process and how to most effectively use Universal Control on your Mac and iPad.
1. Check your devices are compatible
Universal Control only works on certain Apple hardware, so make sure you have a compatible device. Here’s what Apple says will work with Universal Control:
- MacBook Pro (2016 and later)
- MacBook (2016 and later)
- MacBook Air (2018 and later)
- iMac (2017 and later)
- iMac (5K Retina 27-inch, Late 2015)
- iMac Pro
- Mac mini (2018 and later)
- Mac Pro (2019)
- iPad Pro
- iPad Air (3rd generation and later)
- iPad (6th generation and later)
- iPad mini (5th generation and later)
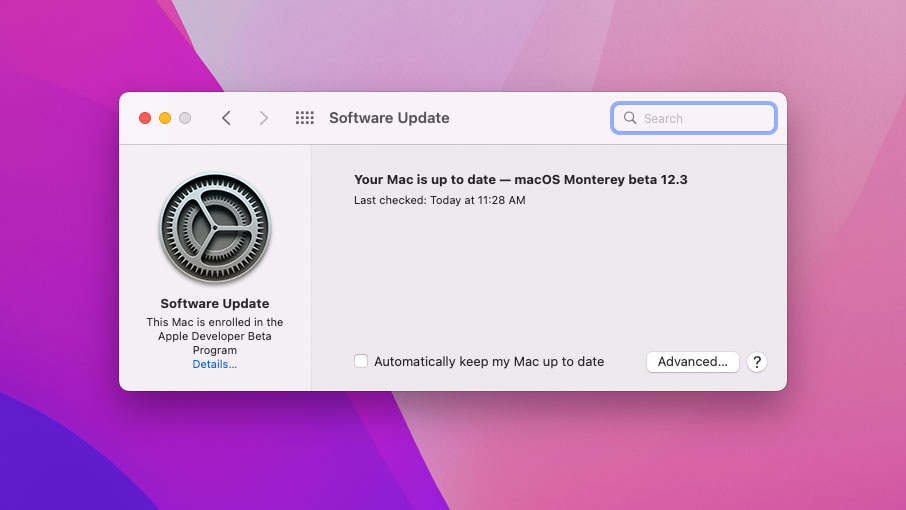
You also need to be running macOS Monterey 12.3 and iPadOS 15.4 or later. To check if you have the right versions, open System Preferences > Software Update on your Mac and Settings > General > Software Update on your iPad. Make sure to back up first.
2. Set up your Mac
On your Mac, make sure Bluetooth and Wi-Fi are turned on and you’re signed into iCloud with two-factor authentication enabled.
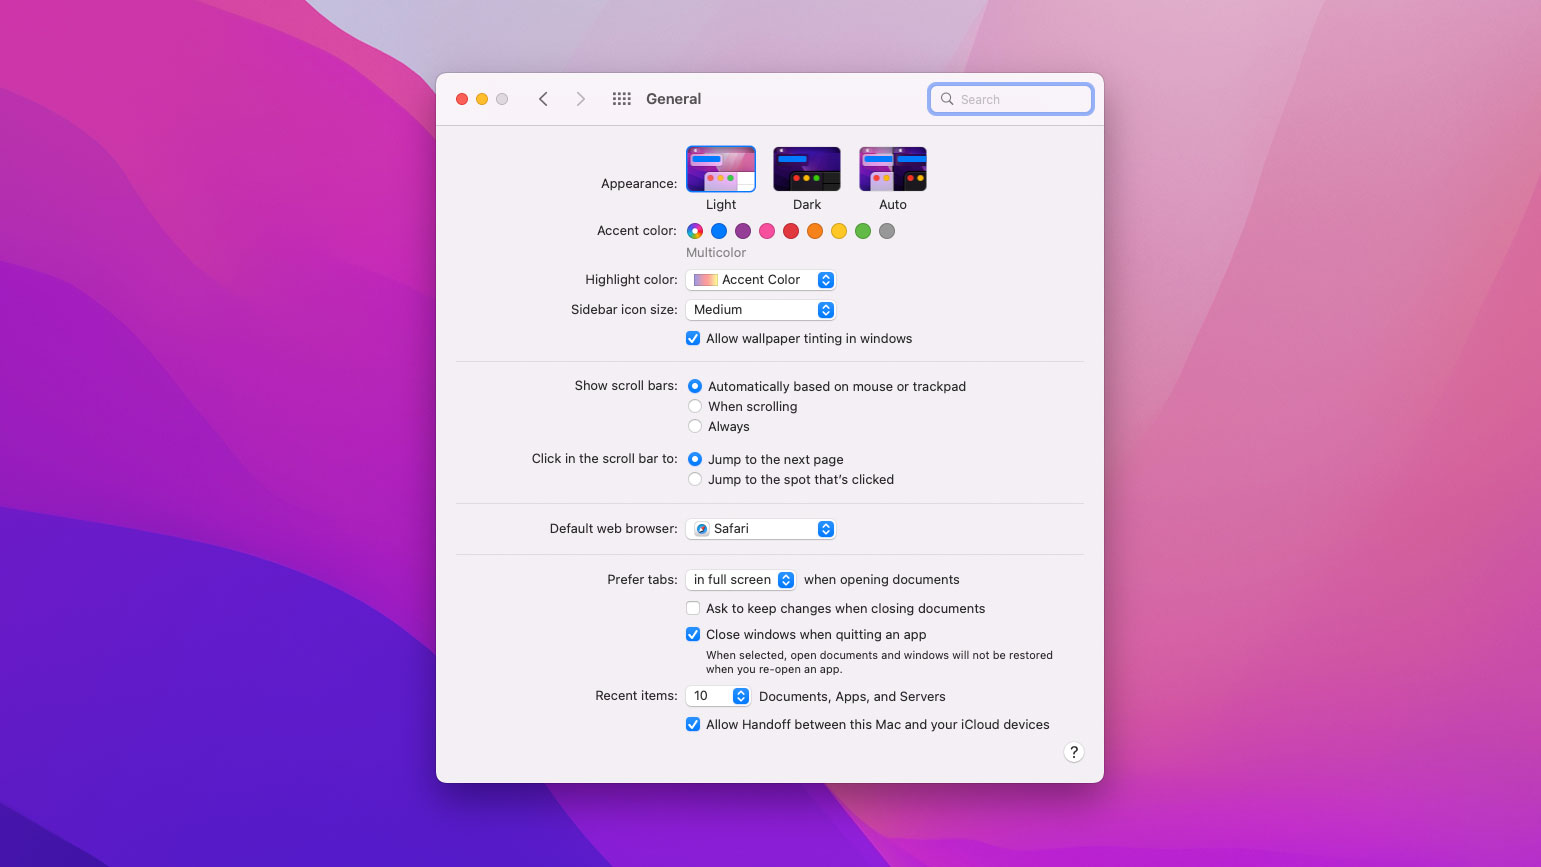
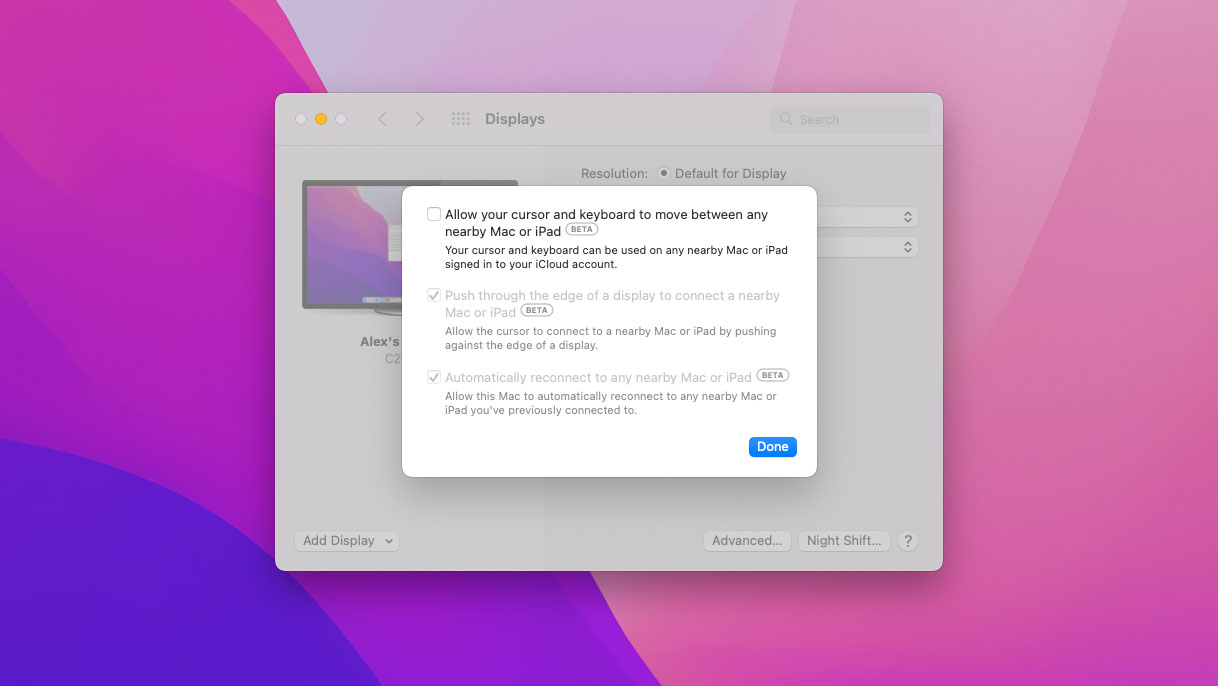
Now open System Preferences, click 'General', then tick the checkbox next to ‘Allow Handoff between this Mac and your iCloud devices.’ Once that’s done, click System Preferences > Displays > Advanced and ensure all the checkboxes are ticked.
Get daily insight, inspiration and deals in your inbox
Sign up for breaking news, reviews, opinion, top tech deals, and more.
3. Set up your iPad
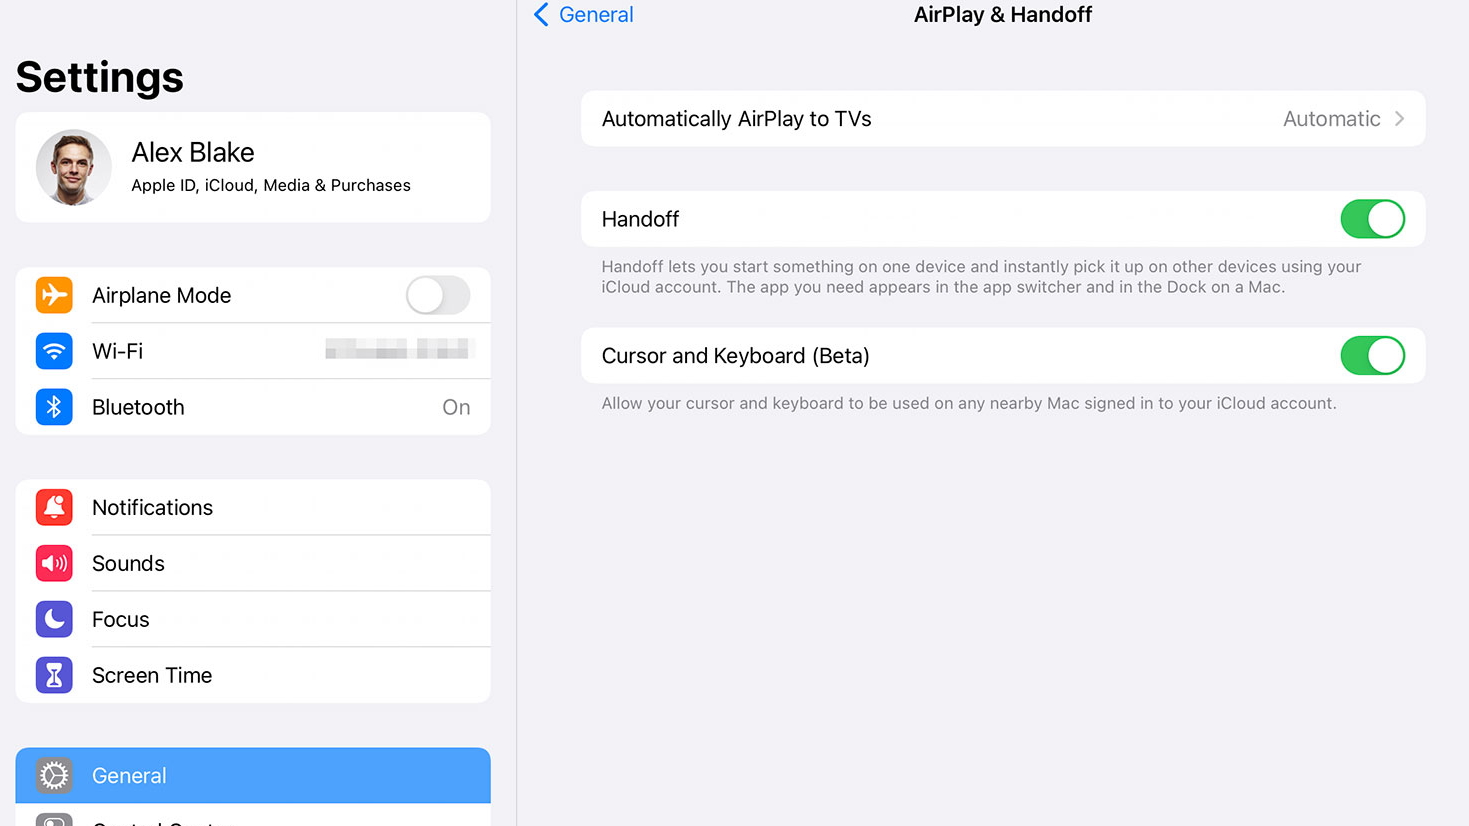
Now for your iPad. As with your Mac, make sure it’s connected to Bluetooth and on the same Wi-Fi network and iCloud account as your Mac. Next, open Settings and tap General > AirPlay & Handoff and turn on the ‘Handoff’ and ‘Cursor and Keyboard (Beta)’ toggles. Your devices must also not be tethered to each other.
You can connect your Mac and iPad using a USB cable as well as wirelessly. Just make sure to say you trust the Mac on your iPad when prompted after the cables are connected.
4. Move your mouse across your devices
Place your iPad next to your Mac (they need to be within 30 feet of each other). Now move your Mac’s mouse pointer to the edge of the screen nearest your iPad. You should see a white bar appear on the edge of the screen, and a corresponding bar appear on your iPad.
On your tablet, this bar will contain a circular mouse pointer as a raised bump ‘breaking out’ of the bar. Move your mouse a little further and it should move across fully onto your iPad. You can now freely move your mouse pointer from your Mac to your iPad and back again. The successful connection is indicated by a blue monitor icon in your Mac menu bar (more on that in step 7).
5. Drag and drop files
Now that you can control two devices with one set of inputs, that means you can easily drag files across your Mac and iPad.
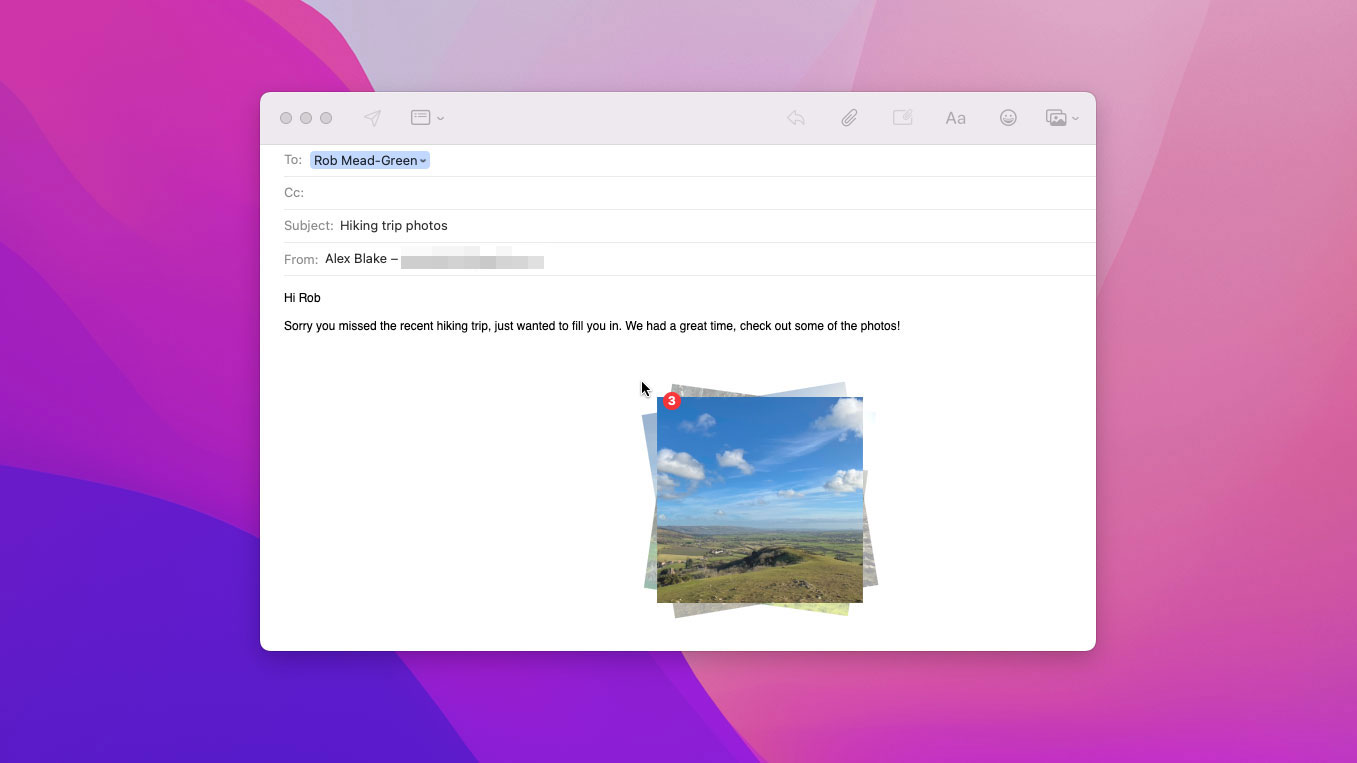
For example, try opening the Photos app on your Mac and a Notes document on your iPad. Click and drag a picture from Photos over to the edge of your screen and it will appear on your iPad.
Now just drop it into place in the Notes document. You’ve moved a file from one device to the other without needing to email it to yourself or use a tool like AirDrop or Dropbox. Simple!
6. Keyboard control
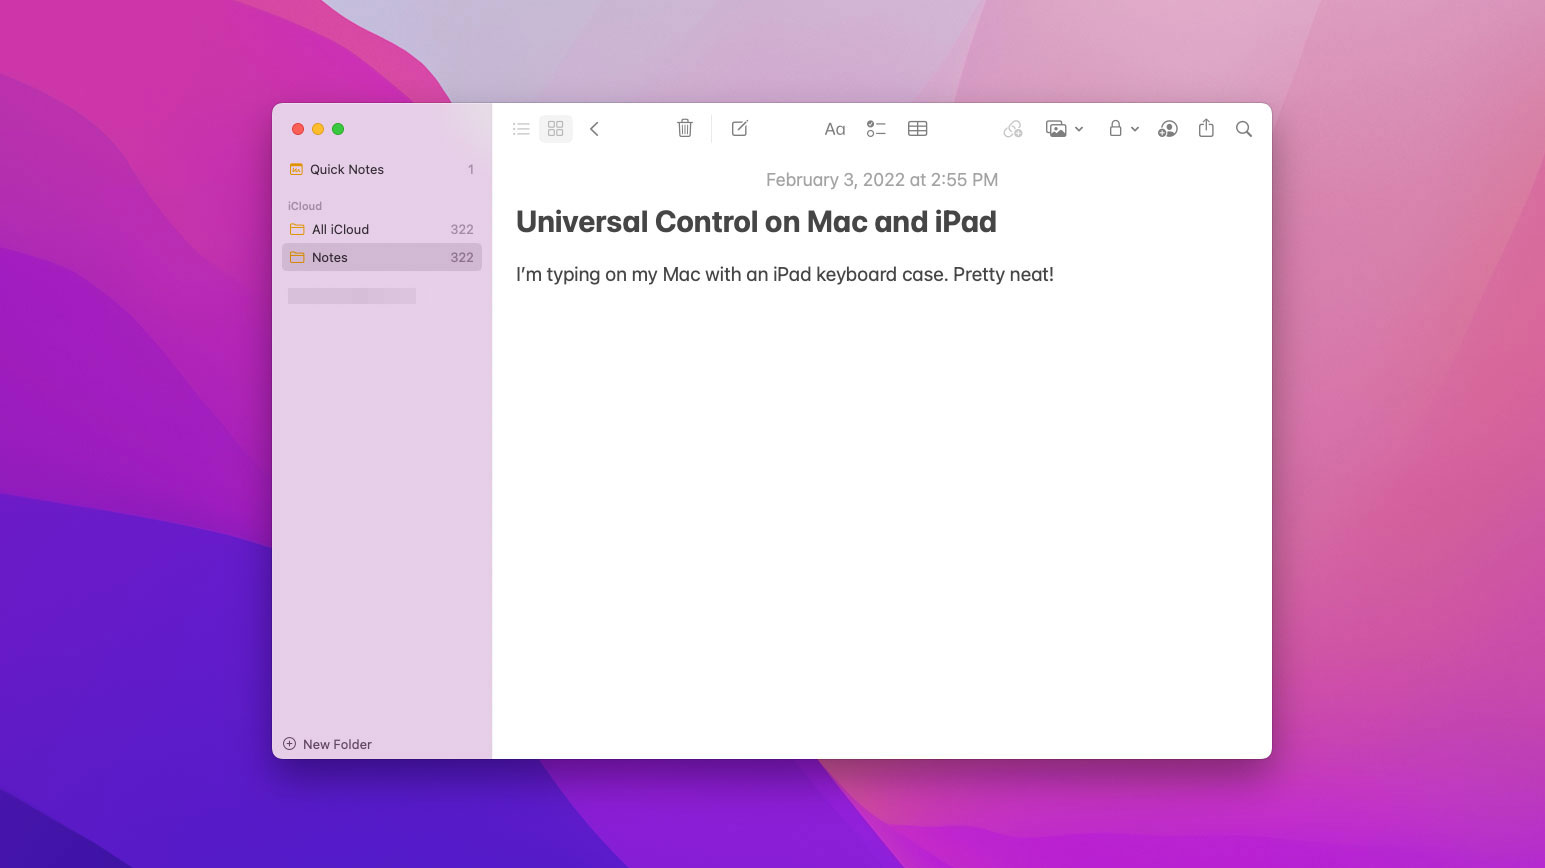
Universal Control works with keyboards as well as mice. Once you’ve established a connection between two devices, a keyboard connected to one will automatically work on the other.
This includes your MacBook’s keyboard as well as third-party offerings like iPad keyboard cases. As well as that, some Mac keyboard shortcuts, such as Command + Tab to switch windows, will also work on your iPad.
7. Mac menu bar icon
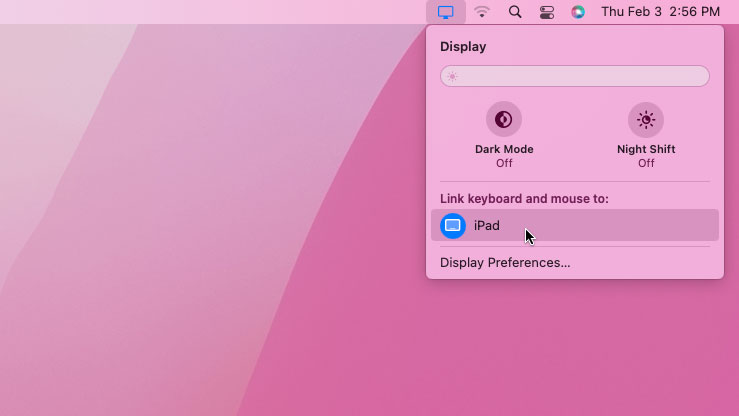
After you’ve paired your devices, you will see a blue monitor icon in your Mac’s menu bar. Click this and it will show which devices you are able to move your mouse between under the heading ‘Link keyboard and mouse to.’
Click on the name of one of these devices to connect it, or click the name of one that’s already connected and it will disconnect from your Mac; click it again to re-establish the connection. You can also click 'Display Preferences' to change the arrangement of your devices (see step 8).
8. Rearrange your screens
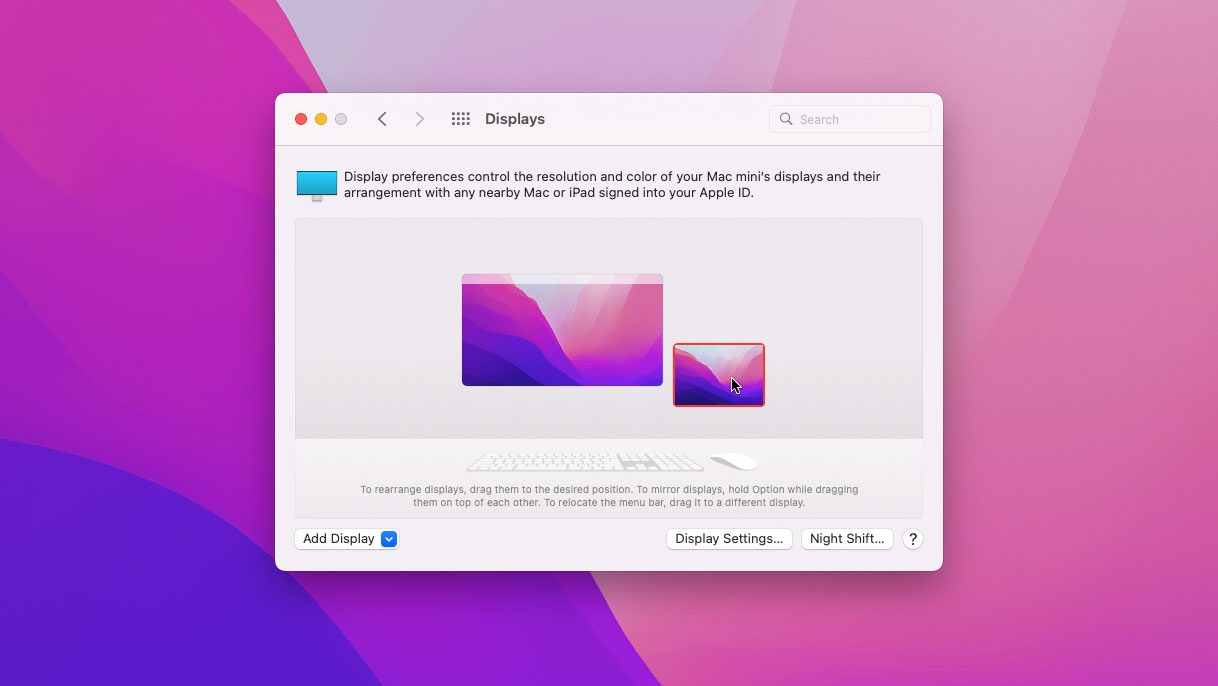
If you move your Mac or iPad to a new position, Universal Control won't currently notice the change, meaning you have to move your mouse to the wrong window edge to break through to your other device.
If that happens, open System Preferences > Displays on your Mac and you will see a graphic showing your Mac and iPad windows next to each other. Simply click and drag one and move it to the correct position.
You can also adjust the vertical placement of your iPad’s window relative to your Mac – useful if your iPad is placed high up next to your Mac, for instance, and you want the mouse pointer to appear at the right height.
9. Adding more devices
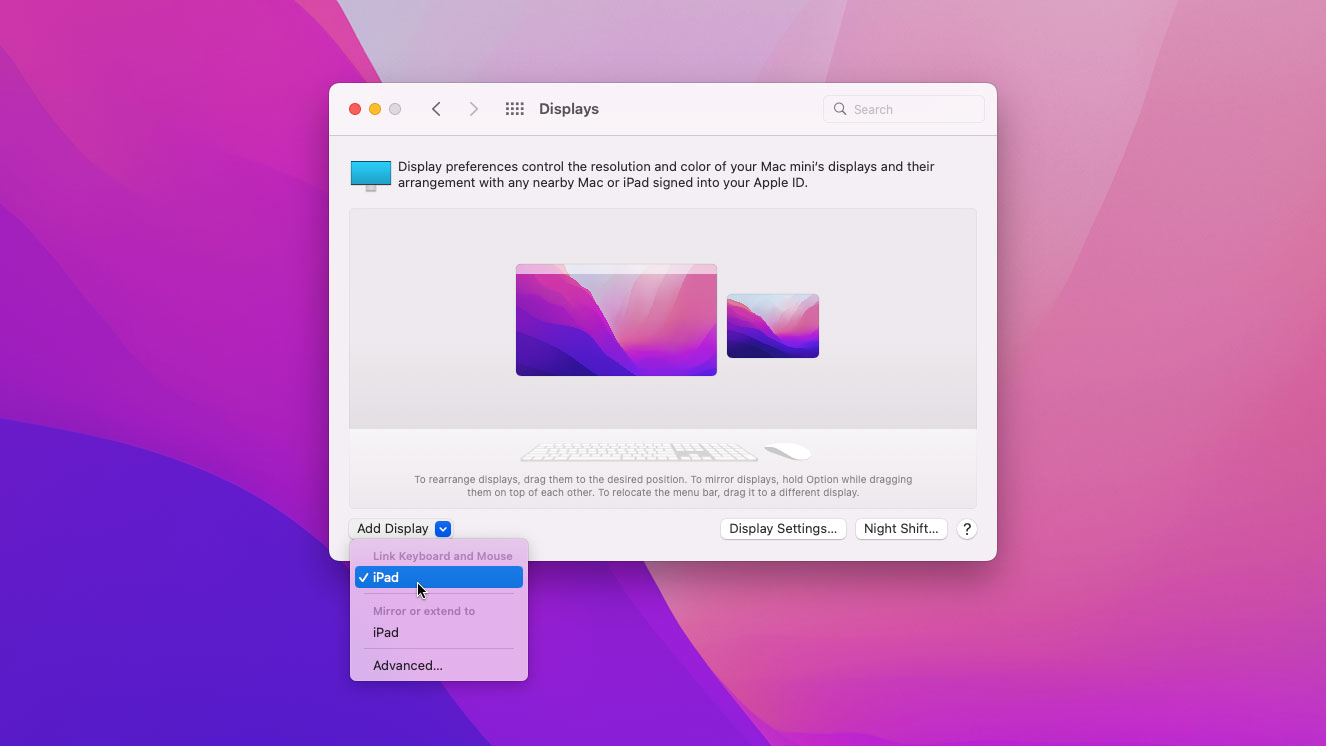
If you want to add another device – such as a second iPad in addition to your Mac – just place it alongside your other devices and it should connect automatically (providing it meets the requirements for Universal Control).
If it doesn’t show up, go to System Preferences > Displays on your Mac and click 'Add Display', then click the name of the new device.
When you have multiple devices connected, your mouse pointer will move to the most recently used one. Tap an iPad and then move your Mac’s mouse pointer and it will travel to the tapped iPad first, for example.
10. Troubleshooting the connection
At the time of writing, Universal Control was still in beta and had some bugs. One of the most notable was that Universal Control did not always recognize one or both of our devices.
If you’re moving your mouse to the edge of your screen but it’s not detecting your iPad, try opening System Preferences > Displays > Advanced on your Mac and untick the top checkbox, then tick it again. Alternatively, you might have to restart your Mac and/or your iPad before a connection can be established.
- Here are some more great macOS tips and tricks

Alex Blake has been fooling around with computers since the early 1990s, and since that time he's learned a thing or two about tech. No more than two things, though. That's all his brain can hold. As well as TechRadar, Alex writes for iMore, Digital Trends and Creative Bloq, among others. He was previously commissioning editor at MacFormat magazine. That means he mostly covers the world of Apple and its latest products, but also Windows, computer peripherals, mobile apps, and much more beyond. When not writing, you can find him hiking the English countryside and gaming on his PC.