Advanced Facebook privacy and security tips
Lock down your Facebook
How to make your Facebook profile secure
Facebook mines your personal data. Huge amounts of it. This is easy to do as people are now spending an average of an hour on day on the site sharing personal photos, having private conversations and playing popular games such as Candy Crush Saga.
However, Facebook contains powerful tools to prevent your data being mined by third parties or from unauthorised people seeing your photos and private messages, however most people do not make use of the built-in privacy tools.
We will show you how to secure your Facebook account as well as some best practices to prevent any breach of your privacy.
1. Log in securely
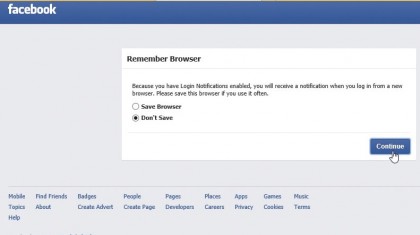
When you log in to your Facebook account from a shared or public PC, don't tick 'Keep me logged in'.
You're also asked if you want to save the browser – click 'Yes' if you use the PC often, or 'No' if not – so you're alerted if someone uses the PC to log into your account.
2. Facebook privacy settings
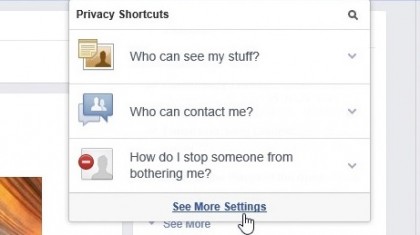
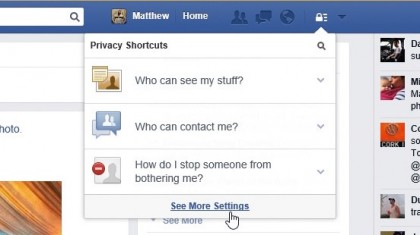
Facebook has made a number of recent changes to make its privacy settings easy to access. To view them, click the padlock on the top-right and a drop-down list of the most popular privacy settings is displayed.
You can also click 'See More Settings' for more privacy tools.
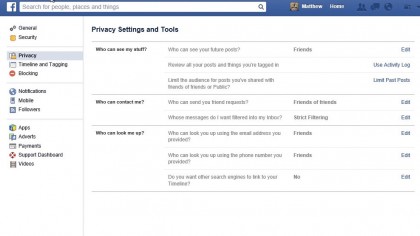
Go to Settings > Privacy on the desktop version of Facebook or choose “Privacy Shortcuts” from your mobile Facebook app.
Under “Who can see my stuff” you can change the audience for future posts e.g Friends Only. You can also limit the visibility of past posts to make sure only your confirmed friends can see them.
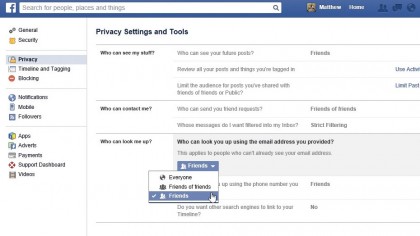
Under “Who can look me up?” change the settings for your e-mail and address and phone number to “Friends” to make sure only people you know can find your Facebook account by searching your e-mail address or phone number.
Finally choose “No” for the search engines option.
3. Who can see what you post?
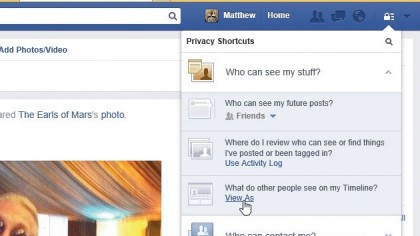
Now it's time to check how much information you're sharing – and with whom. Click the down arrow next to 'Who can see my stuff ?' and where it says 'What do other people see on my Timeline?' click 'View As'.
Initially you'll see what your profile looks like to people you don't know. Scroll through your timeline and hide life events/photos if necessary by clicking on the edit tab at the top right.
4. Limit your profile visibility
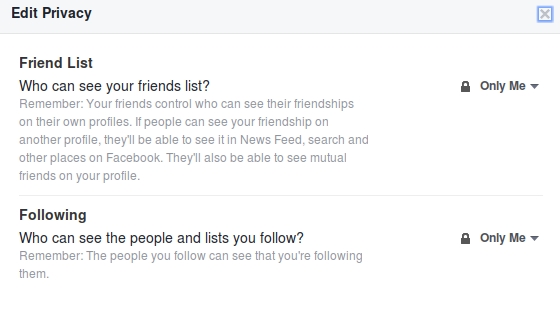
By default information like your friends list is publicly available. On the desktop version of your website, go to your profile and click the edit tab at the top right to change privacy settings.
Change your friends list visibility to “Only Me” or “Friends only”. Do the same for other information like books, movies and so on.
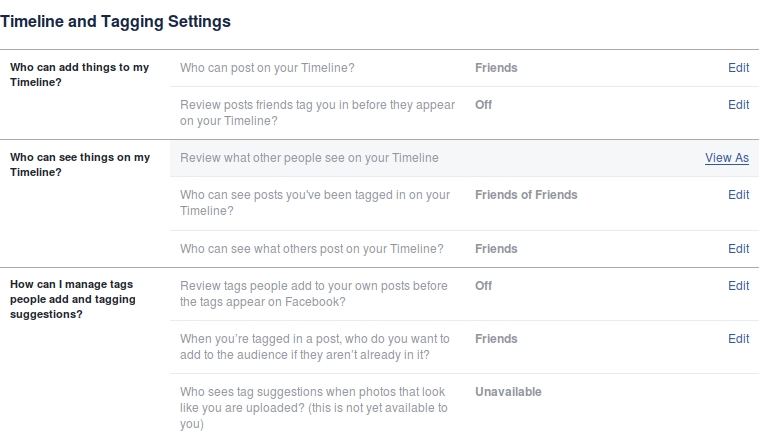
5. Check your Timeline and Tagging settings
Following on from the previous step, click “Edit” next to the “Who can add things to my Timeline?” to review what friends post on your timeline before it appears.
In the “Who can see things on my Timeline?” section you can control who sees posts you’ve been tagged in on your timeline. By default this is “Friends of Friends” but you can change this to “Friends Only”.
Finally in “How can I manage tags people add and tagging suggestions?” change the first setting to “On” to approve tags made by others to posts on your own timeline.
6. Restrict who can befriend you
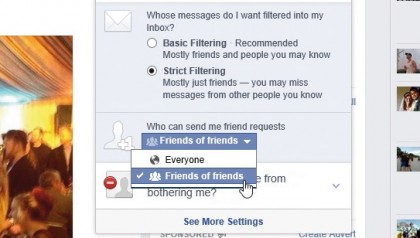
You don't want strangers seeing all of your information. From the privacy menu, expand 'Who can contact me?' then under 'Who can send me friend requests?' you can choose only 'Friends of Friends' – people your friends know – to be able to send you a friend request.
7. Limit who can search for you
From the privacy menu click 'More Settings', and next to where it says 'Who can look you up using the email address you provided' and 'Who can look you up using the phone number you provided' click 'Edit' and select 'Friends' or 'Friends of Friends' for both.
8. Stop people searching for you online
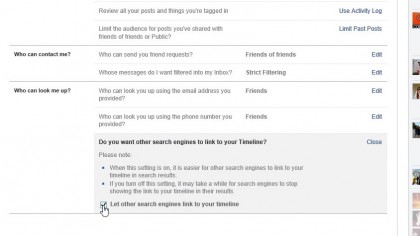
These settings won't do much if people can type your name into Google and find your profile. From the same screen in step 7, where it says 'Do you want other search engines to link to your Timeline', click 'Edit' and uncheck 'Let other search engines link to your Timeline'.
9. Blocking Users
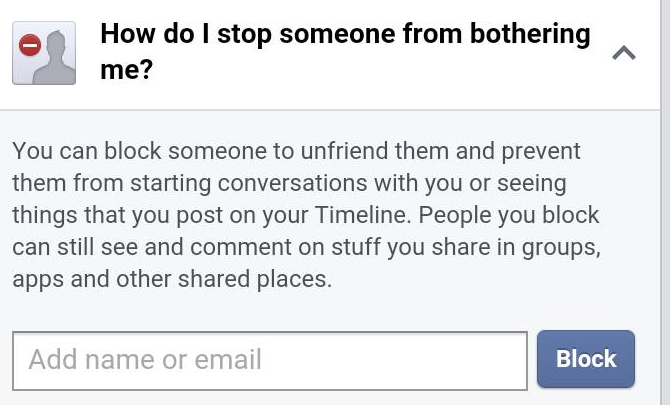
Facebook allows you to block other users as well as messages. People who are blocked cannot interact with you in any way, they will not see your timeline, cannot invite you to events, or message you.
Be warned this will not block them interacting with you if you both have the same game installed e.g Farmville.
The easiest way to block someone is to visit their profile, click the ... button and choose “Block”. You can review who you have blocked and unblock them if you want by going to Settings > Blocking. If you unblock someone you cannot re-block them for 48 hours.
10. Protect your browsing
When on Facebook, look at the address bar of your web browser. If it says 'https://' you're secure, but if it says 'http://', go to the 'More Settings' screen, click 'Security' on the left and next to 'Secure browsing' click 'Edit', then check the box to enable secure browsing.
11. Enable Login Alerts and Approvals
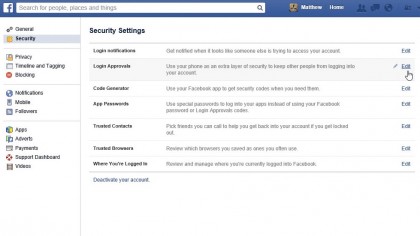
Go to Account Settings > Security on either the mobile or desktop version of Facebook. Click “Login Alerts” and tick to choose whether to receive a Facebook notification or e-mail to your registered address. You will now receive an alert whenever someone logs into your account from a new location.
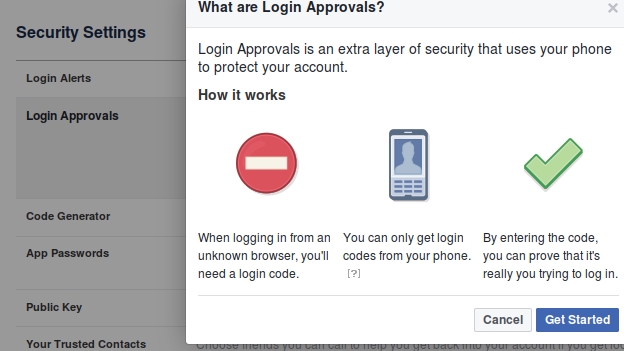
You can increase your security even further by also enabling “Login Approvals”. All first time logins from new locations or devices will now need to be confirmed with a code from your mobile version of Facebook or via SMS. Click “Code Generator” from within the mobile app for new codes.
12. Add two-step authentication
You can get Facebook to send a login approval to your phone. When you approve it, you can use Facebook.
This can help prevent people using your Facebook account. Enable this by clicking 'Edit' next to 'Use your phone as an extra layer of security' in the Settings page.
13. Check where you're logged into Facebook
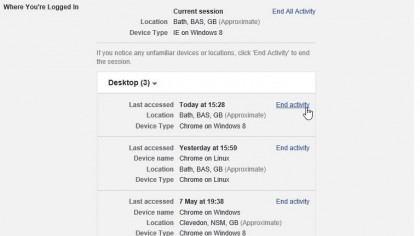
If you're worried you're logged in somewhere you don't want to be, such as a public PC, or are concerned someone else is logging in as you, click 'Edit' next to 'Where you're logged in'.
You'll see where you're logged in, and you can remotely log out by clicking 'End activity'.
14. Using apps
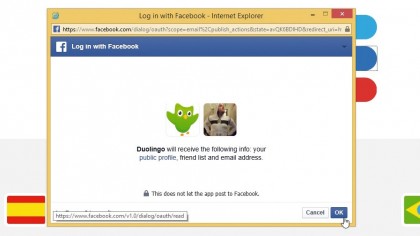
Lots of websites and apps let you sign up using your Facebook account. This often means the makers of these apps have access to your friends' details, your details and can post things on Facebook as you, unless you don't let them.
Always check what access they want.
15. Review App Settings
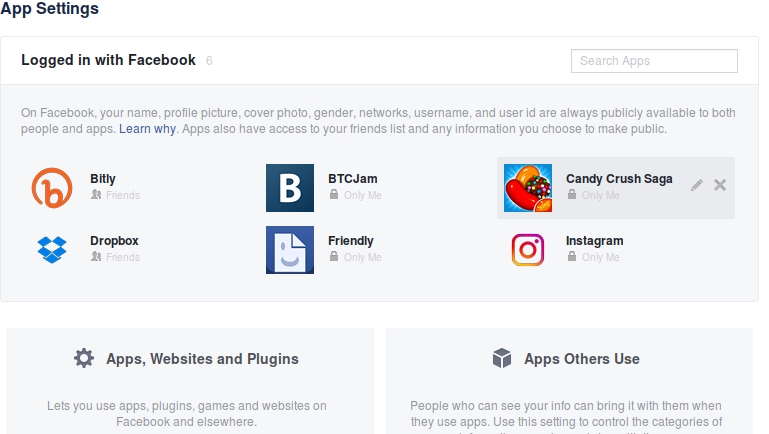
If you play games like Farmville or Candy Crush Saga on the desktop version of Facebook, choose Settings > Apps.
Click the edit button next to each app to see what information you provide. Uncheck the blue tick next to each piece of information to remove it e.g your e-mail address.
Try to avoid adding friends on Facebook just for the sake of playing games with them. Although it’s technically a breach of Facebook Terms and Conditions, some users have a separate account just for playing games, so no personal information is shared with their real account.

16. Be careful what you click on
There's a number of scams on Facebook. A popular one presents itself as a shocking video that one of your friends has posted about.
Clicking the video allows the makers to post the 'video' on your behalf without your permission, compromising your account's security.
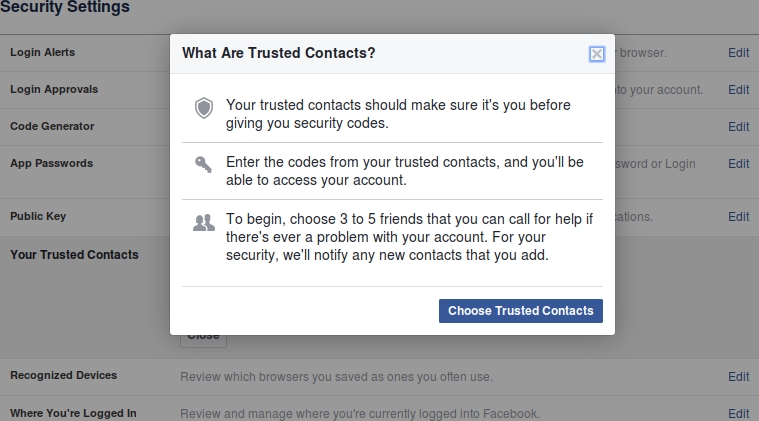
17. Set up your trusted contacts
If your account is ever hacked and the password changed, you can regain access by setting up 3-5 trusted contacts. These are people on your Facebook friends list who will each receive a security code. You can enter these codes to regain access to your account.
To set up Trusted Contacts on Facebook mobile go to Privacy Shortcuts > More Settings > Security < Trusted Contacts. On the desktop version choose Settings > Security > Your Trusted Contacts > Edit > Choose Trusted Contacts.
Enter the names of your trusted friends. They will receive a notification stating that you have added them as a Trusted Contact.
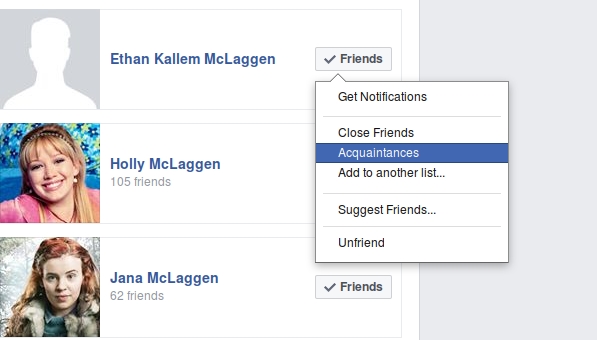
18. Edit your Friendship Groups
You may want to share some content with Facebook friends and not with others e.g your colleagues. To change what individual friends can see click the “Friends” icon on Facebook Mobile, or the “Friends” icon on the “Friends” tab on Facebook desktop, then “Add to Another List”.
Acquaintances by default can see everything you post but moving forward you can change the visibility for individual posts to “Friends except Acquaintances.” The “Restricted” setting is also extremely useful. Anyone in our “Restricted” list will remain Facebook friends with you but will only see posts you choose to make public.
Choose “New List” for specific groups e.g your swim team.
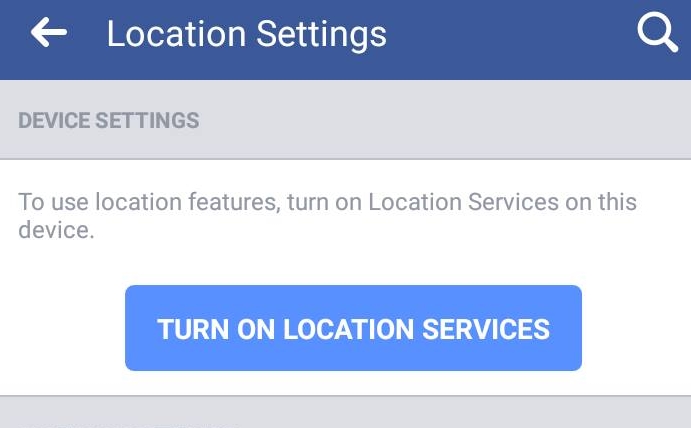
19. Hide your Location
By default new posts on Facebook Mobile, your current location will be displayed. Disable this by clicking Privacy Shortcuts > More Settings > Location > Turn off Location Settings.
Mobile devices can usually also disable Location Services for the Facebook app from within the device settings, check with your manufacturer for more information.
If you don’t want anyone to know where you are including Facebook, consider using Facebook’s anonymous address. To use this you will need a tor-enabled browser.
Android users can use OrFox while desktop users can use the Tor Browser Bundle.
20. You're now completely secure
Now you've followed these steps, you can breathe a sigh of relief – your Facebook account is as secure as possible.
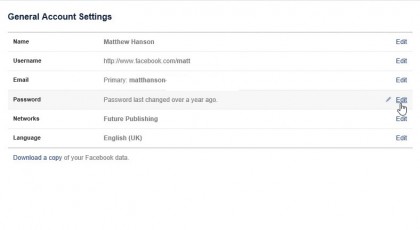
Make sure you pay attention to any notices telling you someone has logged in to your account – if you don't recognise the device, change your password!
- Still not secure enough? Here's how to permenantly delete your Facebook account

Matt is TechRadar's Managing Editor for Core Tech, looking after computing and mobile technology. Having written for a number of publications such as PC Plus, PC Format, T3 and Linux Format, there's no aspect of technology that Matt isn't passionate about, especially computing and PC gaming. He’s personally reviewed and used most of the laptops in our best laptops guide - and since joining TechRadar in 2014, he's reviewed over 250 laptops and computing accessories personally.
Sign up for breaking news, reviews, opinion, top tech deals, and more.
You are now subscribed
Your newsletter sign-up was successful