How to use Facebook Messenger Rooms to chat with up to 50 people
Get started with Messenger Rooms and start a video chat
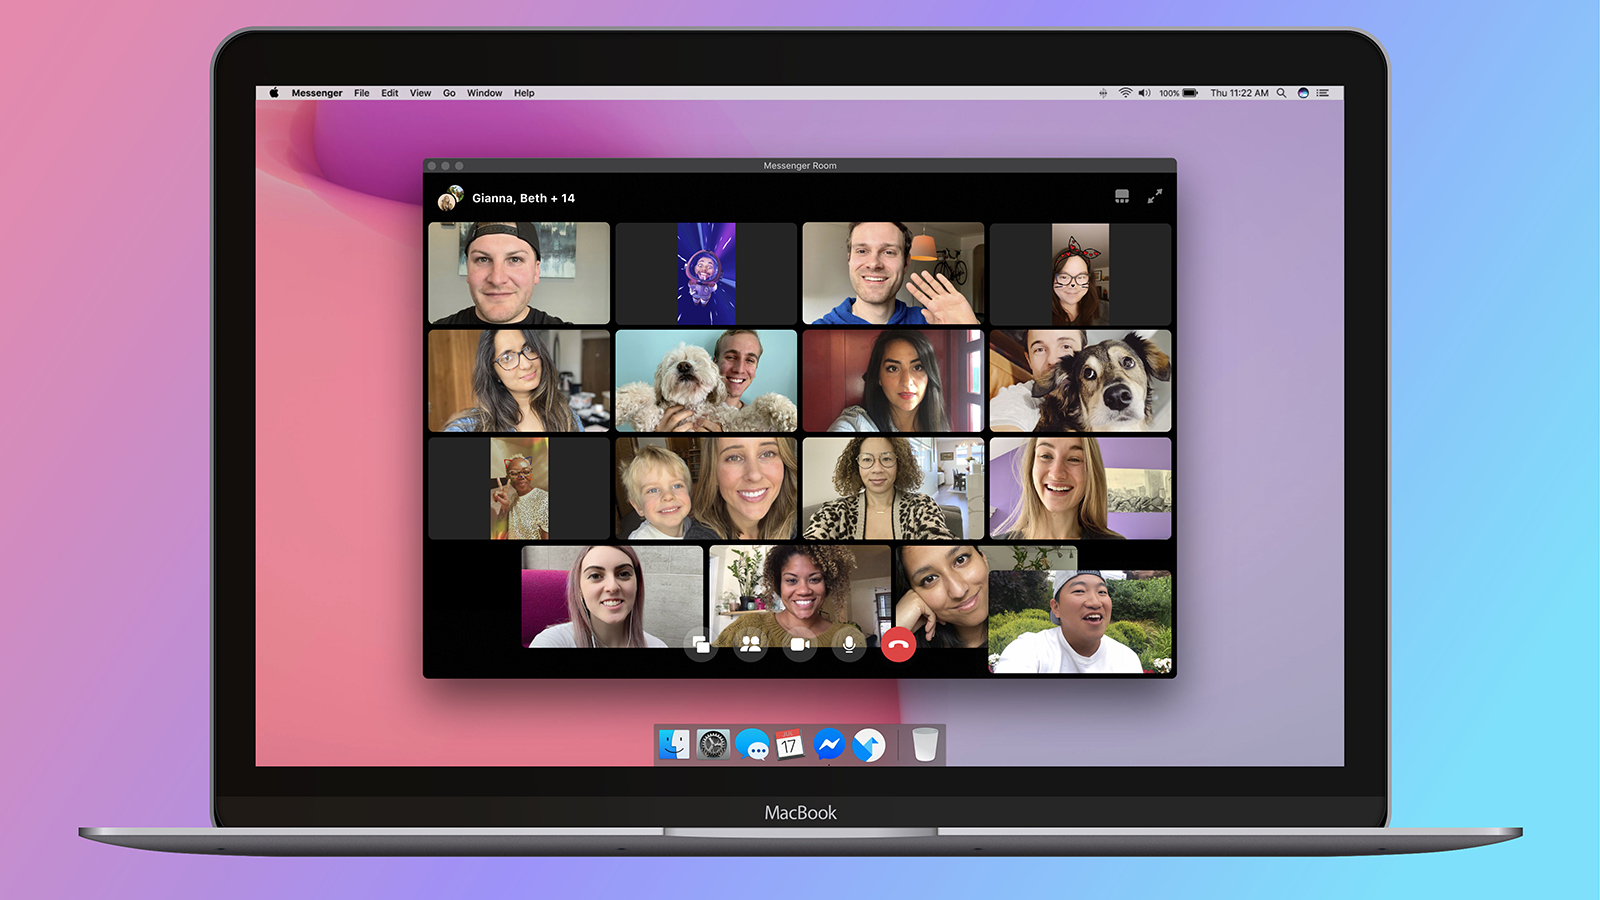
Messenger Rooms is a new video conferencing tool from Facebook that makes it easy to start video chats with up to 50 people.
The spread of coronavirus around the world led to a huge number of changes to the way people live and work. A key difference has been the number of people working from home, and this resulted in a huge increase in the number of meetings going virtual and being held online rather than in person.
The same is true for friends and family who found that the pandemic meant they could not meet up in the real world; instead of having get-togethers at favourite hangout spots, the likes of Zoom, Skype, Google Meet and Microsoft Teams were used to hold video conferences.
But while Zoom and Skype proved particularly popular, they were not the only options – and these two services have various restrictions or costs that lessened their appeal. Responding to the limitations of such services, and Facebook launched Messenger Rooms giving up to 50 people the chance to take part in a mass video chat with no time limits. It is not even necessary for everyone to have a Facebook account to take part.
Here's how to get started with Messenger Rooms using various Facebook apps and services.
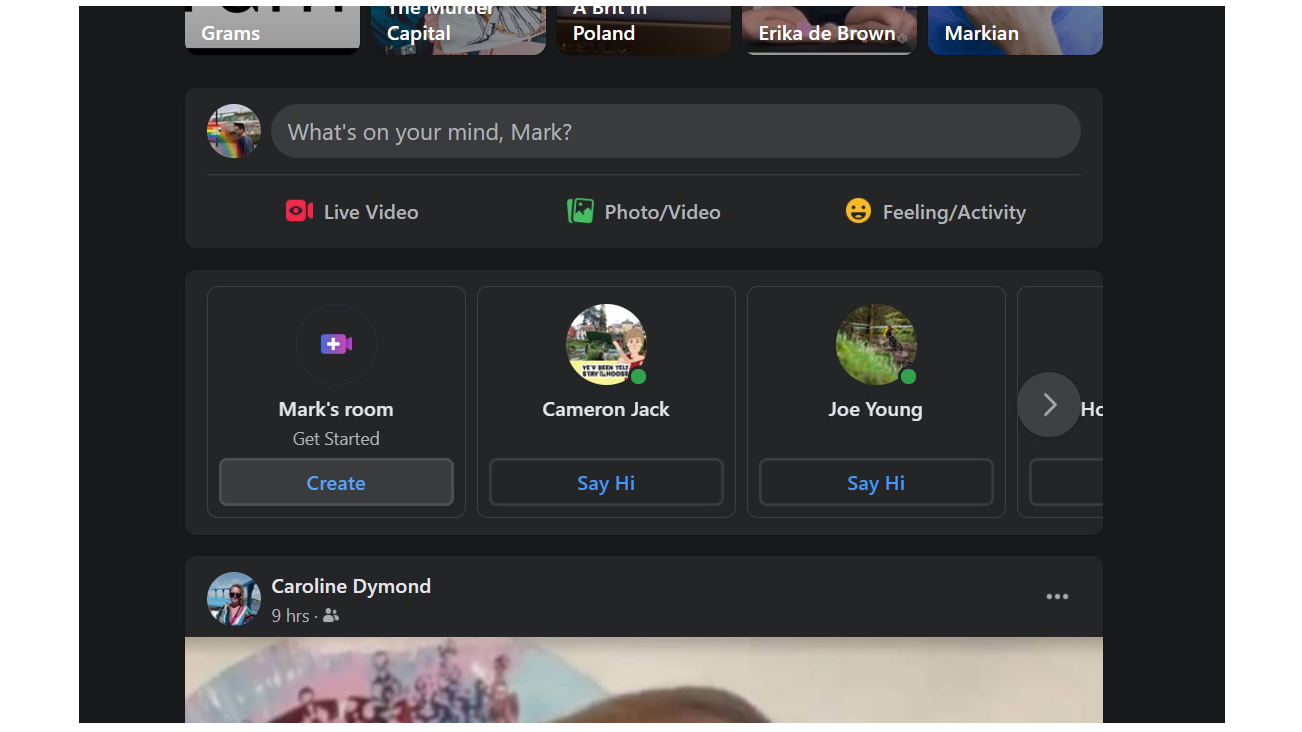
1. Launch Messenger Rooms from the Facebook website
As you will see, there are numerous ways to start a group chat in Facebook Messenger Rooms, but perhaps the most obvious is via the Facebook website. If you pay a visit to www.facebook.com, at the top of your news feeds you should see a section labelled 'Rooms'. Click the 'Create' link in this section – this can also appear as a 'Create' button – and you can set about the task of inviting people to join you for a video chat.
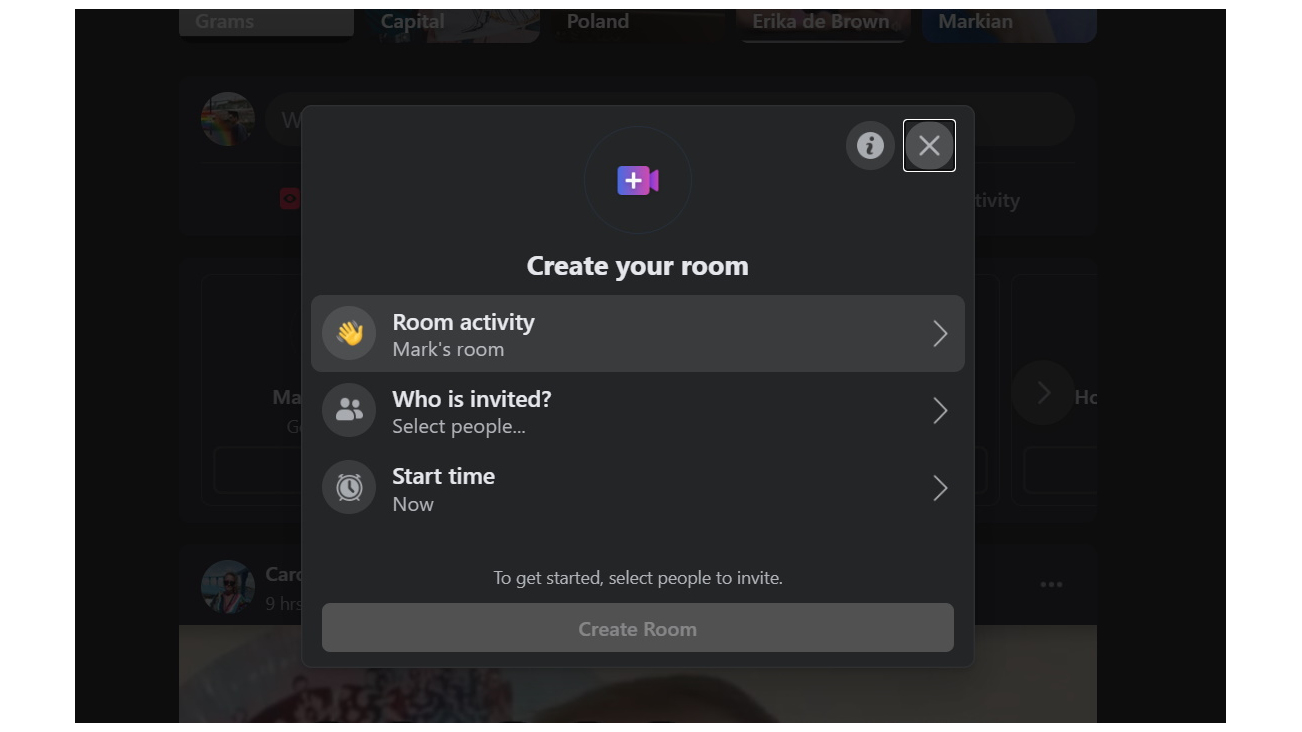
2. Set room activity
There are various room-related settings you can configure before you open it up to people, the first of which is setting its 'activity'. The room activity is really just a title or theme, and you can choose form one of several pre-configured options, or create your own using a combination of text and emoji. If you don't change anything here, the room will default to being called '[Your names]'s room'.
Get daily insight, inspiration and deals in your inbox
Sign up for breaking news, reviews, opinion, top tech deals, and more.
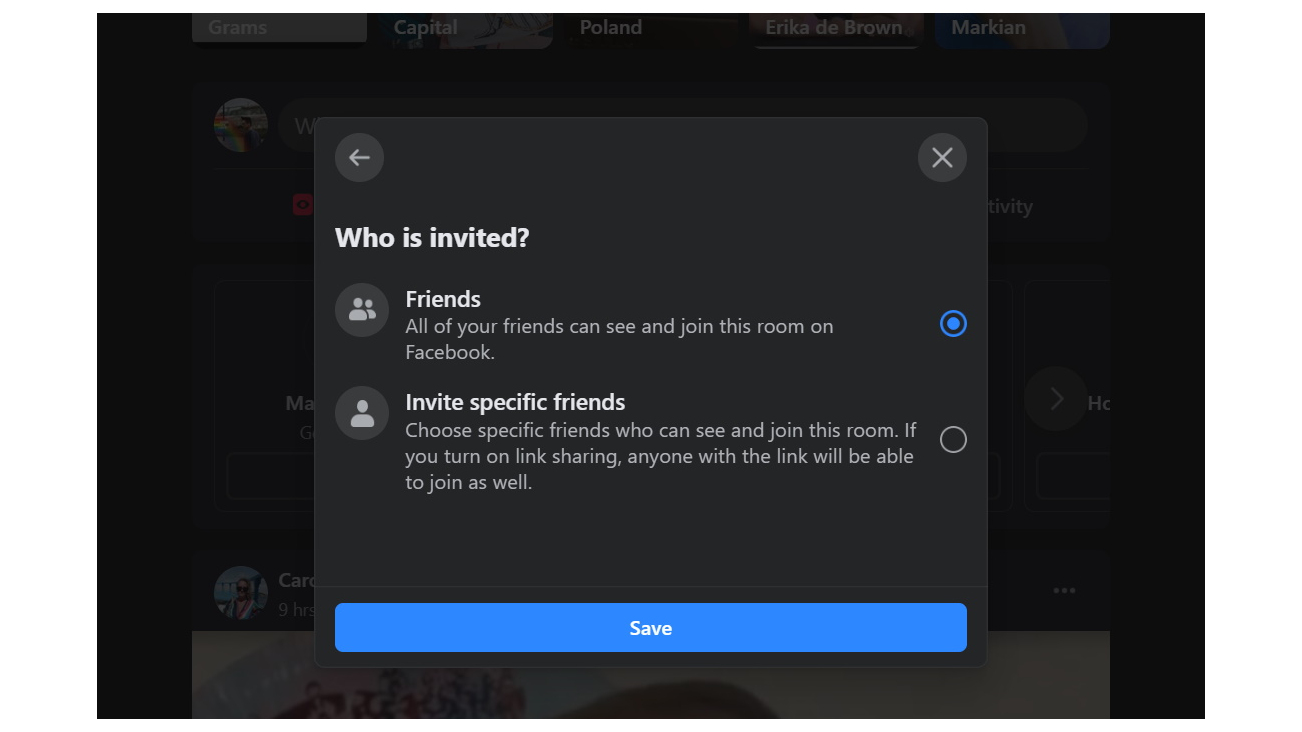
3. Choose who to invite
Rooms can be used in two ways – they can be left open to all of your friends, or limited to a specific selection of friend. Click 'Who is invited?' and select 'Friends' before clicking Save if you would like everyone you are connected to be able to join the room. Otherwise, select 'Invite specific friends', click 'Invite friends', click the names of everyone you would like to join you, and click the Invite button.
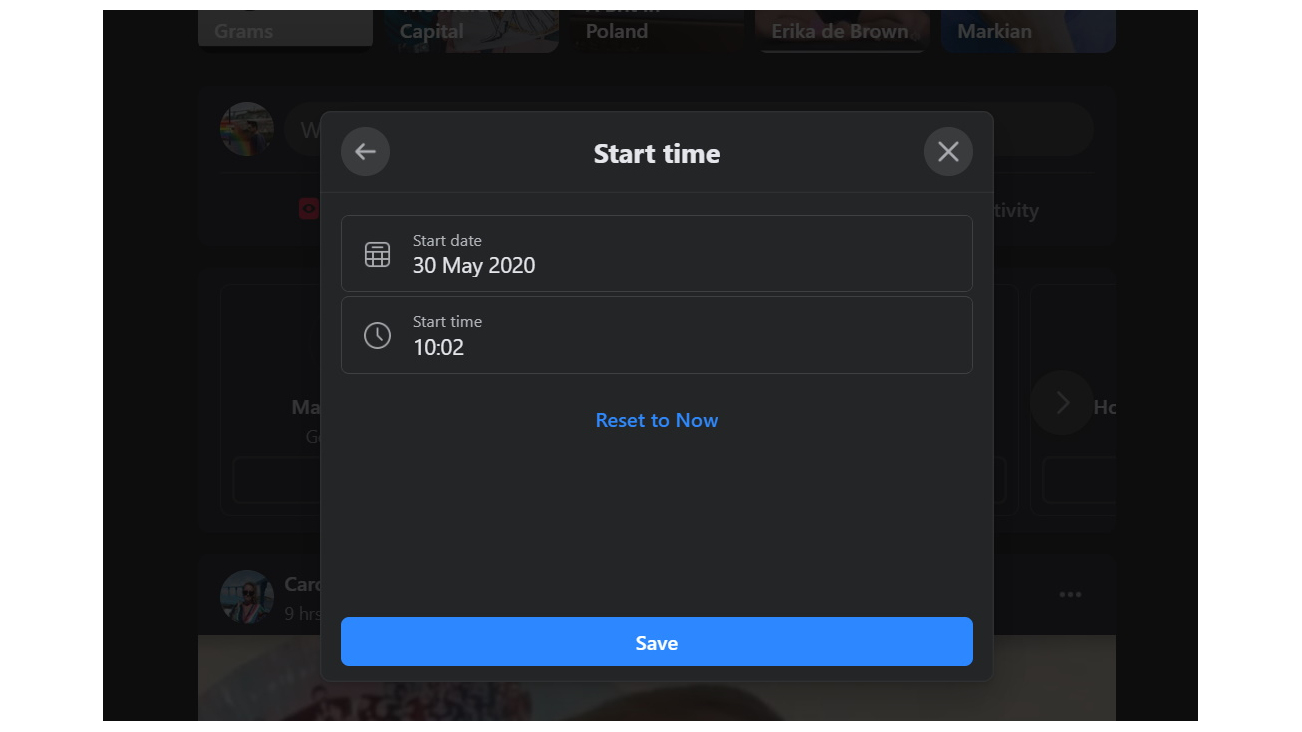
4. Room scheduling
It might well be the case that you don't want to open up your room straight away; perhaps you want to schedule a get-together for a friend's birthday in a few days' time, or you want to get things configured ahead of a meeting this evening. You Room will, by default, be launched straight away, but if you'd like to change this click the 'Start time' link. You can then specify the date and time things should kick off.
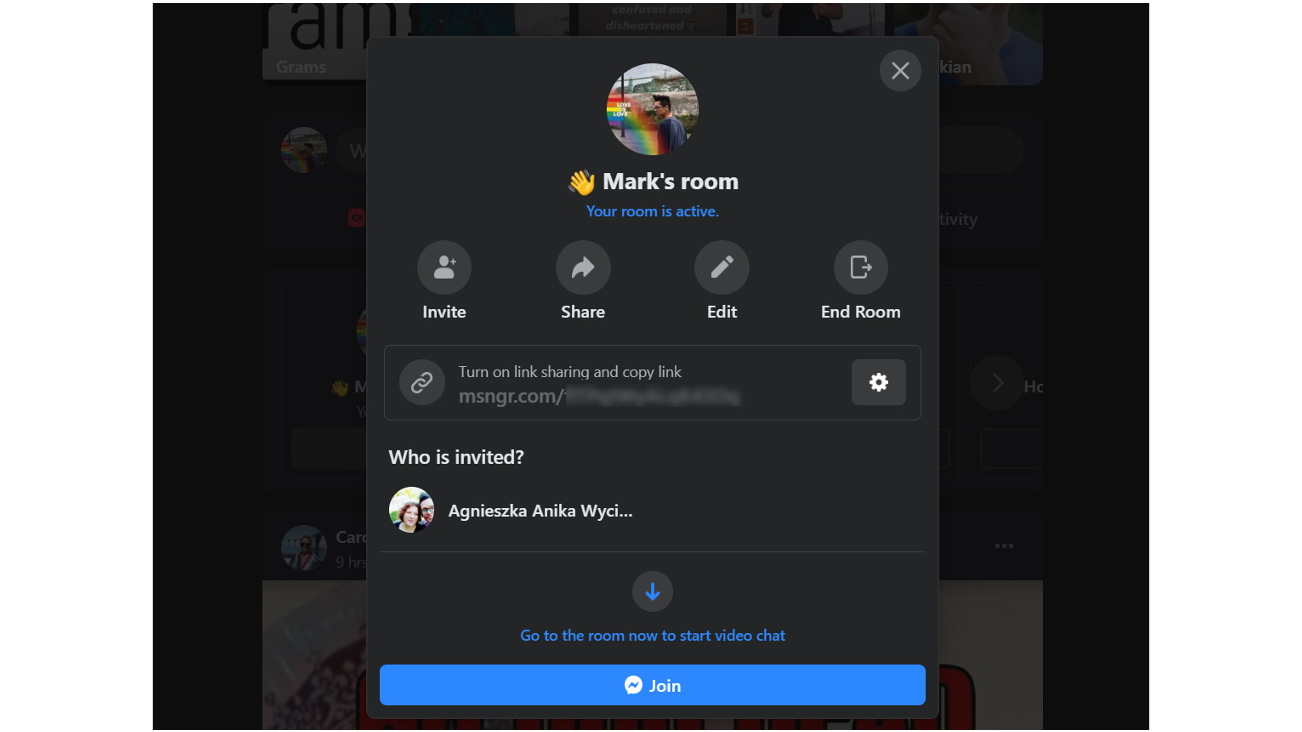
5. Room summary and link sharing
When you have finished configuring option, click the 'Create Room' button and you'll see a summary screen that displays the name of your room and lists who you have invited. It is also possible to invite non-Facebook using friend to the room. Click the gear button and then click 'Turn on' to enable link sharing. You can then copy the room link you can see and paste it into emails or other messages to people you would like to invite. Click the 'Join' button to start your room.
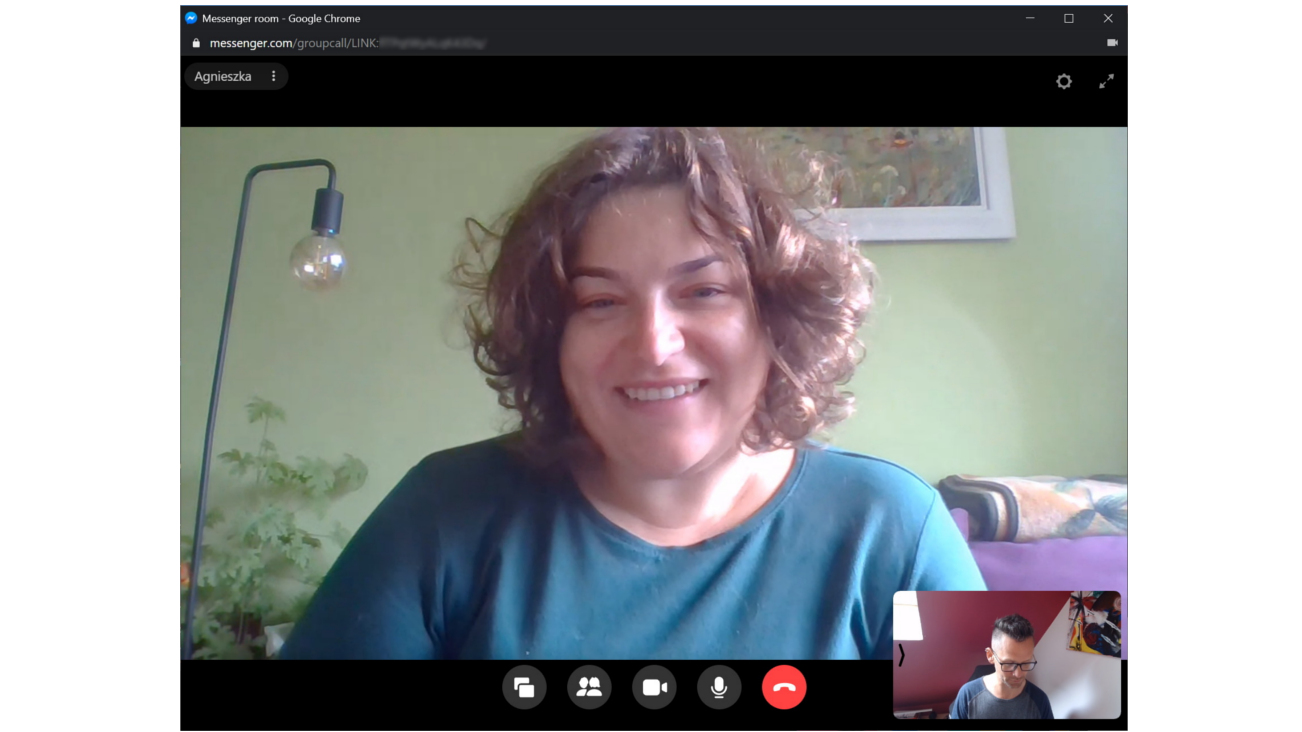
6. Use your room
You room will open in a new window and you'll see footage from your webcam in the lower right of the screen. You will need to wait for the people you have invited to join the room with you – they just need to click the link they have received. You'll also see a series of button across the bottom of the window that you can use to share your screen, check who is in the room, disable audio or video, and also leave the room.
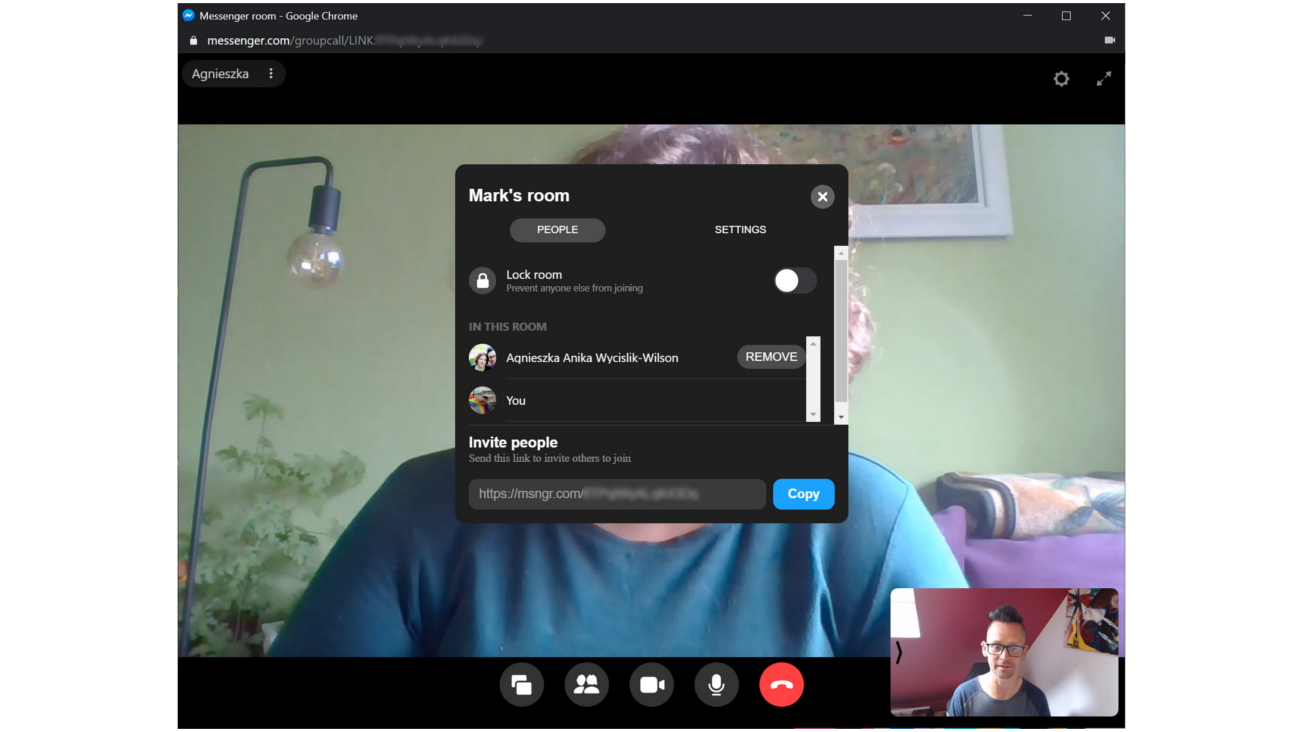
7. Room sharing, locking and closing
If you click the 'See call participants' button (the one that depicts two people), you'll not only see a list of who is taking part in the call, but also gain access to the room link once again so you can invite more people. If you want to stop more people from joining the room, enable the 'Lock room' toggle. If you move to the 'Settings' tab, you can close down the room when you are finished with it by clicking 'End room'.
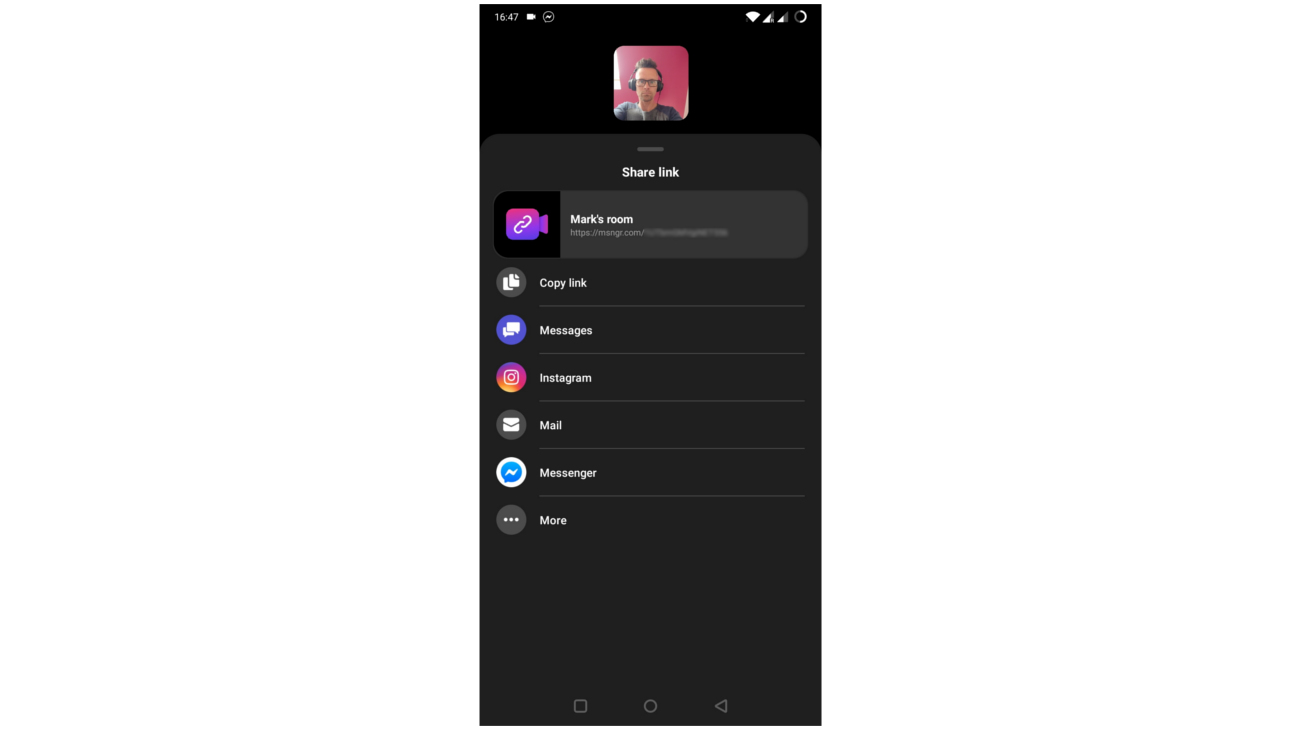
8. Use the Facebook Messenger mobile app
You may be more comfortable setting up Rooms on your phone, and you can do this from Facebook Messenger. Fire up the app and move to the 'People' section. When you're there, tap the 'Create a room' link and then tap the 'Share link' button before using one of the various options for sharing the room link with people – you could paste the link into an email, or send out invites via Instagram, Messenger and so on.
- Check out our guide to the best Android games

Sofia is a tech journalist who's been writing about software, hardware and the web for nearly 25 years – but still looks as youthful as ever! After years writing for magazines, her life moved online and remains fueled by technology, music and nature.
Having written for websites and magazines since 2000, producing a wide range of reviews, guides, tutorials, brochures, newsletters and more, she continues to write for diverse audiences, from computing newbies to advanced users and business clients. Always willing to try something new, she loves sharing new discoveries with others.
Sofia lives and breathes Windows, Android, iOS, macOS and just about anything with a power button, but her particular areas of interest include security, tweaking and privacy. Her other loves include walking, music, her two Malamutes and, of course, her wife and daughter.