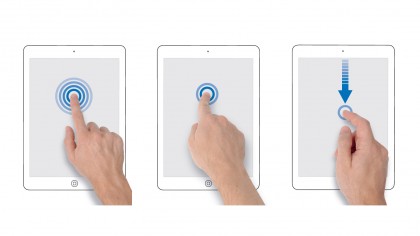
Using gestures
If you've just unwrapped a new iPad or iPhone for Christmas, or you just want to make sure you aren't missing out, here's a quick gesture-by-gesture guide to getting the most from your iPad or iPhone using gestures.
Note that the three 'multitasking gestures' (numbers 7 to 9) are iPad-only and won't work on other iOS devices such as iPhones.
Also, if you don't want access to these three gestures, they can be turned off: in the Settings app, tap General > Multitasking Gestures, then tap On or Off.
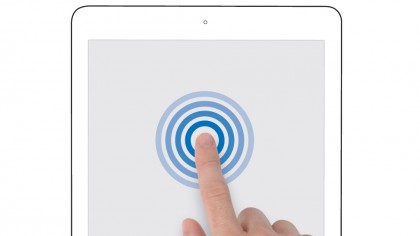
1. Single- and double-tap
Tapping the iPad screen is equivalent to clicking the mouse button on your Mac or PC, and performs the majority of functions. Tap on a button or icon to open an app, activate a web link, and so on.
Tapping twice in quick succession is a double-tap. When viewing photos and web pages, you can double-tap to zoom in, then double-tap again to zoom out.
For maps, double-tap to zoom in; tap once with two fingers to zoom out. Double-tap a column of text on a web page, and it will fit the screen.
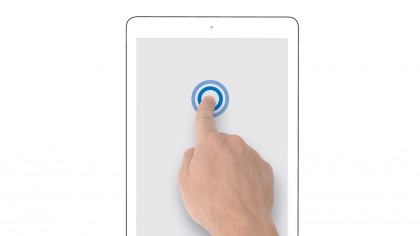
2. Tap and hold
Tapping on the screen and holding your finger in place often causes a small pop-over menu to appear, much like right-clicking on your Mac or PC.
Most commonly this shows options for cutting and pasting text, but in apps such as Safari it can enable you to choose how and where you open web links; or in the case of a picture, you can opt to save the image in your Camera Roll.
Tapping and holding an icon on the Home screen causes the icons to jiggle; you can then drag them to rearrange them.
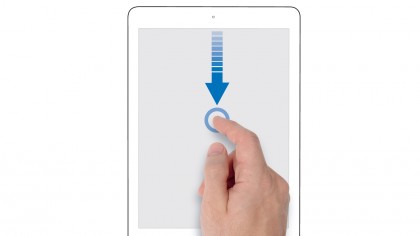
3. Scroll
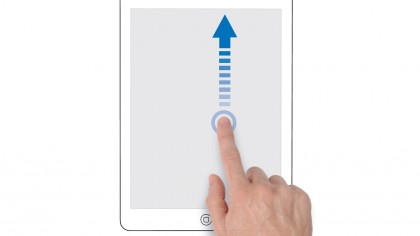
Press your finger lightly against the iPad's touchscreen and then run it up and down the screen to move a list or page.
When you find what you're looking for, release your finger and it'll stop scrolling. This is ideal for navigating through a web page or down a grocery list in the Notes app, for example.
Some apps, such as the Music app, have an alphabetical scrollbar to the side which is ideal for speedily browsing a large library by dragging with your finger to scroll.
4. Flick
If you need to find your way through a long list (for example, friends and family in Contacts), you needn't spend ages scrolling manually – use the flick gesture to scroll quickly.
Press your finger gently against the screen, then flick up or down, and your list will scroll through at a much faster speed than normal.
The quicker you flick, the quicker you scroll. Simply wait for the scrolling to stop or gently press the screen when you find what you're looking for. This is handy for large libraries in the Music app.
5. Swipe
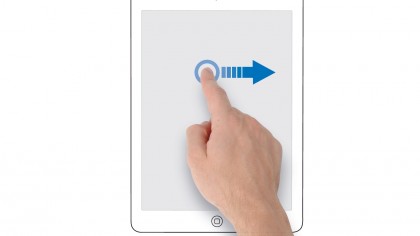
In apps where you can navigate from side to side, such as Photos or iBooks, you need to swipe. Using one finger, lightly run your finger across the screen from one side to the other and you can navigate from page to page.
You can also use this to navigate around a website or map when you've zoomed in. Don't be afraid to explore, though: a swipe can do different things in different apps – in Mail, in the list view, a horizontal swipe from right to left brings up the Trash and More options.
6. Pinch and unpinch
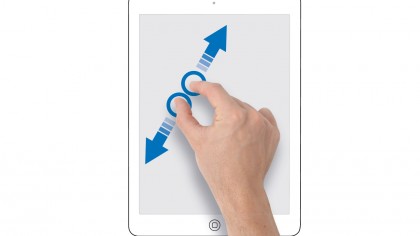
You can zoom into a page on the iPad using the pinch and unpinch gestures. Holding your index finger and thumb close together like a crab claw, place them on the screen and slowly move your fingers apart without lifting them.
You'll zoom into (magnify) the page at the same rate at which you expand your fingers. To zoom back out to normal size, simply repeat the gesture but in reverse, bringing your fingers closer together.
As with scrolling, the faster you move your fingers, the faster you zoom.
7. Home pinch
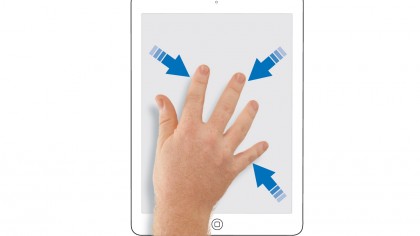
The speediest way to get back to the Home screen on your iPad is the four- or five-finger pinch gesture, which can be executed in any app to close it.
Simply place four or five fingers on the screen and bring them together to return to the Home screen. (This is the same gesture used to activate Launchpad in OS X Mavericks.) Note that this gesture can be used only if your iPad runs iOS 5 or newer, and it is an iPad-only gesture – it does not work on an iPhone or iPod touch.
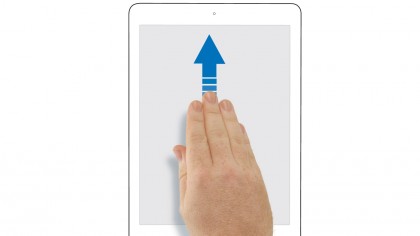
8. Multitask swipe
Introduced back in iOS 5 you can also use a four- or five-finger multitasking gesture to bring up the multitasking bar by swiping all your fingers upwards. (Again, this mimics the swipe-up that activates Mission Control in OS X Mavericks on the Mac.)
You can then tap icons in the multitasking bar to switch to other apps. To hide the bar again, swipe downward with four or five fingers, or just tap anywhere above it. This gesture also works only on the iPad so don't try it on an iPhone!
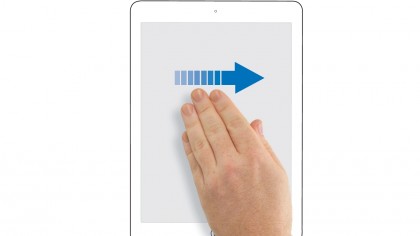
9. App switch swipe
As well as using the multitasking bar to switch between apps, you can simply swipe sideways with four or five fingers to move from one app to another – swipe from the right to the left to step through your apps in the same order as they appear in the multitasking bar, or left to right to reverse.
This gesture will bring up your most recently used apps: as you slide horizontally across the screen, the current app disappears to make way for the next. This gesture, too, is iPad and iOS 5 or newer only.
- Enjoyed this article? Get more tutorials, guides, and tips on how to get the most from your Apple devices inside MacFormat. Take advantage of an exclusive offer in our sampler today.