9 Nintendo Switch tips and tricks for getting the most out of your console
Get the most out of the Switch
Introduction
Nintendo's new console, the Nintendo Switch, is here, and like any other piece of new technology it has hidden features and time-saving tricks which may not be immediately apparent to the end user. Rather than allow you all to fumble in the dark we've decided to do the noble thing and pull together a list of our favourite Nintendo Switch tips, tricks and hacks – all of which should make owning this amazing hybrid console that little bit more fulfilling.
How to power down properly
You might assume pressing the Switch's power button would be enough to turn it off, but that isn't the case – this simply places the system in Sleep Mode, and it will happily slumber until you press a button again. While Sleep Mode is actually incredibly power efficient, there are times when you'll want to power down the Switch entirely. To do this, hold the power button for a few seconds until a menu appears which has "Sleep Mode" and "Power Options" listed. Select the latter and you'll be give the option to turn off the console totally. This is a key tip, as without it you can't remove the Micro SD card safely.
Wake the Switch with different buttons for different sounds
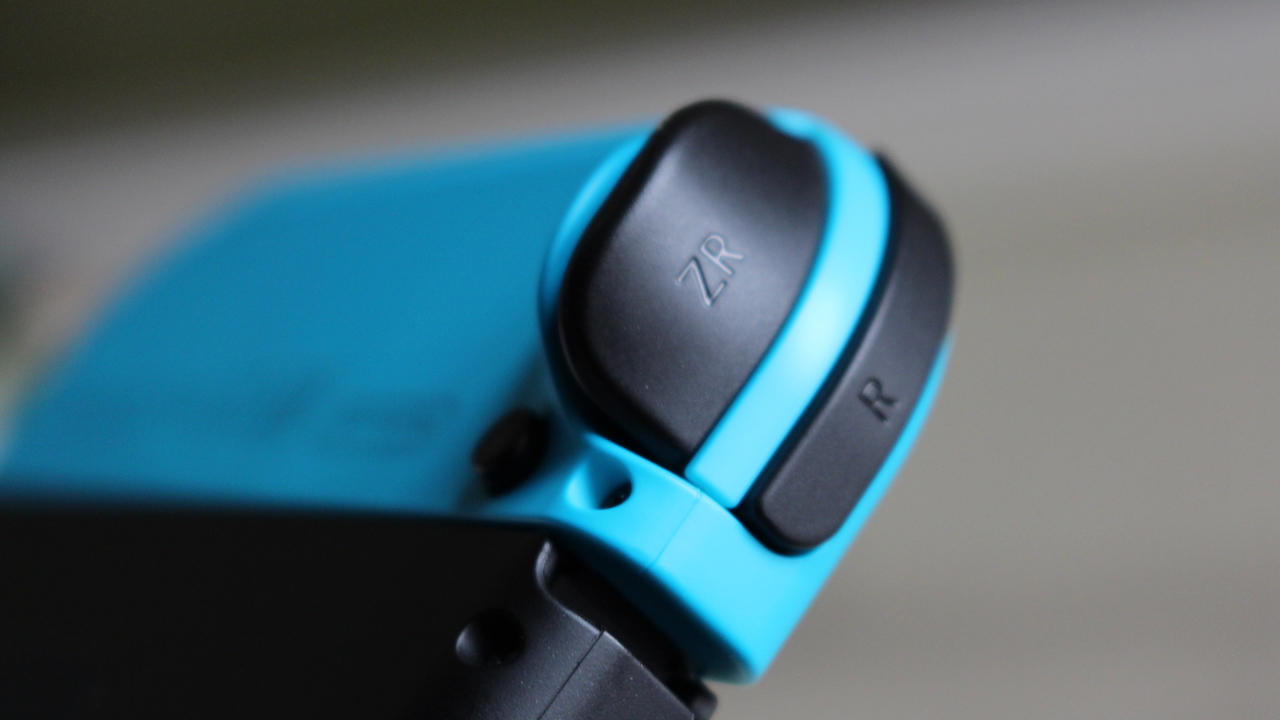
This is more of an Easter Egg than a tip, but it's fun to mess around with regardless. To wake the console from Sleep Mode you have to press the same button three times, but not every button triggers the same sound effect. Pressing ZR and ZL gives you unique sounds, as does pushing down on the analogue sticks.
Take screenshots and share them online
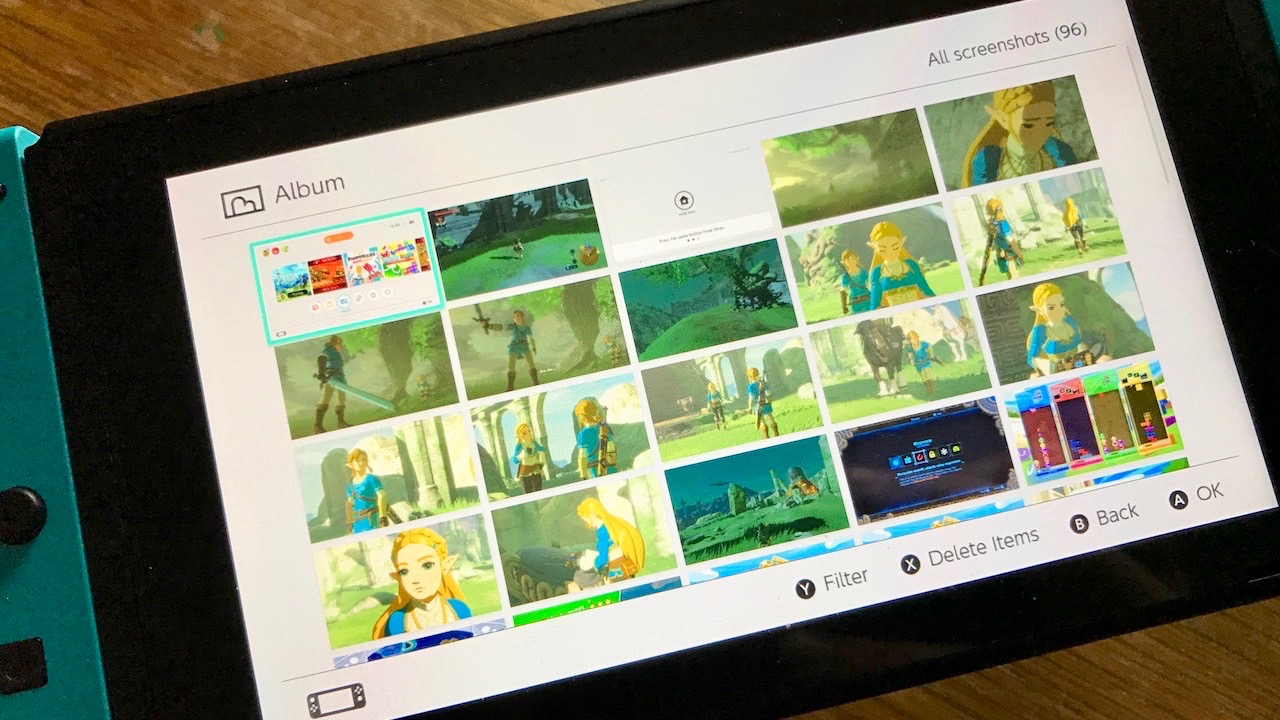
On the left-hand Joy-Con you'll find a square button with a circle inside it; this is the screenshot key. Pressing this during gameplay takes a snap and saves it to the Switch's internal memory (or, if one is present, the Micro SD card). You can then visit the console's "Album" application and view these images. It's also possible to add text to them and post them on either your Twitter or Facebook account. Alternatively, you might want to share the images elsewhere and for this you'll need to fully power down the console (see previous slide) and remove the Micro SD card. You can then plug it into your computer and copy the images off the card.
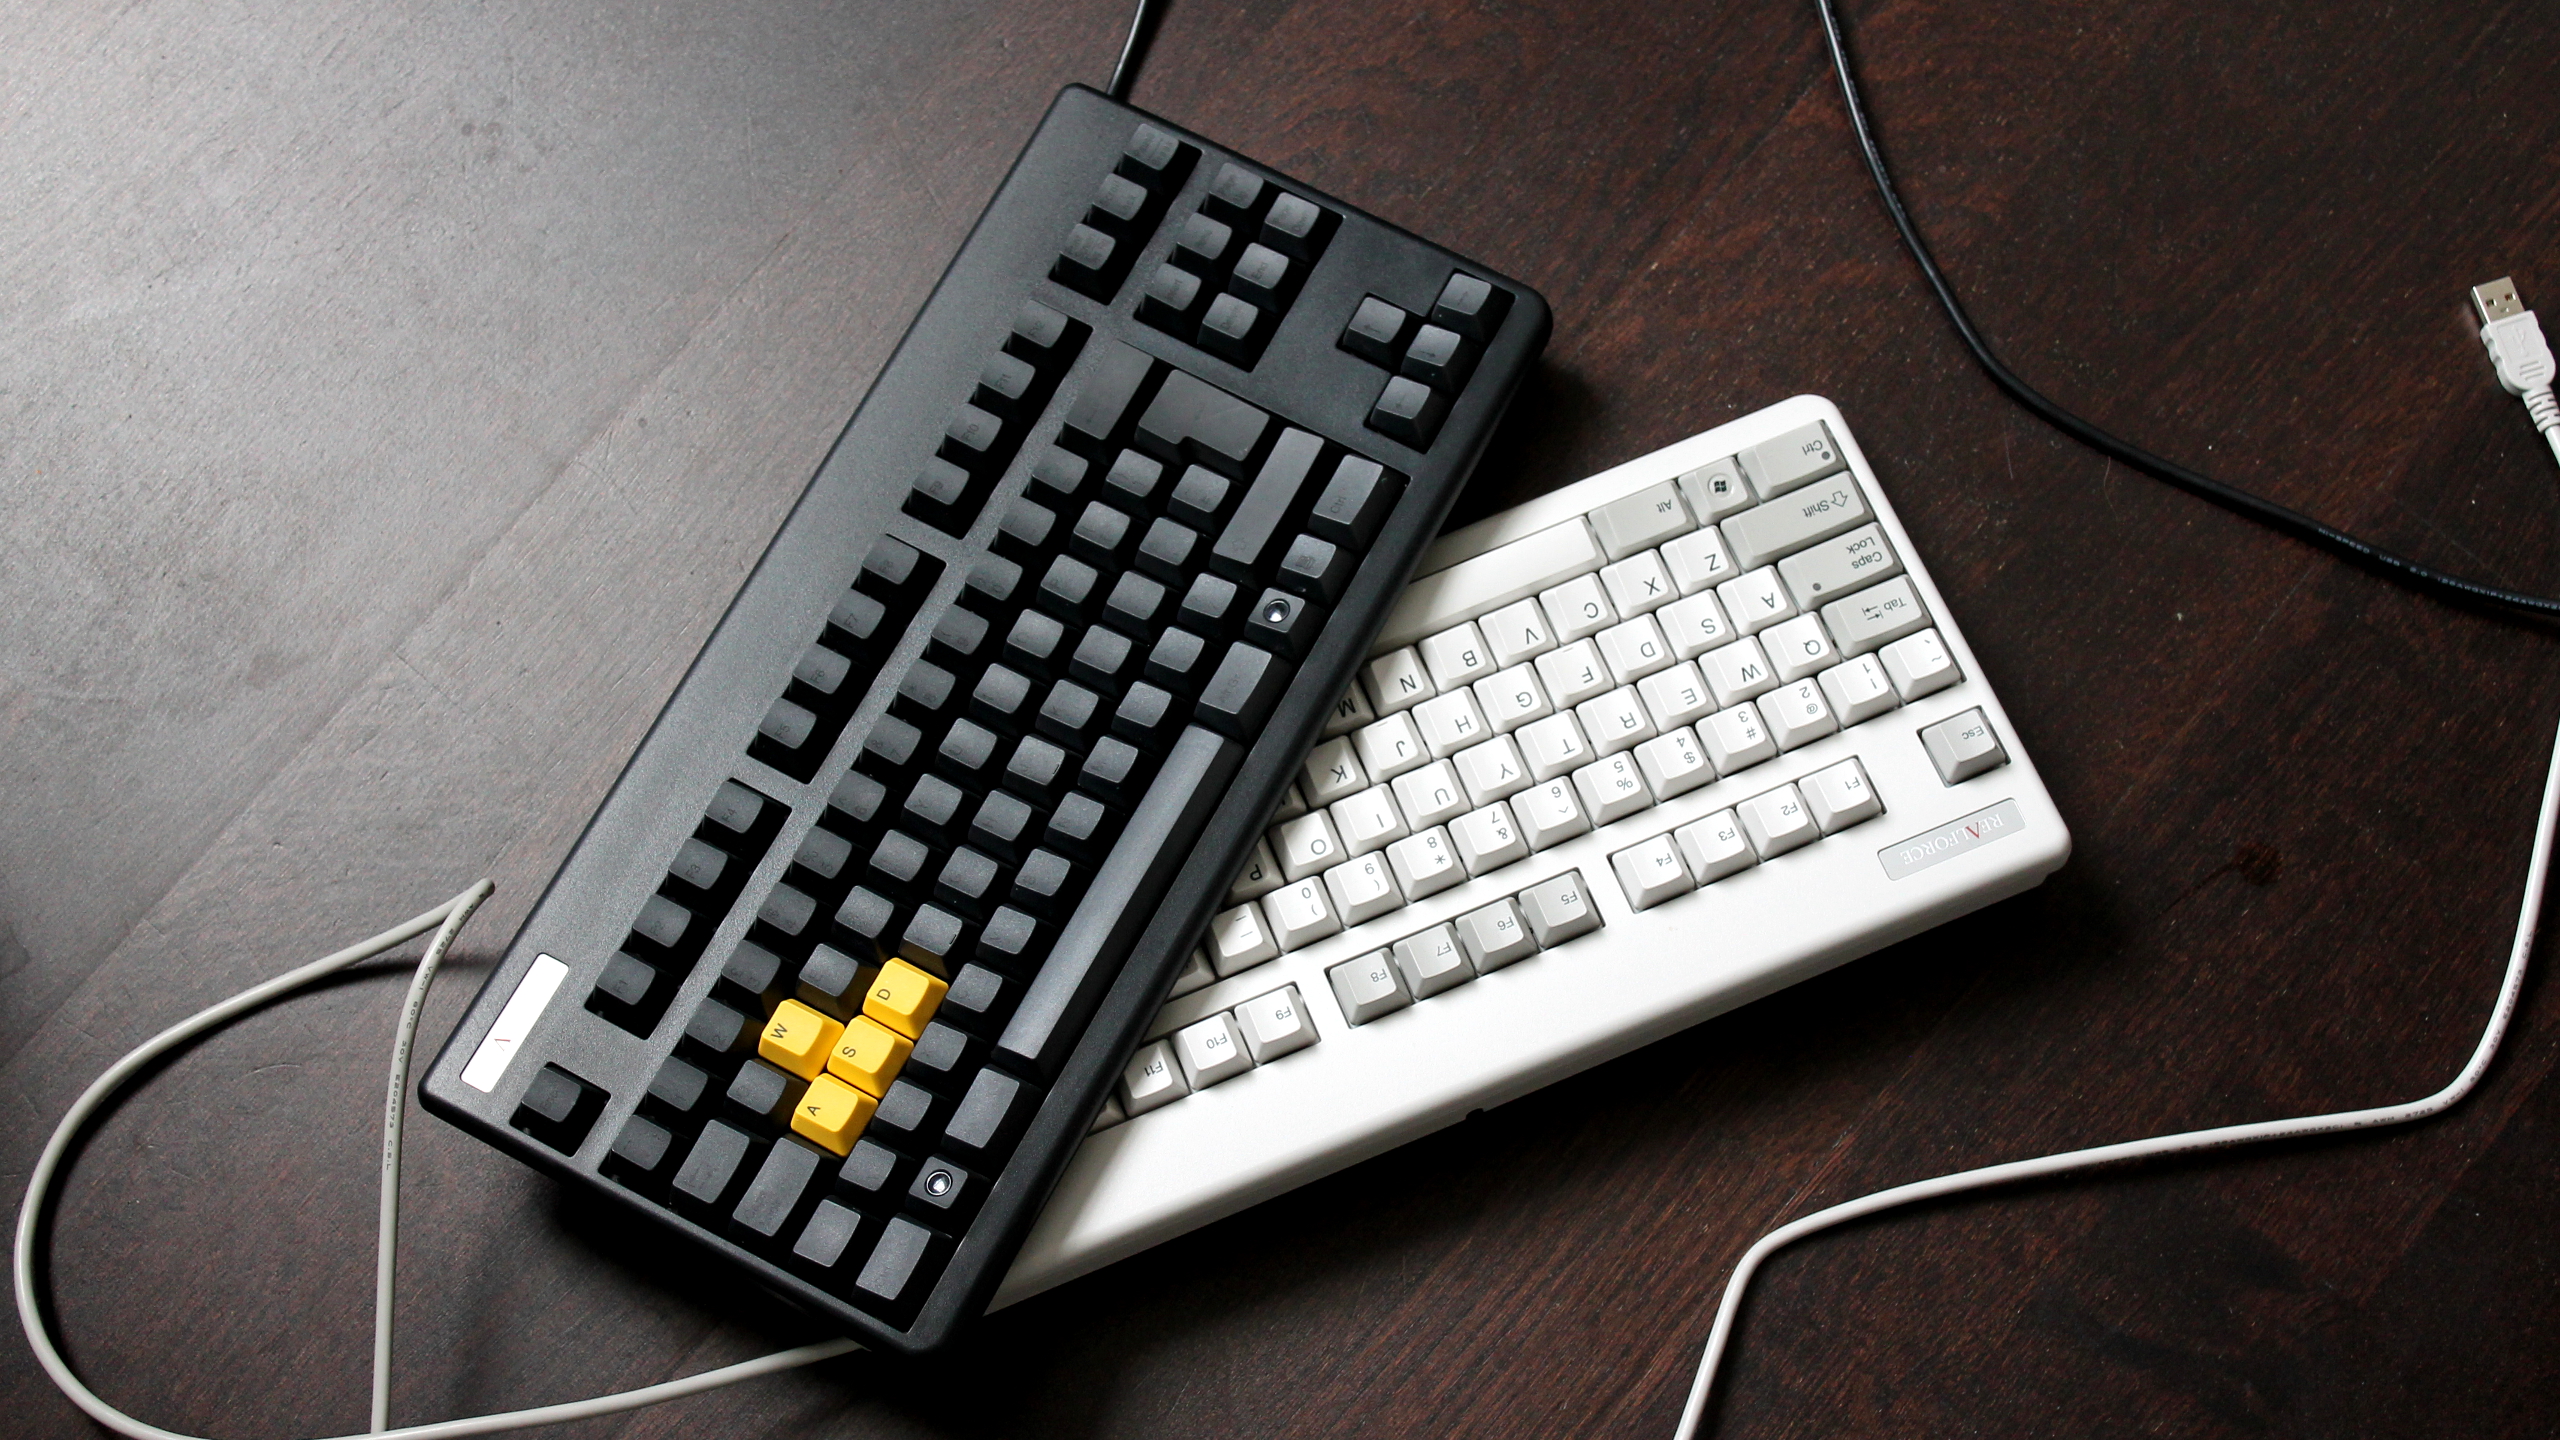
Connect a USB keyboard for text input
When your Switch is docked you can plug in a USB keyboard for easier text input. At the moment the only real advantage you have is being able to create captions for your screenshots before posting them online, but as time goes by and Nintendo adds support for more apps, this could be a real boon – so it's worth keeping in mind for the future.
- Need a new keyboard? Here are the best keyboards around.
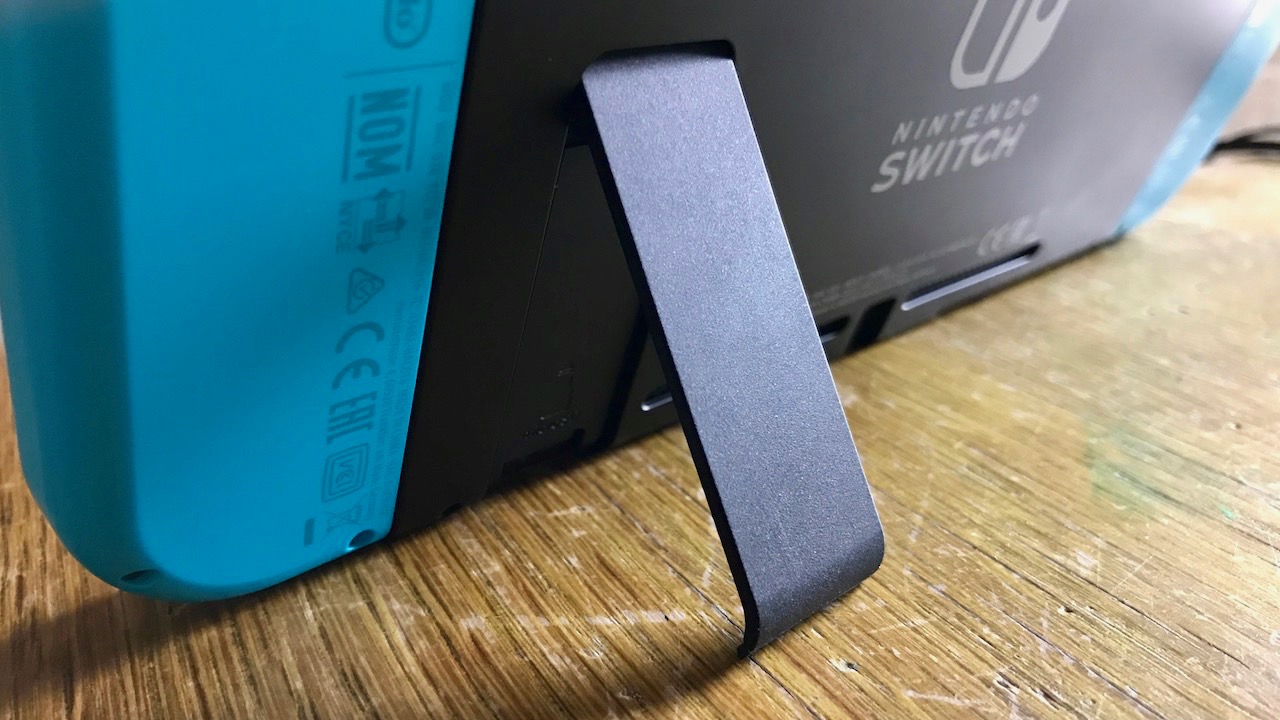
Don't worry, the kickstand snaps off
The Switch's kickstand does its job well enough, but it feels quite flimsy at the best of times. Don't feel the need to treat it with kid gloves, however; the stand is designed to snap off under pressure and can be reattached without too much hassle.
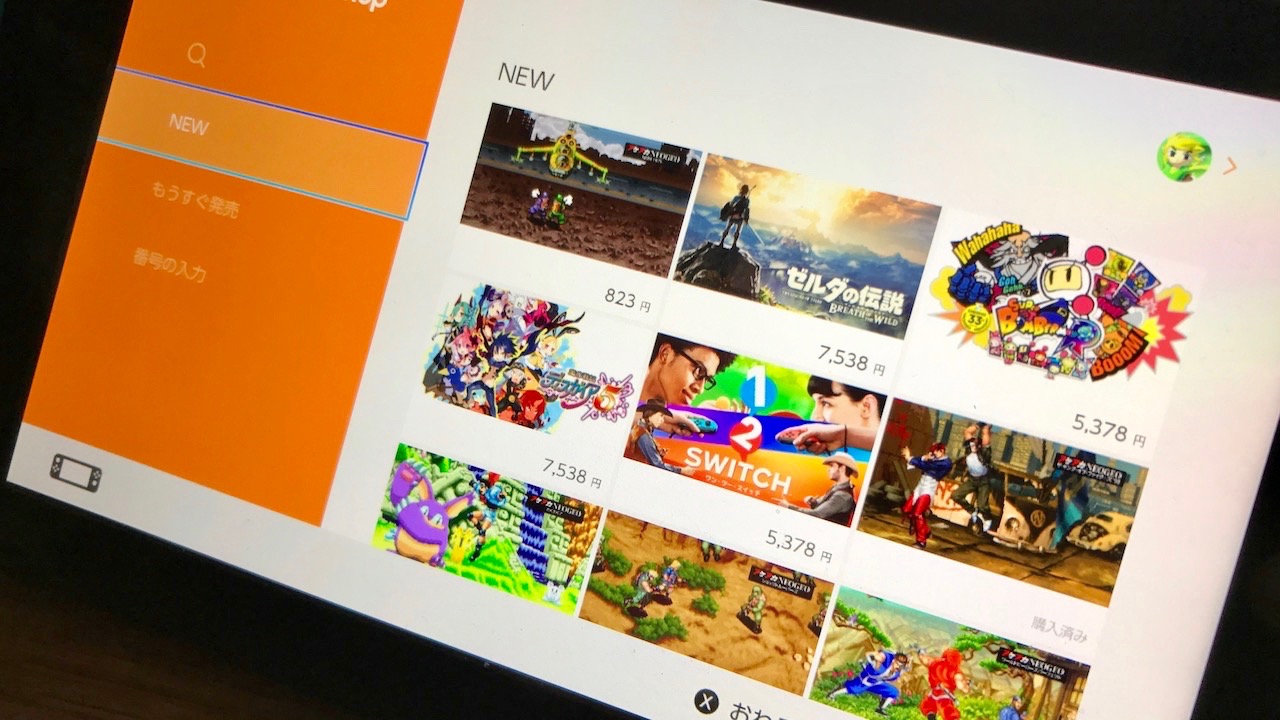
Access another region's eShop
Gone are the days when Nintendo forced customers to only play games from their own region; the Switch is fully region free, which not only means that game cards will work on any system, but you can also access any region's eShop from a single console.
In order to do so you'll first need to set up a brand new account over on Nintendo's accounts site. You'll need to use an email address that is different from the one associated with your main Nintendo account, and you'll also need to select the country of residence that matches the eShop you want to access (so for Japan, select – well – Japan). You'll be emailed a code once this process is complete (make sure the email you've provided it a valid on you have access to) which you then have to verify on the main site.
With the account created, you then have to drop onto your Switch and select "Add User" to link the new account with your console. Select the eShop icon and sign in using the new user and bingo, you're viewing the storefront of an entirely different region! Be warned that many people outside of Japan are reporting that they can't use western credit or debit cards to purchase games on the Japanese eShop, so you may want to buy some Japanese eShop credit from a respectable reseller, such as Play Asia.
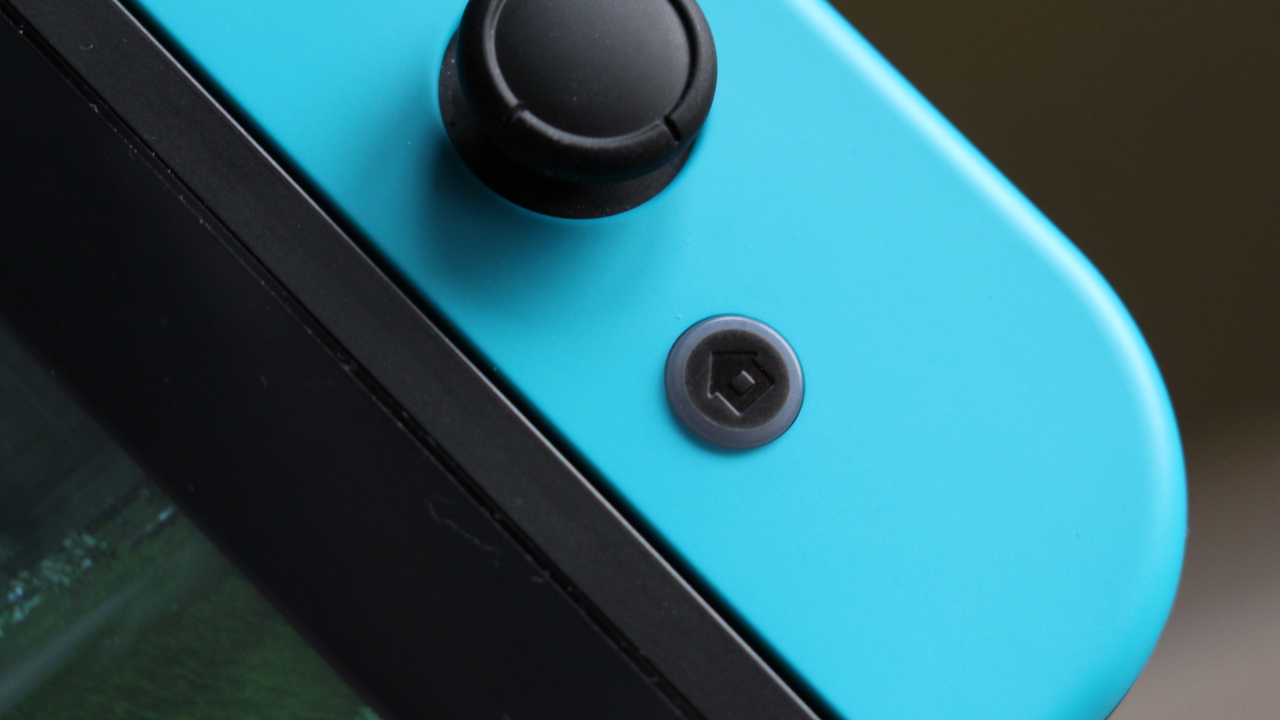
Hold the Home button for a quick menu at any time
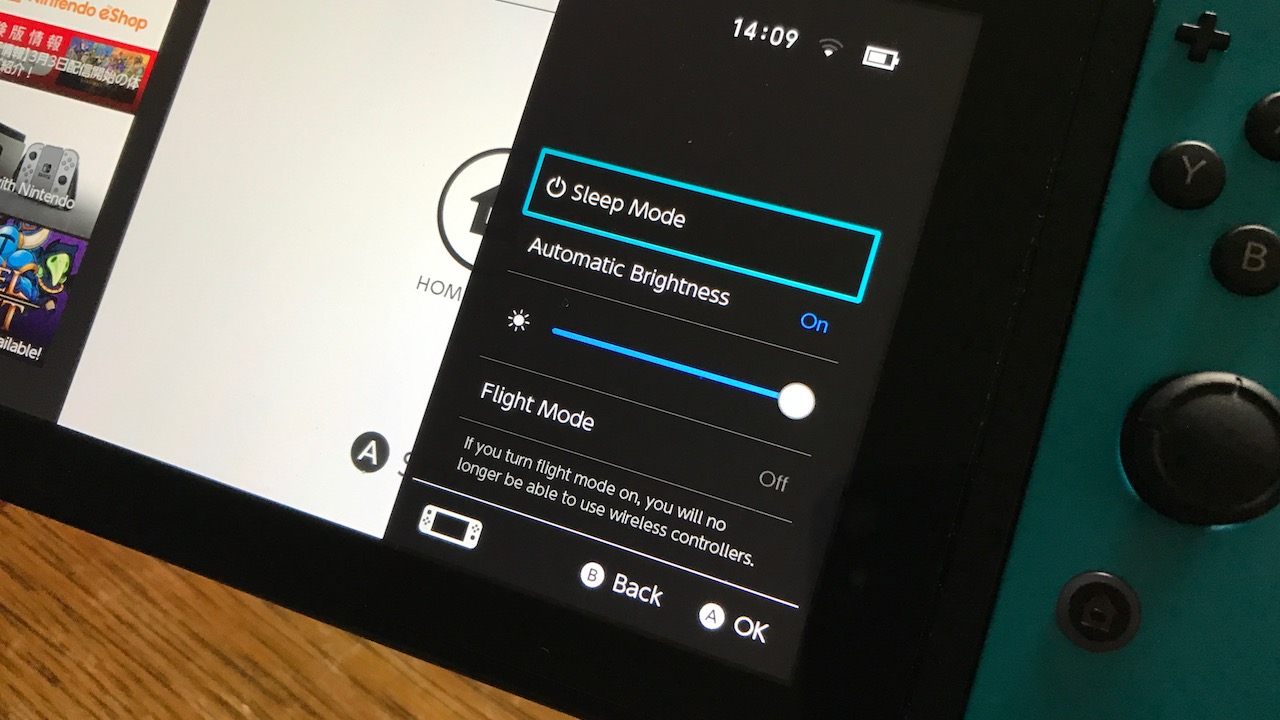
Hold down the Home button for a few seconds and a menu will pop up on-screen which allows you to drop into Sleep Mode, adjust the screen brightness or turn on "Flight Mode" – the latter of which disables all wireless connections. Note that you won't be able to use undocked Joy-Cons with this turned on.
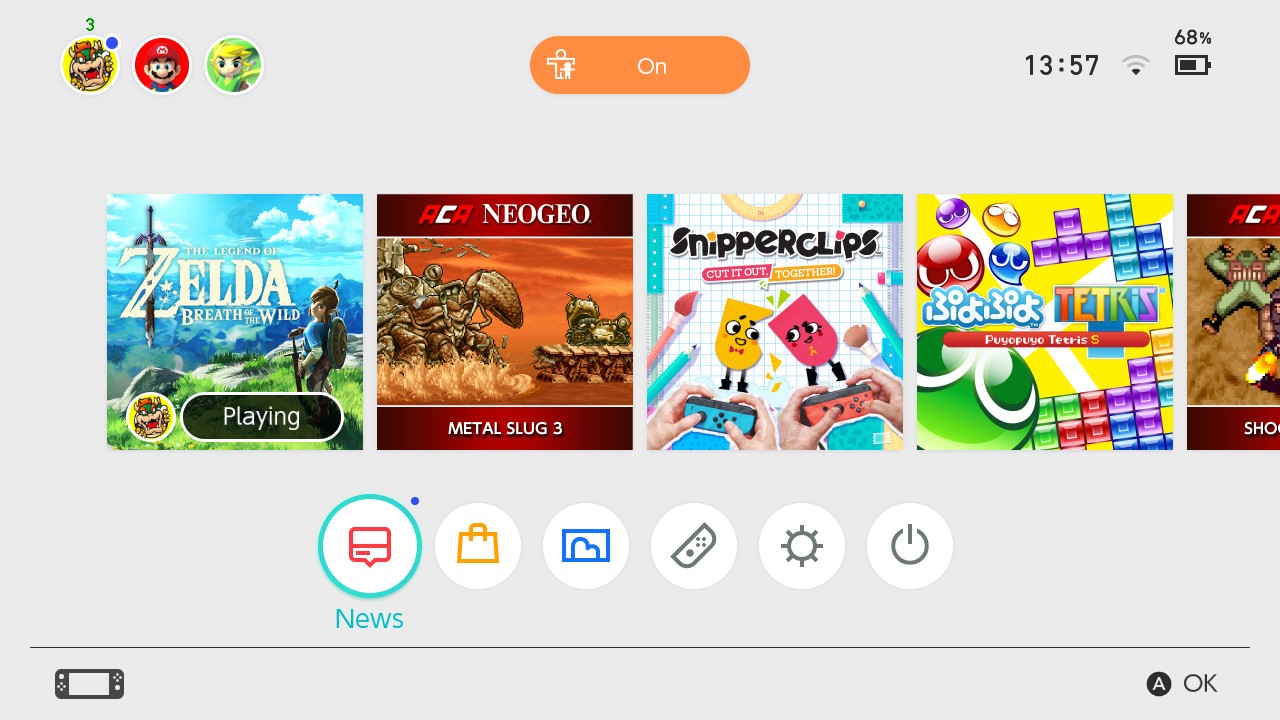
See your battery percentage in console and handheld mode
The Switch's current battery level is shown with an icon on the home screen, but you can get a more detailed idea of how much juice is left in the tank by tapping the icon itself when you're in portable mode, or pressing ZL and ZR together when you're in console mode. Remember, you have to be on the main home menu for this to work.
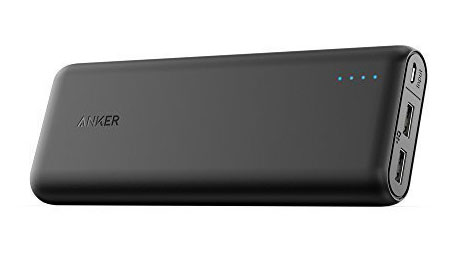
Top up with a USB power bank
The Switch can last for around 3-5 hours on a single charge, which should be enough for most trips to work but won't get you through an entire day of mobile gaming. Worry not, as the console can be charged via a USB power bank – just make sure you've got one of the fancy new USB Type 3 ones, as the Switch is quite a hungry beast and we've heard reports that with some power banks, the console actually eats up the battery life faster than the bank can recharge it.
- For our top recommendations, check out our guide to the best portable chargers.