How to add attachments to emails in iOS 9
Getting attached
Email attachments and iOS 9
For many of us, our iPhone or iPad has become just as much an essential tool for work as a Mac. We use it to make phone calls, send messages, record appointments, research things and, of course, send email.
The last of those tasks, however, has been hamstrung by a glaring omission – the inability to add attachments. Sure, you could send a file as an attachment from within the app where it's viewed or created, using share sheets, but you couldn't add an attachment to an email in the same way you could on a Mac – while composing your message.
That is, until now. Of all the new features in iOS 9, this – for heavy email users, at least – could be the killer feature. If you haven't already upgraded, this alone might convince you to do so. Adding attachments in Mail on both the iPhone and iPad is done just as easily as creating, typing, and sending the message itself.
- Check out our guide on how to use iOS 9
However, the way in which you add attachments differs depending on whether you're using an iPhone or an iPad, though the outcome is the same. Also, depending on the type of file, your attachment may even be displayed inline in the body of the email when you send it.
1. Add an attachment
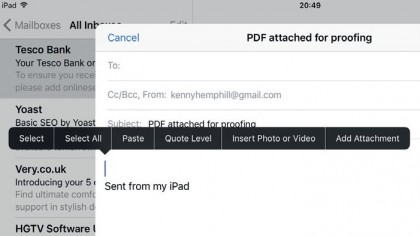
In Mail, create a new message or reply to one you've received. Add recipients and type the body of the email. When you're ready to add an attachment, tap and briefly hold in the body of the email, then let go.
In the menu, find Add Attachment and tap it.
2. Add from iCloud Drive
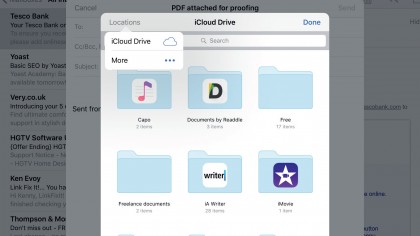
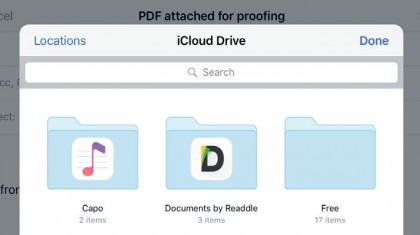
By default, you're shown the contents of the top level of your iCloud Drive (if it's enabled in Settings > iCloud). If the item you want to send is in Drive, tap the relevant folder to open it, then tap the file.
It will be attached to your message, just as it would be on your Mac.
3. Add different sources
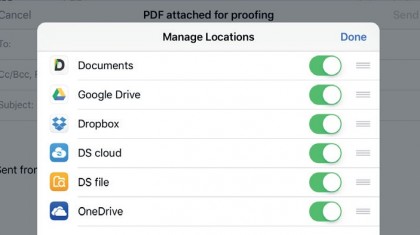
If the file you want isn't on iCloud Drive, tap Locations at the top-left of the panel that opens after you tap Add Attachment. Tap 'More' for a list of apps installed on your device that can be used to source an attachment, and turn on the switch next to any you want to use.
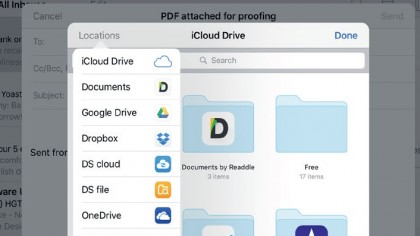
4. Choose a source
You can reorder the apps in the list by tapping More, then dragging up or down from the three lines to the right of one's name. When you're finished, tap Done. You'll need to tap Locations again to go back to the list and choose a source for the attachment.
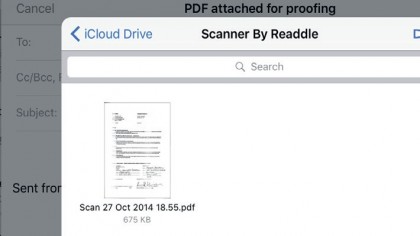
5. Choose the attachment
Tap the source you want (and sign in, if required for a particular service). You'll be taken to the app; find the file you want and then tap it to attach it. Certain file formats, such as JPEG and PNG images, are displayed inline in emails, but many others are simply shown as an icon.
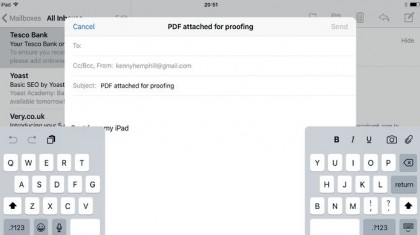
6. An iPad shortcut
If you're using an iPad, just above the top row in its on-screen keyboard are shortcuts that save you having to call up the options bar.
They appear after you tap in the message's body. Among them is a paper clip icon, which enables you to browse for an attachment in just one tap.
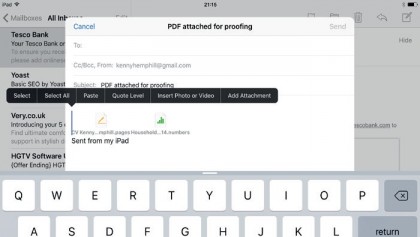
7. Multiple attachments
To add more than one attachment, just repeat steps 1-5 for each. Sadly there's no way to choose multiple files at once.
Each file will be added to your email and its icon, or a preview if it's a supported file type, will be displayed wherever the insertion point is positioned.
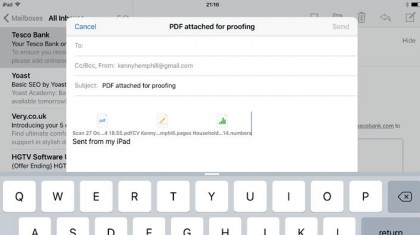
8. Delete attachments
If you change your mind after adding an attachment, you can remove it by tapping on the body of the email, just to the right of the attachment.
You should see the insertion point flashing to the right of it. Next, tap the Delete key on the keyboard to remove the attachment.
- Enjoyed this article? Get more tutorials, guides, and tips on how to get the most from your Apple devices inside MacFormat. Take advantage of an exclusive offer in our sampler today.