14 photo editing tips and tricks every landscape photographer must know
The best tips for landscape photography
Essential photo editing tricks for landscapes: 02 Blend raw exposures

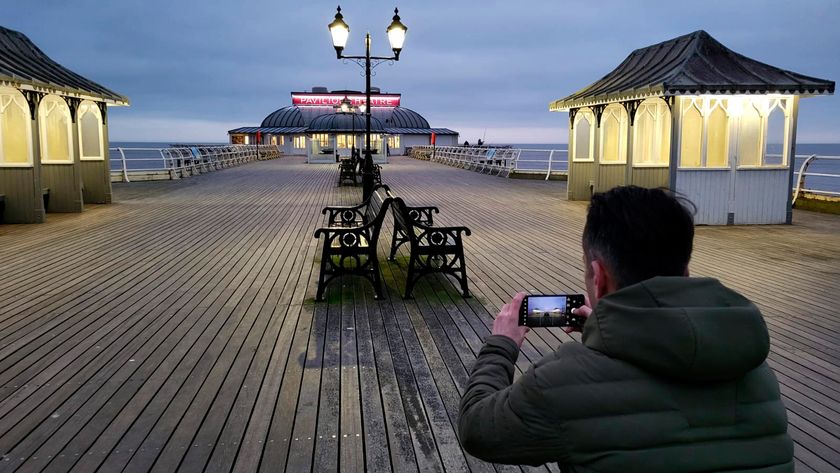
Your camera has a limited dynamic range, which means when presented with high-contrast scenes like the one above it will struggle to record everything the eye sees.
Luckily, Raw files contain such an incredible amount of detail that a seemingly dud exposure like our start image here can produce surprisingly good results.
Camera Raw's tonal controls have become so good that they now surpass those found in Photoshop, especially when working with Raw files.
The trick with scenes like this is to process the image twice: once for the bright areas and once for the shadows.
We can do this quickly and easily by using Smart Objects in Photoshop. Once we have our two treatments we can paint a simple Layer Mask to blend them together. Here's how…

01 Process for the shadows
Open your start image into Photoshop and it will automatically open in Camera Raw. In the Basic Panel, set Exposure to +0.63, Shadows to +63, and Clarity to +55. Hold down Shift and click the Open Object button to open the image into Photoshop as a Smart Object.

02 Process for the highlights
In the Layers Panel, right-click the layer and choose New Smart Object via copy. Double-click the thumbnail of the copy to send the layer back to Camera Raw. Double-click Exposure, Shadows and Clarity to reset them to Exposure -0.20, Highlights -50, Whites -19.
Get daily insight, inspiration and deals in your inbox
Sign up for breaking news, reviews, opinion, top tech deals, and more.

03 Blend the layers
Hit OK, click the Add Layer Mask icon then grab the Brush tool. Set the colour to black and press 3 for 30% Opacity. Paint over the foreground to hide parts of the darker layer, revealing the lighter treatment below. Press X and paint with white if you want to reveal more of the top layer.
Most Popular


