77 photography tips and tricks for taking pictures of anything
There's a lot to sink your teeth into
Macro photography techniques, tips and tricks
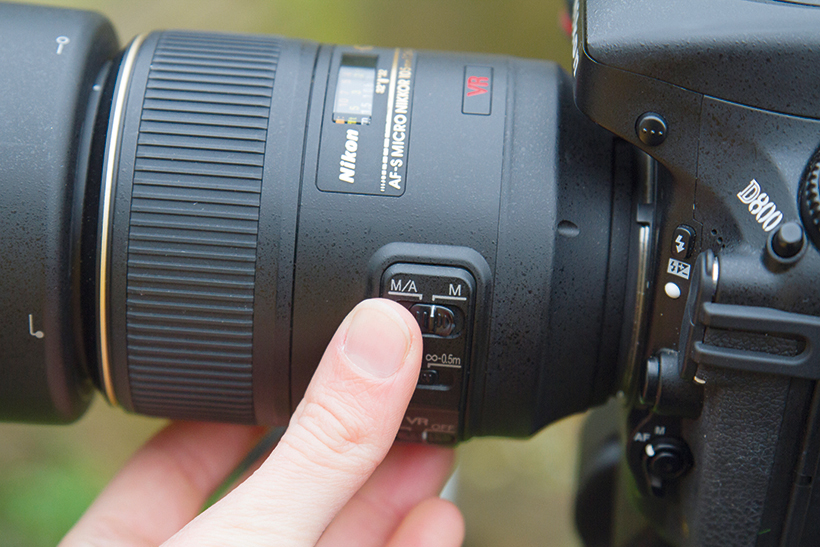
Tip 1. Manual focus

Switch off autofocus when you're taking macro photos. Depth of field (DOF) can be measured in millimetres when you're shooting close-up details, so accurate focusing is critical.
Manual focusing is made easy with your DSLR's Live View. By magnifying the area you want to focus on on the Live View screen and turning the lens's focus ring, you can position the point of focus precisely.
Go easy with the focus ring though, as the difference between razor-sharp and just sharp enough is slight. You'll also need to use a tripod, as even small movements of the camera can throw the focus completely off.
Tip 2. Choosing the best aperture
To increase the depth of field - the area in front of and behind the subject that you're focusing on that appears acceptably sharp - you'll need to use small apertures.
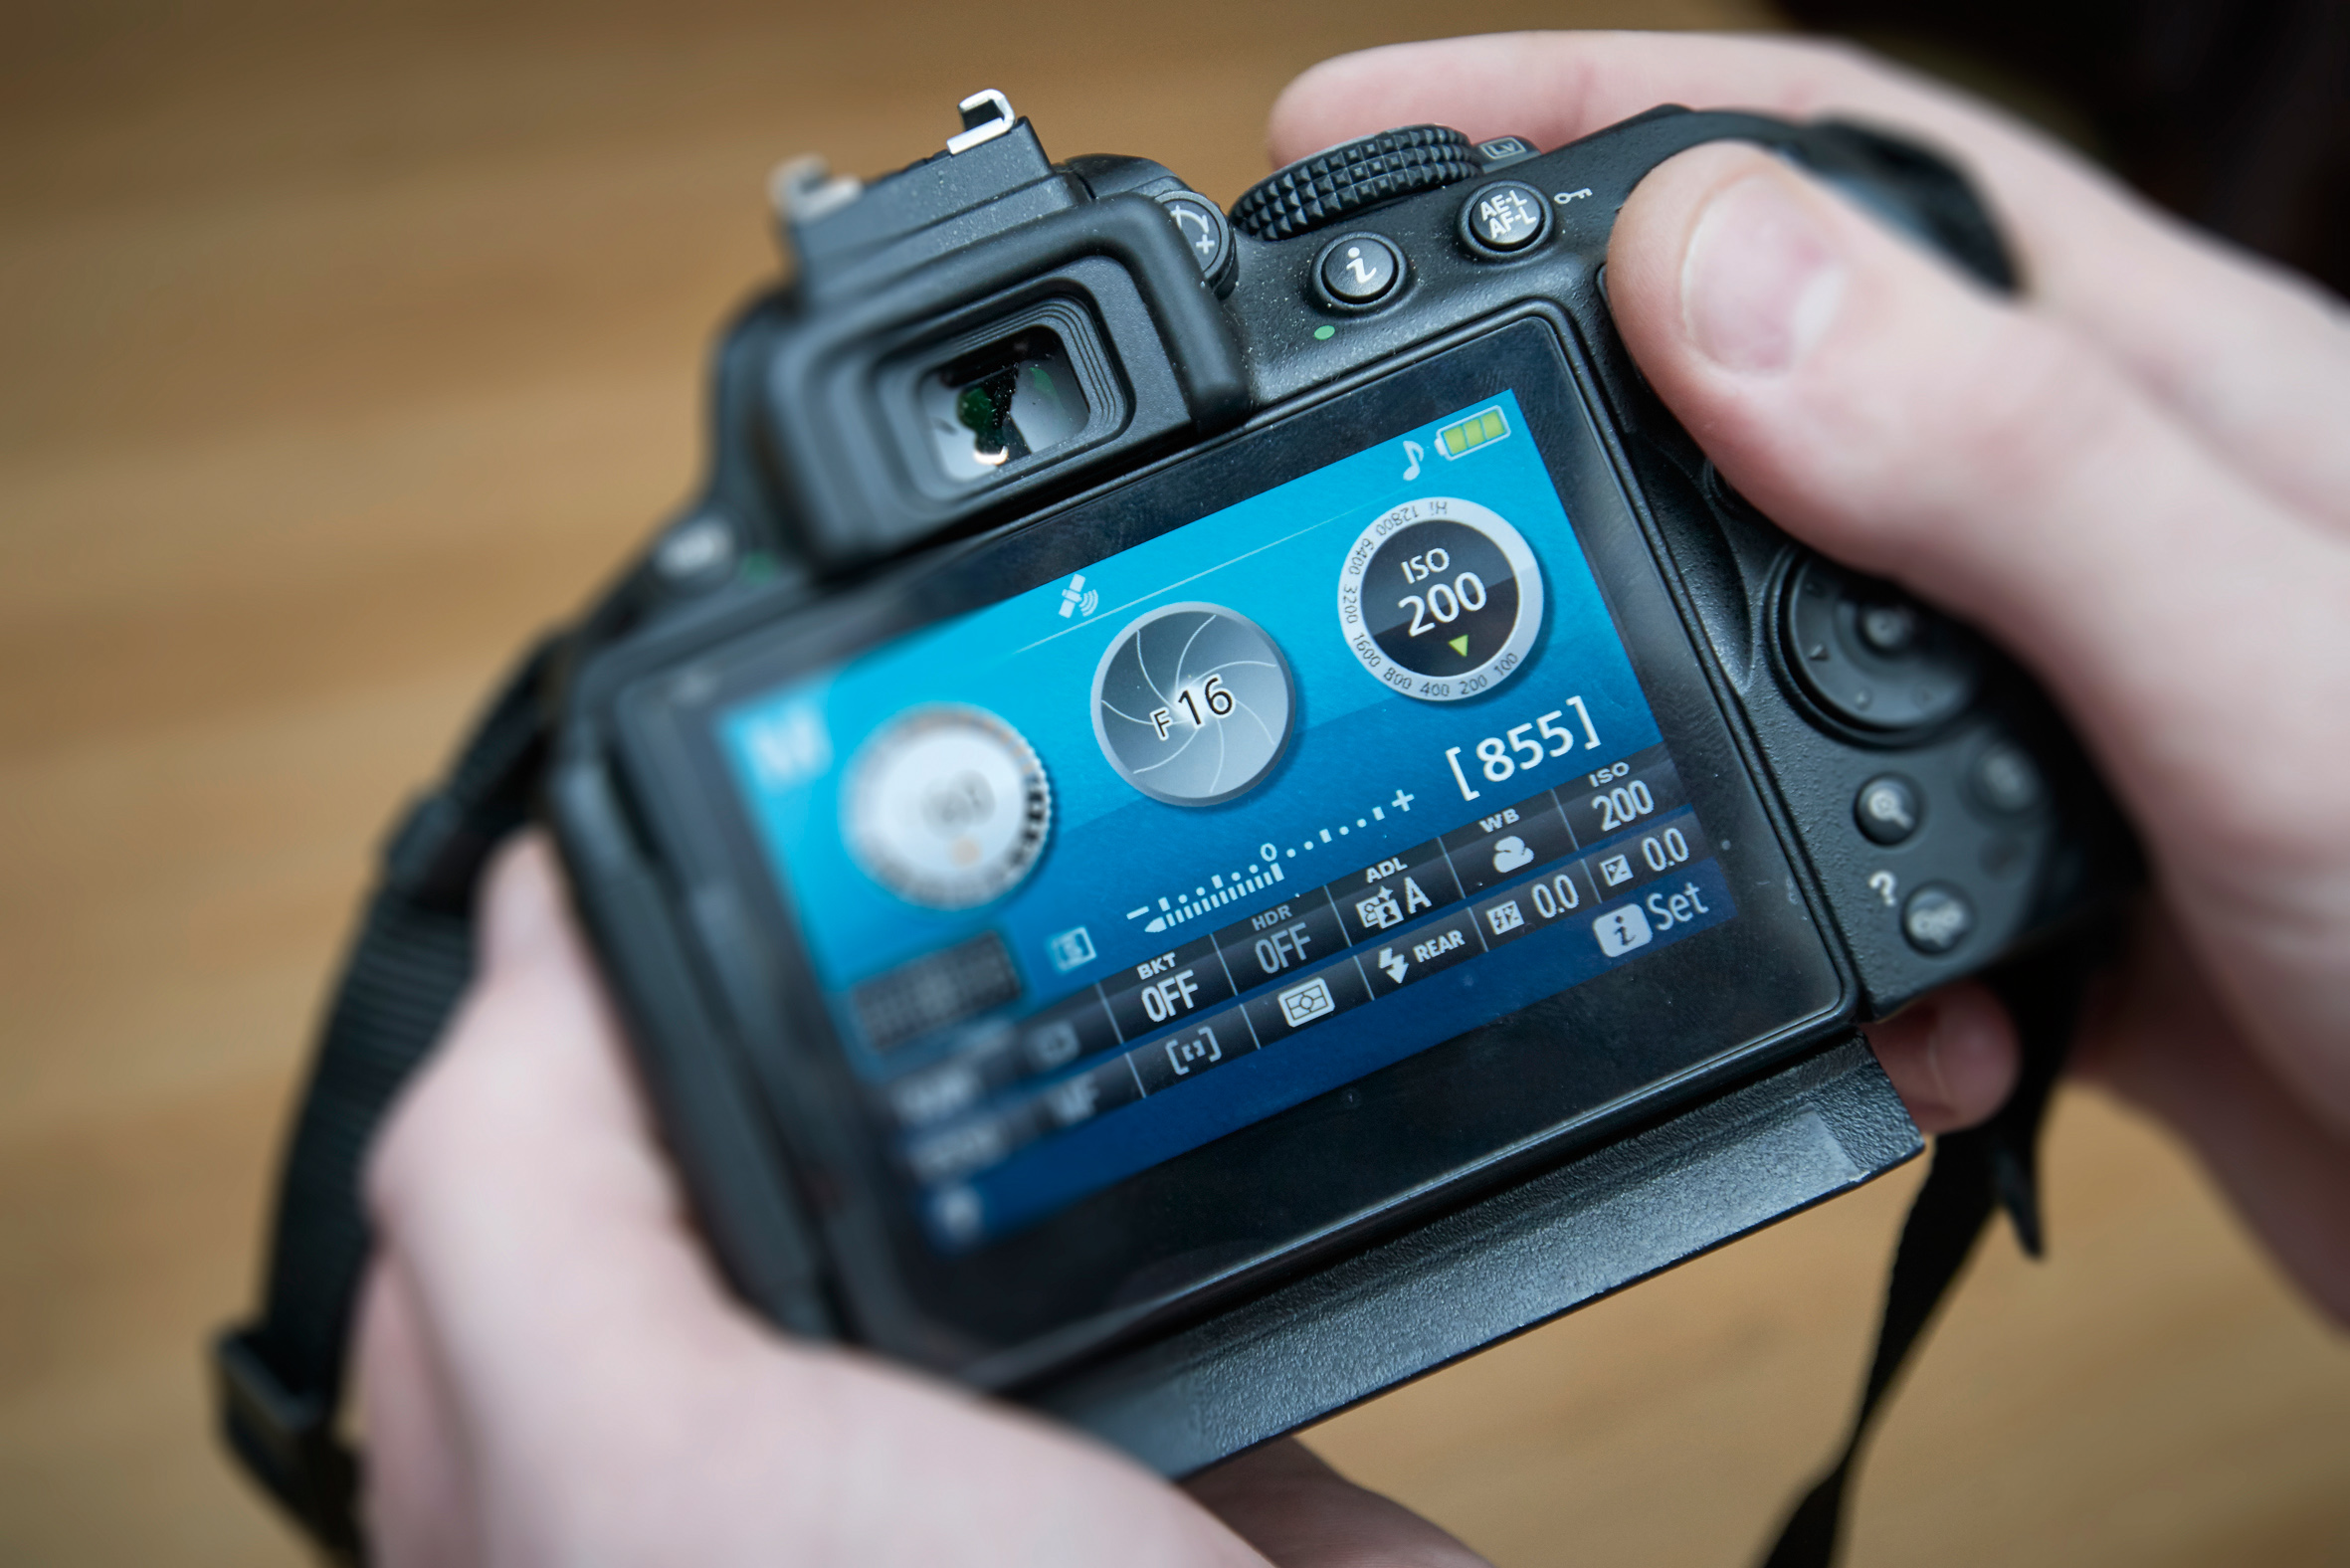
Switch to Aperture Priority mode, as this will enable you to manually set a specific aperture. For small apertures, dial in large f-numbers, such as f/16 and f/22.
Avoid the highest f-numbers though, as this will lead to soft pictures as a result of diffraction (where the light is bent out of shape by the aperture blades in the lens).
If you can't get everything you want sharp at a single aperture setting, try using the focus stacking technique in Photoshop to increase the depth of field.
Get daily insight, inspiration and deals in your inbox
Sign up for breaking news, reviews, opinion, top tech deals, and more.
- Learn more: 10 reasons why your photos are blurry
Tip 3. Using depth of field preview
The image you see through an optical viewfinder is always shown at the largest aperture available on the lens. Although this gives the brightest available picture, it makes it impossible to judge the depth of field at smaller aperture settings.
To be able to see what will look sharp and what will look blurred, press your camera's depth of field preview button.
This will stop down the lens to what's known as the working aperture. The image will get darker, so you'll need to let your eyes become accustomed to the change.
Depth of field preview also works in Live View. When combined with the Live View magnification control that allows you to zoom in and check focus on specific areas of the image, it becomes even more useful than checking DOF through the viewfinder.
Tip 4. Parallel camera trick
To make the most of what little depth of field there is, position your DSLR so that the back of the camera is parallel with the subject.
This is especially important when you're shooting frame-filling shots of flat subjects with strong patterns, such as leaf or feather. If part of the image is blurred it will ruin the impact of the photo.
Tip 5. Break the rules

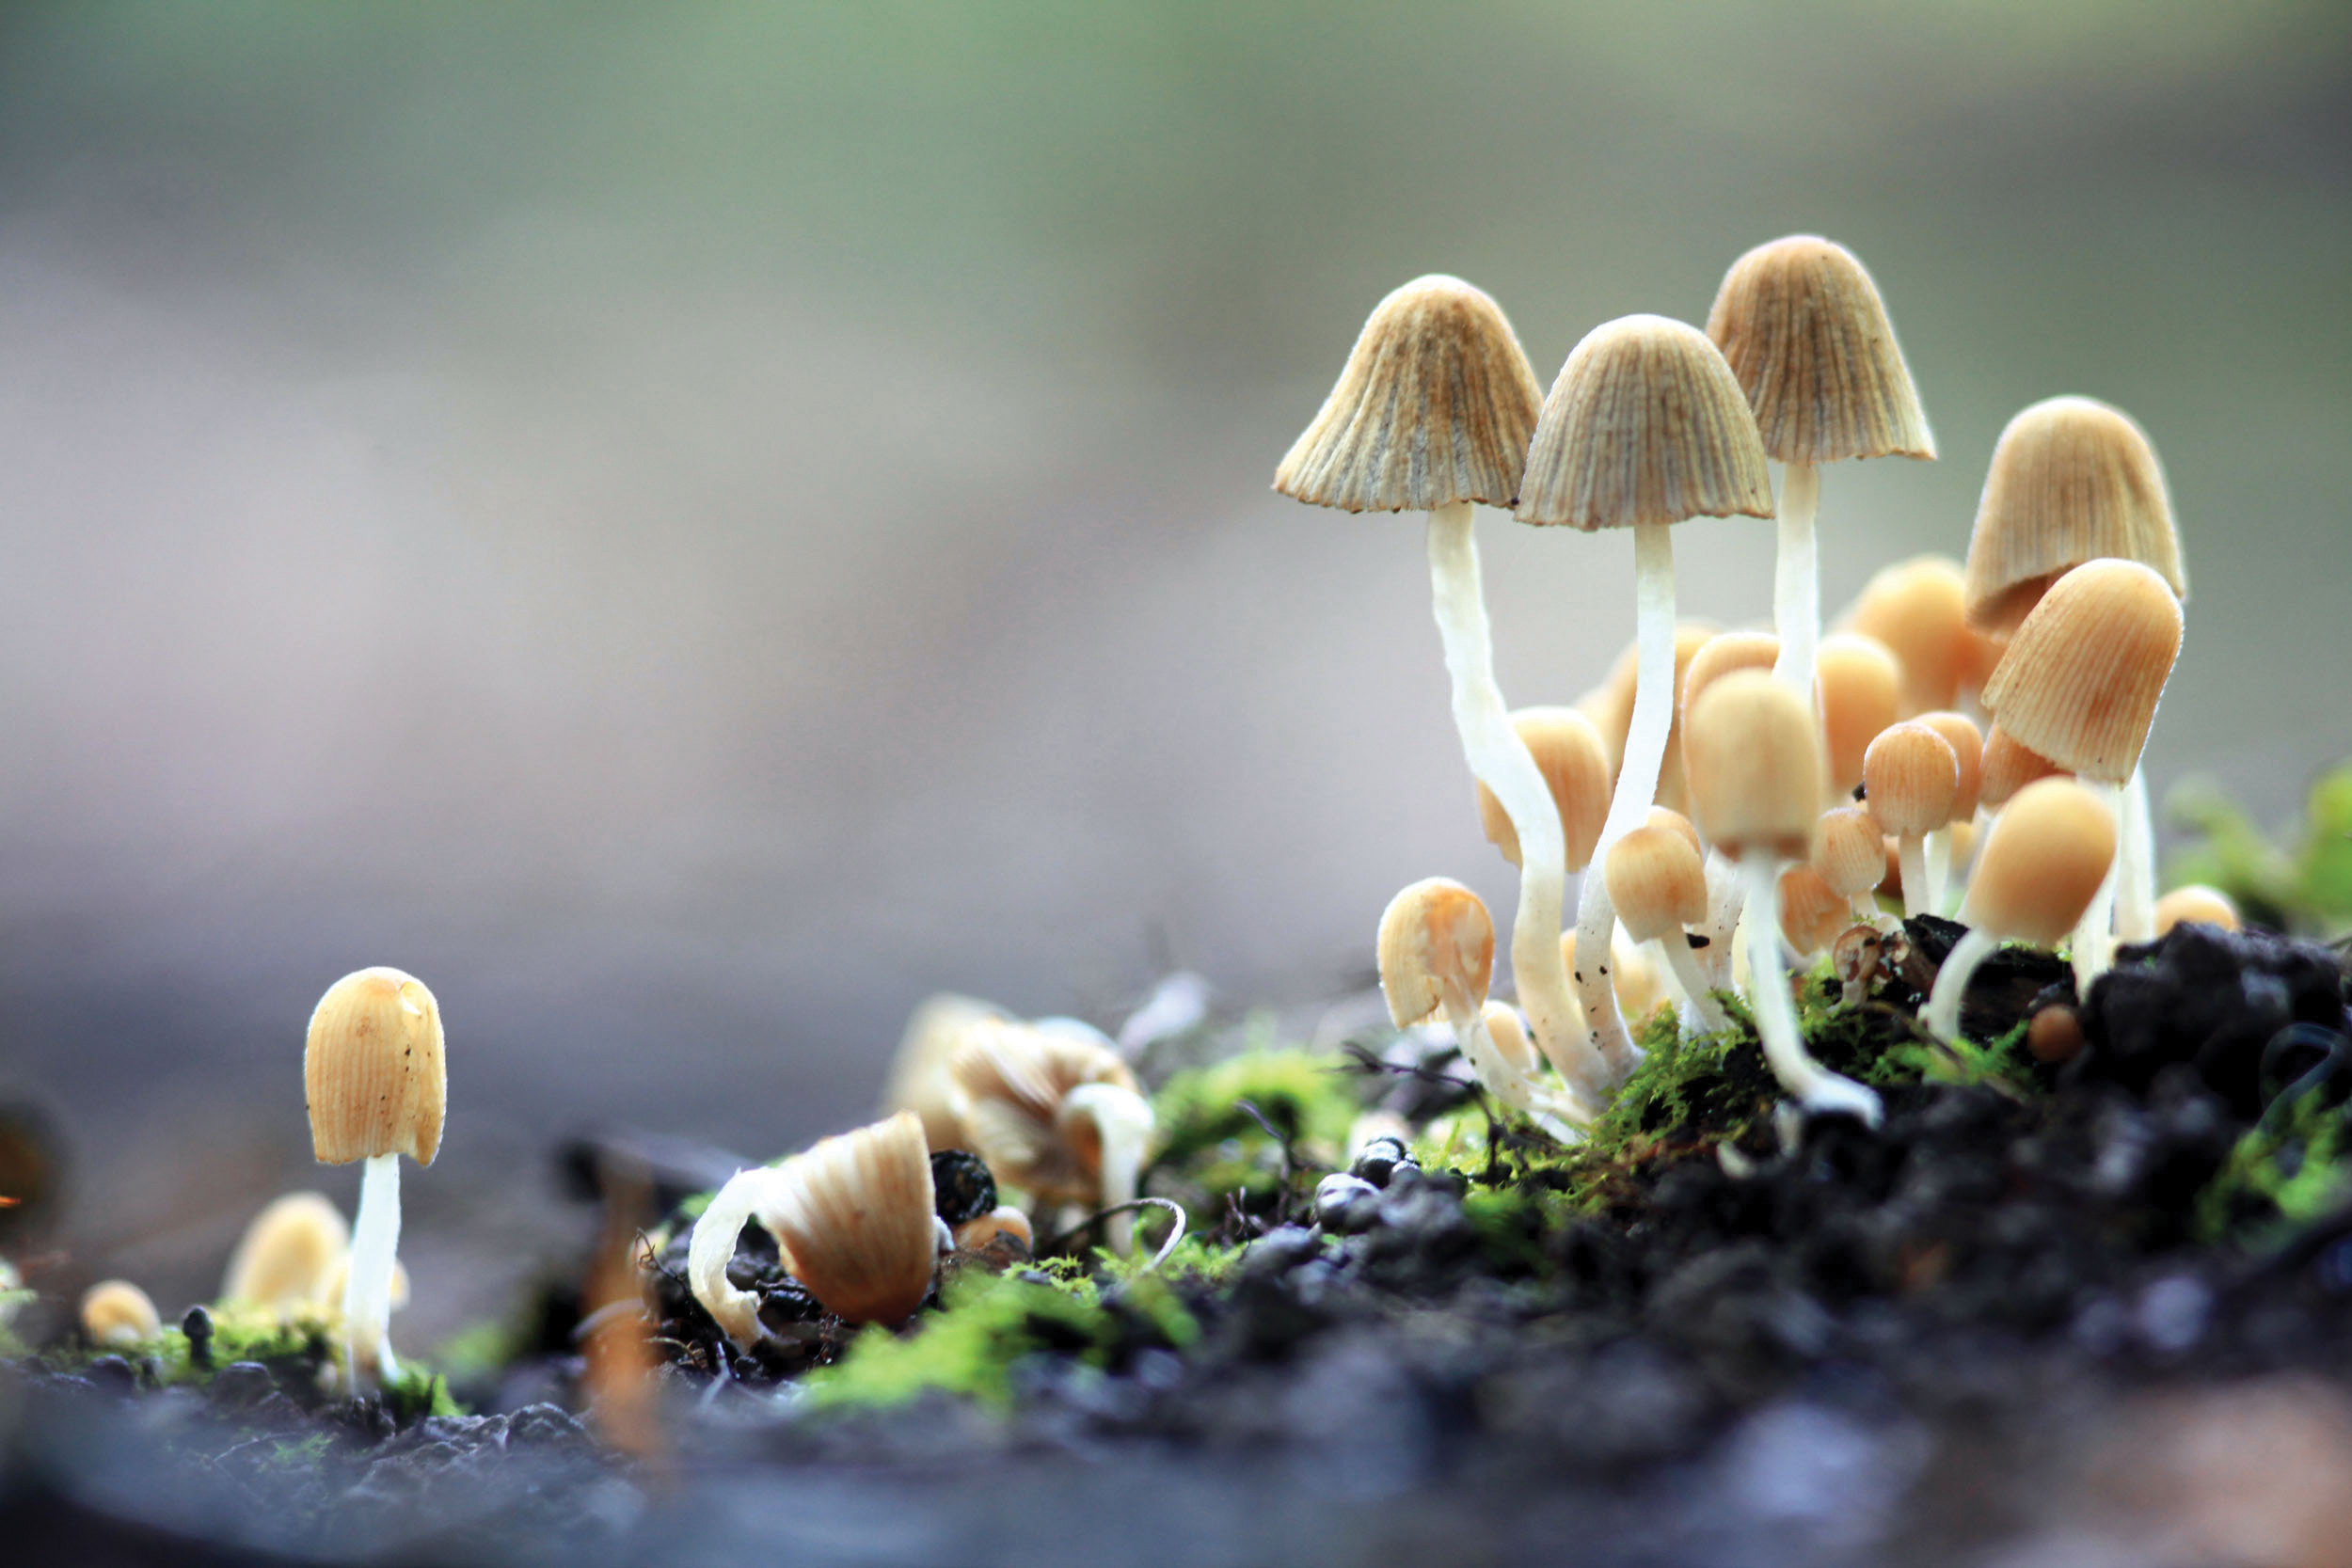
You don't have to use small apertures to make an impact with macro photography - using the largest apertures available on your lens is just as an effective technique.
You'll need to be spot-on with your focusing though, as the wafer-thin depth of field leaves little room for error.
Using wide apertures and selective focusing to sandwich a sharp subject between a blurred foreground and background is a popular food photography technique, while completely defocusing a lens can lead to abstract blurs and beautiful bokeh - a trick that's often used in contemporary flower photography.
Tip 6. Sharper photos

Small apertures reduce the amount of light passing through the lens, and this can lead to slow shutter speeds and long exposure times.
Any slight movement - even the vibration caused by the mirror moving inside the camera - will increase the risk of blurred pictures.
To combat this, activate your camera's Mirror Lock-up function, or shoot using Live View (where the mirror is automatically locked up) and trigger the shutter using a remote release or the camera's self-timer.
Increase the ISO to get a faster shutter speed if necessary, although you'll get the cleanest looking shots below ISO 1600.
Tip 7. Make a DIY a reflector
It can be challenging to ensure a small subject is evenly lit, particularly if you're using a shorter macro lens to take life-size images - the camera will need to be very close to the subject and this can limit your creative lighting options.
A simple reflector goes a long way to solving this problem. You can make your own DIY reflector using a piece of aluminium foil: screw into into a ball and then flatten it out again to create a more diffuse quality of light.
Position it on the shadow side of a subject to reveal previously hidden details.
Tip 8. Using longer macro lenses
Macro lenses with longer focal lengths offer the same 1:1 magnification as those with shorter focal lengths, but do so at a greater distance from the subject.
Because you don't need to be as close, you get more room to position a flashgun or other light source near to the subject.
The extended working room also makes longer macro lenses a better choice for bug and insect photography, as you're less likely to disturb them.
- Gear guide: The best macro lenses for Canon and Nikon DSLRs
Tip 9. Start early

If you're planning on doing some outdoor macro photography, set your alarm clock. It's worth getting up early, not just because that's when the light is invariably at is best, but because wind is usually at its weakest at this time of day.
Wind is the enemy of the garden photographer, as the combination of a slight breeze and the slow shutter speeds typically required for close-ups can lead to blurred images of flowers, plants, spider webs and other delicate objects.
For long-stemmed flowers and plants try using a specialist macro support . These are essentially clamps on the end of a small stand that can be used to hold a subject in place.
A DIY solution is to tie the stem to a cane that you've wedged into the ground next to the plant.
Tip 10. Create your own macro backgrounds
The quality of the background can make or break a macro photo. Macro lenses with longer focal lengths will enable you to restrict what makes it into the background of a picture, but distracting colors and out-of-focus highlights might still be unavoidable.
Build up your own collection of backgrounds that you can substitute when necessary.
Sheets of colored card, matte prints of blurred natural backgrounds you've previously taken - hell, even an item of clothing could provide a soft, even background that helps the subject stand out.
Tip 11. Make a macro home studio

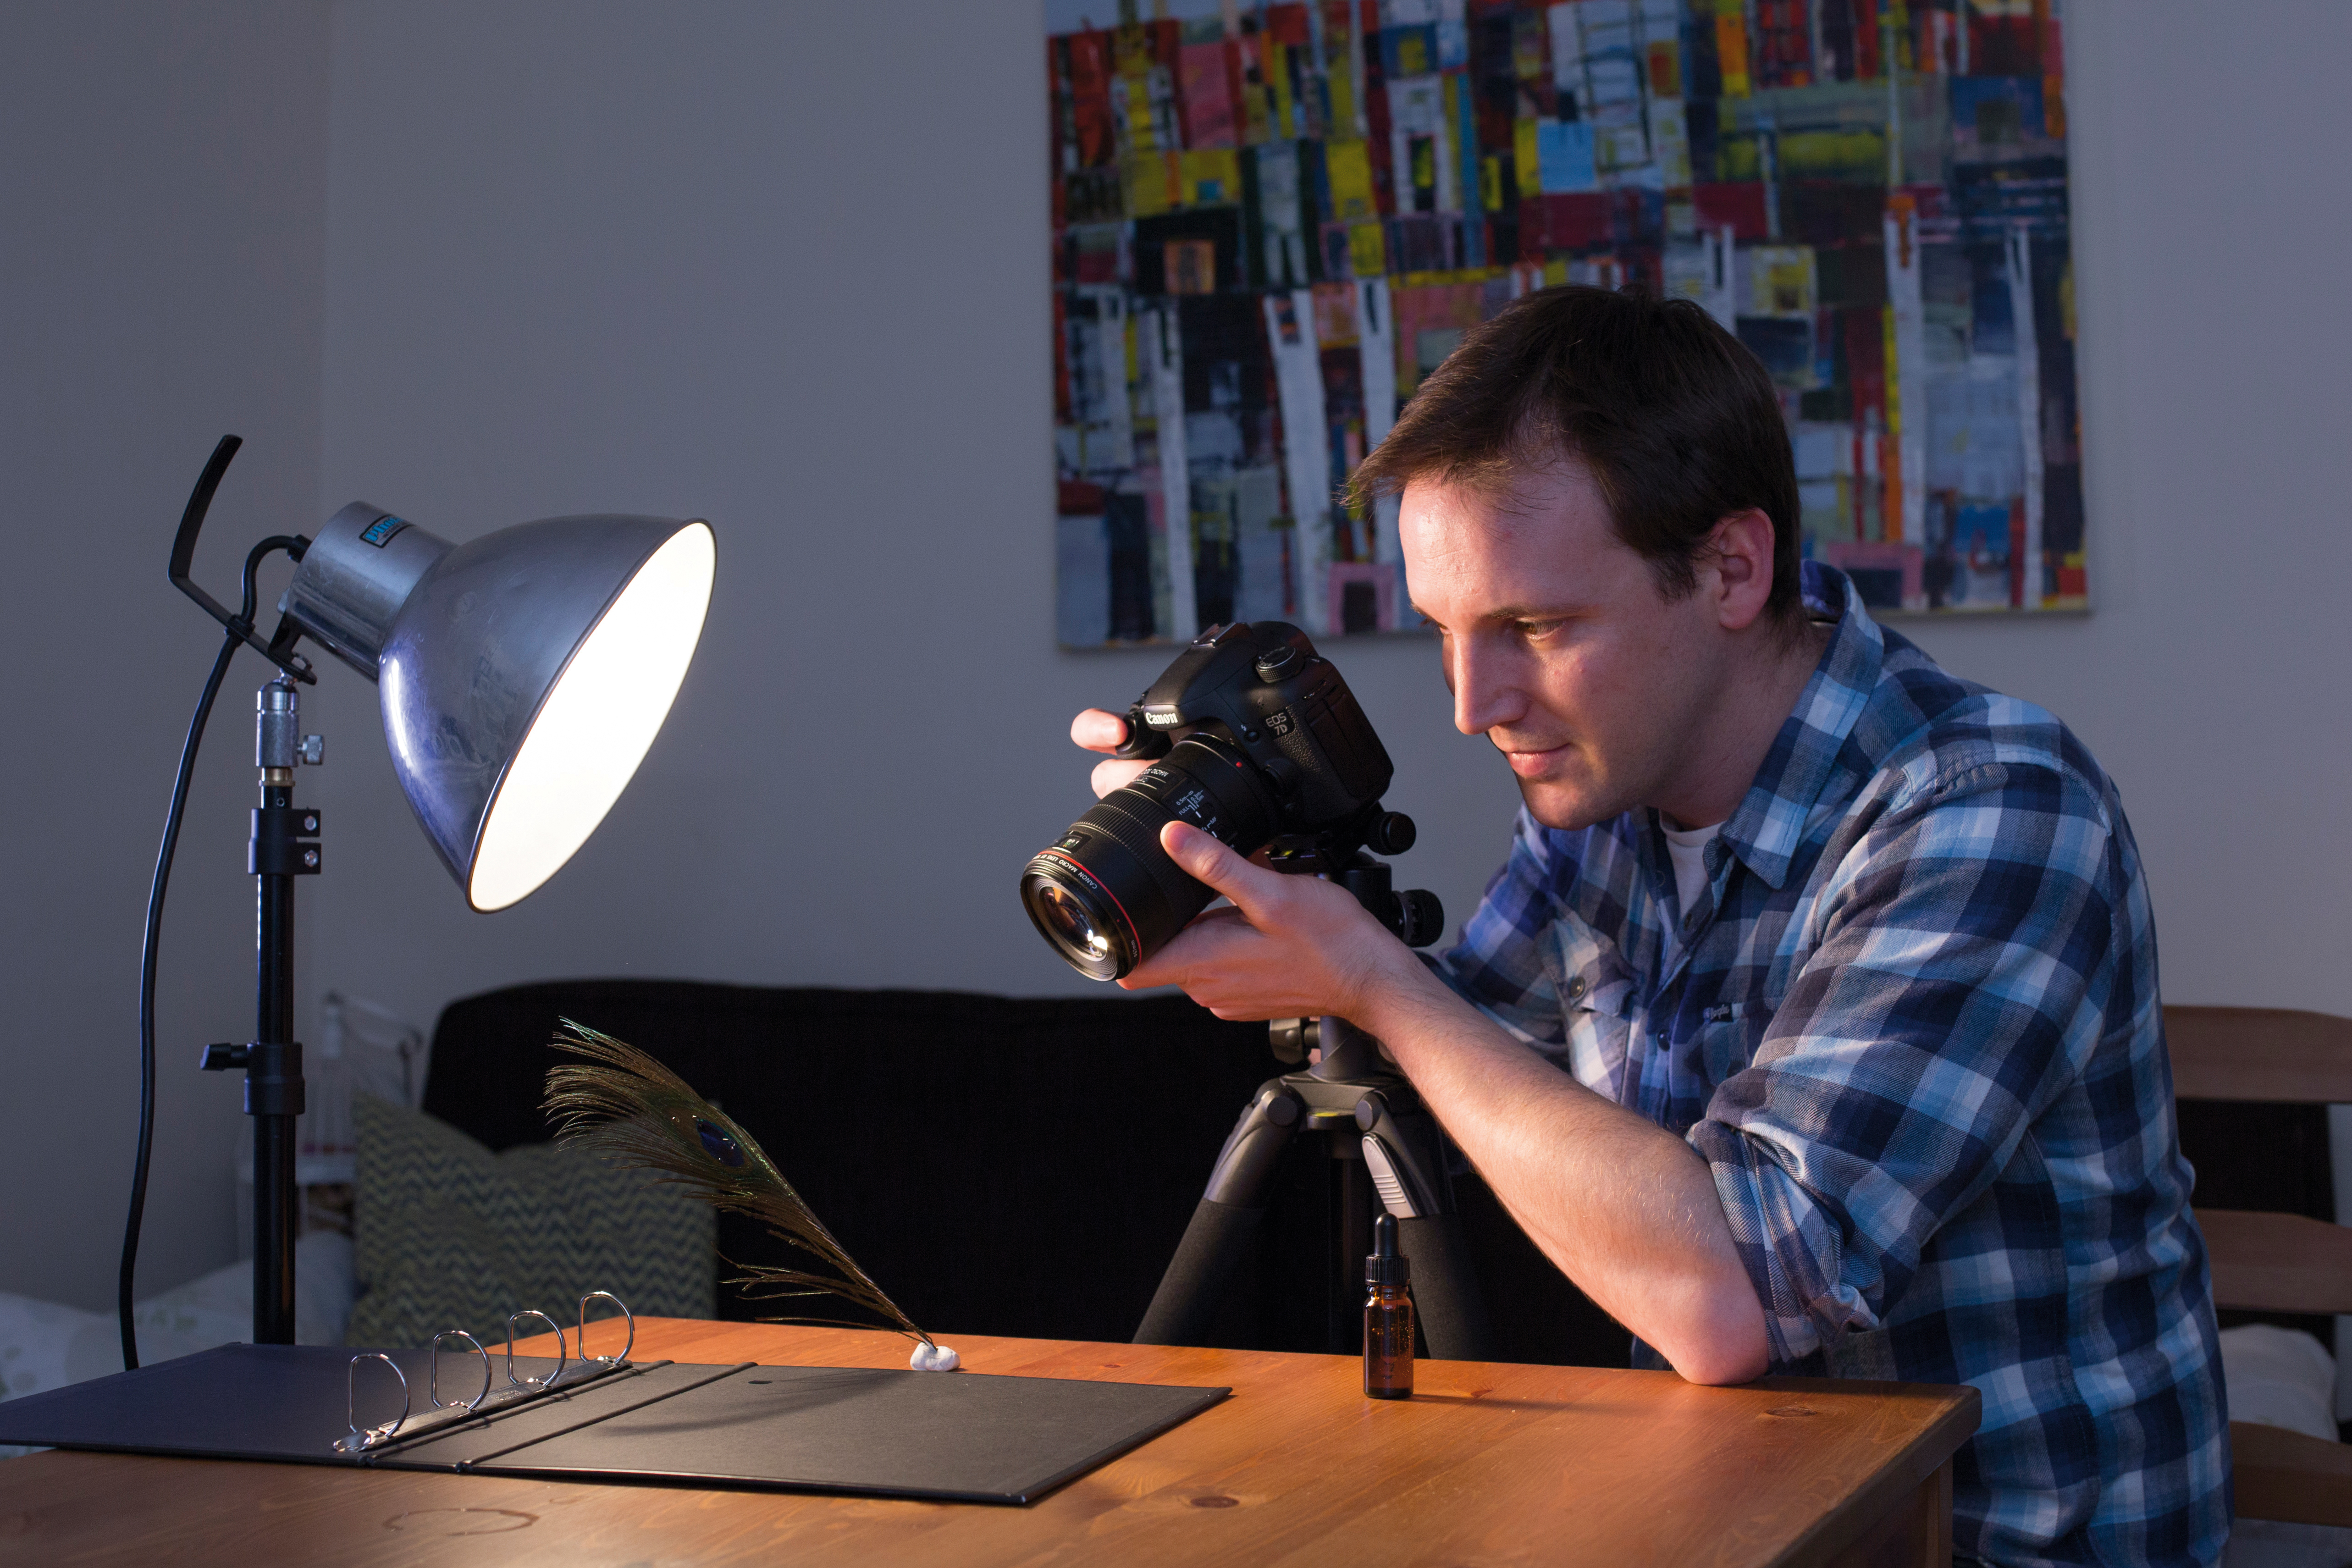
One of the (many) appealing things about indoor macro photography is that it doesn't require a great deal of space. All you really need is a small area of table, kitchen worktop or floor, plus a tripod that can get you close to that surface.
Current page: Macro photography techniques, tips and tricks
Prev Page Landscape photography techniques, tips and tricks Next Page Wildlife photography techniques, tips and tricksPhil Hall is an experienced writer and editor having worked on some of the largest photography magazines in the UK, and now edit the photography channel of TechRadar, the UK's biggest tech website and one of the largest in the world. He has also worked on numerous commercial projects, including working with manufacturers like Nikon and Fujifilm on bespoke printed and online camera guides, as well as writing technique blogs and copy for the John Lewis Technology guide.
