77 photography tips and tricks for taking pictures of anything
There's a lot to sink your teeth into
Flash photography techniques, tips and tricks
Tip 1. Using fill-flash in daylight

Flash isn't just for studio and night photography - it's also useful for outdoor photography on sunny days, particularly when it comes to portraits.
Rather than asking your portrait sitter to face into the sun, which will result in them screwing up their face and squinting, get them to face in the opposite direction. With the sun now behind them, simply use a burst of flash to brighten up their face.
The camera will do a decent job of creating a balanced exposure. However, if the ambient light requires a shutter speed that's faster than the flash sync speed, you may need to use a smaller aperture, fit an ND filter on the lens or activate your flashgun's high speed sync function.
Tip 2. How to use TTL flash compensation
If you're trying to subtly blend a flash exposure with an ambient light exposure, use you the flash exposure compensation control offered by your camera or compatible flashgun.
Negative flash exposure compensation will underexpose the flash - try a subtle amount of 1/3 or 2/3 of a stop to start with. Then take a test shot and increase or decrease this amount to taste.
Remember to reset flash exposure compensation once you've taken the photo, as it's all-too easy to end up dialling in compensation on top of compensation!
Tip 3. Flash exposure lock
Flash metering can underexpose or overexpose a photo in the same way that normal metering can. If someone's wearing dark clothes and in front of a dark background, then the flash exposure may be automatically increased in order to brighten things up. This will cause skin to be overexposed.
Get daily insight, inspiration and deals in your inbox
Sign up for breaking news, reviews, opinion, top tech deals, and more.
The same is true of bright or reflective backgrounds. The flash meter will reduce the flash exposure to prevent a picture being overexposed, but this means that people in the foreground will appear too dark in the photo.
You can also use the flash exposure compensation function to correct this, or alternatively use your DSLR's flash exposure lock button.
This enables you to take a reading off the subject rather than the background, and lock that setting in for the next shot.
Tip 4. Flash diffusers
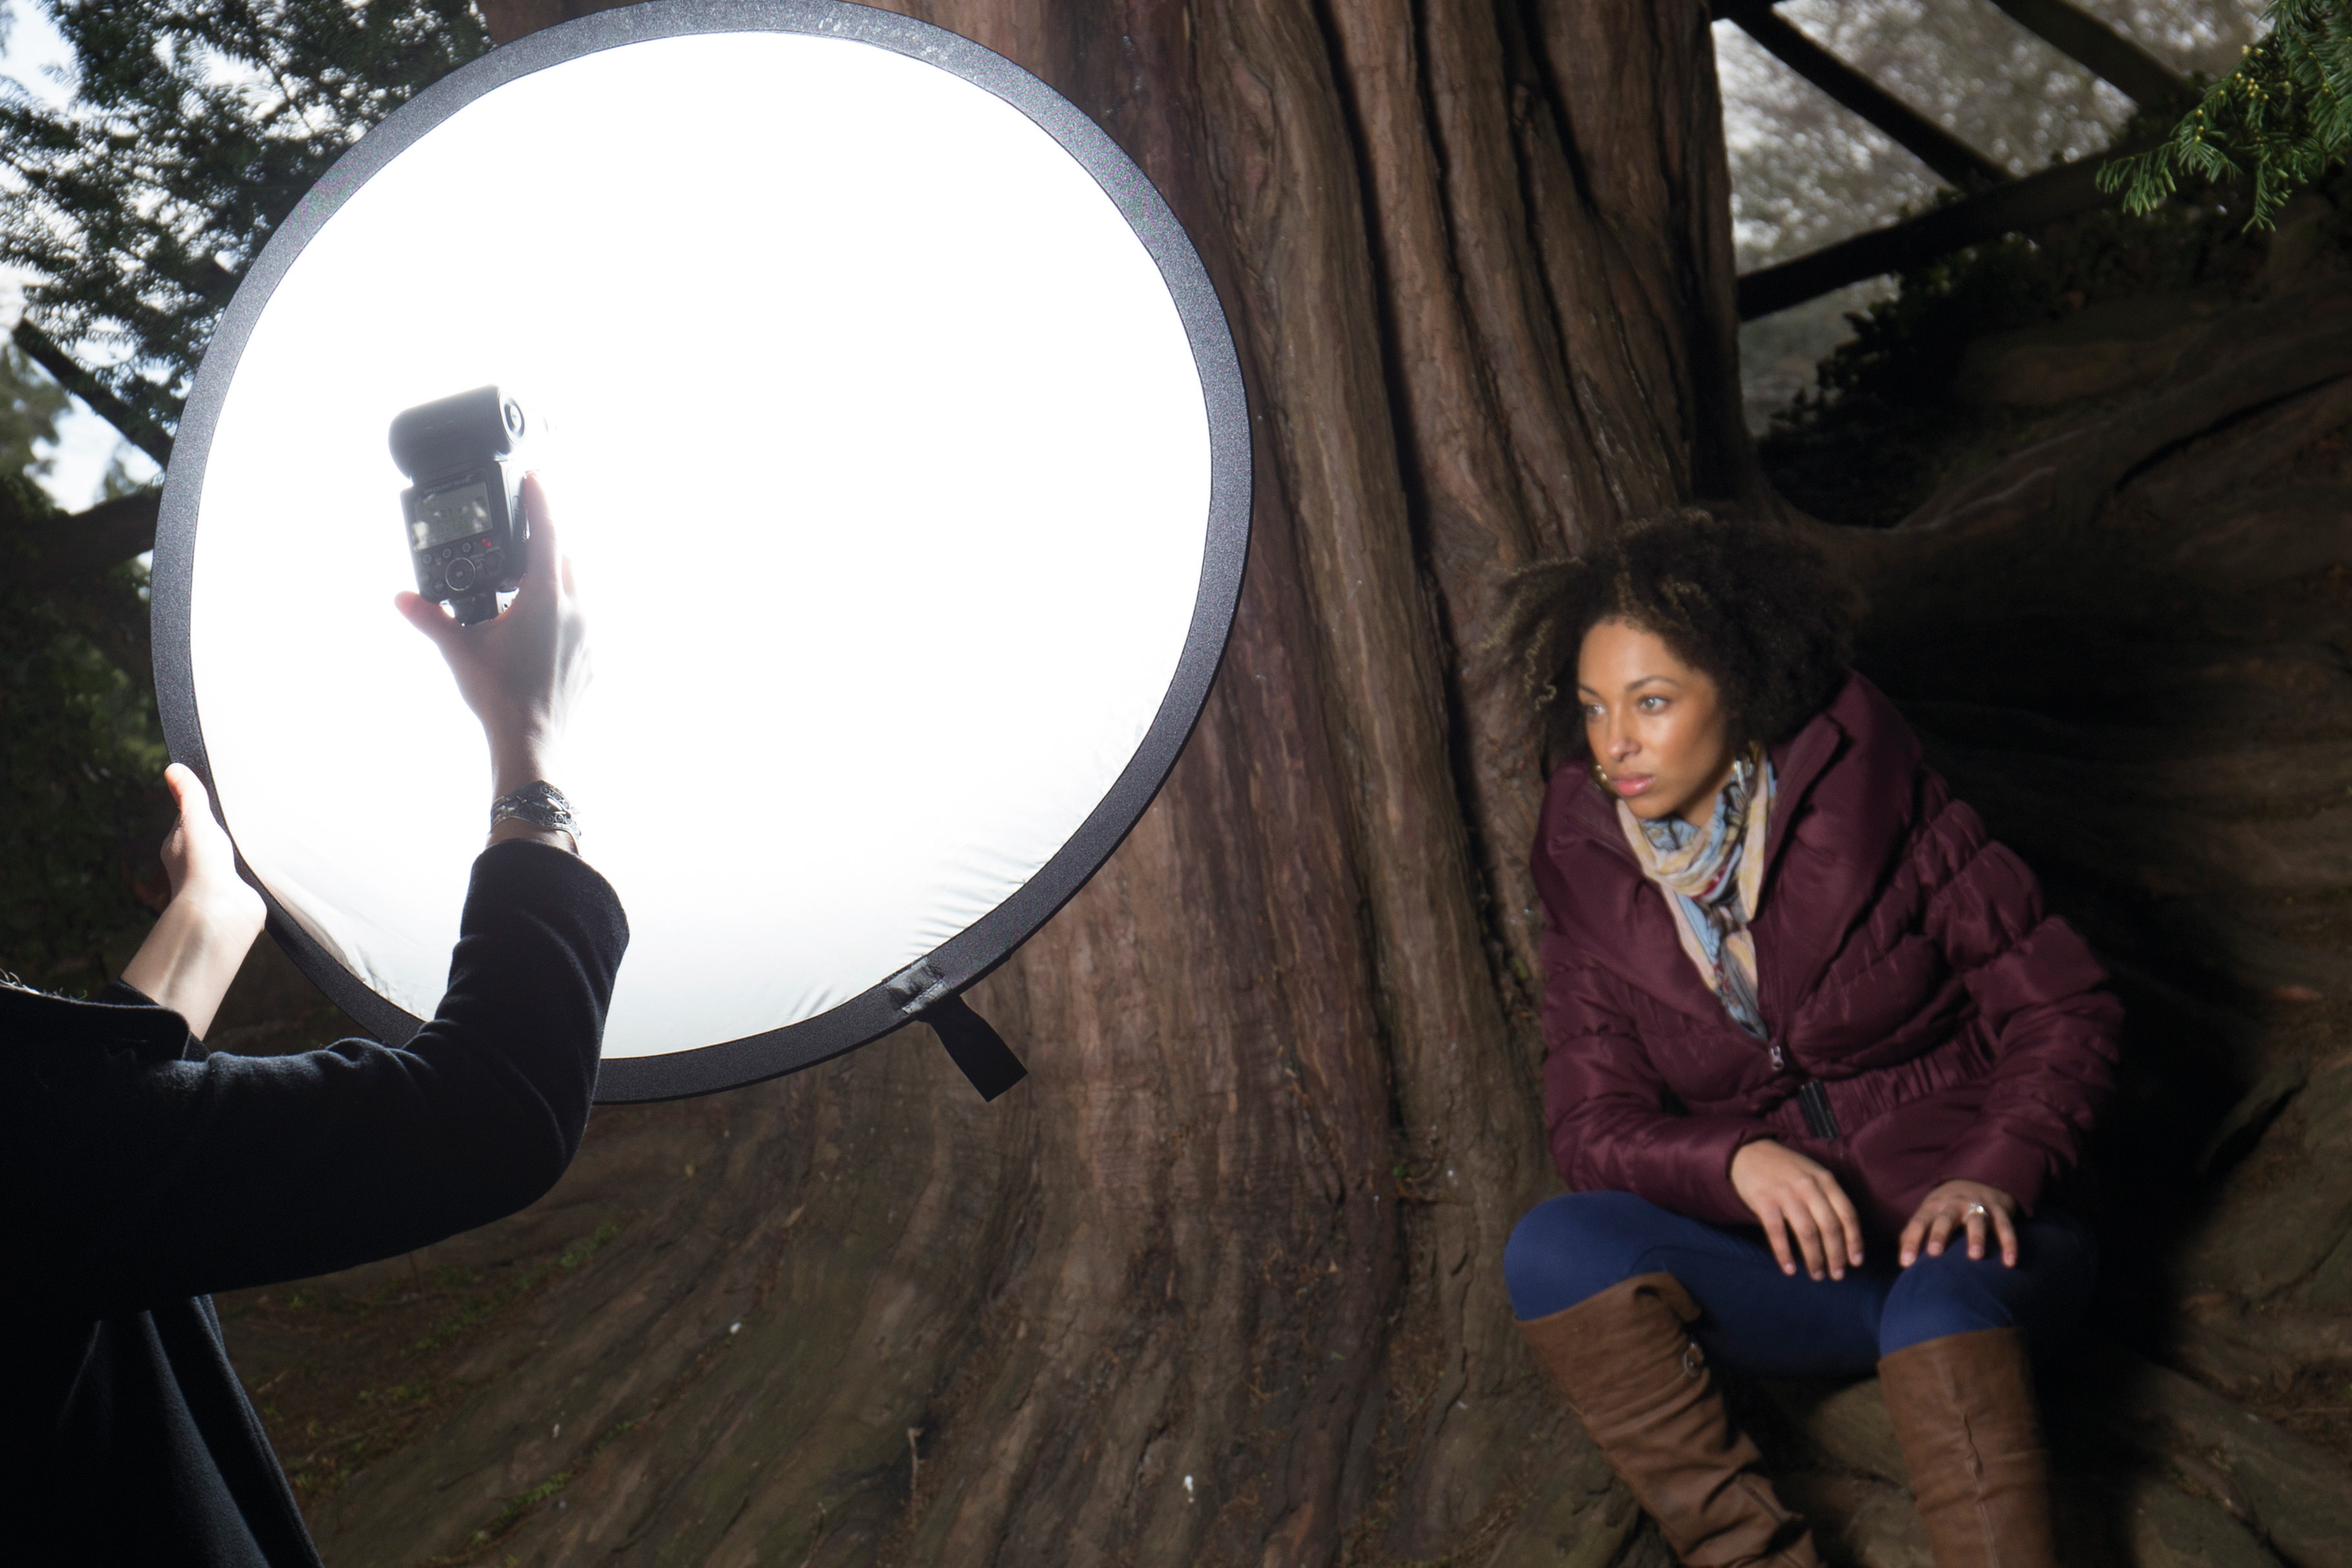
To soften the light emitted by a flash, fit a flash diffuser on the flash head. A wide range of commercial flash diffusers are available, ranging from the rigid plastic Sto-Fen Omni-Bounce to larger collapsible units like the Gary Fong Lightsphere.
Options for diffusing pop-up flash are more limited, although there are a number of DIY flash diffuser solutions - such as using a plastic milk carton to soften the light.
Tip 5. Bounce flash

Direct flash is hard and directional - shadows behind the subject will be obvious, and there's a greater risk of hotspots and red-eye when shooting portraits (although it's easy to learn how to remove red-eye in Photoshop).
For a softer, more even illumination, bounce the flash from a wall or ceiling. Most flashguns enable you to swivel and angle the flash head, although you can achieve a similar effect with a pop-up flashgun using a piece of white card held at an angle.
Bouncing the flashgun will reduce the flash's reach, and you need to bounce the light from a neutral-colored surface otherwise you'll introduce a color cast to the photo.
Tip 6. Off-camera flash
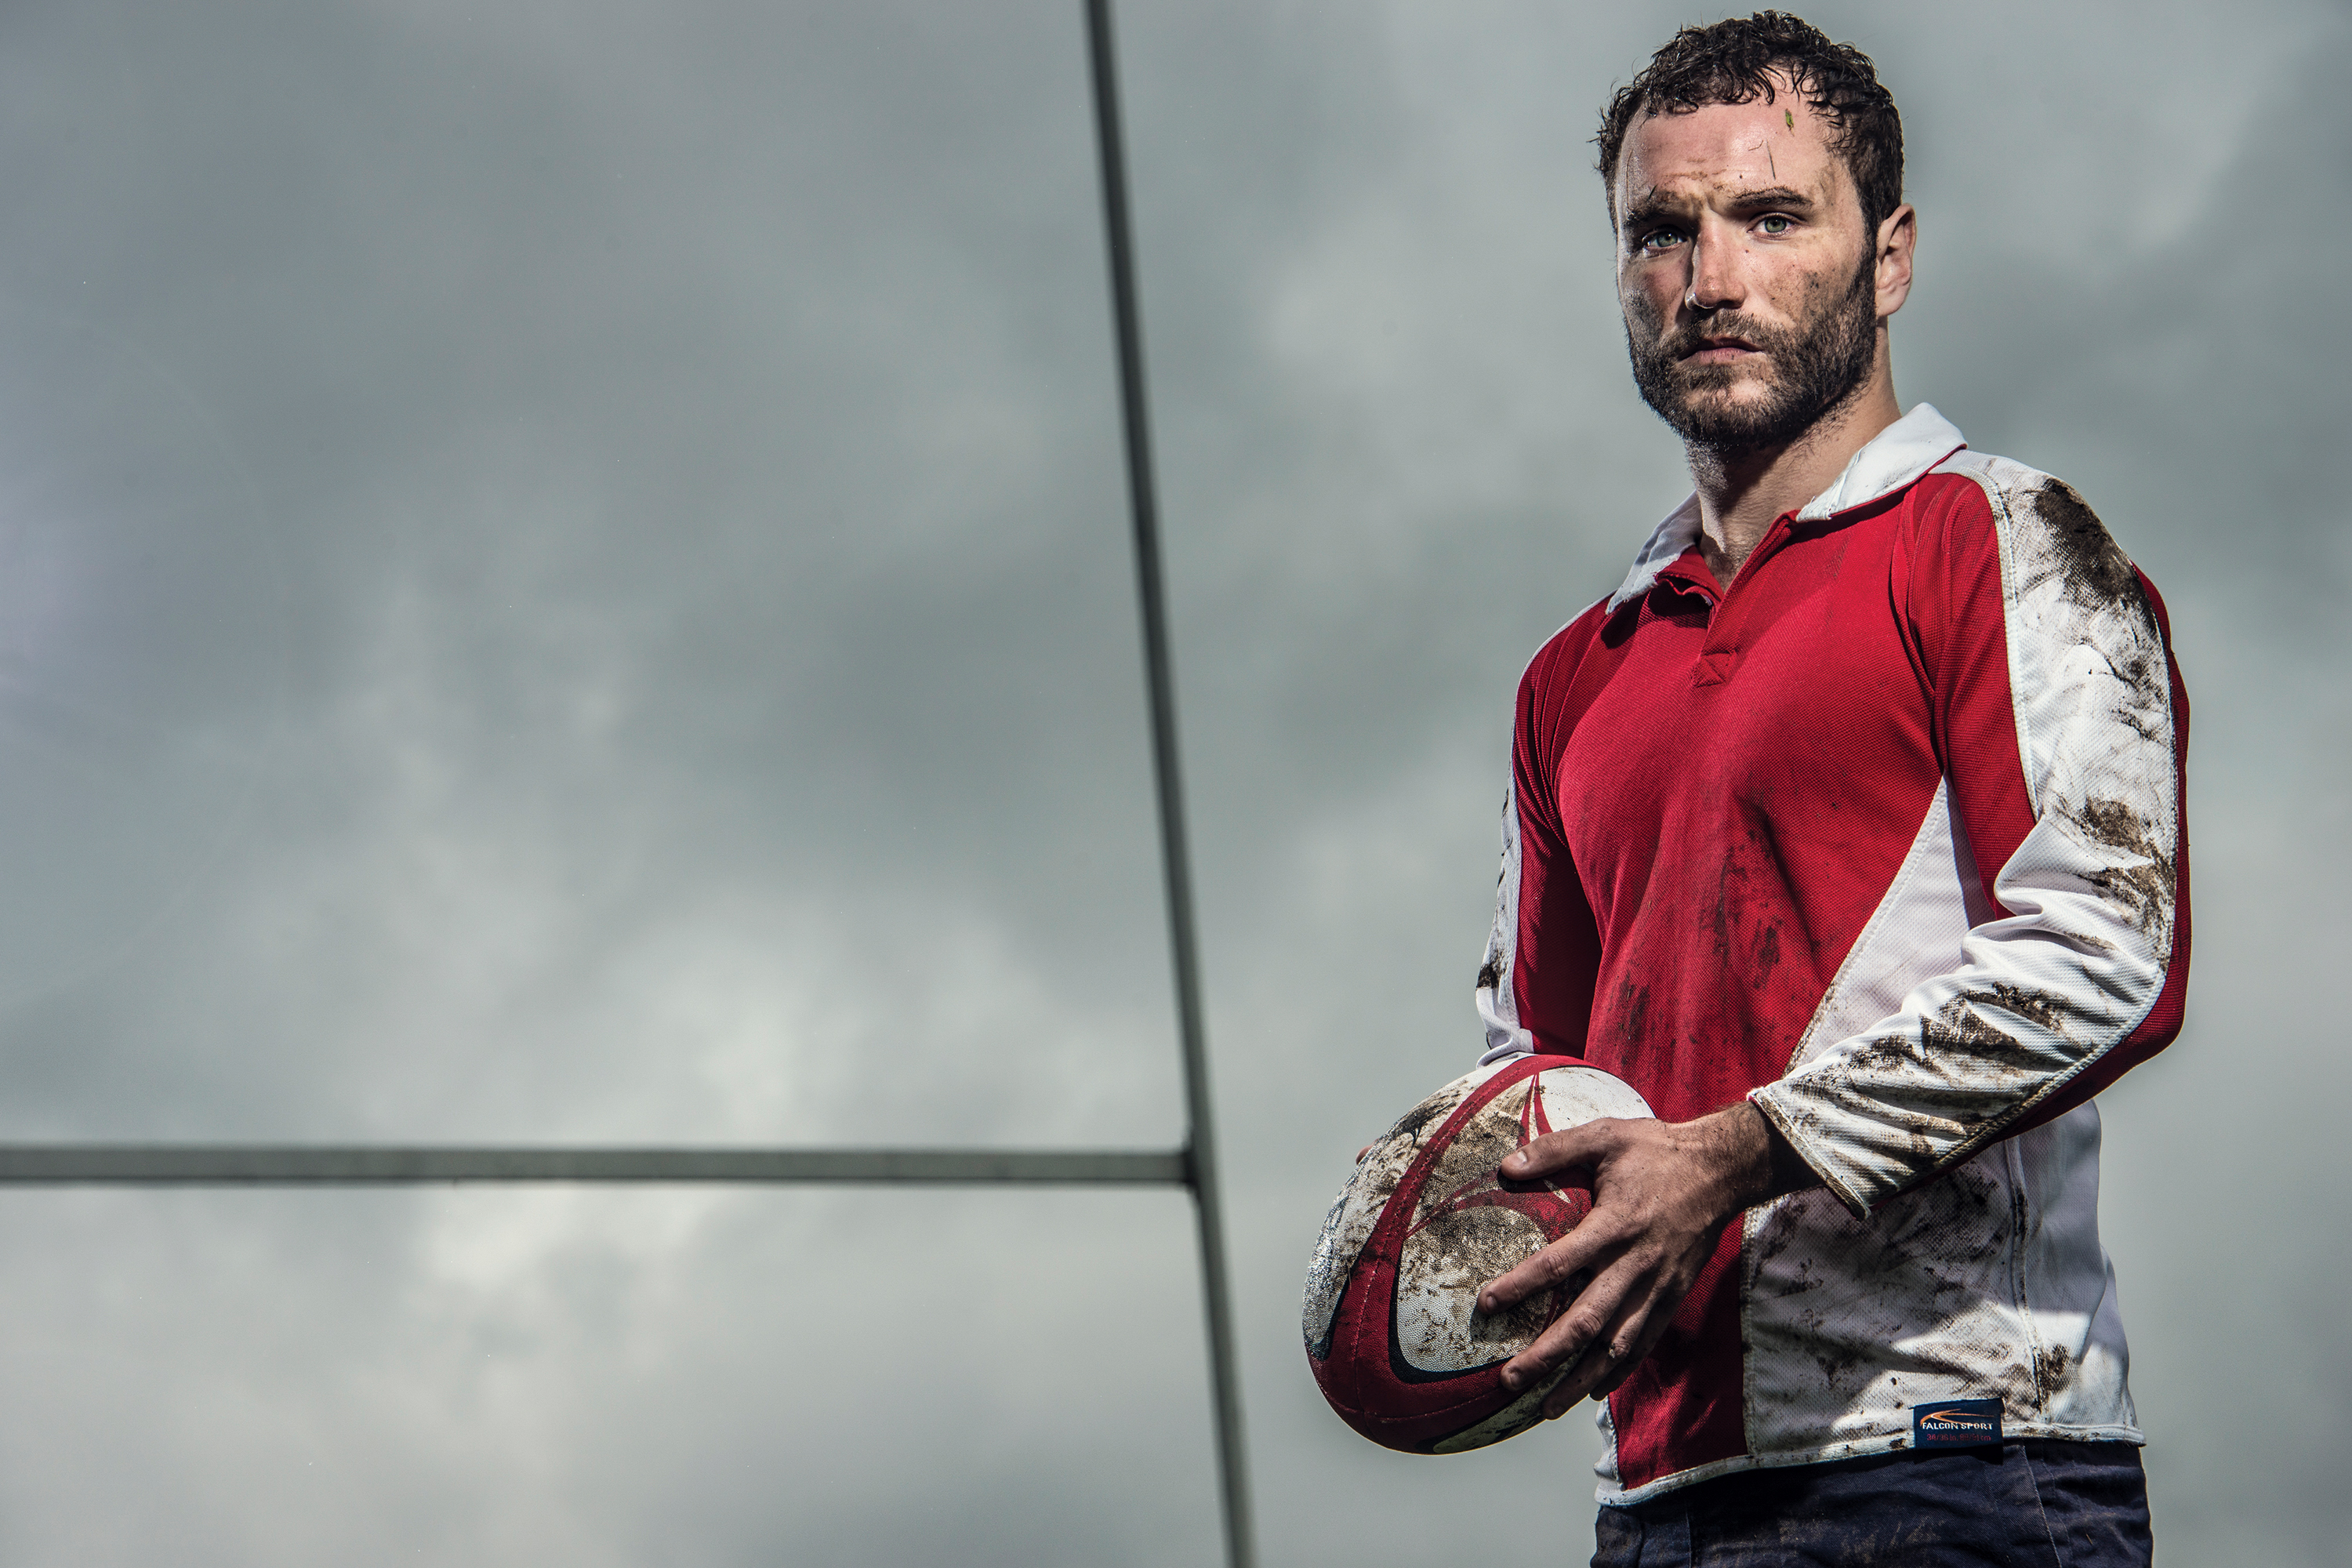
Taking a flash off camera gives you more creative lighting options. Of course, you'll need a flashgun to do this, and even then you need to consider how the camera and the flashgun will communicate.
The easiest option is to use a remote off-shoe flash cord, which screws onto both the camera hotshoe and the base of the flashgun. The reach of a typical flash cable is limited to a few feet though.
A wireless flash trigger will give you more freedom for flash placement. These are two-piece units based around a transmitter and a receiver.
More expensive RF based wireless systems enabling you to position one or more flashguns completely out of sight of the transmitter.
If your flash isn't compatible with a wireless off-camera system, try using simple, cheap flash radio triggers instead.
Tip 7. Colored gels for flash
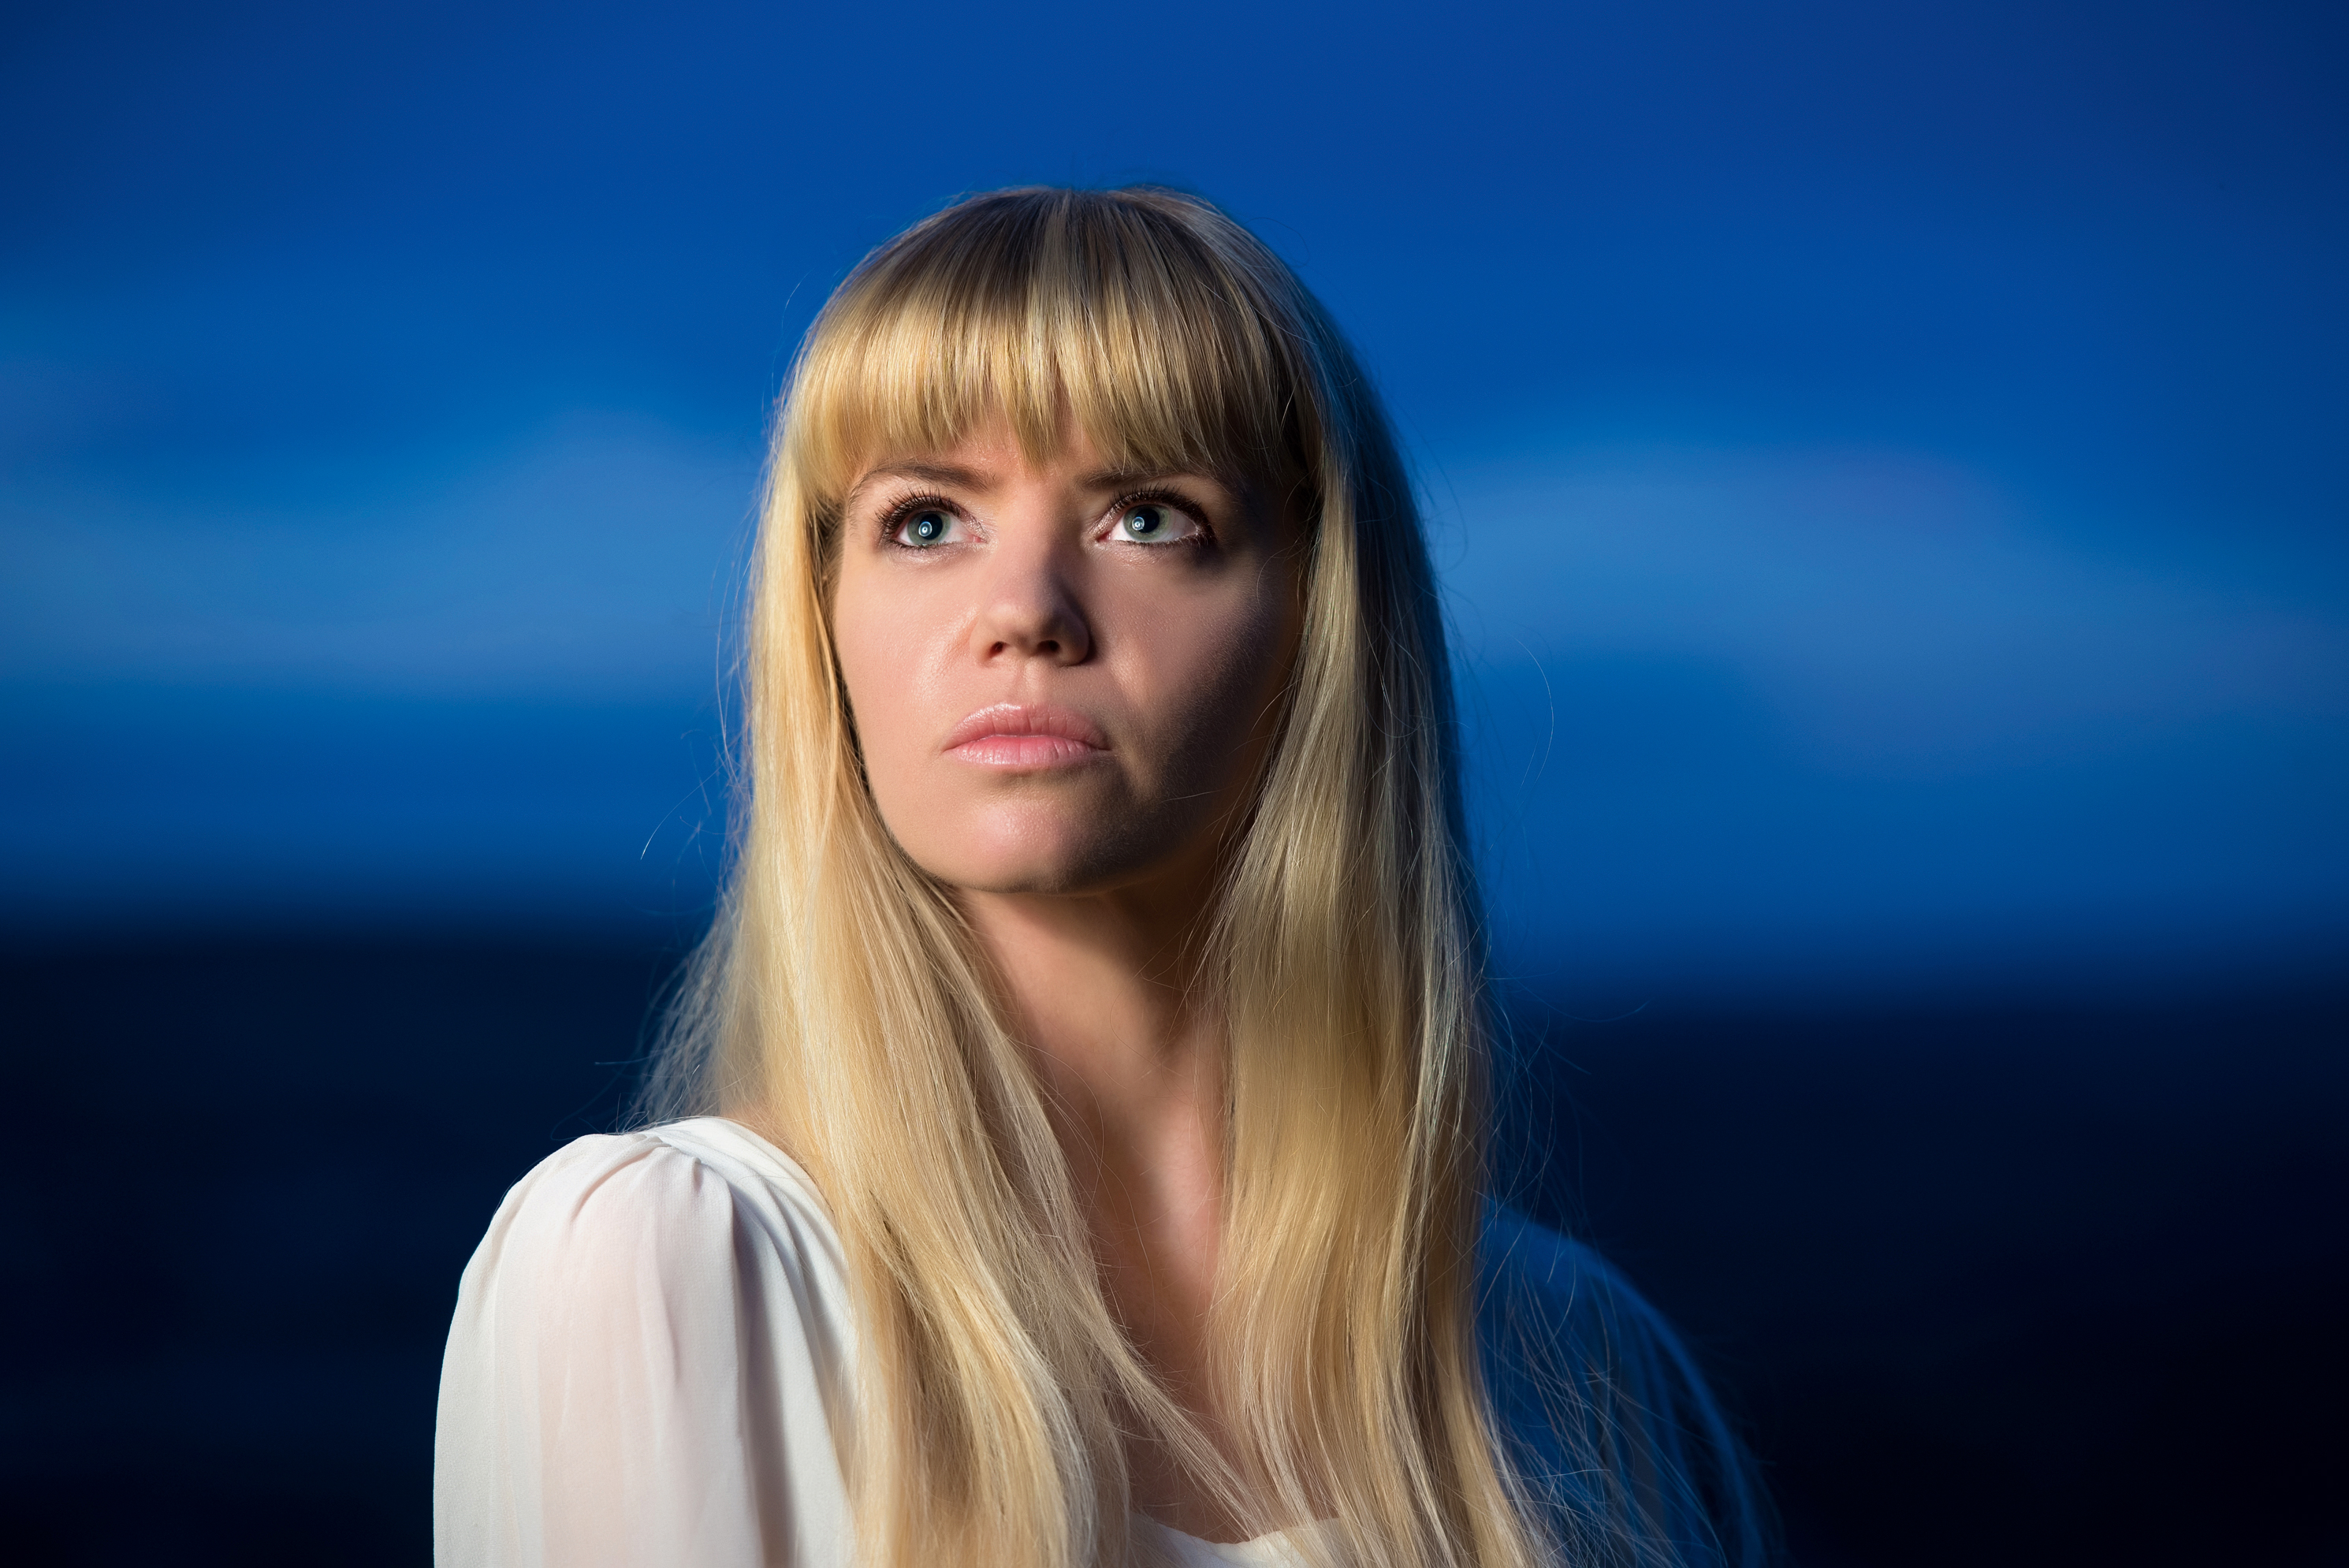
When you're carrying out flash photography in areas lit predominantly by warm light - whether that's natural warmth of sunset or the artificial glow of tungsten bulbs - the cool 'blue' light from a flash will be stand out a mile.
One way to solve this problem is to use colored gels in front of the flash head. An orange gel will add warmth, helping you blend the flash light with the ambient light. The result should then be interesting rather than obvious.
Another option is to fix mixed white balance in Photoshop, using the selective adjustment tools in Adobe Camera Raw. This way you can adjust the white balance in those areas lit by flash or by the other light sources.
Tip 8. Slow-sync flash photography
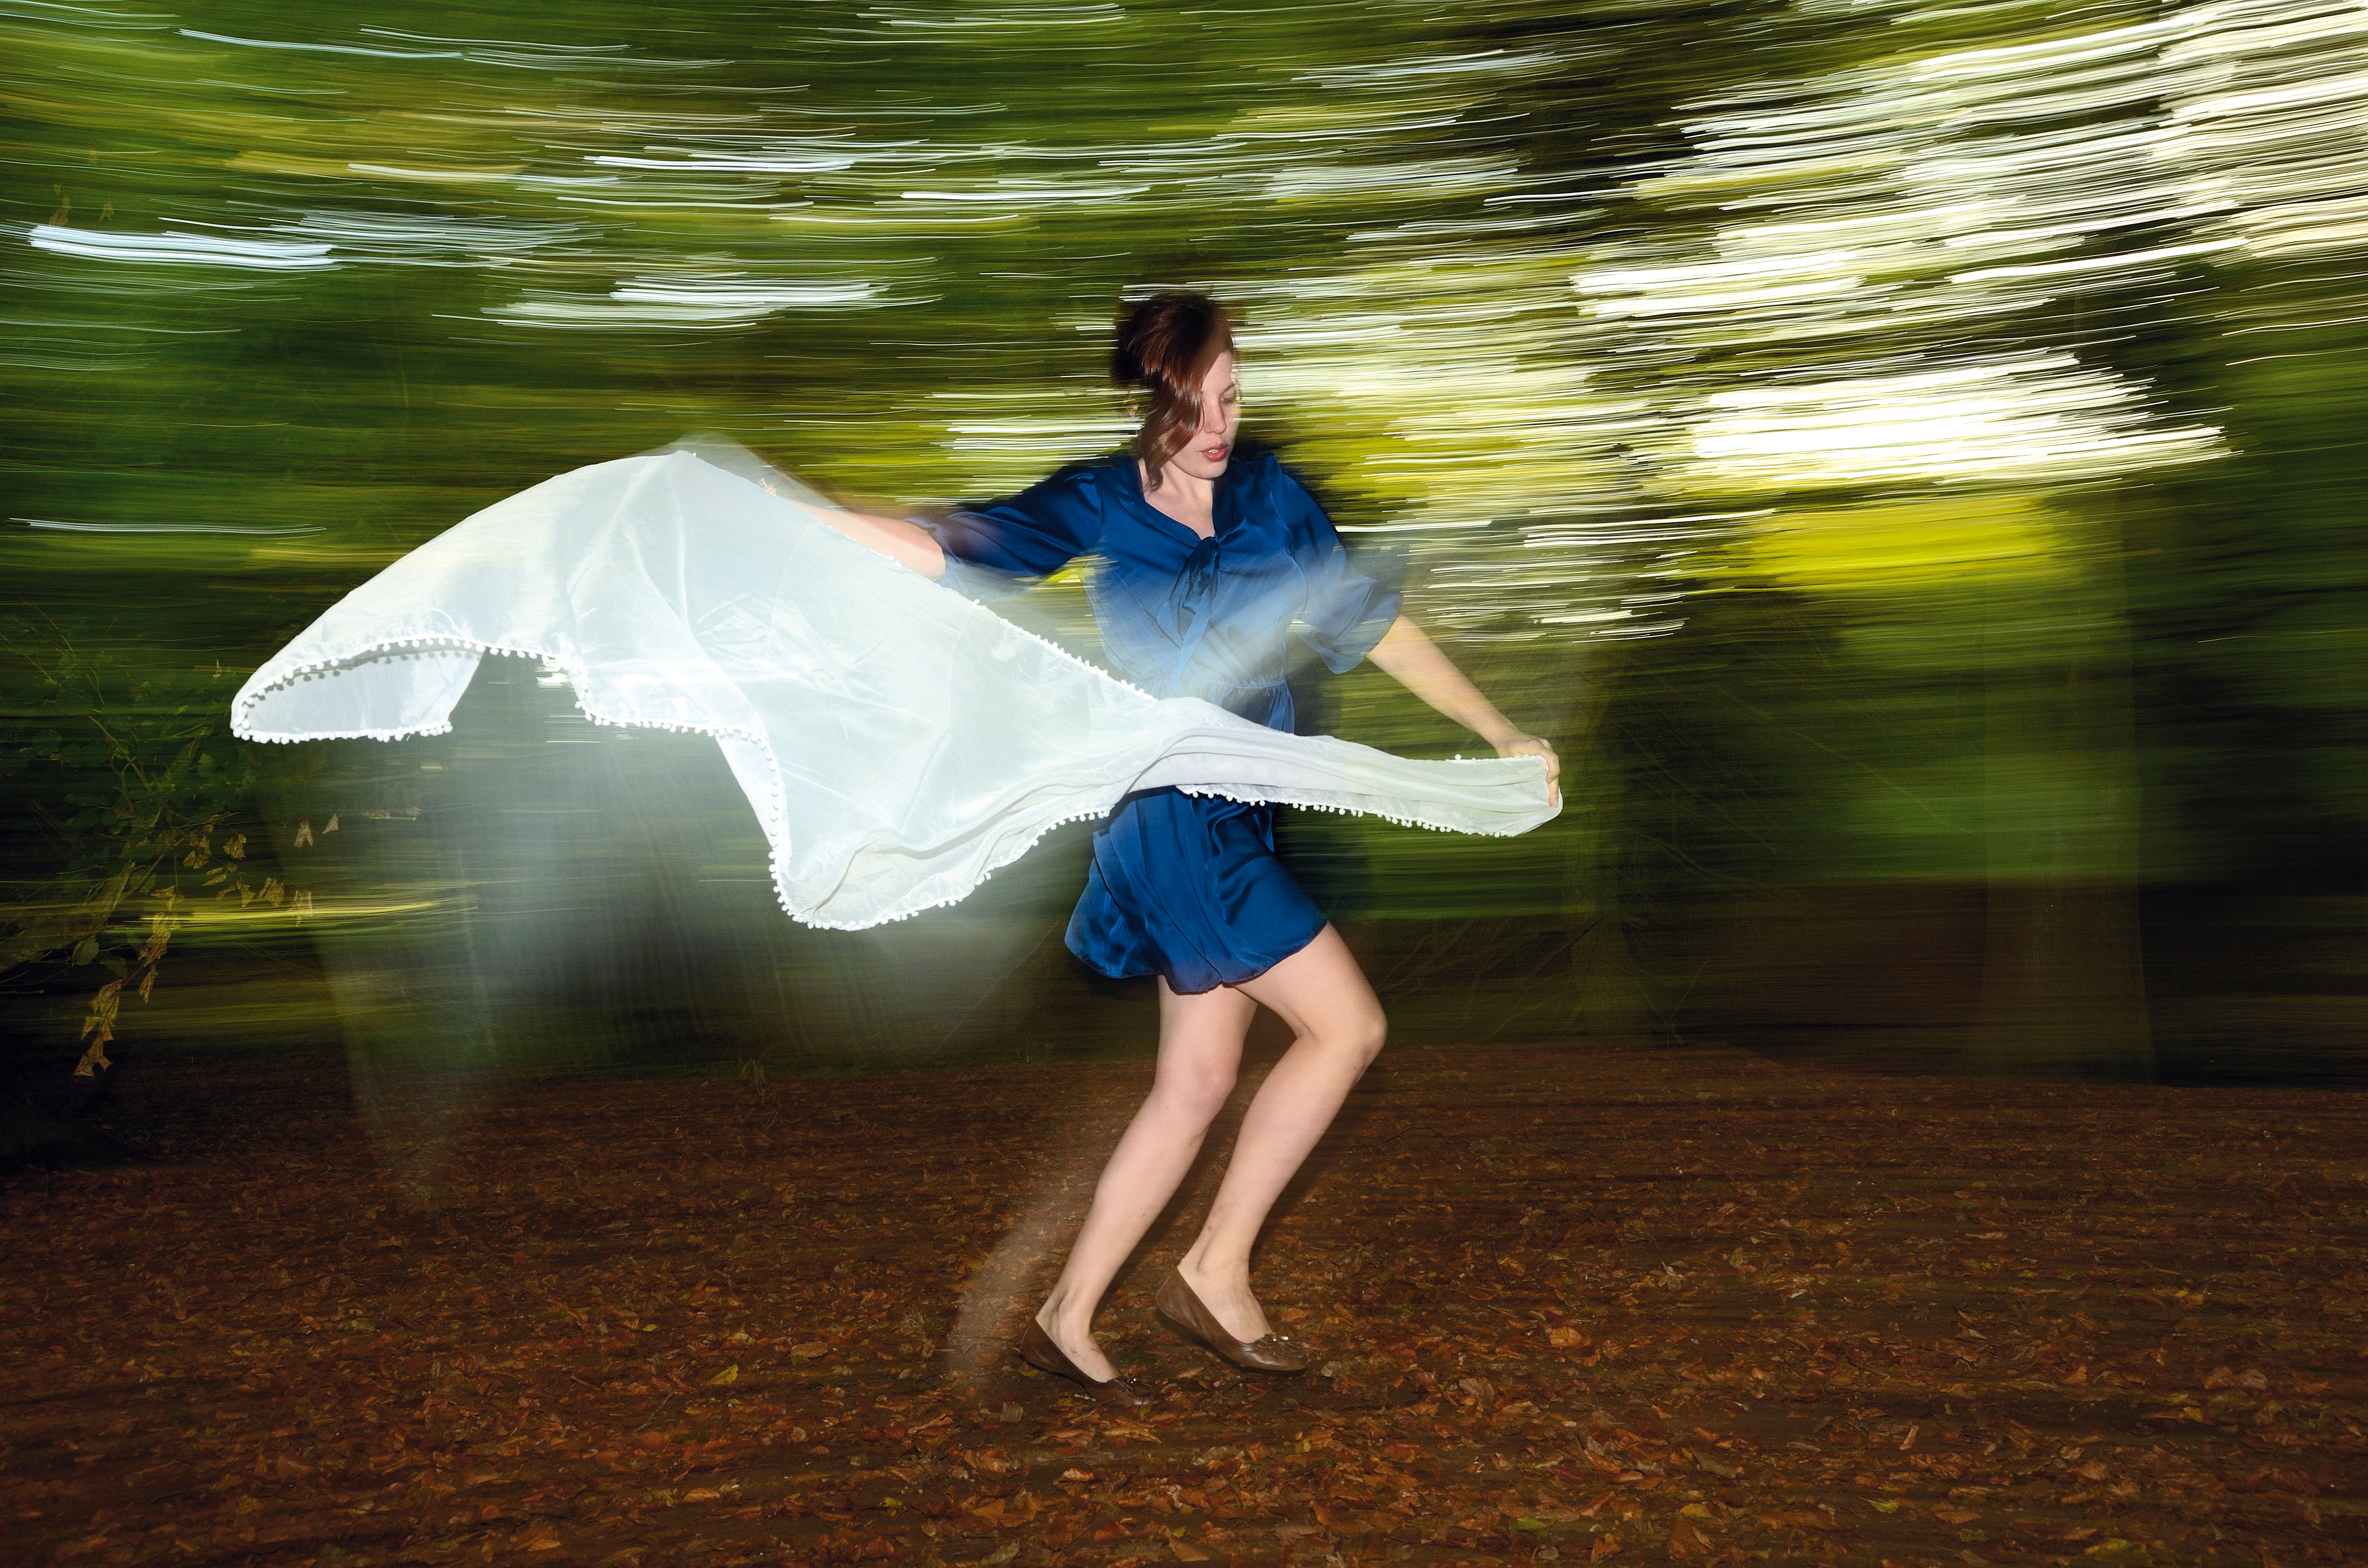
Your camera's slow-sync flash setting enables you to combine slower shutter speeds with flash. Many of your camera's shooting modes are programmed to produce a well-exposed foreground subject with flash, but the background can look too dark.
Slow-sync flash gets around this by combining a slower shutter speed with flash, ensuring that the flash output is balanced well with the ambient light.
Some cameras default to slow-sync flash in certain modes - Canon EOS DSLRs use slow-sync flash in Aperture Priority mode, for instance - while others have a dedicated Night Portrait mode that does the same job.
Whichever you use, make sure the camera is supported well during the longer exposure time. Otherwise the areas of the image illuminated by ambient light may be blurred.
Tip 9. High speed flash sync
You need to know the maximum flash sync speed of your flashgun if you're going to avoid flash exposure errors.
The maximum flash sync is the fastest shutter speed at which normal flash photography is possible - typically 1/200 or 1/250sec.
The limiting factor here is how fast the shutters in front of the camera sensor can open and close, not the speed of the flash itself - its burst is blink-and-you-miss it fast, after all.
A flashgun's high speed flash sync mode - known as Auto FP on Nikon cameras - allows you to use shutter speeds beyond the maximum flash sync.
Use it when you're shooting portraits in bright conditions, as it will allow you to freely choose wide apertures (to blur backgrounds) without worrying about the shutter speed being too fast for the flash exposure.
The downside of high speed flash sync is that it reduces the range of the flash - you'll need to be close the subject to create a balanced exposure.
Tip 10. Second curtain sync
Slow-sync flash is also a creative technique to use when you're photographing moving subjects. The slow shutter speed will record moving elements as a blur, while the short burst of light from the flash will capture a freeze-frame of the subject. The combination of sharpness and blur gives a very effective sense of motion.
Normally the flash fires at the start of the exposure, and this is known as first curtain sync. Although this allows you to time the flash exposure perfectly, it means any blur from the slower exposure will be recorded in front of the subject, which looks odd.
Switch the flash to second curtain sync, and it fires at the end of the exposure. This means any motion blur appears behind the subject. Although this looks more natural, it can be harder to time shots perfectly.
Tip 11. Underexposing the background
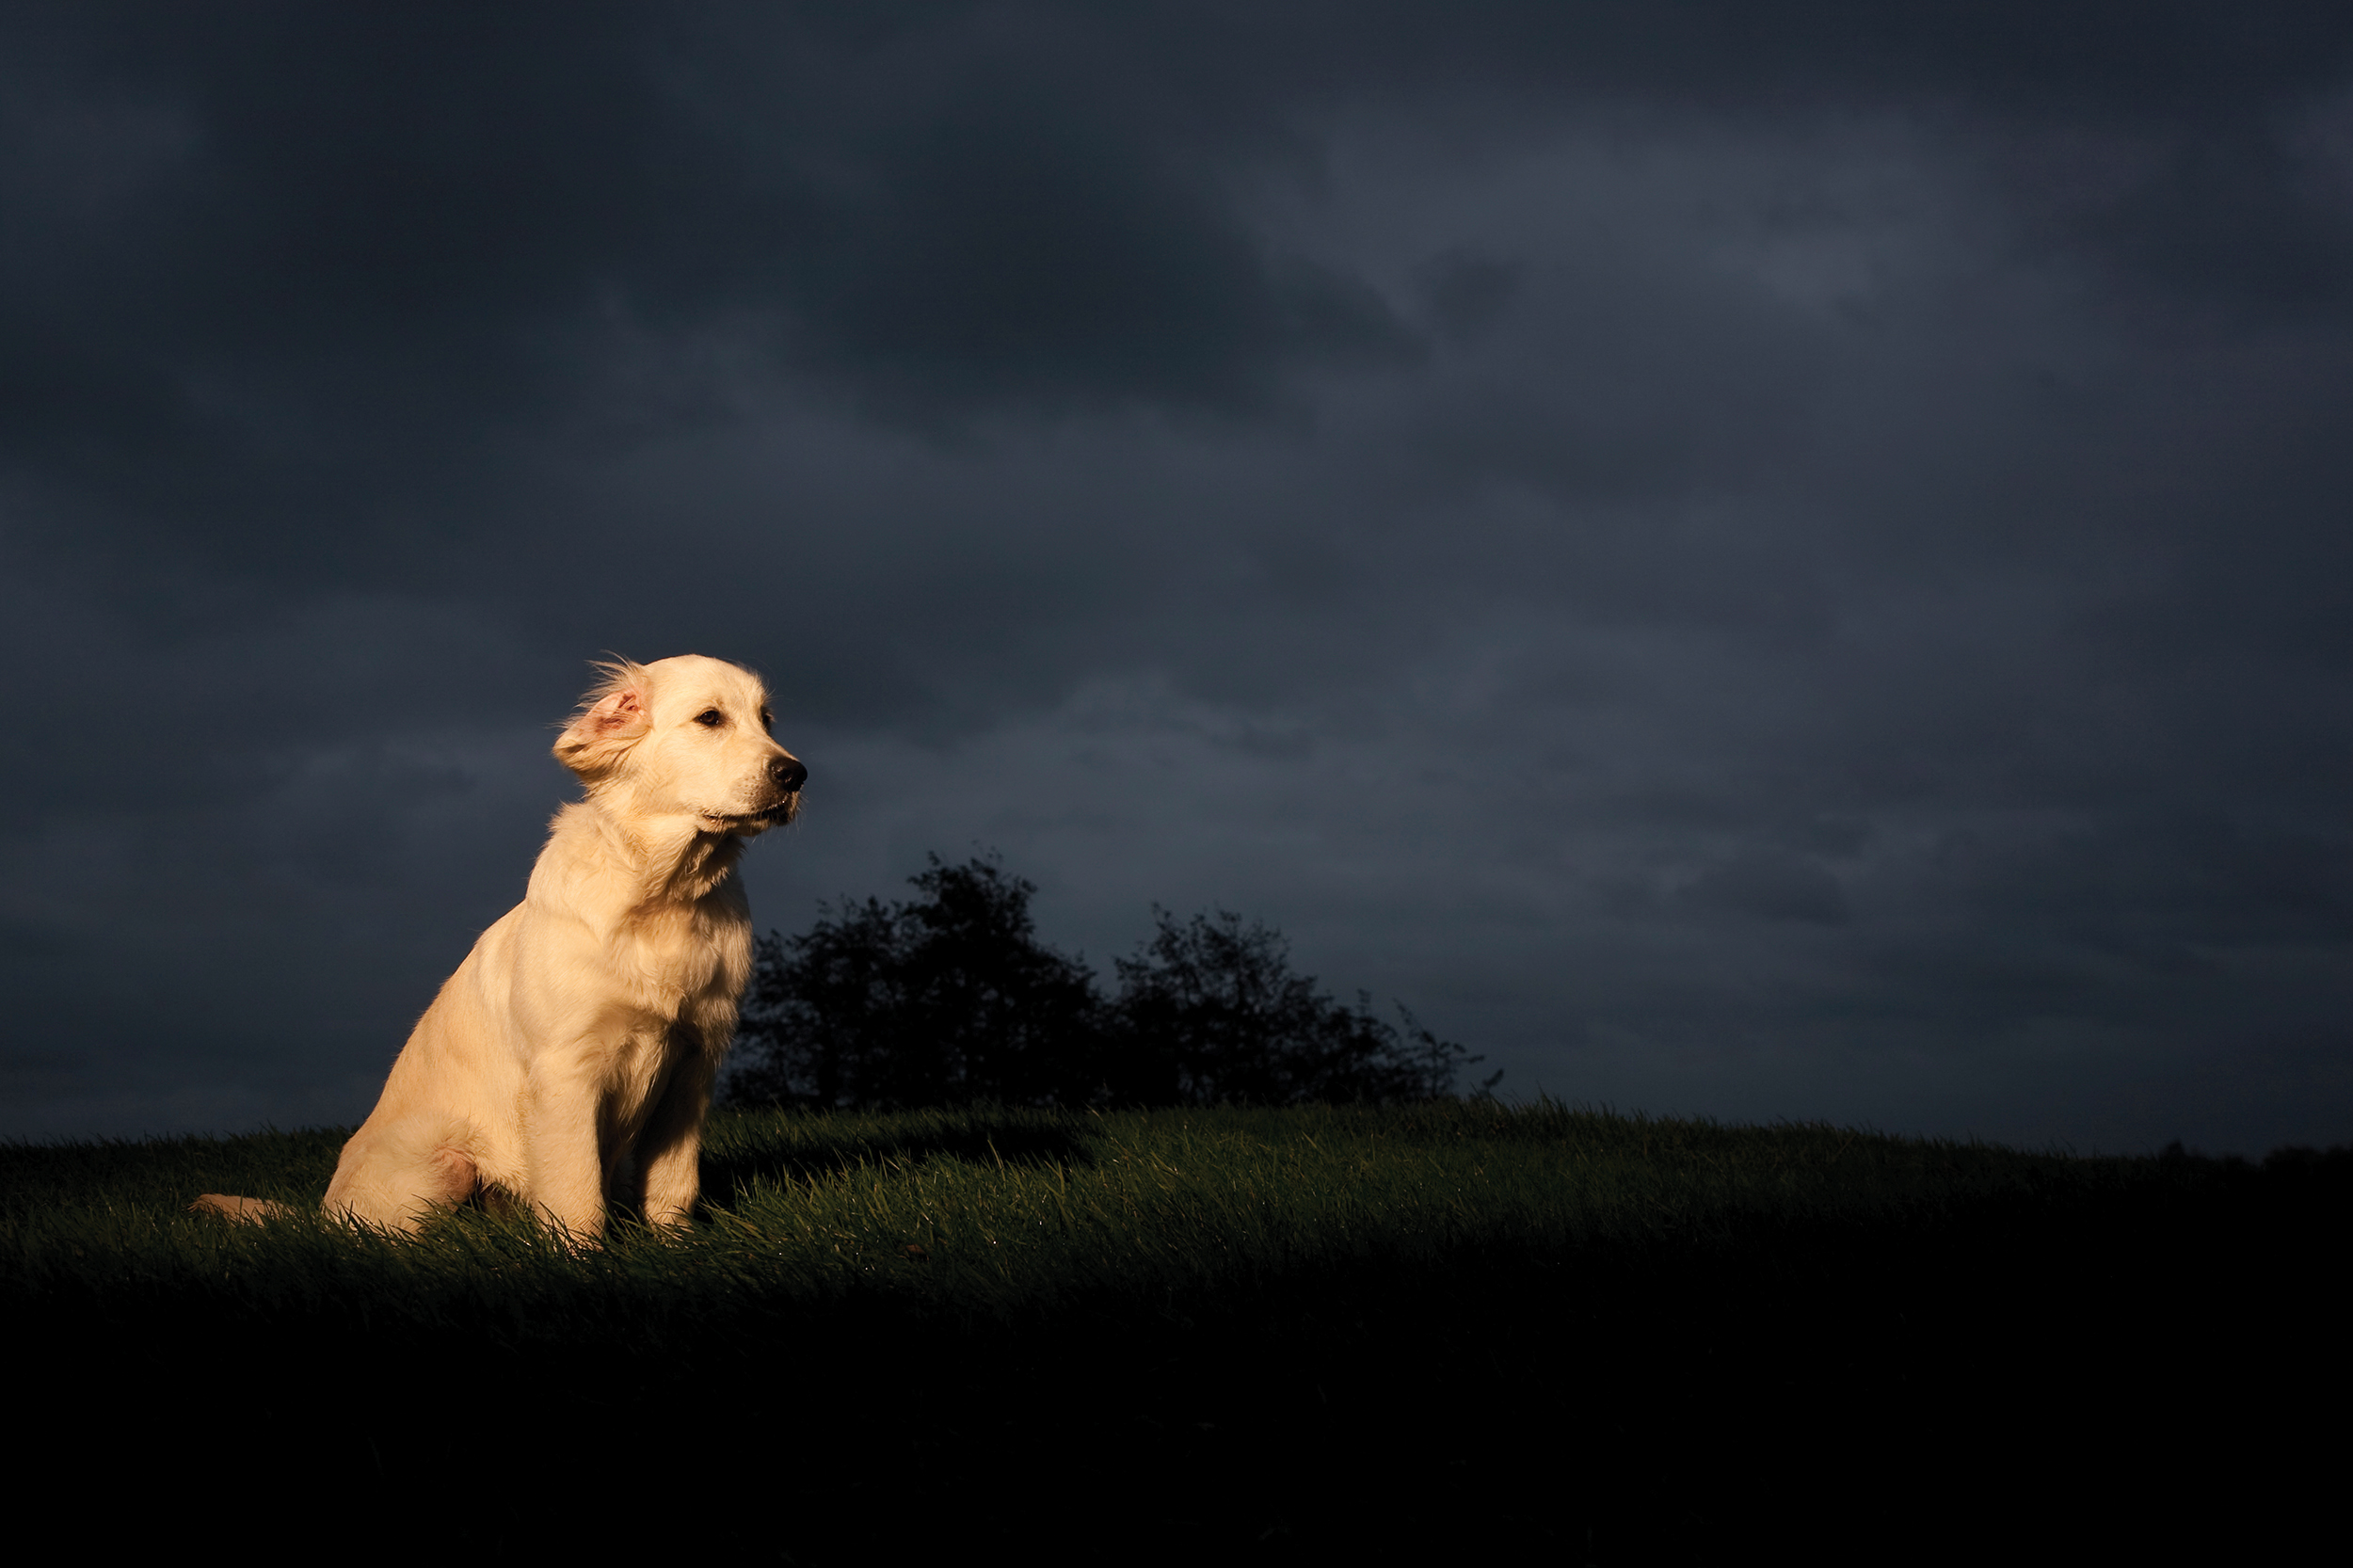
An effective way to add drama to outdoor portraits shot in daylight is to illuminate the subject with flash but underexpose the background.
The technique for doing this depends on the DSLR you're using, so it's worth referring to the camera manual.
For instance, on Canon cameras you control the flash exposure and ambient light exposure separately - all you need to do is use exposure compensation for the ambient light, reducing the exposure by 2-3 stops.
Nikon flash exposures are handled slightly differently: using exposure compensation reduces the total exposure, including the flash's. You'll need to increase flash exposure compensation by the same amount to fix this.
Current page: Flash photography techniques, tips and tricks
Prev Page Street photography techniques, tips and tricksPhil Hall is an experienced writer and editor having worked on some of the largest photography magazines in the UK, and now edit the photography channel of TechRadar, the UK's biggest tech website and one of the largest in the world. He has also worked on numerous commercial projects, including working with manufacturers like Nikon and Fujifilm on bespoke printed and online camera guides, as well as writing technique blogs and copy for the John Lewis Technology guide.
