Essential one light portrait guide
Simple lighting setups for dramatic effects
Refine with a reflector
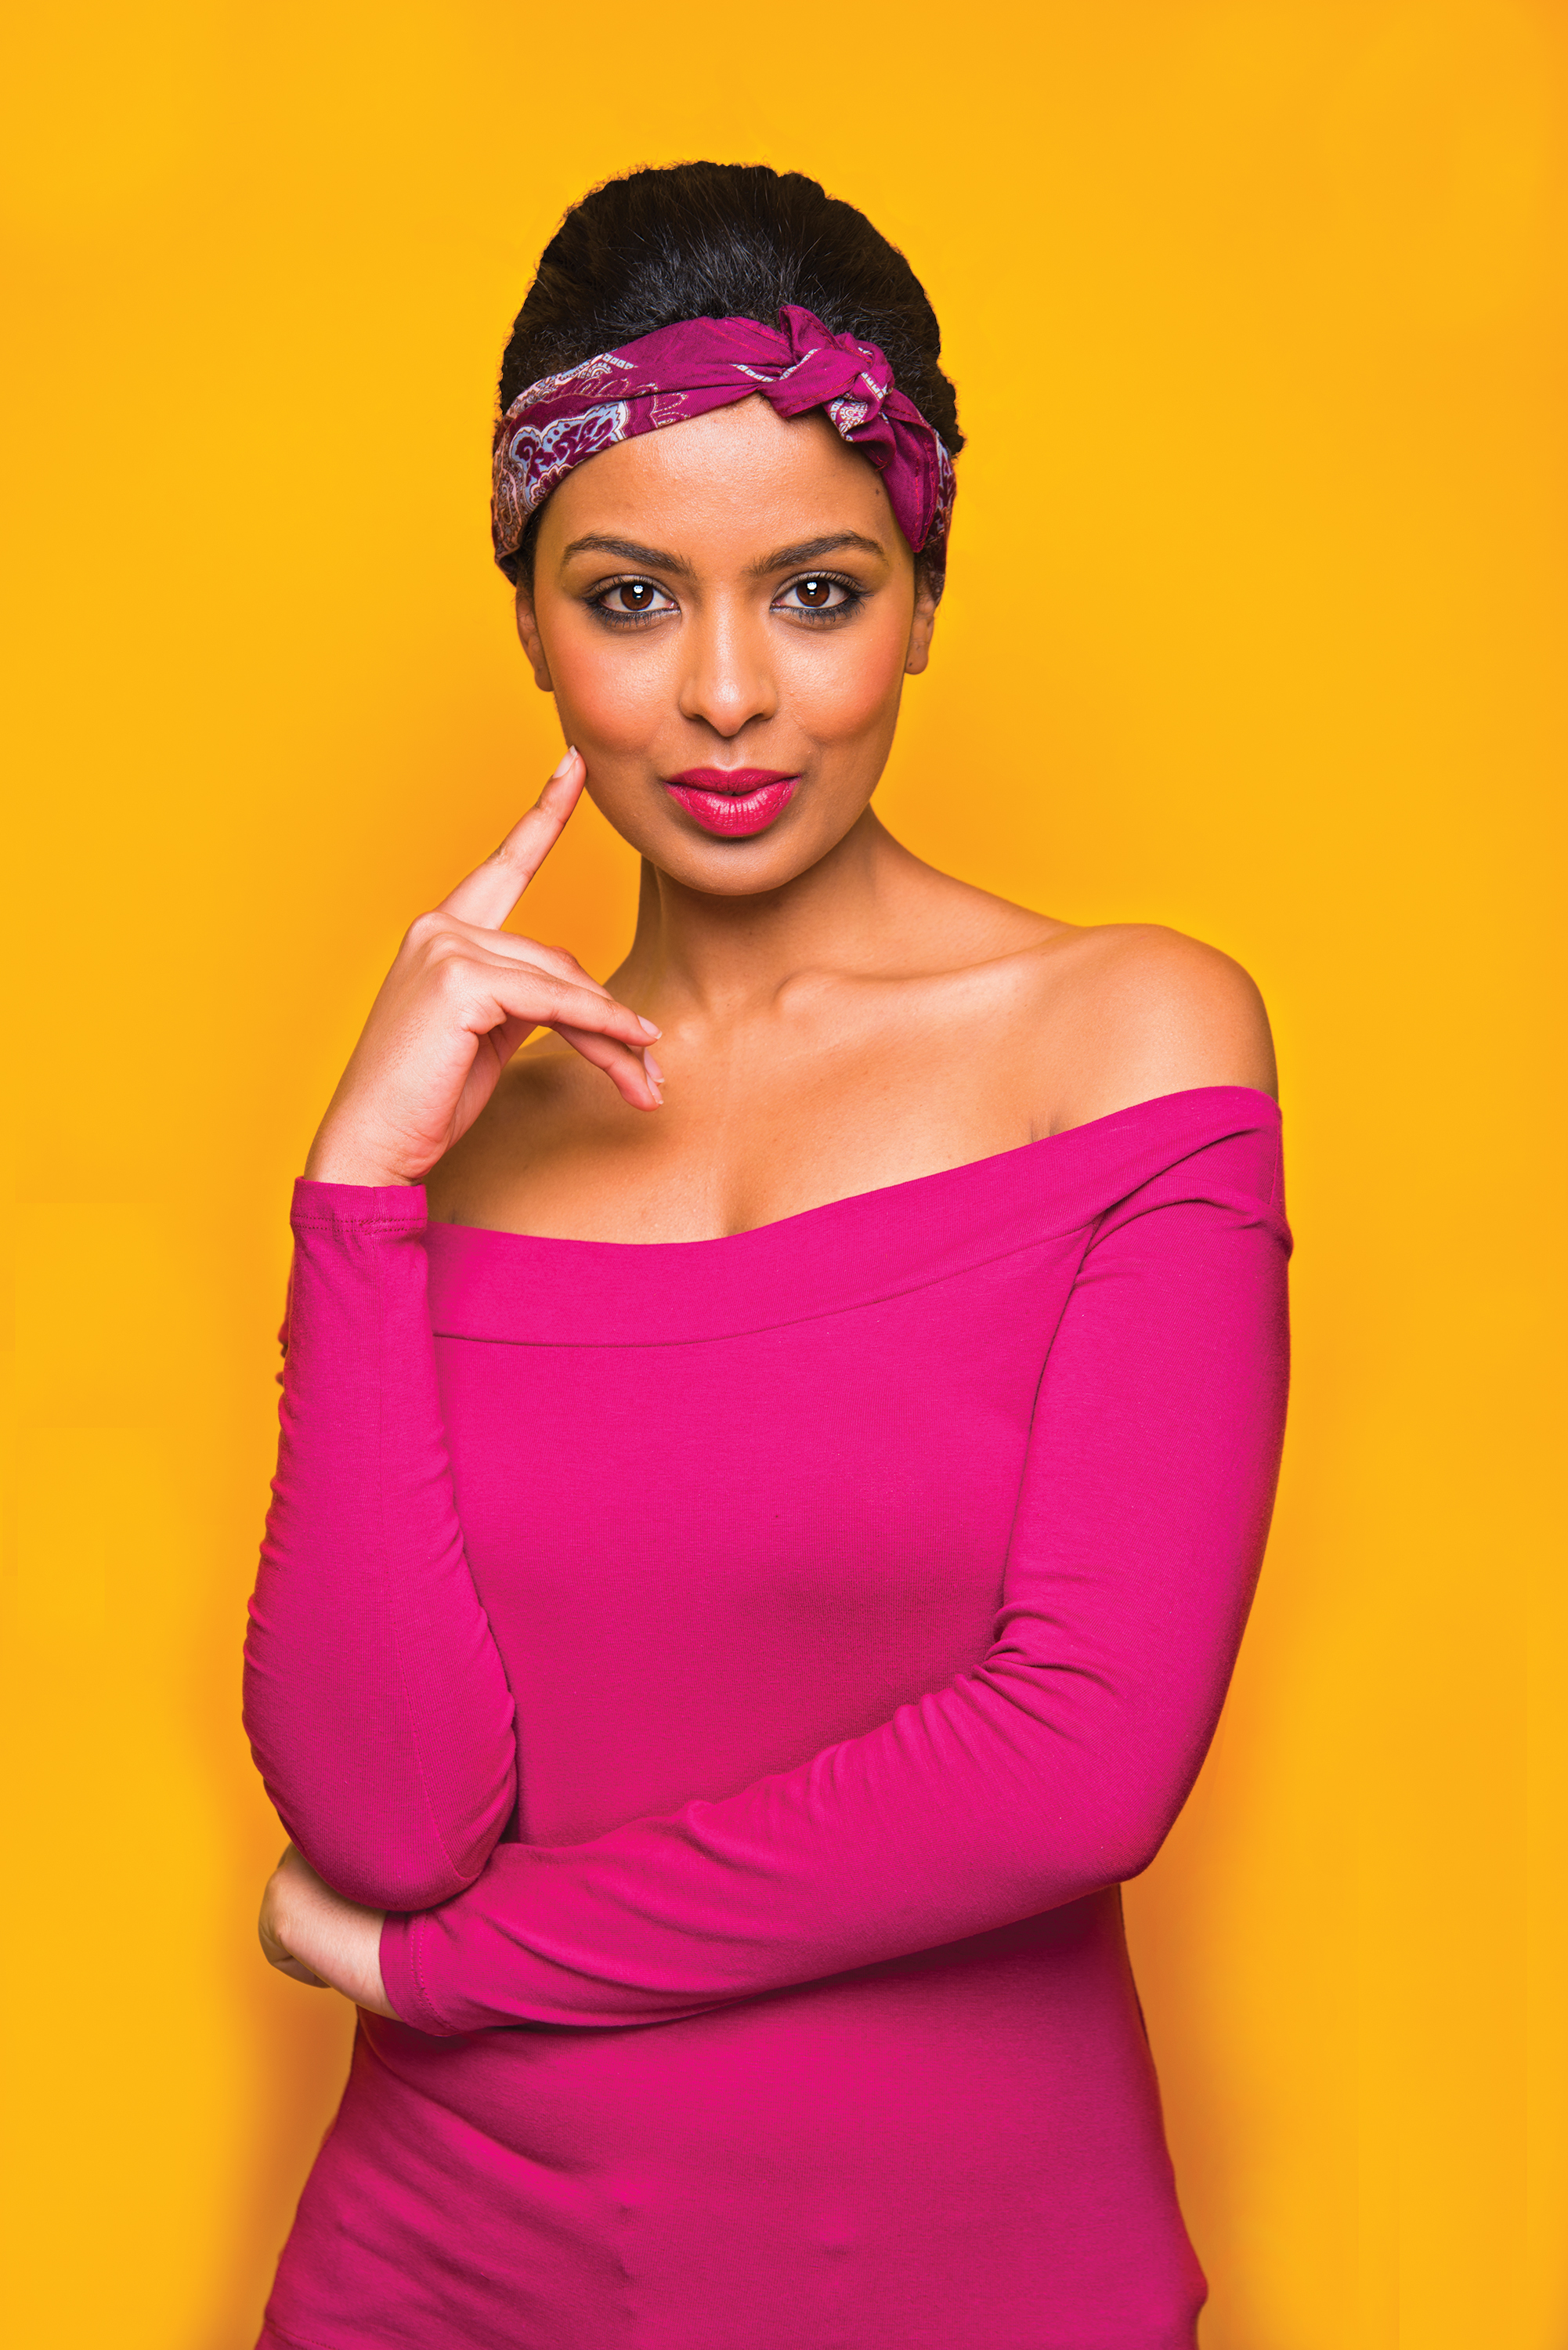
Adding a reflector into your one light setup will act like a fill light and will help you to lift areas of your model’s face that are in shadow. Once you understand the extent to which you can manipulate the light you can add in more reflectors, and you’ll quickly discover that you can create more complex looks by bouncing the light at different angles. Experiment with where you position your reflector – having it positioned centrally above or below your model, or at 45 degrees to the left or right, will have completely different effects.
For a high-end fashion look, the classic butterfly lighting effect is ideal. It involves positioning a large light source directly in front and above the model with a reflector – or a triflector, if you have one – positioned beneath them so that their eyes are not too dark. This is great for female subjects, as it creates soft, delicate shadows and, as with Rembrandt lighting, it will help to enhance the model’s cheekbones, but in a far more subtle way. You can use a studio light with a softbox for this effect, or for an even more luminous glow use a beauty dish.
Create butterfly lighting
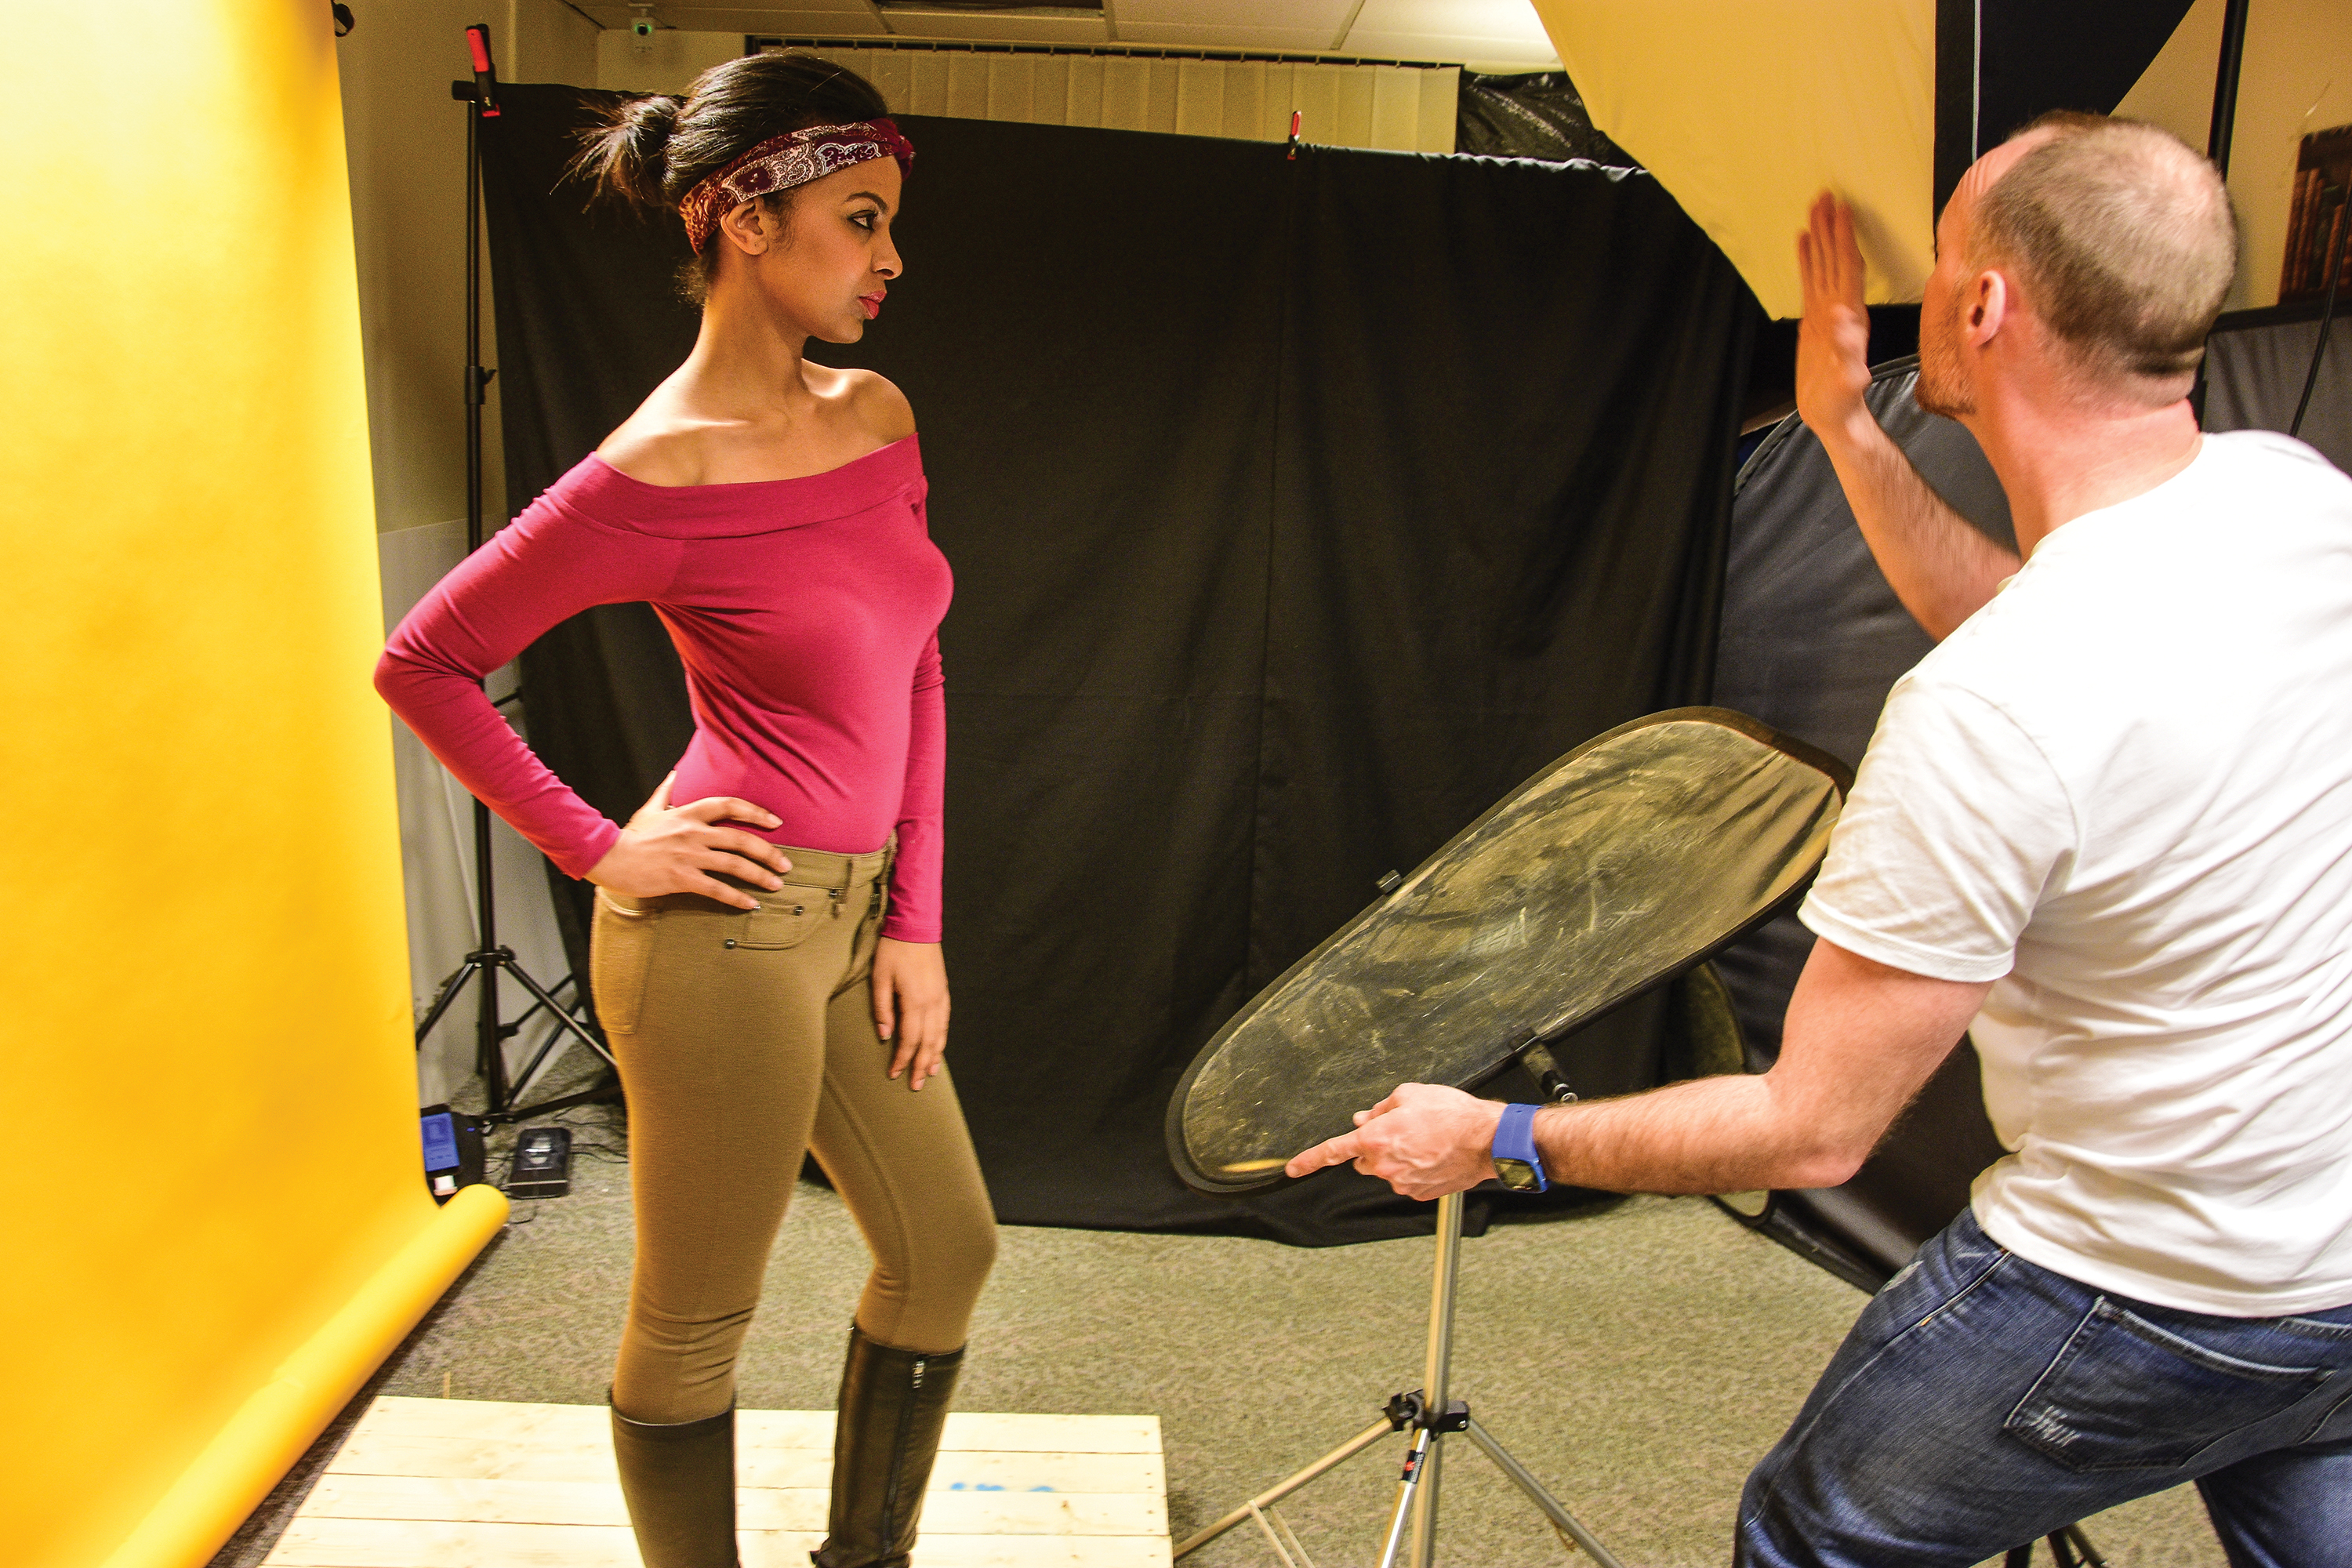
1. Position the light and reflector
Place your studio light with softbox directly in front of the model and angle it downwards. Place a reflector underneath facing up towards them.
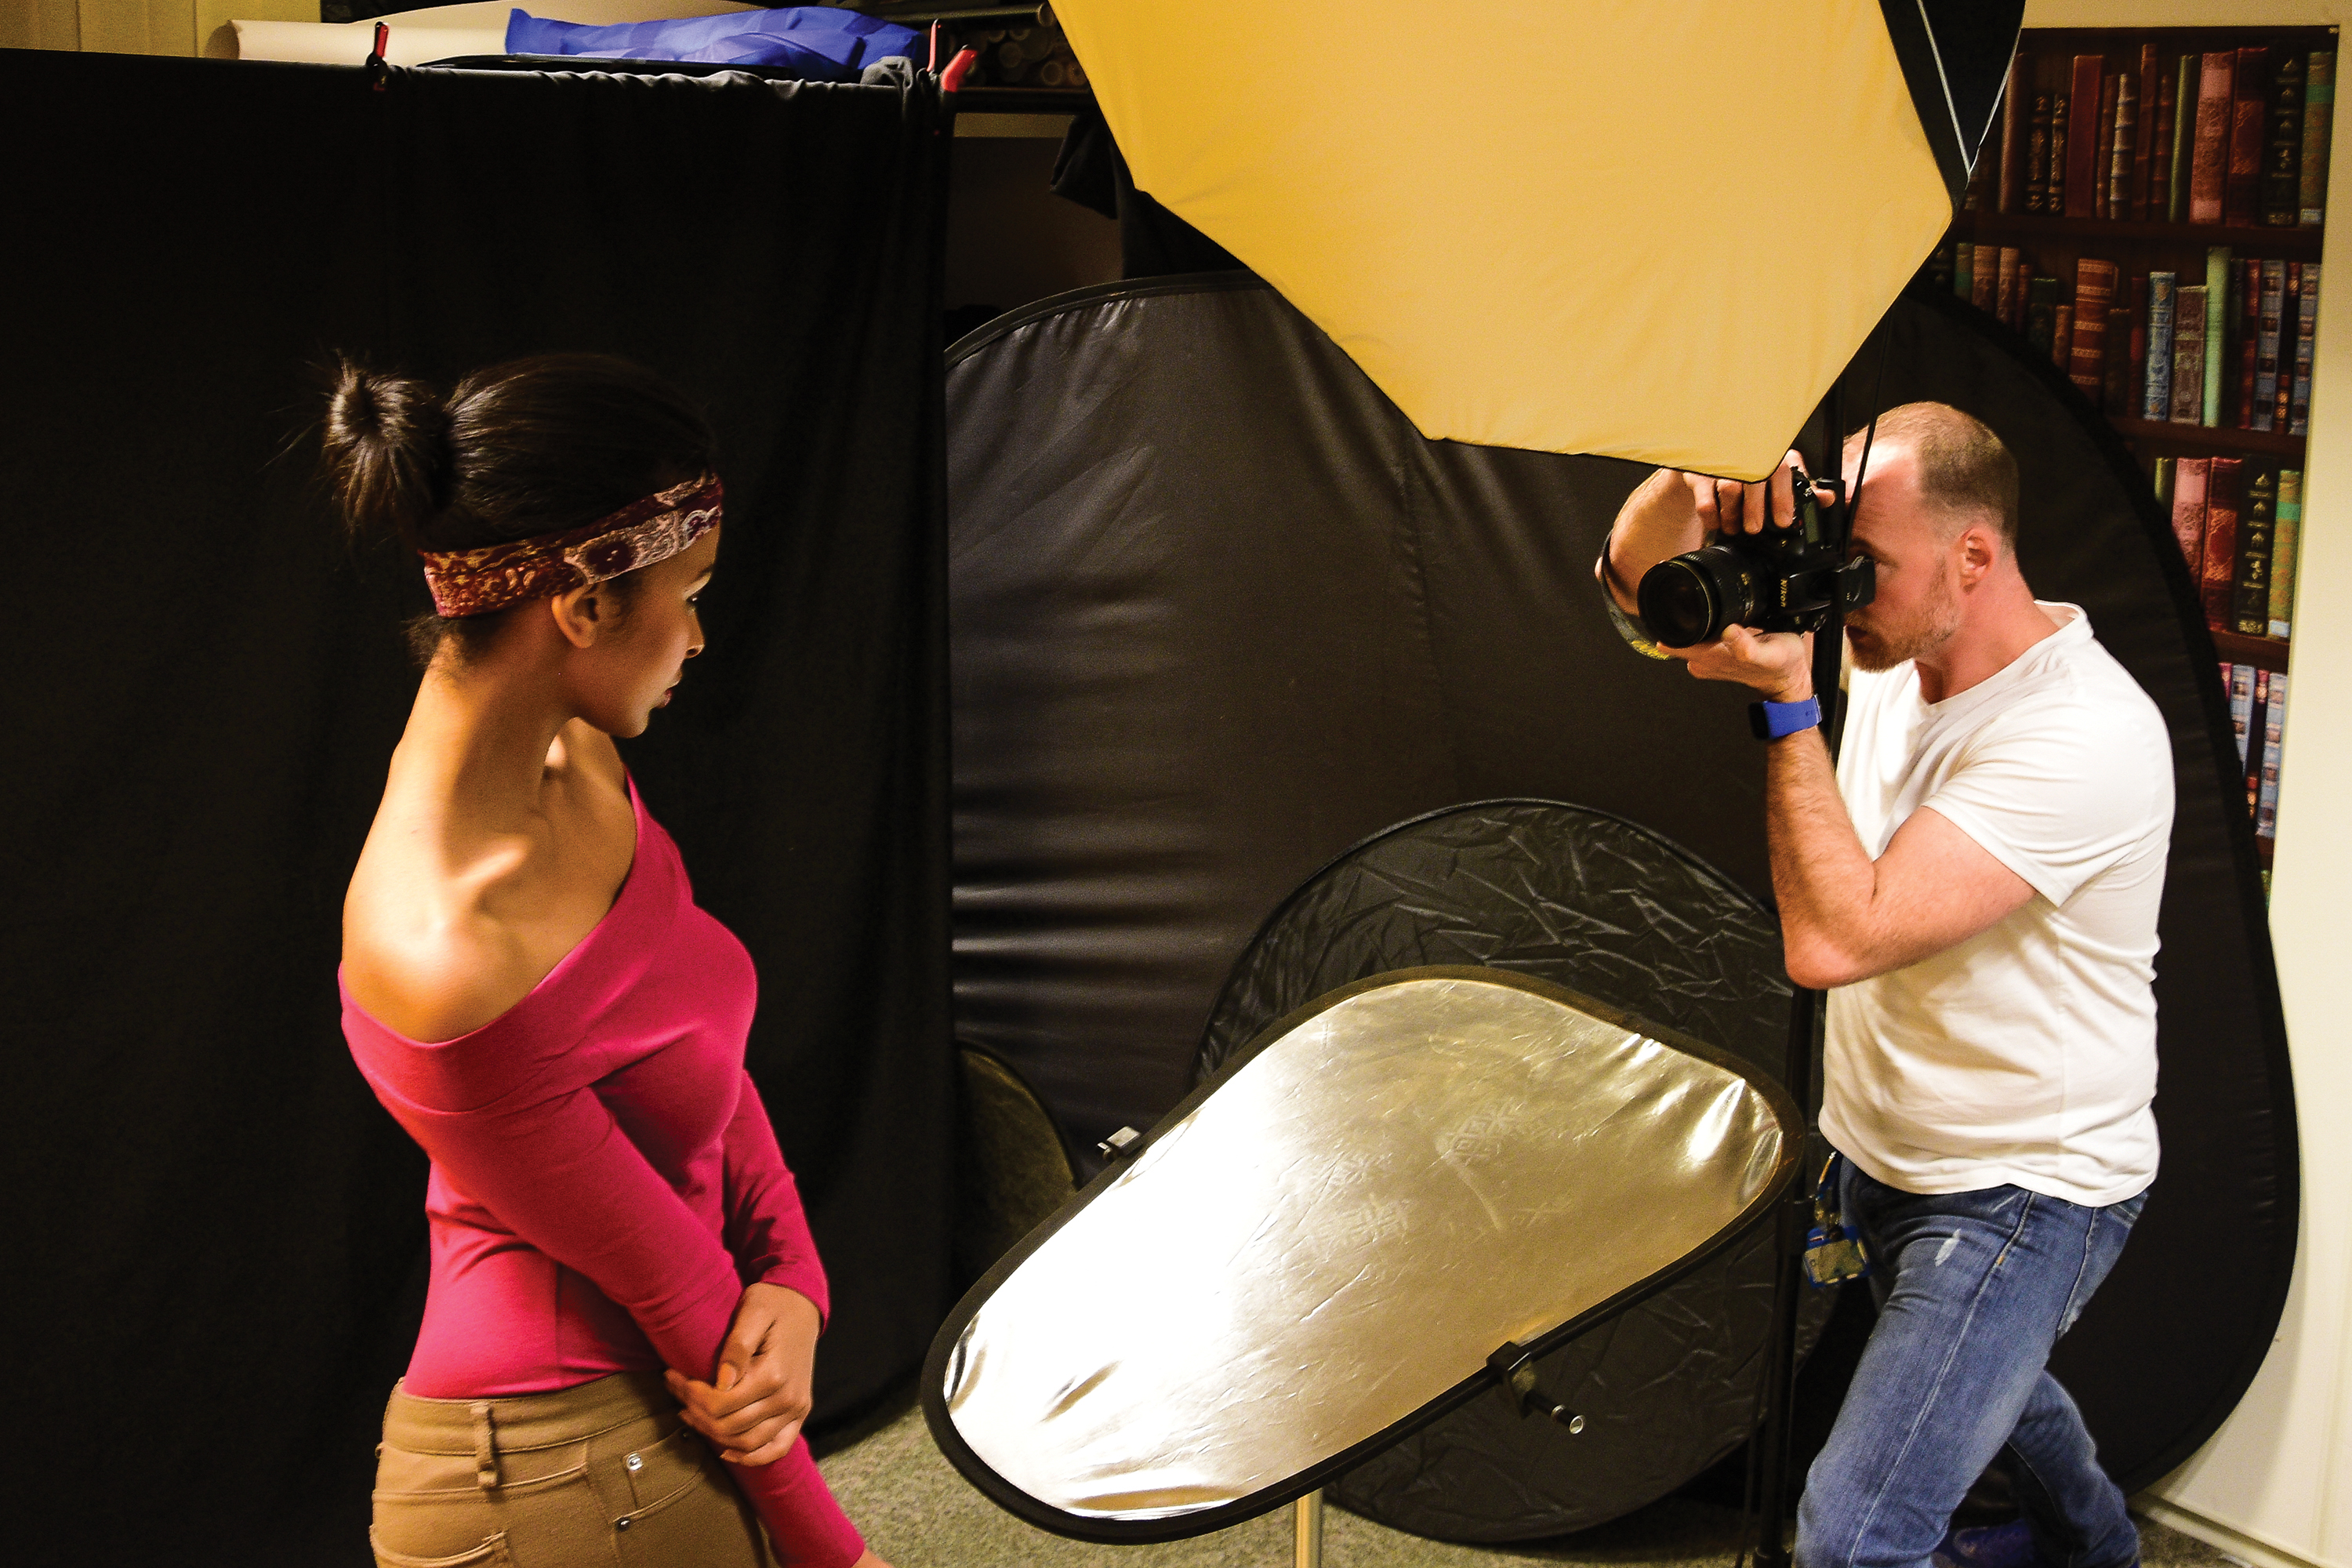
2. Pose and shoot
Decide how you would like to pose your model and experiment with asking them to lean into the camera. The camera here was set to around f/7 at 1/200sec.
Imply another light
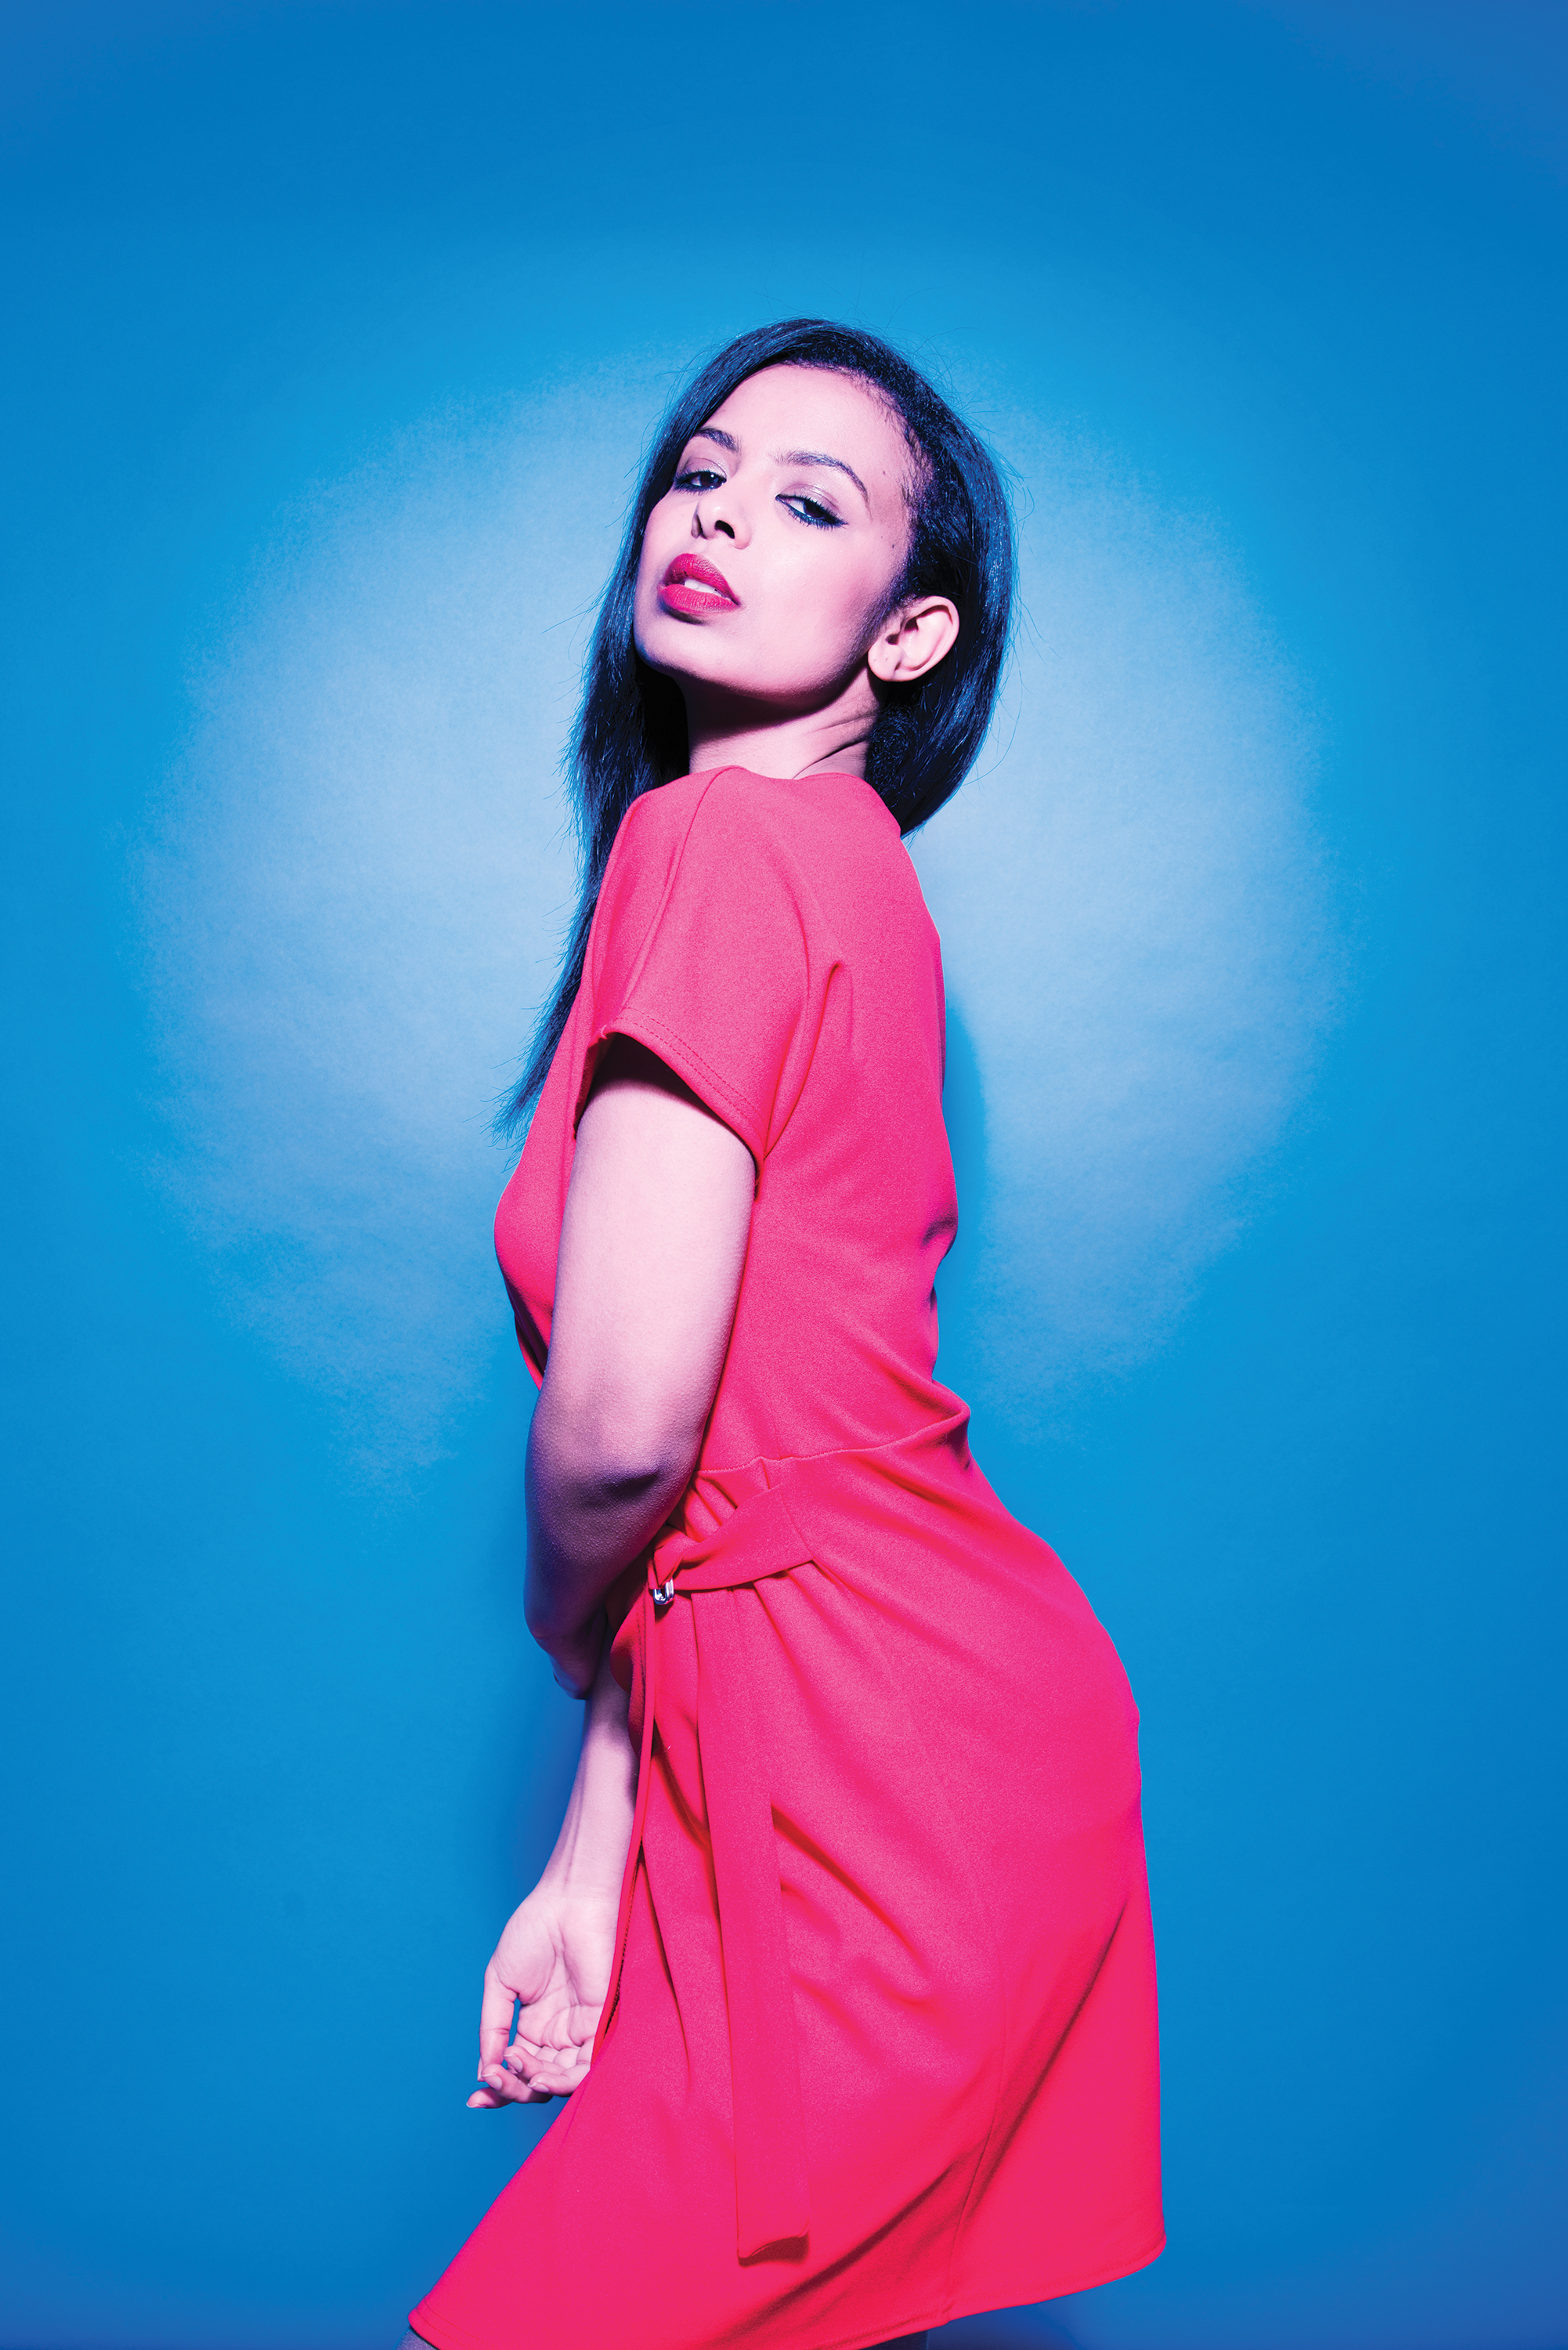
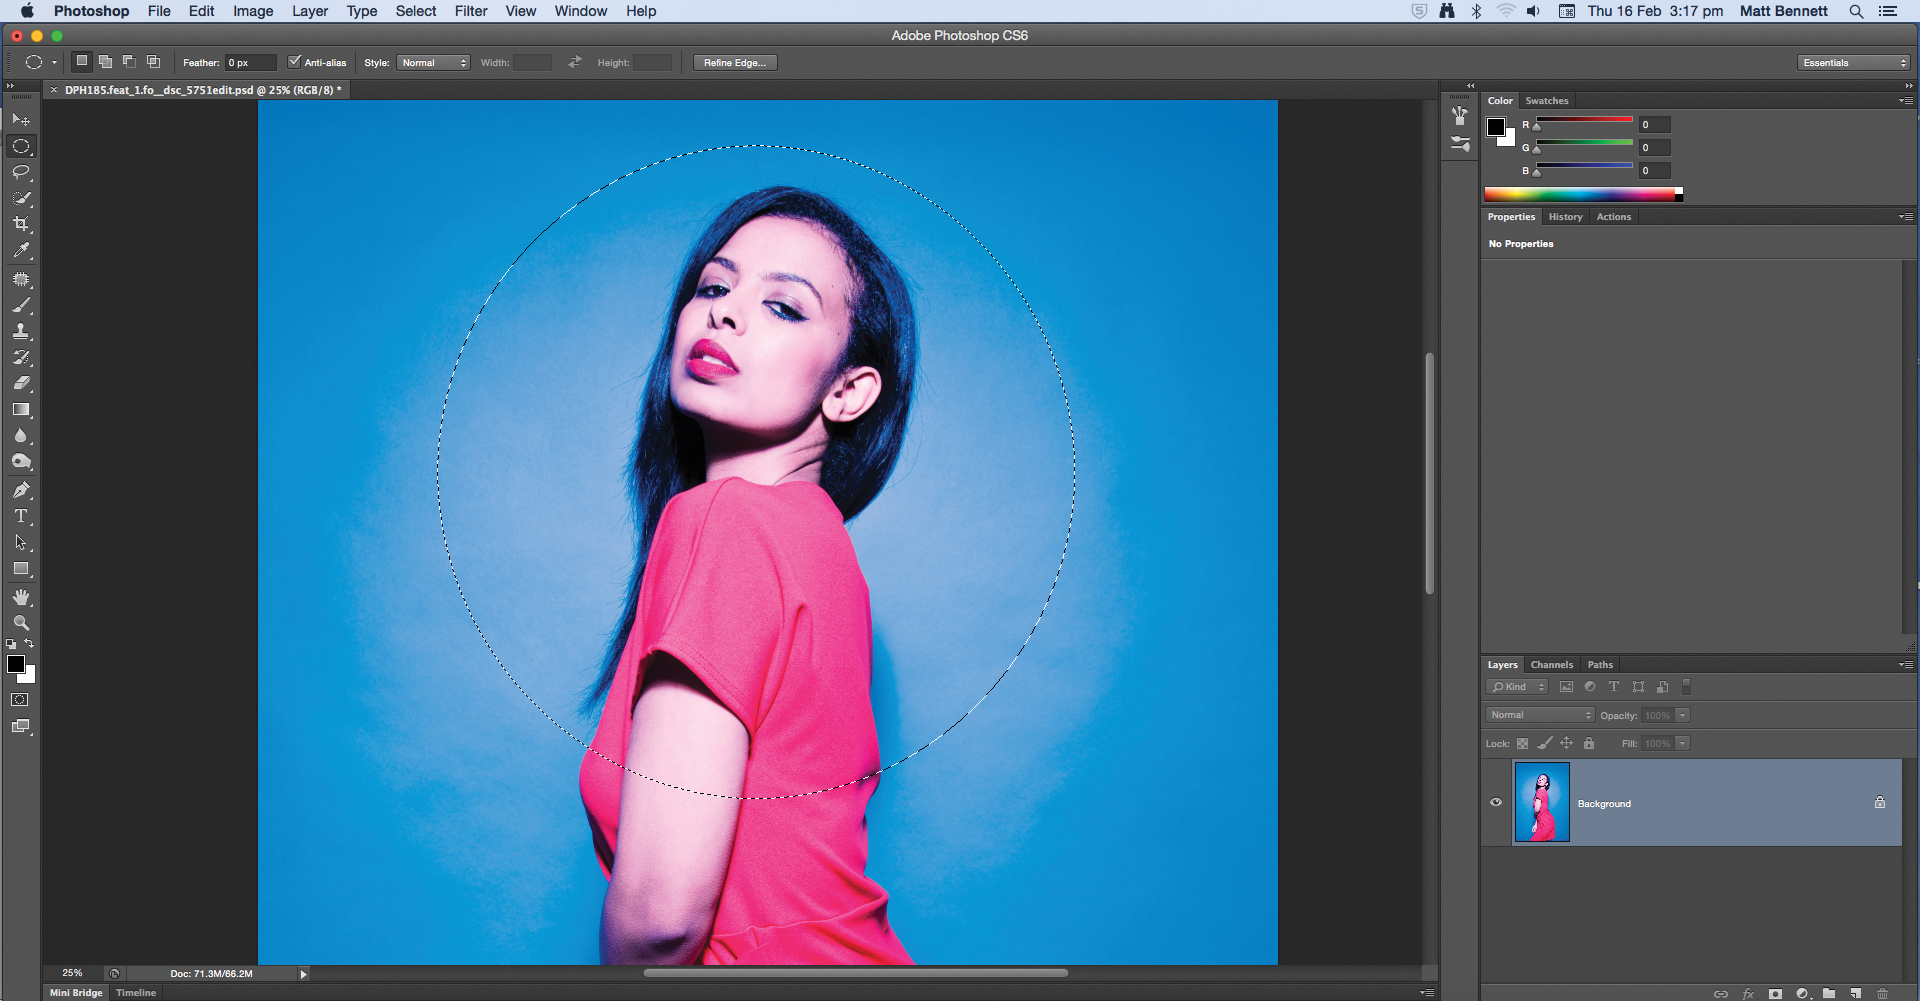
1. Create a mask
Start by using the Elliptical Marquee Tool to select the area where you want the impression of light to fall. This selection will then need to be feathered for a subtle transition.
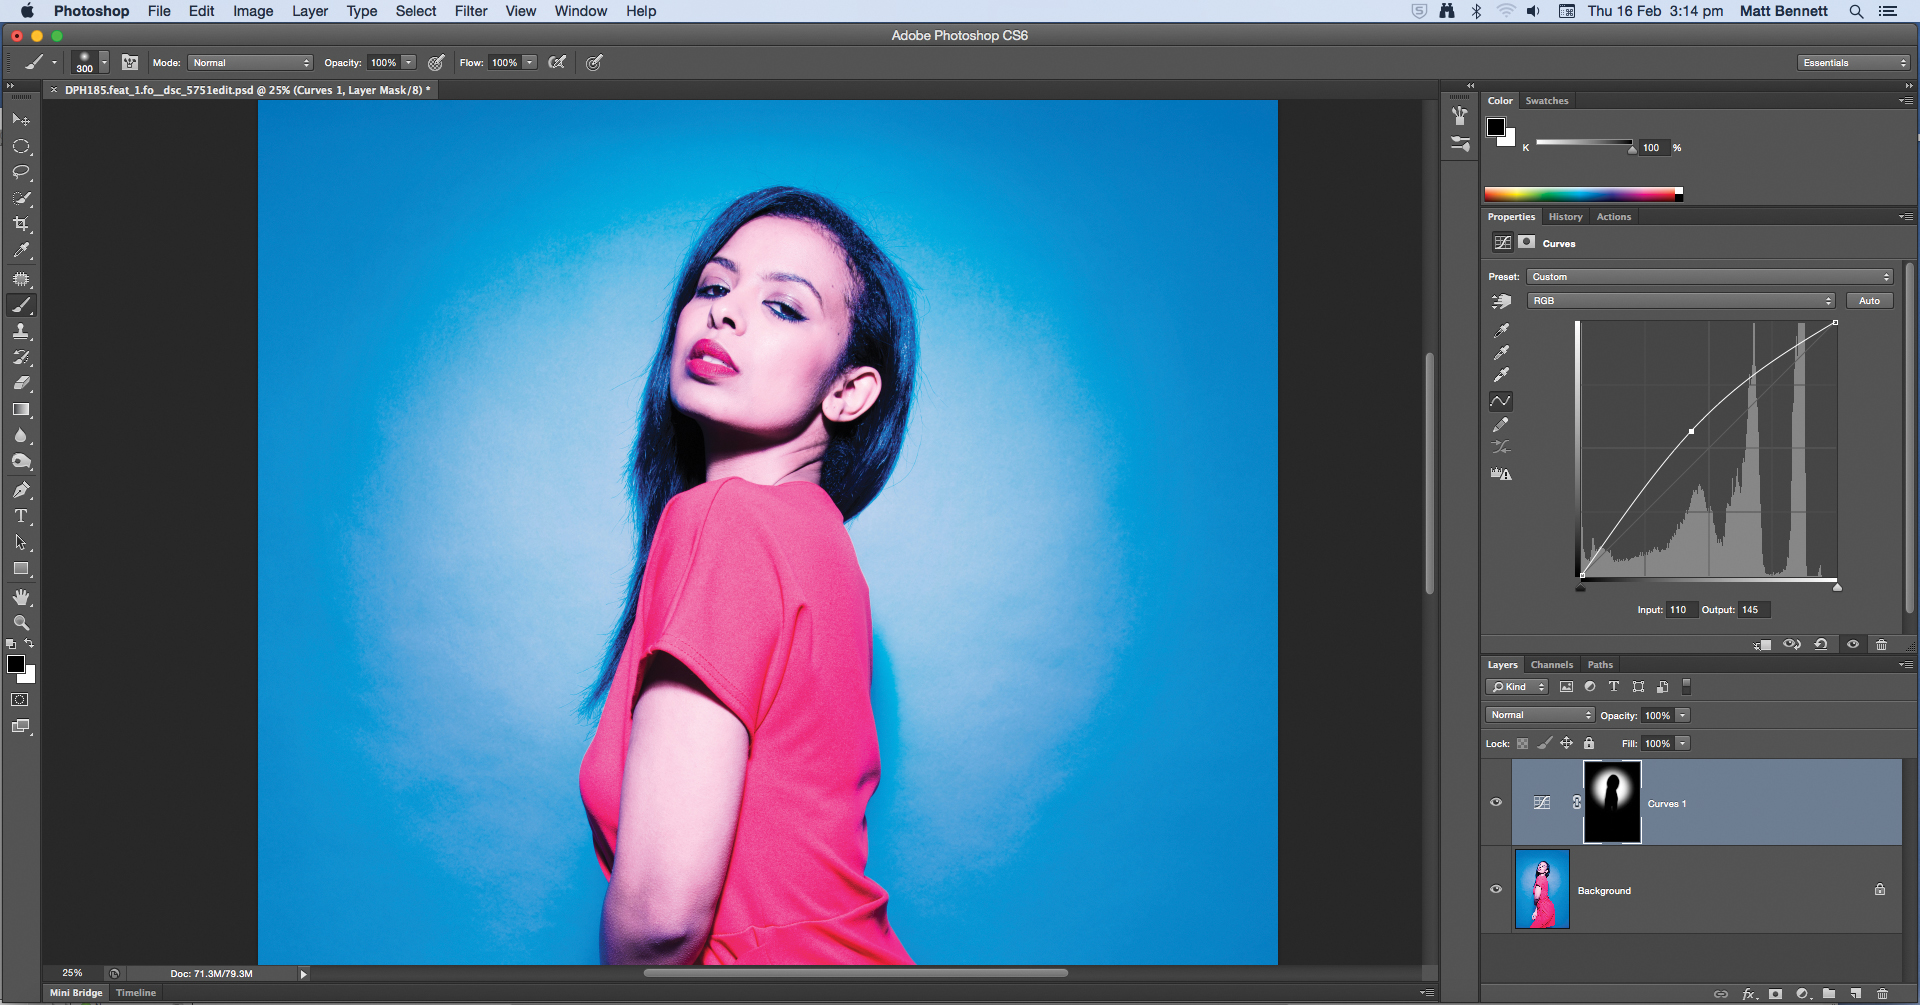
2. Add a vignette
Create a Curves adjustment layer and pull the diagonal line upwards to brighten this area. Use a soft Brush (B) set to black to carefully dial back the subject’s face, hair and clothes.
Top 5 tips for using one light
1. Underexpose your shots
It is a good idea to underexpose your shots by around one or two stops, then fix it in post. A slightly underexposed shot can take on a dramatic feel straightaway, so try this before using a reflector or a brighter exposure.
2. Keep an eye on shadows
Make sure you are always aware of where the shadows fall on your model’s face. A light positioned too high or too low will create very unflattering shadows around the eyes, mouth and nose.
3. Add life with catchlights
Get daily insight, inspiration and deals in your inbox
Sign up for breaking news, reviews, opinion, top tech deals, and more.
All successful and engaging portraits will feature catchlights in the subject’s eyes.
A catchlight is basically a reflection of the light source used that you can see in the subject’s eyes. If the light is positioned too high or too low, then you will lose the catchlight. Without a catchlight the subject’s eyes will look dull and lifeless.
4. Pose the model for the light
Get into the habit of encouraging your model to pose for the lighting setup and always have the position of the light in mind if you change the model’s pose, making sure to move the light as necessary.
5. Experiment with the white balance
You can alter the colour temperature of some studio lights in order to create warmer and cooler images, but you can also alter the white balance in-camera.
If aiming for a high-key portrait you might want a cooler white balance, but other setups might look better with something a little warmer.
This feature was originally published in Digital Photographer, to subscribe, click here
Current page: Refine with a reflector and other tips
Prev Page Create high-key and low-key lighting