How to paint with light
Photograph a classic car like the pros
Step-by-step: Shooting
1. Lock the focus
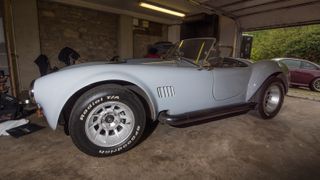
Put your Nikon on a tripod and raise the legs to the height of the car door. Turn on autofocus and lock on to the centre of the car with single-point AF. You won't move your camera, so once the focus is locked, switch to manual focus to prevent the focus point from changing.
2. Set up the camera
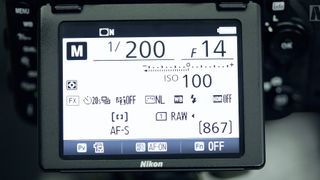
Set an aperture of f/14, a shutter speed of 1/200 sec (to match the sync speed of the flash), and ISO100. Set a self-timer of 20 seconds, with the maximum number of frames (nine) and maximum interval time of 3 secs to give yourself time to move the light between frames.
3. Prepare the flash
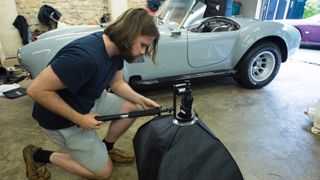
Put the wireless triggers on your flash and camera, fix the flash and softbox to the flash bracket mount, then screw the mount onto the monopod. In Manual mode, set your flash power to ower – any higher and it will overexpose the highlights.
4. Shoot to thrill
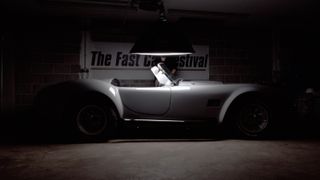
Finally, engage your Nikon's self-timer and run into position behind the back end of the car, holding the flashgun out over the top of the car. You need to angle the monopod so the softbox leans out over the camera-facing side of the car, where you want the light to hit.
5. Make a move
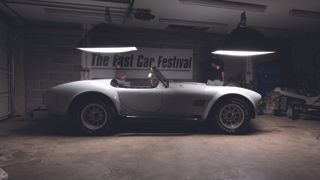
As soon as the camera has taken a shot, move a metre or so towards the front of the car to take another shot. Make sure you don't leave large gaps in your placement of the flash as you shoot; you want a long, clean line of light along the shoulder of the car.
6. Shoot multiple photos
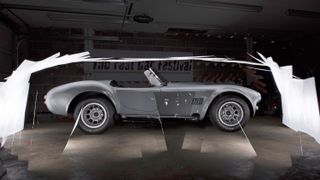
We ended up shooting 54 photos to create our final image, but you don't need to shoot that many. We'd recommend you start with about nine photos: five with the light above the car, one with it on the front, one on the rear and one for each of the visible wheels.]
Get daily insight, inspiration and deals in your inbox
Sign up for breaking news, reviews, opinion, top tech deals, and more.
