How to photograph the moon: an easy way to shoot moon pictures full of detail
How to master this tricky subject

As the brightest and largest object in the night sky, the moon is a great subject to use as an introduction to astrophotography.
The moon is so large that you can easily shoot it with a normal telephoto lens, and it’s also bright enough that you can use a shutter speed fast enough to avoid having to use a tracking mount.
But even though the moon is relatively easy to photograph in the night sky, you still need to use the right techniques and careful planning to get a good shot.
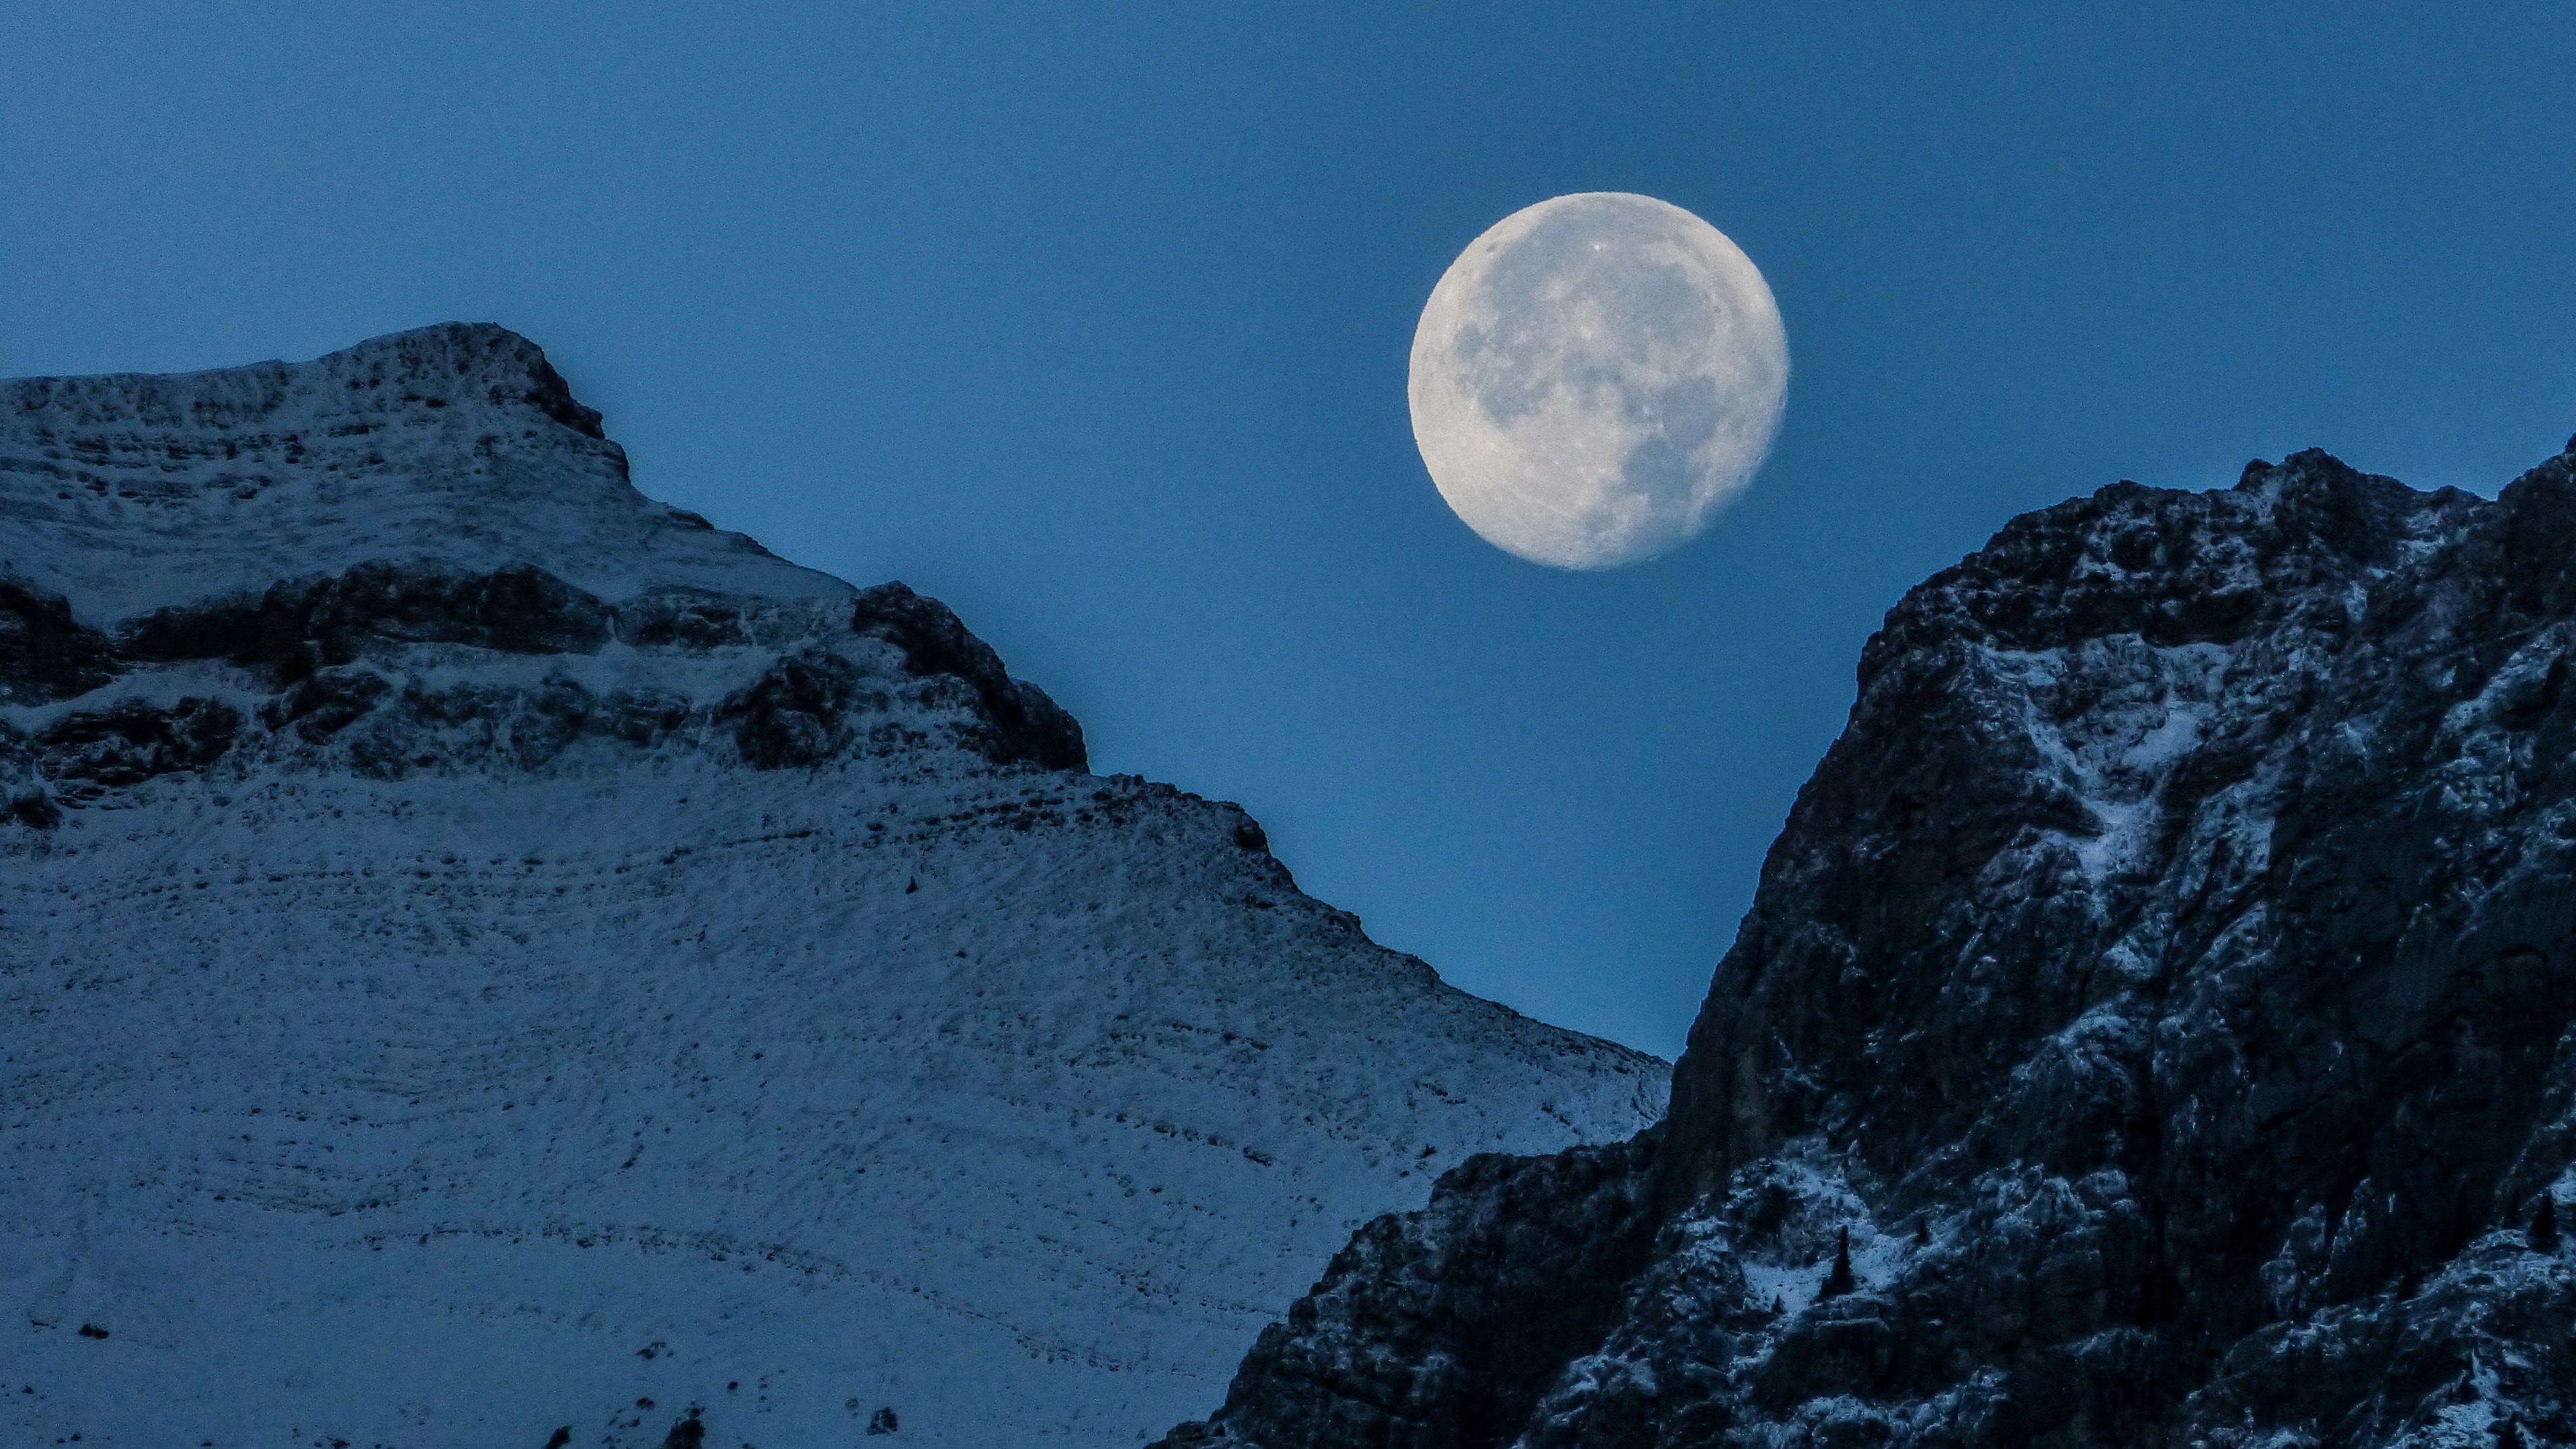
Knowing how to photograph the moon starts with getting yourself a long zoom lens to ensure you get close enough to capture detail. A 70-300mm telephoto zoom is a great starting point, but if you really want fill the frame with the moon, you might want to look into getting a super telephoto zoom.
Don't worry if you haven't got a DSLR or mirrorless camera though, as a variety of bridge cameras also offer huge zoom lenses.
A tripod is also a must to avoid camera shake when taking moon pictures. Also check the weather forecast in advance, as it goes without saying, to photograph the moon you'll need a clear and cloudless sky.
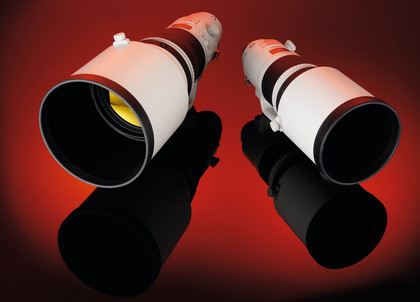
Not lucky enough to have a hefty zoom lens in your collection? You can rent beautiful bits of glass easily from the like of WEX Rental or Lenses For Hire. Image credit: Digital Camera World
Pollution in big cities can sometimes get in the way of a crisp clear shot, so consider driving out to somewhere where the air will be cleaner to photograph the moon.
Get daily insight, inspiration and deals in your inbox
Sign up for breaking news, reviews, opinion, top tech deals, and more.
Look online for charts that show moonrise times, and if you can, wait until as late at night as possible, so the sky will be completely dark and the moon will be bright and clear against a black backdrop.
We hauled our equipment into the back garden half an hour before midnight to get everything set up for our shot at the top of the page.
When you're ready to go, make sure your camera is set up so you'll be shooting in raw format. This will give you the picture quality you need in order to be able to crop your final image to get closer to the moon, as well as edit the exposure, contrast and clarity to bring out the detail on the moon's surface more clearly.
As well as being beautiful in itself, a big, bright moon shot can be useful. Once you've followed our steps and come away with a clear image, we'll walk you through how to add your lunar masterpiece to night landscapes in Photoshop.
While it's a big challenge to shoot a well-exposed nightscape that also includes a well-defined moon, it's a cinch to add the moon in Photoshop, and we'll walk you through how to create a dramatic composite in five easy steps.
Step-by-step: How to photograph the moon
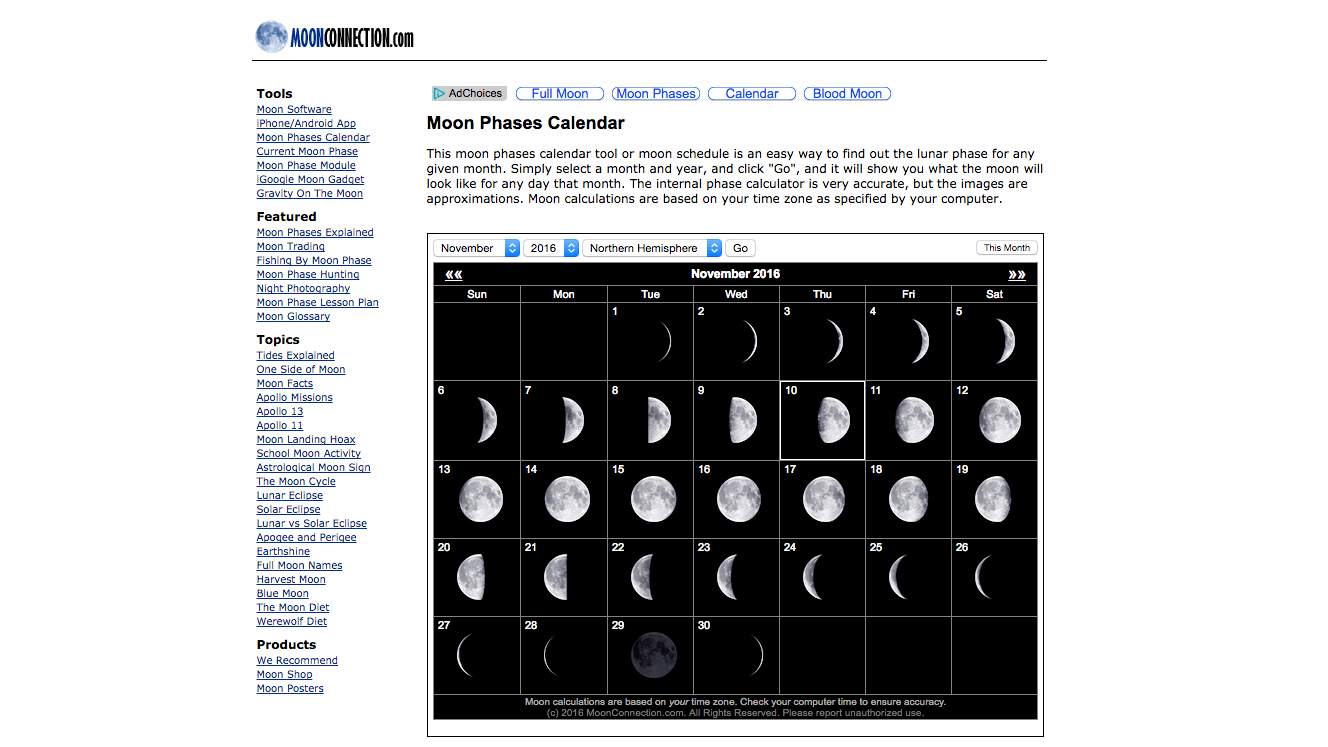
1. Find out the phase and pick the right date
Start by finding out when and where the moon will be visible in the night sky, and also how much of it will be lit by the sun (the area known as the phase). You can readily find plenty of information about the times and positions of the moon’s ascension and descent, along with its phases, on many meteorological websites like Moon Connection, or use an app such as The Photographer’s Ephemeris. A perfectly full moon like the one we're shooting has the biggest visual impact.
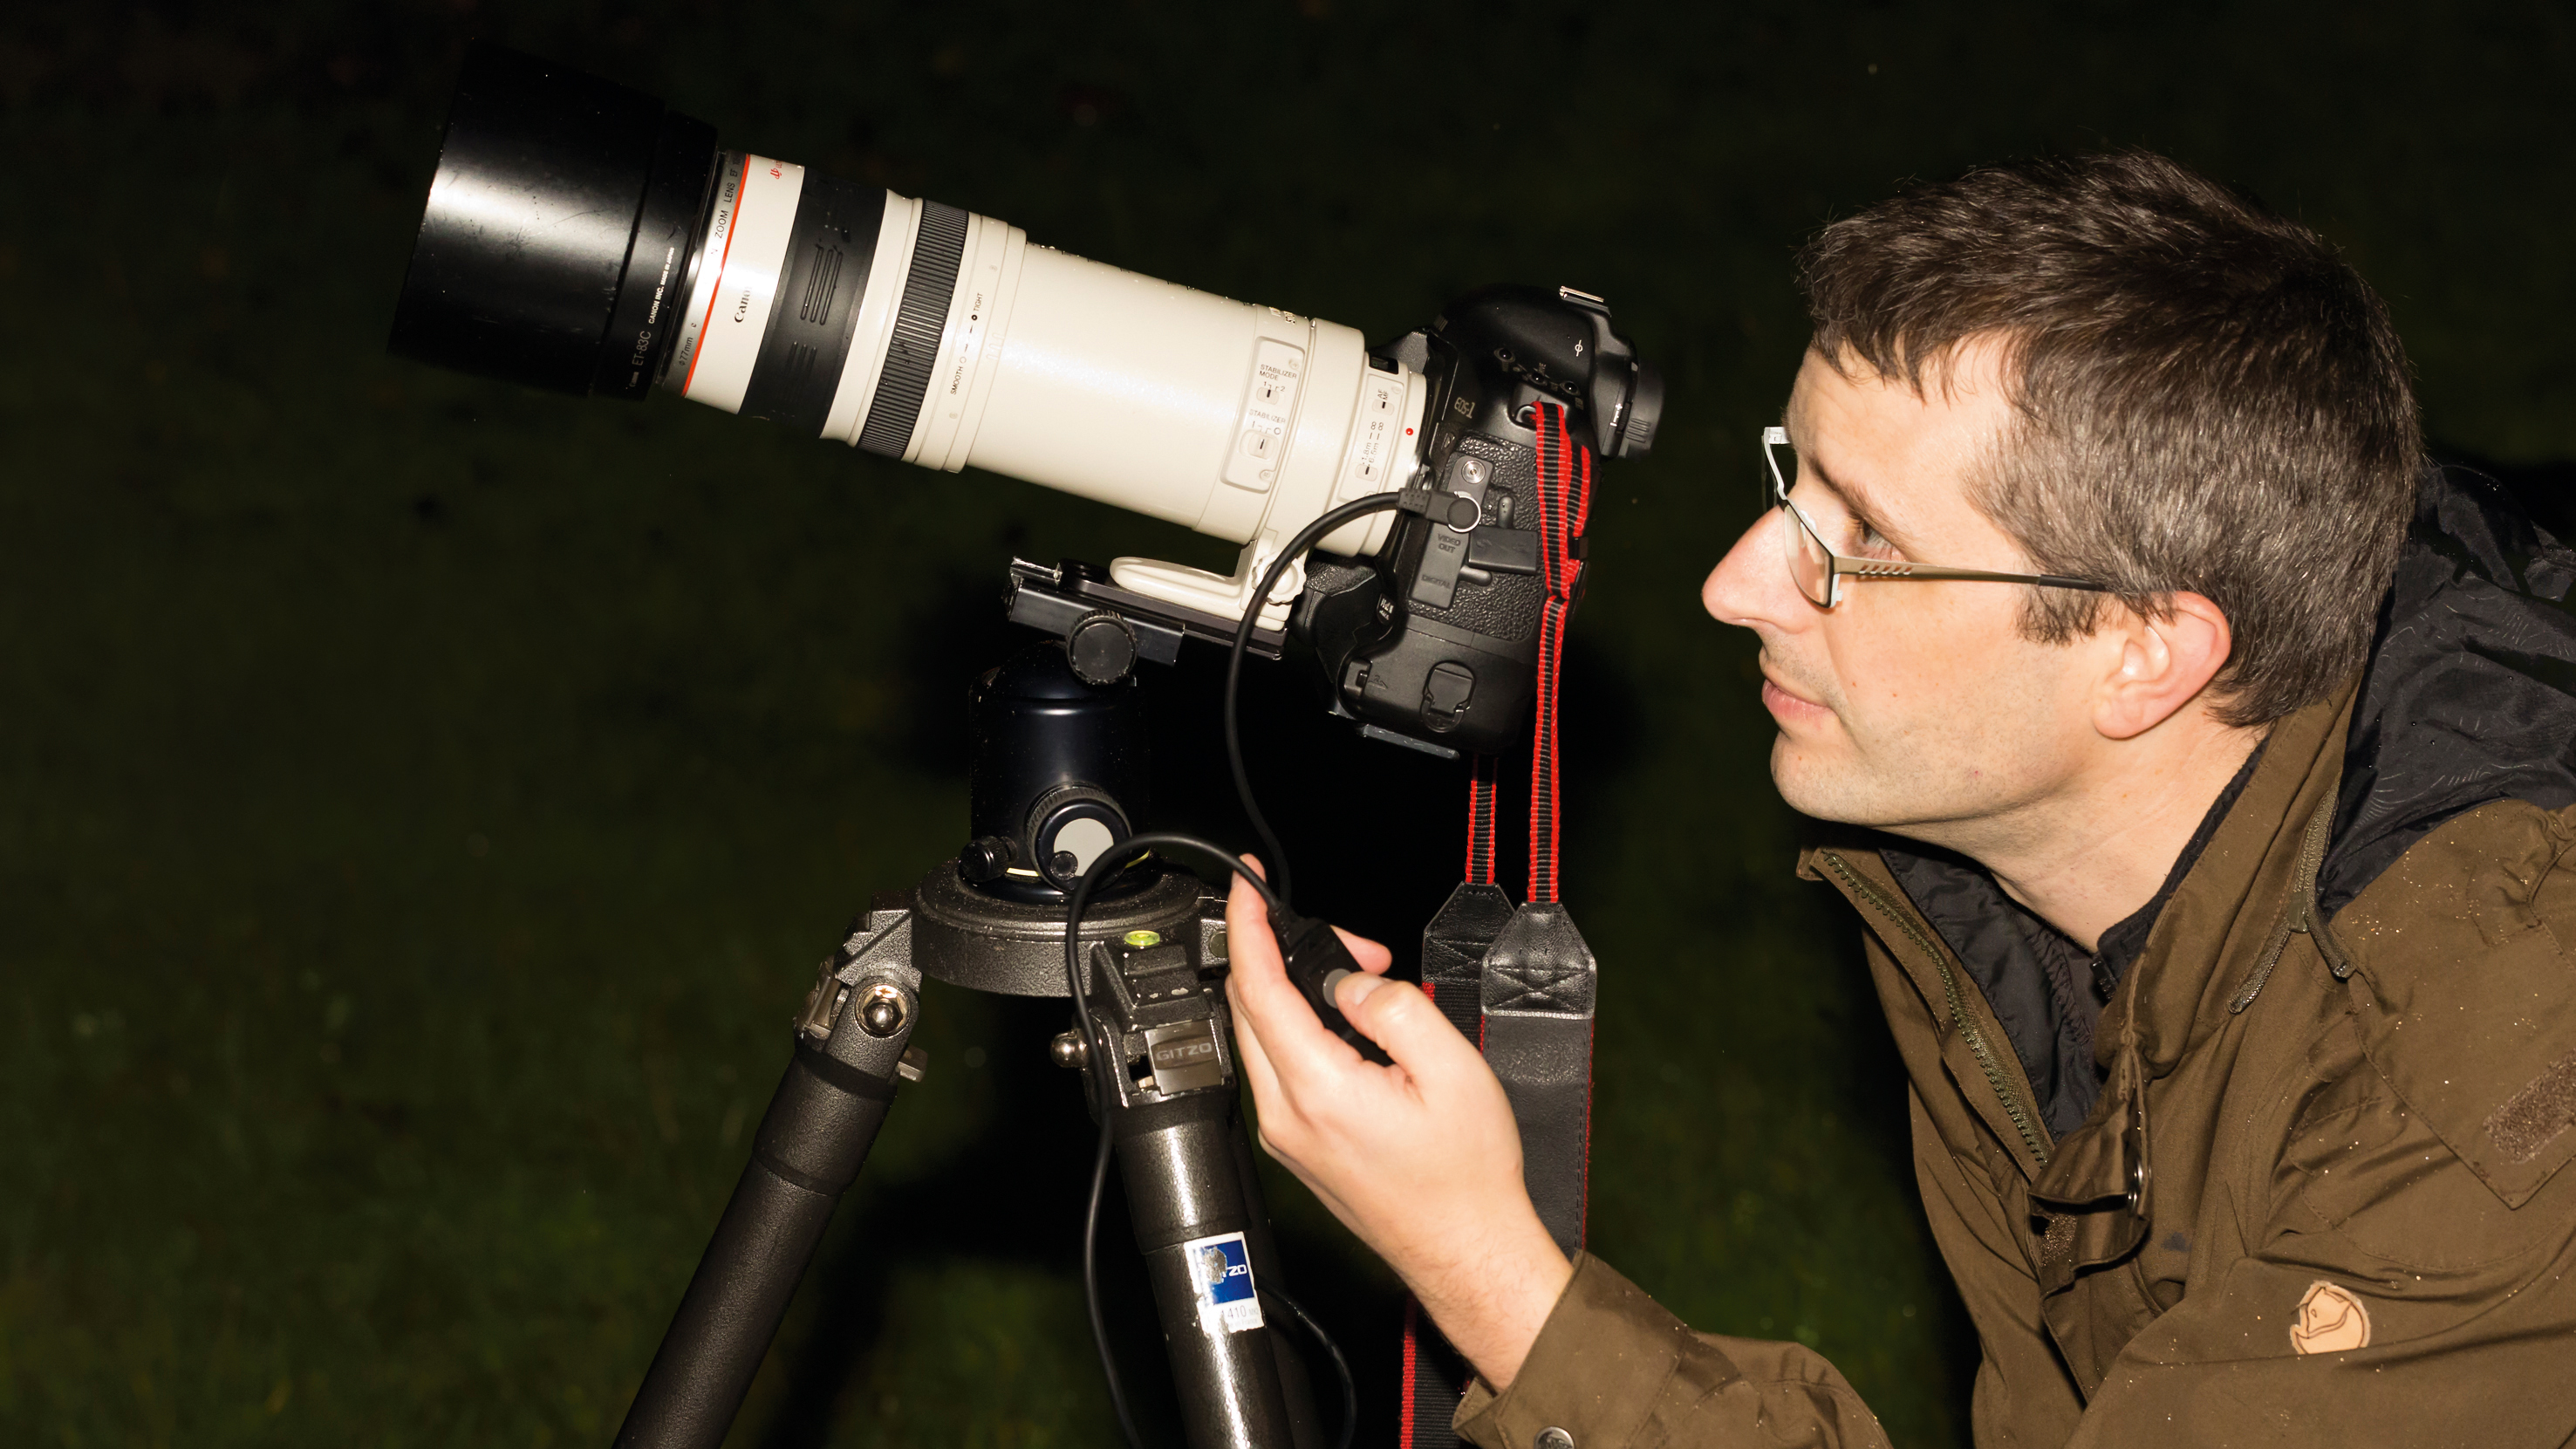
2. Zoom in close
Once you’ve decided on a suitable time to shoot the moon, the technique is pretty straightforward. You’ll need a lens of 300mm or longer to get it at a reasonable size in the frame. A tripod will keep your camera still, and a remote shutter release will reduce shaking further - if you don't have one, set the camera's self timer to a few seconds in the Setup menu.
3. Get set up
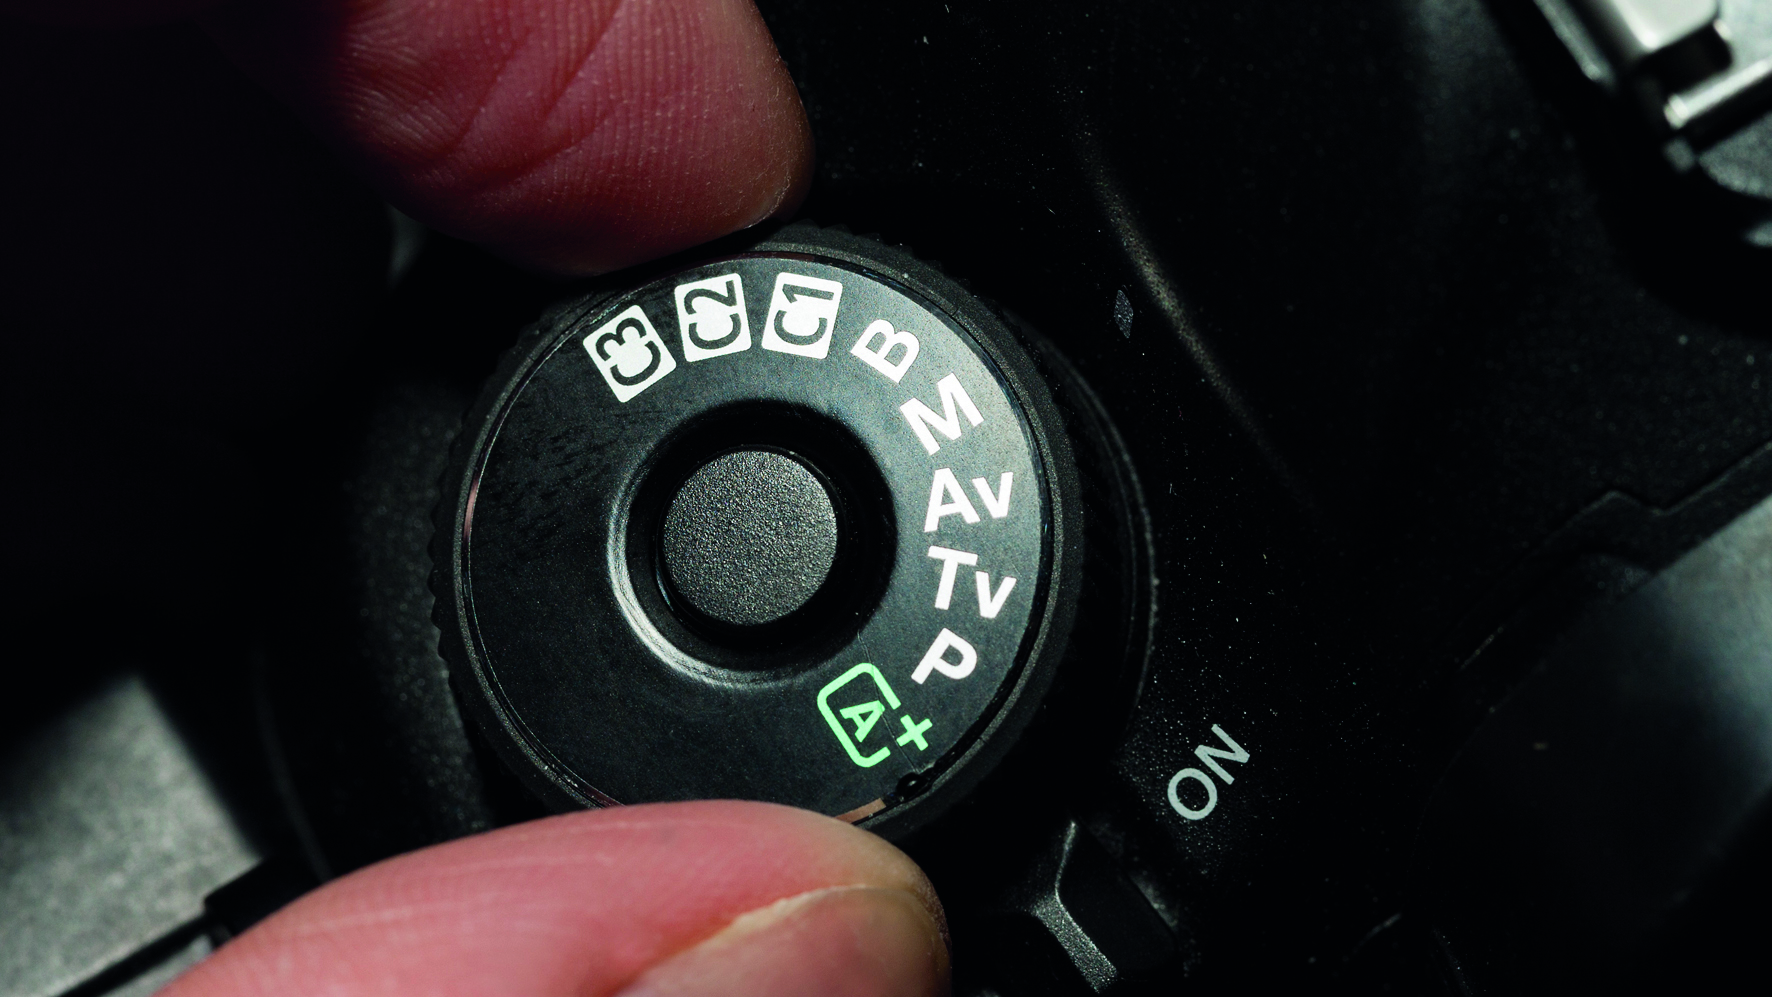
Switch your camera to Manual mode and your lens to manual focus. Your exact exposure will vary according to the conditions, but in manual exposure mode start with ISO800, a shutter speed of 1/250 sec and an aperture of f/5.6. Adjust the ISO or aperture until you can see detail clearly in the surface. Avoid using a slower shutter speed as you tweak the settings. This will result in the moon blurring. It’s easy to forget about these hidden dangers.
4. Focusing
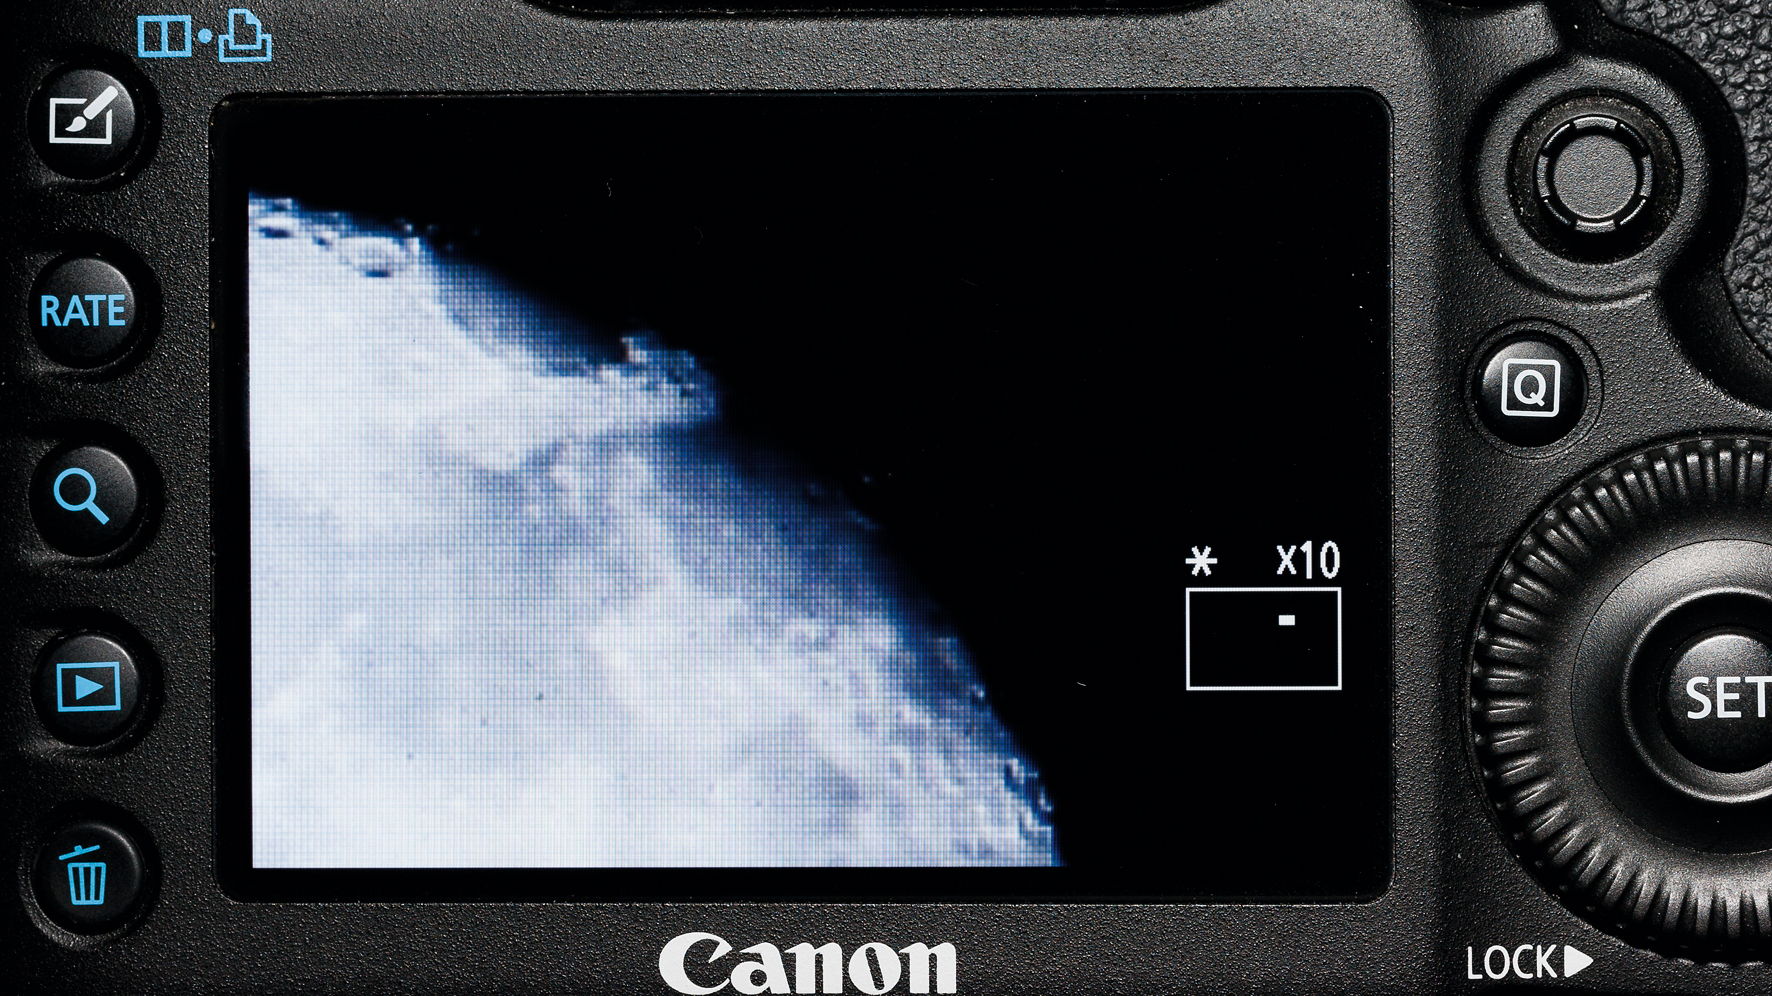
The moon won't fill the frame, so judging focus can be an issue. The best way to focus is to use Live View mode, then zoom in and carefully manually focus on the moon’s surface.
Make the moon bigger
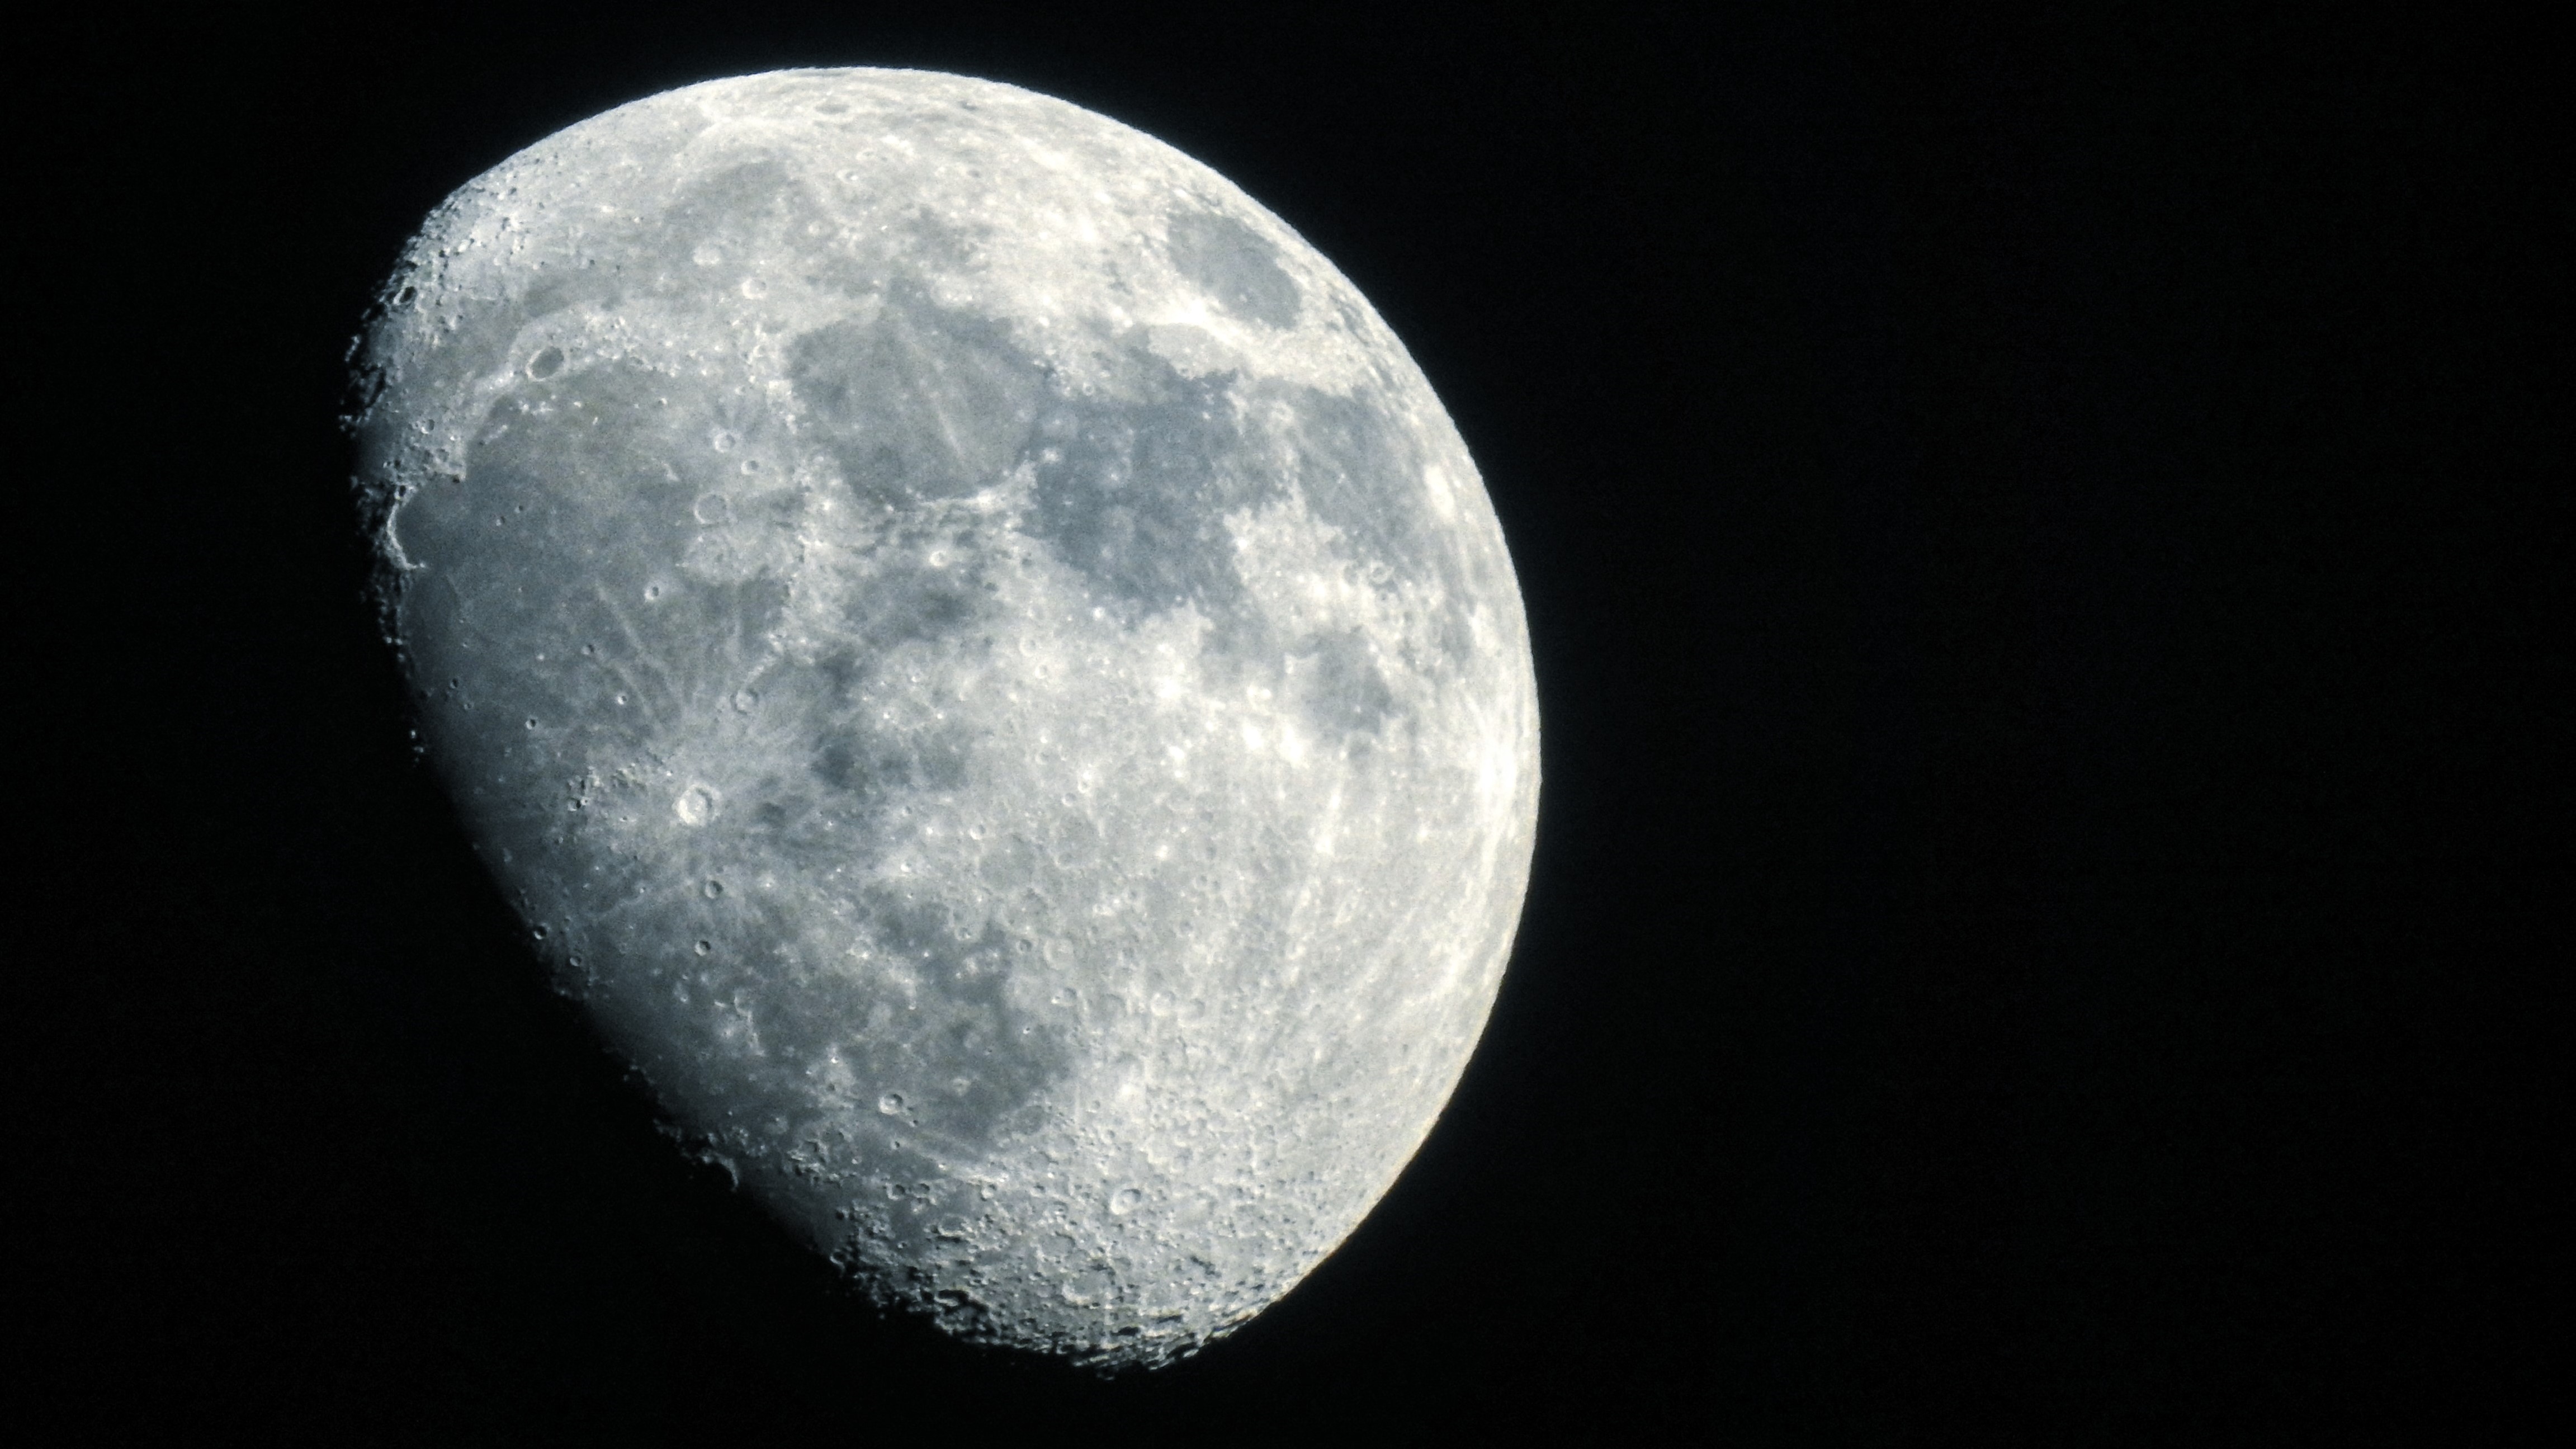
When you’re deciding when to shoot the moon, it’s also worth remembering that it isn’t always the same distance from the earth. Its orbit is elliptical, so this distance varies at different times. When there’s a full moon that’s closer than around 220,000 miles (360,000km) from the earth, this is known as a super moon. The difference in size and brightness between a super and a micro moon isn’t huge, but even a small change can make a difference to your shots. For detailed information about the moon, try the Moonrise and Moonset calculator.
You can still get a decent moon picture - crescent moons make for beautiful shots, and three-quarter moons will show good crater detail.
You’ll need to fill in your location, which will then allow you to discover all sorts of useful information, such as moonrise and moonset times. On this site you can also find out about a much rarer event, the lunar eclipse. This can be a stunning sight, because during a full lunar eclipse the moon can be transformed into a glowing red color. During this event, the moon is much less bright than when it’s illuminated by the sun, so you’ll need to use a higher ISO or wider aperture. But the results can be stunning.
Watch out for condensation
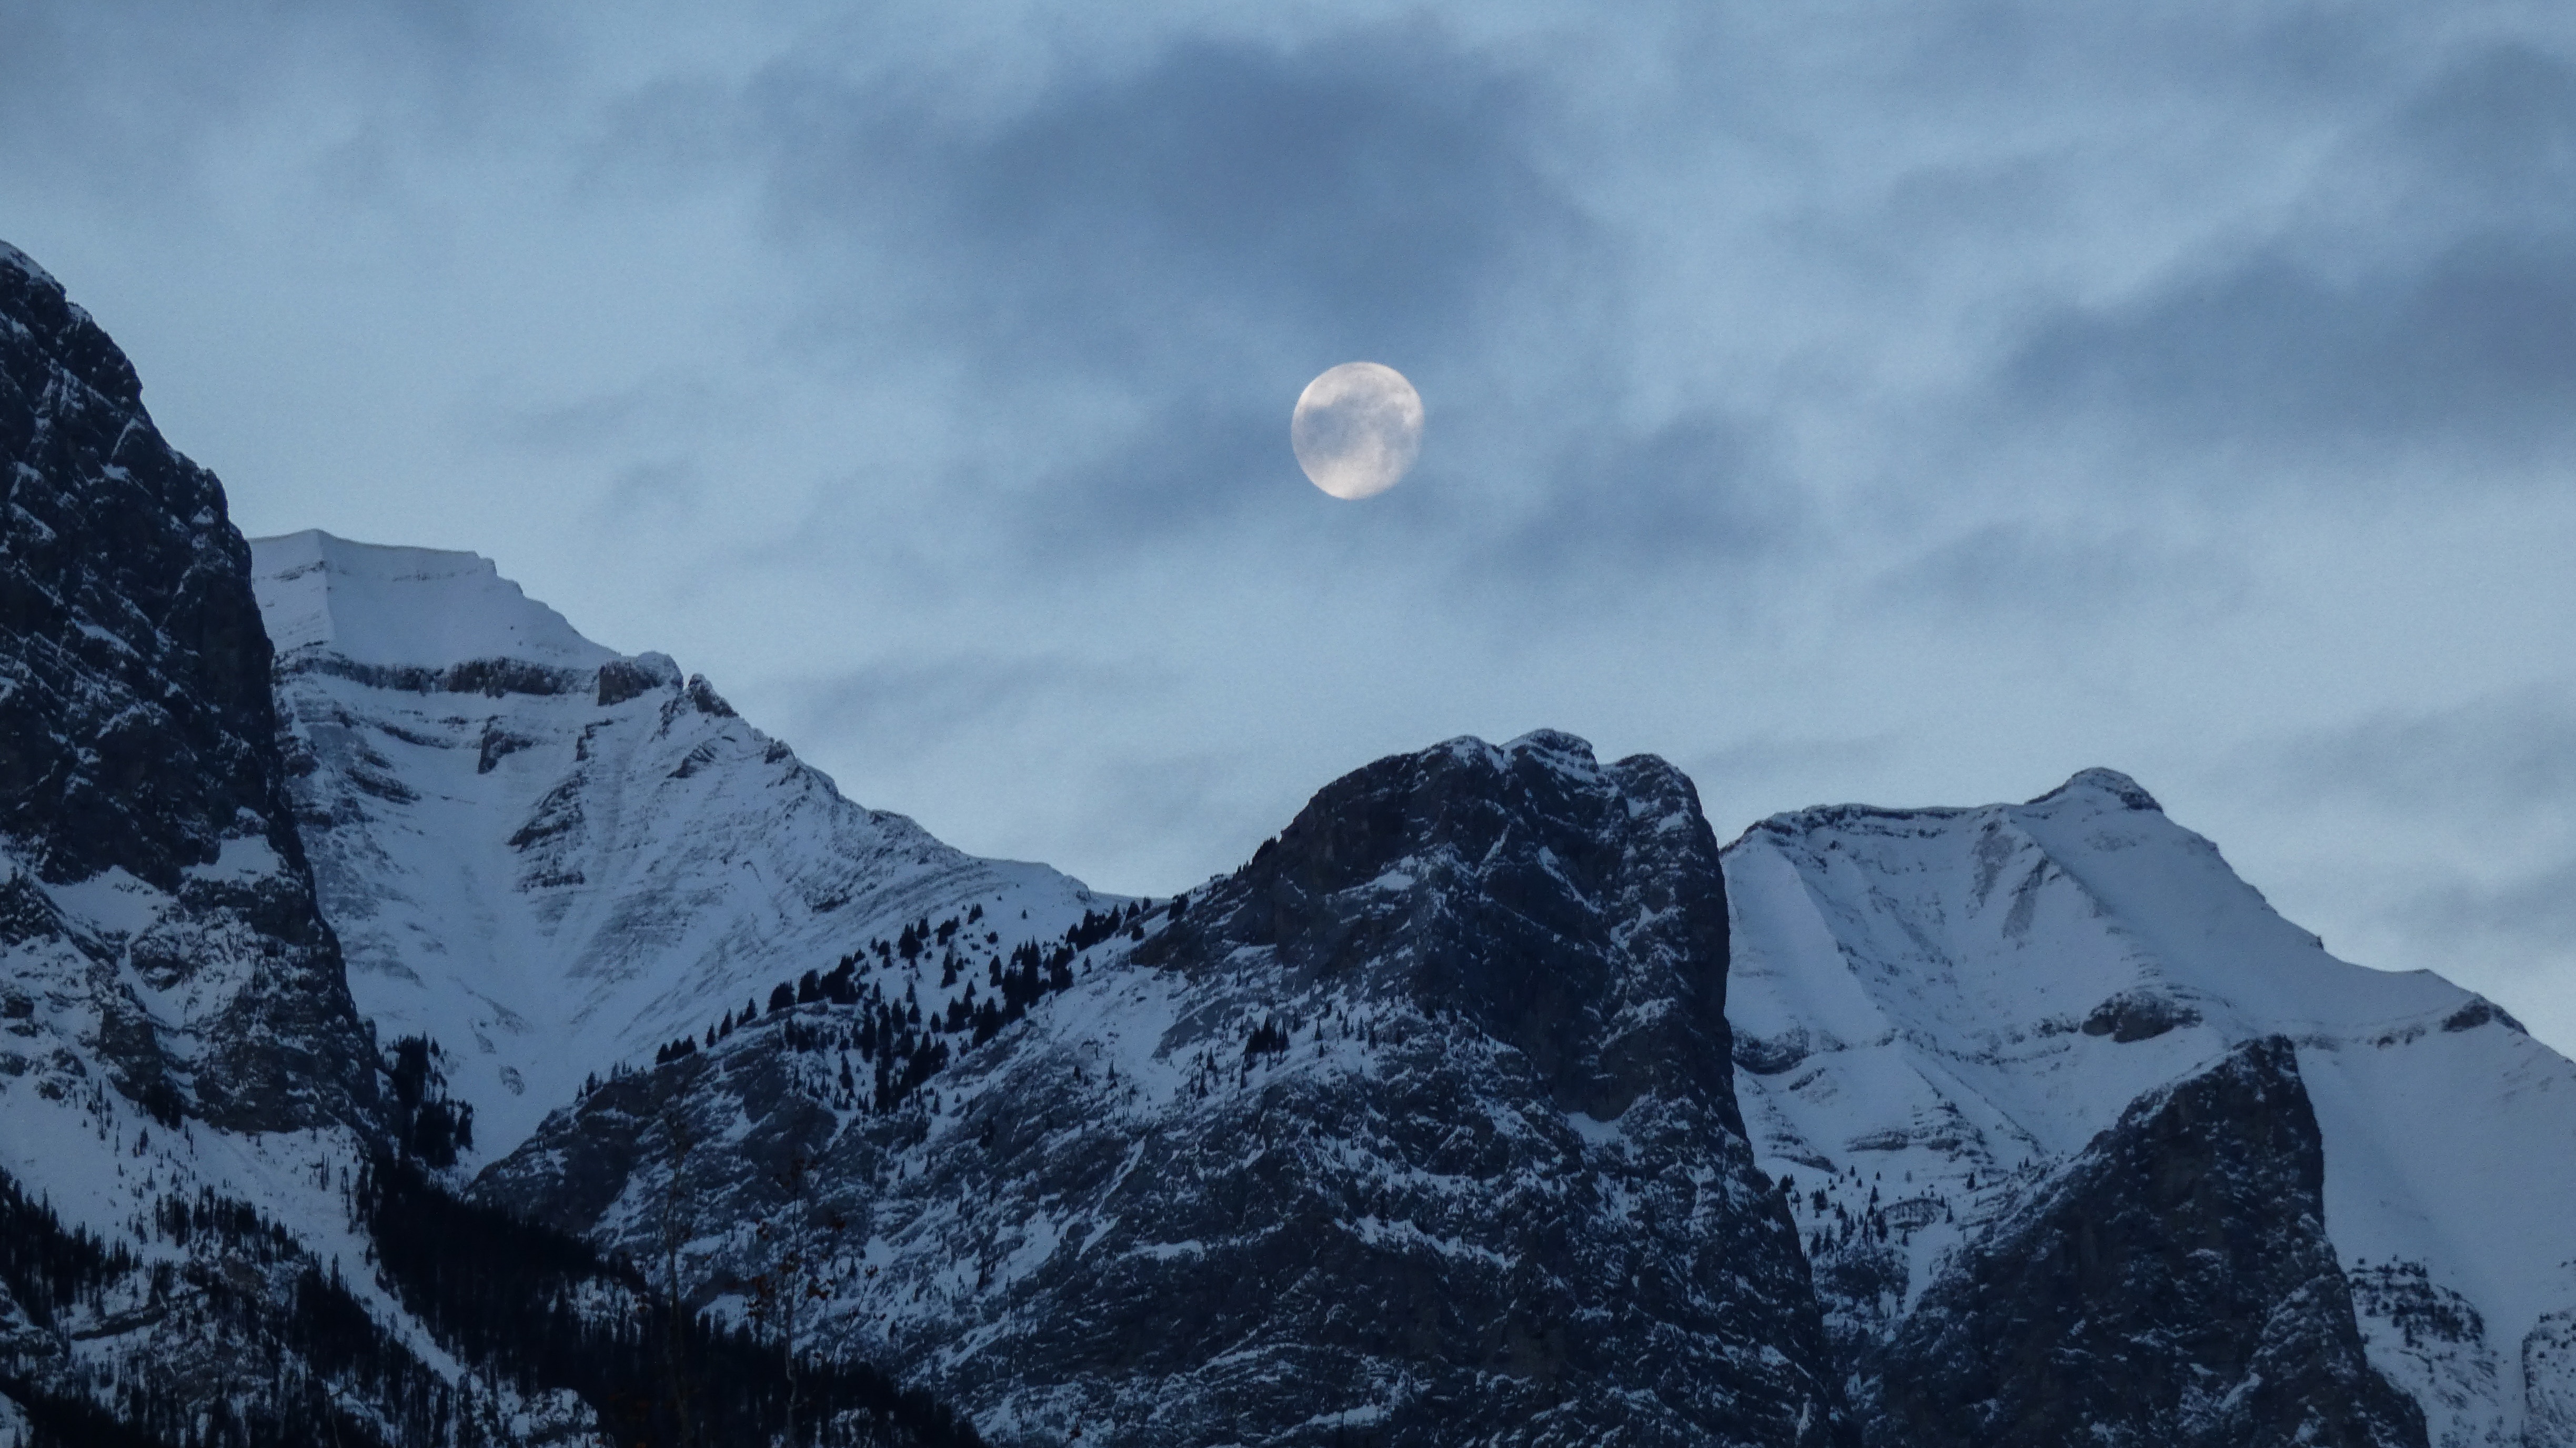
As the temperature drops during the night, you’ll often find that any moisture in the air will condense on any gear you have out in the open.
On your tripod, bag or even the outside of the camera, this can be unpleasant, but not disastrous. It’s when it forms on the lens, viewfinder and rear screen that it becomes a real problem.
You can minimize the probability of condensation by giving your gear some time to gradually acclimatize, rather than taking it straight out of a warm car or house into the cold air, but on many evenings you’ll still find condensation will form, so take along plenty of cloths and cleaning kit.