Getting started
Back in the day, shooting video used to require a camcorder, mini DV tapes and other bits of specialized gear. Today, filming has trickled down to cameras in all shapes and sizes including DSLRs, small cameras and of course all the smartphones in your pocket today.
While shooting video today is just as easy as switching to video mode and/or hitting the record button, there's always room to improve and perfect your home movies. With that in mind, here are a few things you can do right now to improve your movie-making skills with a camera.
Picking the right camera
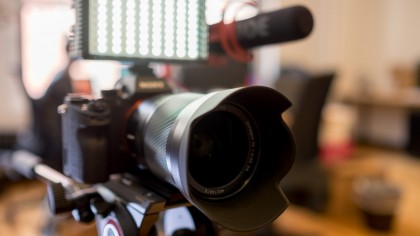
Although almost everything can record video these days, different cameras still vary in their feature set. Whether you're looking to pick up your first camera or an upgrade, here are a few models to keep your eye on.
Canon arguably has the best autofocus system thanks to its dual-pixel technology found in the 70D, 80D, 7D. Alternatively, Canon's 5D Mark II and 5D Mark III are well regarded in the video production world. The company's most recent full frame system, the Canon EOS-1D X Mark II, also shoots in 4K.
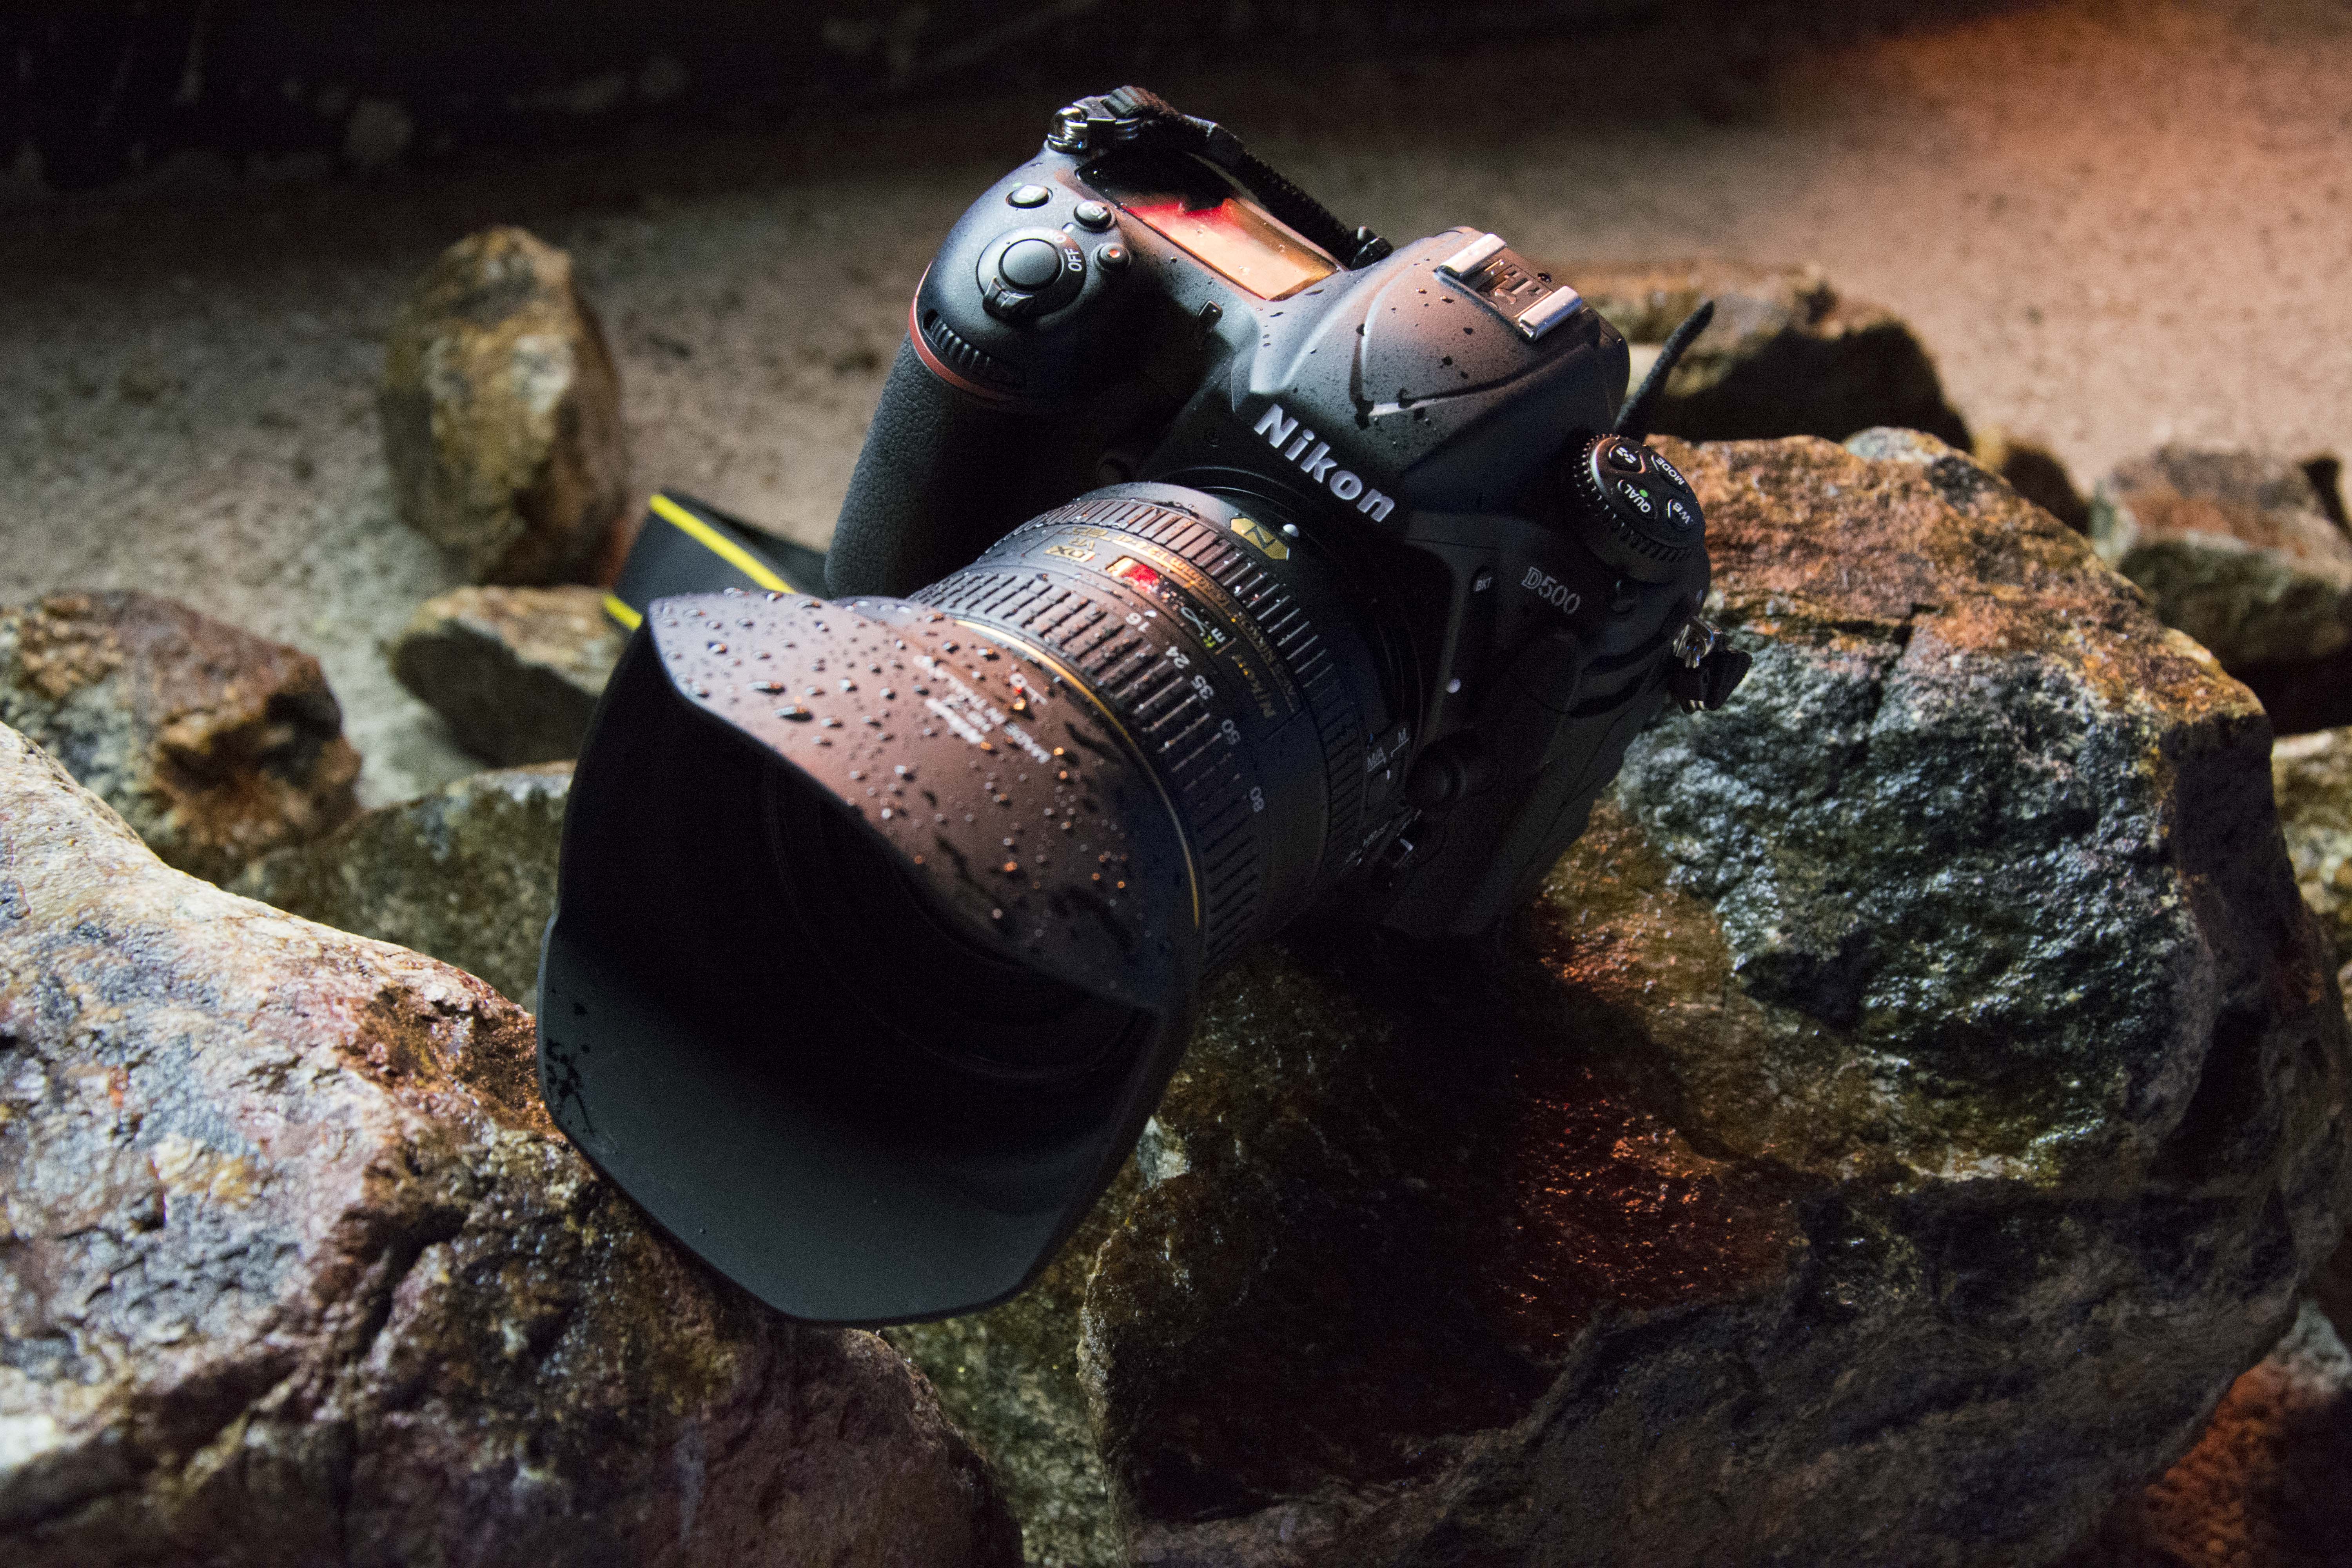
If you're looking for more options for recording in Ultra HD, Nikon jumped on the 4K ship much earlier with models including D500 and D5, as well as three compact DL-series cameras.
Similarly, Sony has your 4K video needs fully covered with small compact cameras like the Sony RX100 Mark IV and its super-zoom RX10 Mark III.
Sony's a7 series also features a unique on-sensor image-stabilization system to help steady videos shot on its full-frame mirrorless cameras. Sony's flagship mirrorless full-frame a7R Mark II features one of the highest resolution 42.4 megapixel (MP) sensors in the world.
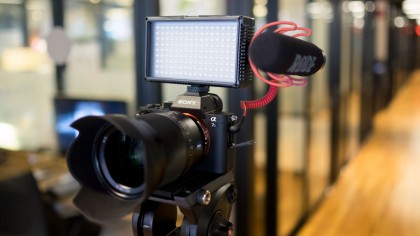
The Sony a7S Mark II is also a unique outlier with its 12MP sensor and ability to shoot in virtual darkness – it's also the camera we chose to use for this guide.
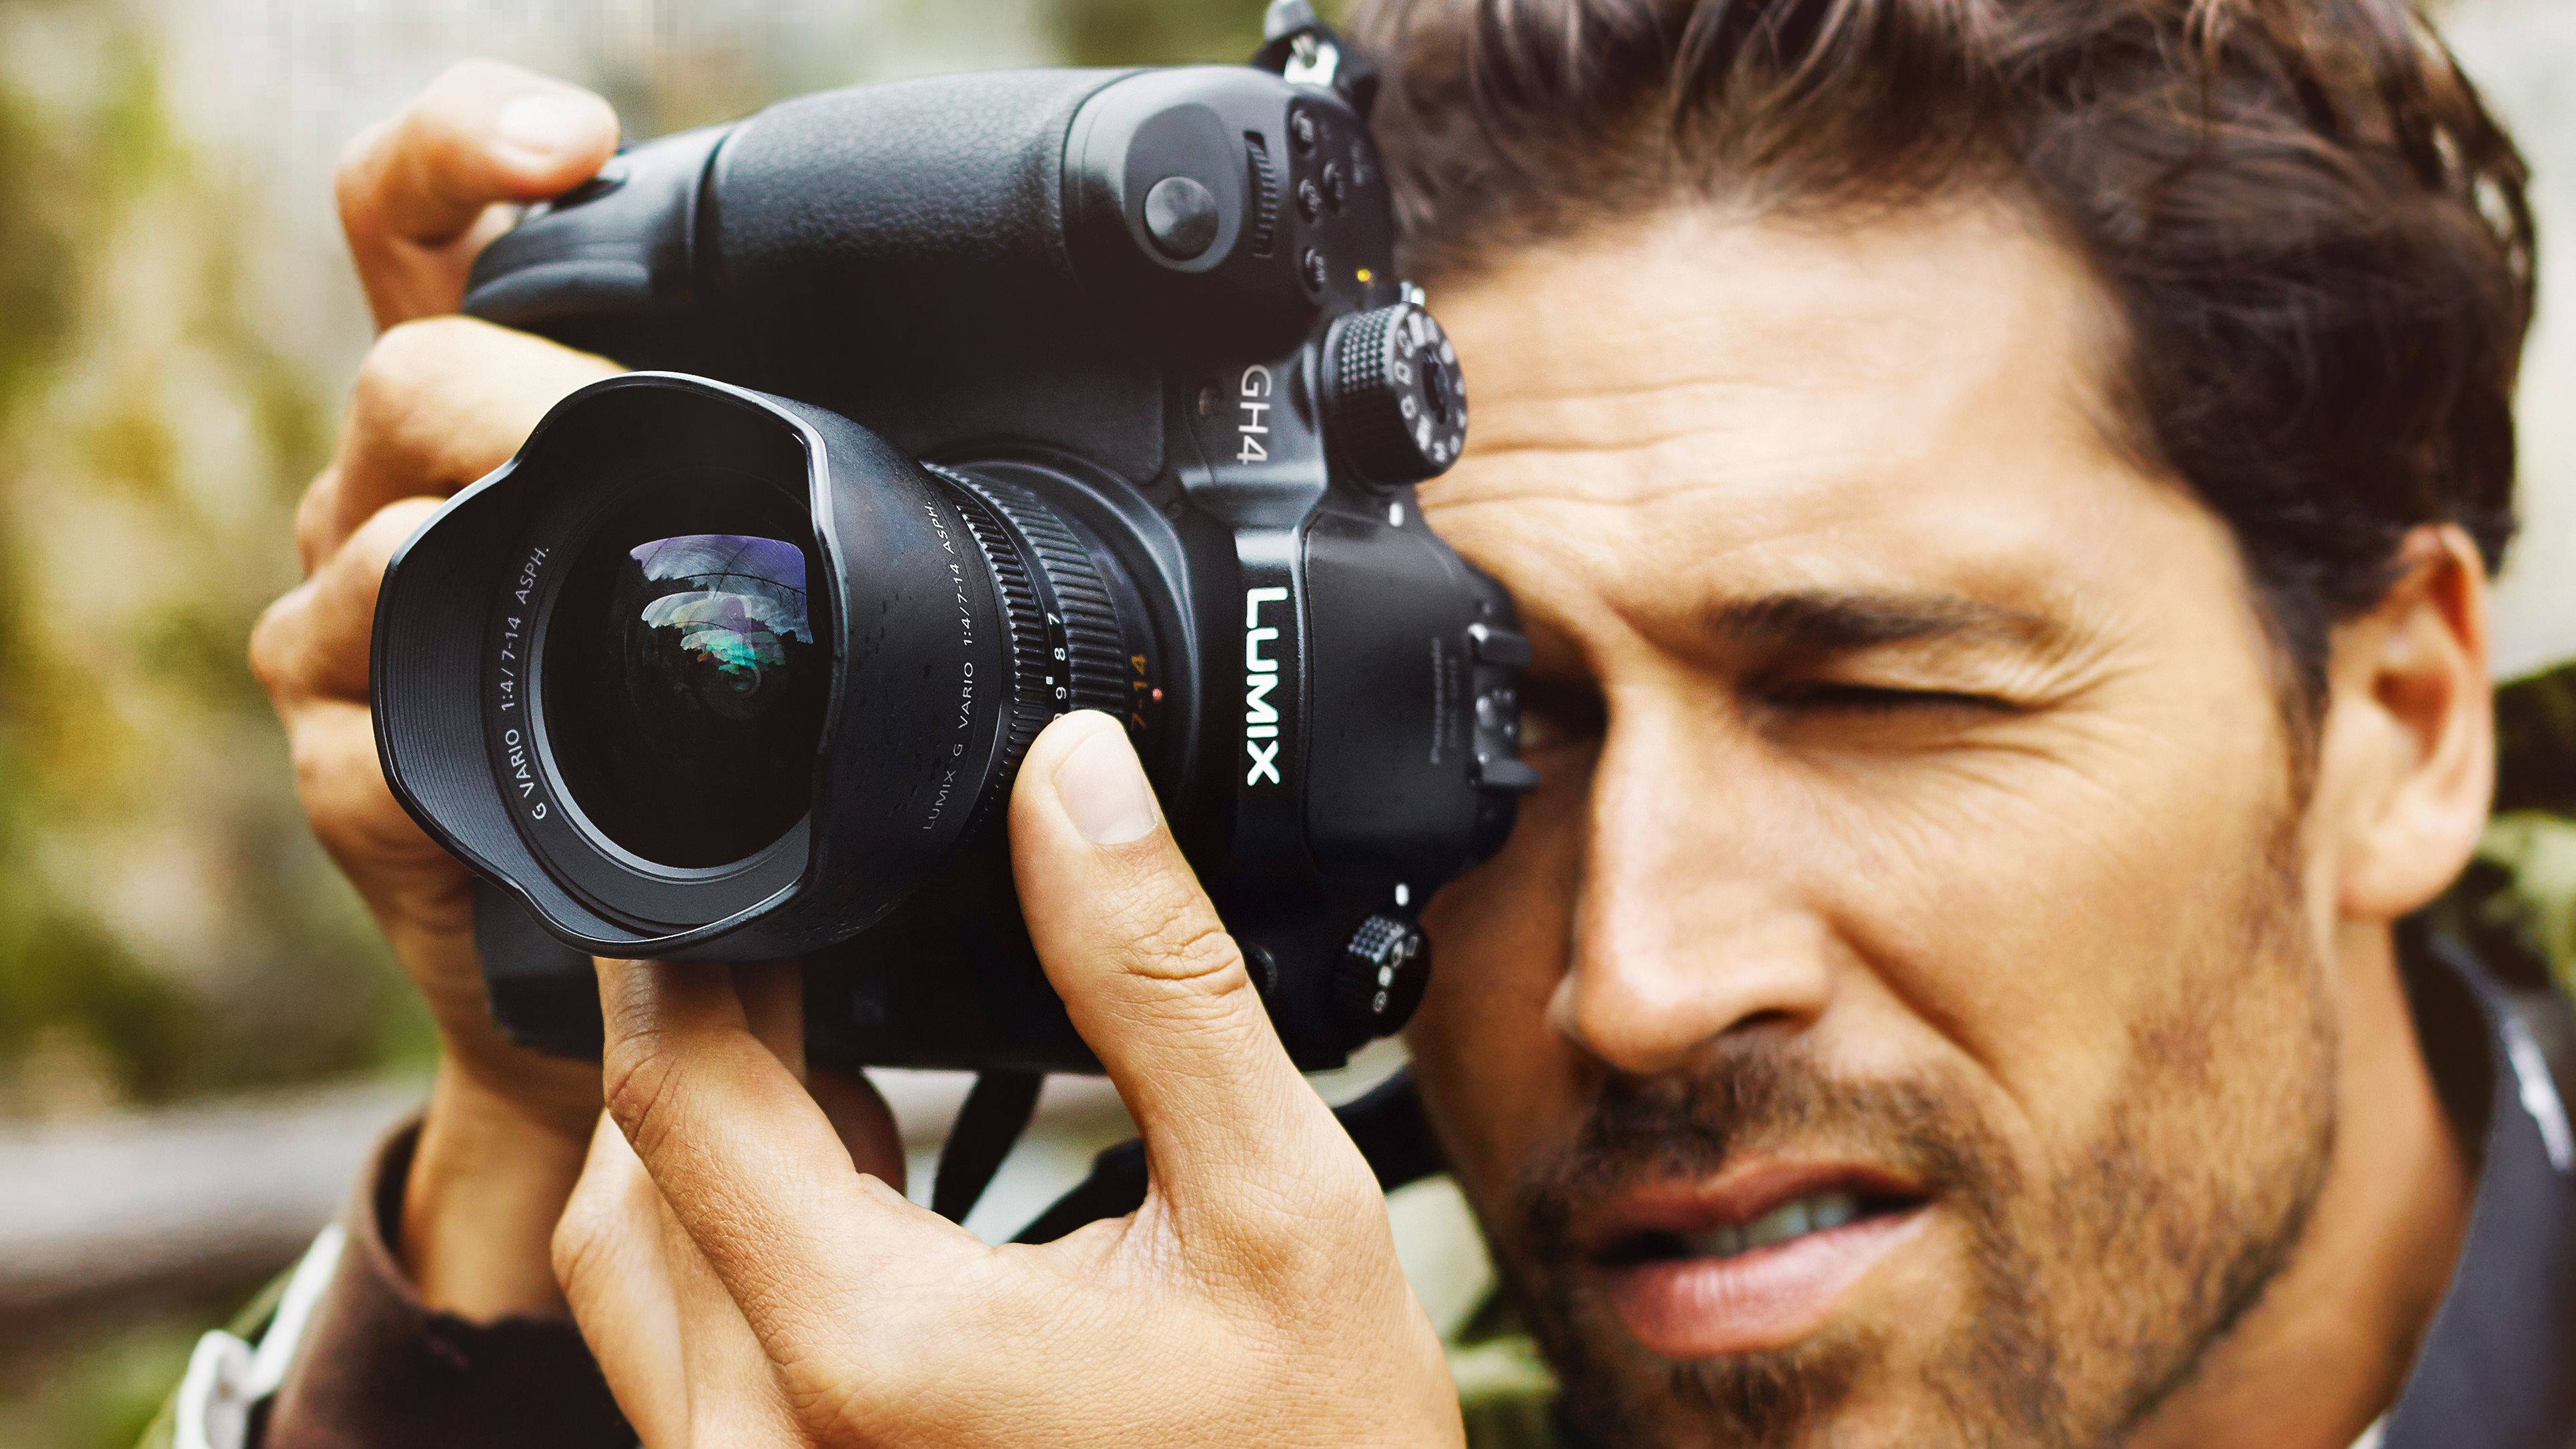
If you're looking for something even smaller, Panasonic has also produced some standout micro-four thirds cameras. The Panasonic Lumix GH4 was one of the first cameras to feature in-camera 4K video recording and its diminutive size makes it much smaller than DSLRs and Sony's full-frame cameras.
There's also the affordable Panasonic Lumix G7 and if you're more comfortable with a rangefinder-styled body and want in body stabilization, consider the Panasonic Lumix GX8 or Lumix GX80/GX85. If you want something smaller, consider the micro-sized Lumix LX100.
Last but not least, Olympus has also stepped up its movie making game with expanded video options and a sensor-stabilization system. A few options you'll want to consider includes the Olympus OM-D E-M5 Mark II and Pen-F.
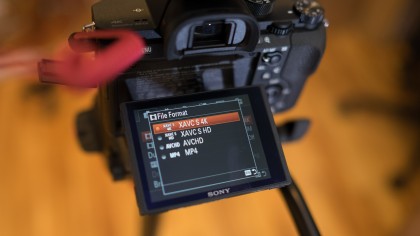
Movie formats
Before we can even get started with shooting movies or hitting that record button, the first crucial step is picking the right movie format for you. There's a handful of varied file types, but here's a brief rundown of what's available today:
- MP4: This digital multimedia format compresses movies into a smaller files making them optimal for streaming and quick uploads.
- AVCHD: Short for Advanced Video Coding High Definition, Sony and Panasonic co-designed this format for HD camcorders. As such, users can create high-definition files at 720p and 1080p or higher. The resulting files are a bit bigger than MP4, but they're still bite-sized enough for uploading to Vimeo and YouTube on top of being burnt on DVDs and Blu-ray discs.
- XAVC S: If you have your hands on a pro-level Sony camera, XAVC S is the way to go for added editing flexibility.
- XAVC S 4K: Essentially the 4K flavored version of XAVC S, this format supports even higher bit rates, a wider color gamut and, of course, an Ultra HD resolution.
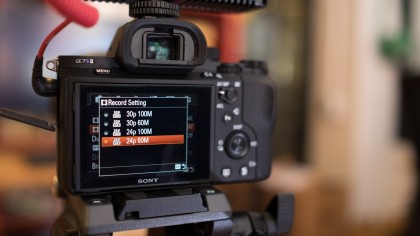
What's the deal with frame rates?
Frame rate dictates the number of individual frames captured in each second of video you record. For instance, if you were shooting at 24 frames per second, the camera would be essentially recording 24 frames every second.
While the concept is simple enough, picking the right frame rate is a bit more complicated.
- 24fps ('the cinematic look'): Most movies are shot at this frame rate. Movie houses in the late 1920s established 24fps as the industry standard since it was the slowest – and thereby, most economic – frame rate that would still support audio playing off a 35mm reel of film. Lower frame rates also capture more motion blur, which helps to make movements seem more realistic and fluid.
- 25/30fps (best on TV): Although these two frame rates are only slightly faster than 24fp, they're a better match and are exactly half the refresh rate of modern televisions. Picking between these two really depends on the how quickly your TV set refreshes. In the US you're more likely to run into a 60Hz panels because of the NTSC standard, meanwhile, the UK and other countries follow the 50Hz PAL color encoding system.
- 60/50fps (best for action): You might be asking why not just set video to record video at the same frame rate as your TV? The simple reason not to is you capture better resolution images with sharper details at lower frame rates. However, don't write these higher-fps options off all together. 60fps and 50fps are great for fast action and you can also slow the video back down to 30fps for slow-motion video.
- 120/240fps (slow-motion): If you want to get even more extreme with slow-motion footage, bump up your camera to these excessively high frame rates.

Interlaced vs progressive
You might have noticed an 'I' and 'p' next to the frame rate options you were just looking at. These simple letters actually denote the two different scanning modes – how each frame of video is rendered on the TV screen – available in video known as interlaced and progressive.
Interlaced layers frame on top of each other with only half of the picture actually appears at a time, though, it happens faster than the human eye can see. Progressive scanning, on the other hand, paints the entire image all in one go and this can help reduce flickering.
Generally, you should record in progressive mode if it's available as 60p will always produce a sharper and more defined picture than 60i.
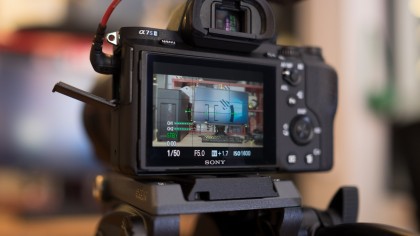
Other important camera settings to know
It's also important to understand what all your settings (aperture, shutter speed, ISO) do and how they can affect the resulting movie. Although video follows many of the same core principles as still photography, motion video is slightly different in some ways.
Shutter speed: As with still photography, the general rule is to go fast if you want to freeze time or tick down to a slower setting to capture motion blur. That said, there is a basic '180-degree' rule that you'll want to follow in which the shutter speed should always be twice as fast as your frame rate. For example, if your frame rate is set to 30fps, you'll want a shutter speed of 1/60th of a second.
Of course, you're completely free to break that rule and doing so will produce some stylish effects. Going with a slow shutter speed will produce blurred frames and smoother footage. Alternatively, picking a very fast shutter speed creates a series of crisp frames and a choppier movie similar to the opening of Saving Private Ryan.
Aperture directly affects your depth of field as well as the amount of light coming through the lens. A large aperture (and small f-stop number) produces a small depth of field and area of focus with large fields of bokeh. If you want to capture more of the scene in focus, you'll have to shrink the aperture on your lens by setting a higher f-stop.
ISO relates to the sensitivity of your sensor, and increasing it will allow you to shoot in darker and dimmer situations. Keep in mind that the higher you set the ISO sensitivity, the more noise you'll introduce into the frame.
In daylight and other bright lighting situations, you'll want to keep your ISO speed around 100-200, 400 for overcast conditions, 640-800 for well-lit indoors and golden hour times, 1,250-1,600 in dimmer situations and night shooting, then 3,200-6400 and beyond when it's truly pitch black.
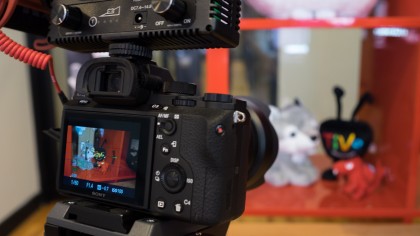
Find your focus
For the most part you'll almost always use continuous autofocus for all of your movie shooting unless you're changing it manually. Thankfully in-video autofocus has gotten much, much better in the last few years and Canon's aforementioned Dual-Pixel system can shift focus almost as smoothly as a trained professional hand.
That said, if you want to take things into your own hands, there's always the option of switching to manual. Most mirrorless cameras come with peaking to help you see what is in focus with glowing, colorful dots. DSLRs don't have this luxury, so you'll either have to really closely look through the viewfinder or buy an eye-cup accessory for the rear LCD.
Stabilize yourself
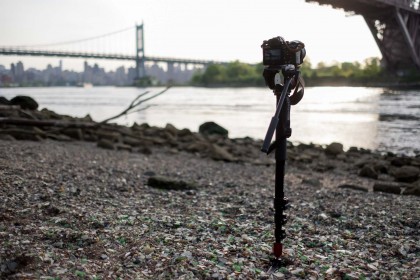
Shaky video can easily make you sick, and to avoid this you may want to invest in a tripod or monopod. These little camera support systems come in all sorts of sizes. Micro-sized Joby GorillaPods can easily stow in your bag and screw on whenever you need to use it – plus their flexible legs make it easy to wrap them around a lamp post, tree branch or what have you.
Alternatively, travel tripods offer beefier construction and can extend to eye-level height when you want to take some seriously stabilized video.
If you're looking for something from the pro-circuit, we highly recommend the Manfrotto 755CX3 MagFibre Tripod with MVH500AH Fluid Head. It's a lightweight, but solid, carbon-fiber tripod and the fluid head offers some of the smoothest motion we've ever used.
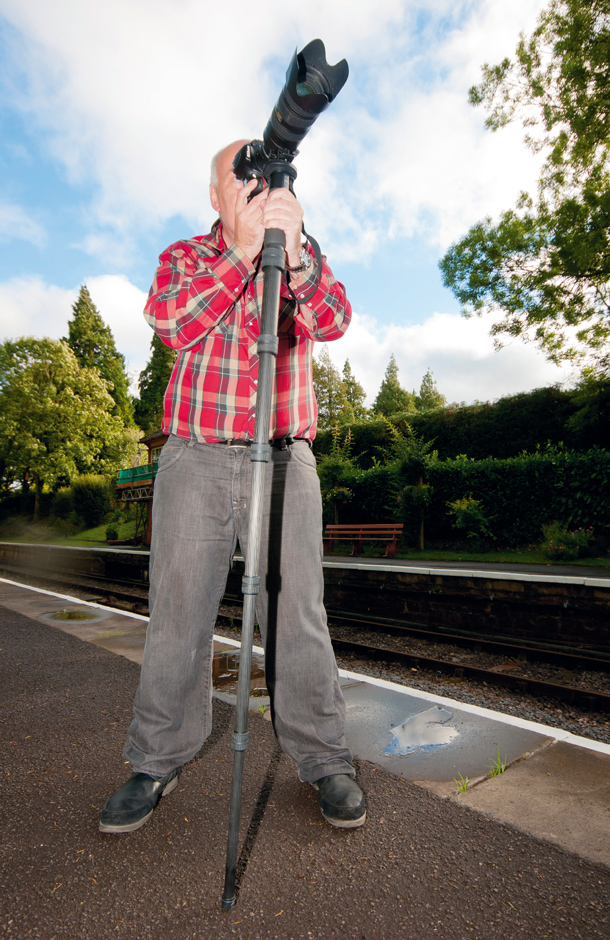
Tripods are great for maximizing the stability of your shots but they can be cumbersome to use and need a ton of floor space to set up. If you're shooting in an intimate situation (like a concert) or just want something smaller, we suggest getting a monopod.
It doesn't offer as much stabilization and you'll need to keep your hands on it at almost all times, but it's much easier to set up as you just need to attach your camera and extend one leg. There are plenty of travel options and Benro offers some particularly excellent and affordable monopods.
However, if you're looking for the be-all and end-all of tripods, the Manfrotto MVM500A Fluid Aluminum Video Monopod is the ultimate solution for serious video shooters.
Lighting modifiers
While getting all of your settings just right is great, you can add even more control by adding in lighting modifiers.
Having the shutter speed set to double your frame rate makes shooting in daylight tricky. You'll have a blown-out exposure unless you drastically shrink your aperture and choose an extremely low ISO speed.
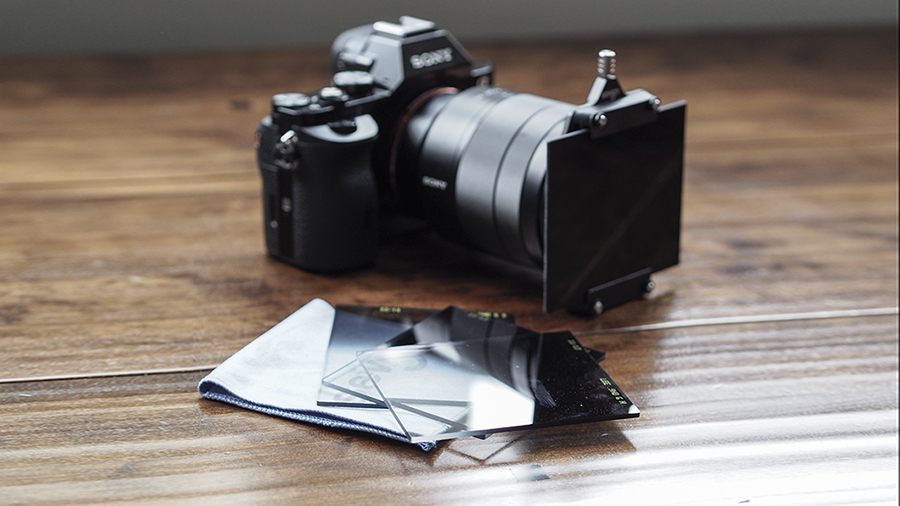
To counter this problem, you could slap a graduated or regular neutral density filter. Essentially sunglasses for your camera lens, an ND filter helps block out stops of light depending on how opaque the coating is.
ND filters come in multiple flavors including graduated for dimming only the sky. Flat ND filters evenly filter out stops of light in the frame. And lastly, a variable ND filter is actually what we recommend the most as you can turn the filter to darken it and reduce the amount of light coming through the lens.
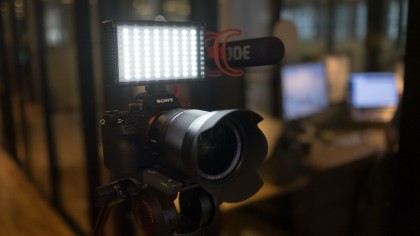
Conversely, adding more lighting is something you should consider if you're shooting in dark situations, and raising your ISO speed or opening up your aperture isn't cutting it. Unfortunately, lighting with video is a whole different world than flash photography and you'll need a new set of continuous lights.
You could go all out with a huge set of lamps, but if you're indoors adding more light might as be simple as turning them all on. And if you want to keep some semblance of a dark setting (i.e. filming someone blowing out birthday cake candles), there are smaller, portable lighting panels. For this guide, we personally used a Flashpoint 144 LED light panel, which is portable and has color temperature adjustable bulbs.
Improve your audio
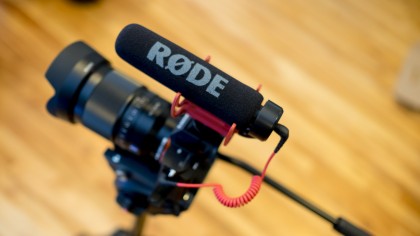
Lighting is one of the most fundamentally important parts of producing a great video, but audio comes in as a close second. It's also fairly easy and inexpensive to enhance the sound quality of your videos. All you need is a simple shotgun microphone, which records sound from a much tighter cone than the built-in stereo mics found on most cameras.
For amateur and beginners, we recommend RØDE's basic VideoMic GO due to its simplicity and entry-level $99 (£69, AU$99) price tag. The next step up we'd recommend for enthusiasts to aspiring pros is the RØDE VideoMic Pro as it offers a +20-decibal gain to boost the audio signal into the camera for a cleaner sounding recording.
And that's a wrap as we call it in the movie making business. Now it's just a matter of getting out there and start shooting. Whether it's your cat acting silly or shooting kickass a parkour video, there are plenty of moments worth filming and these tips will make the footage look that much sweeter.
- These are the best video cameras and camcorders

Kevin Lee was a former computing reporter at TechRadar. Kevin is now the SEO Updates Editor at IGN based in New York. He handles all of the best of tech buying guides while also dipping his hand in the entertainment and games evergreen content. Kevin has over eight years of experience in the tech and games publications with previous bylines at Polygon, PC World, and more. Outside of work, Kevin is major movie buff of cult and bad films. He also regularly plays flight & space sim and racing games. IRL he's a fan of archery, axe throwing, and board games.