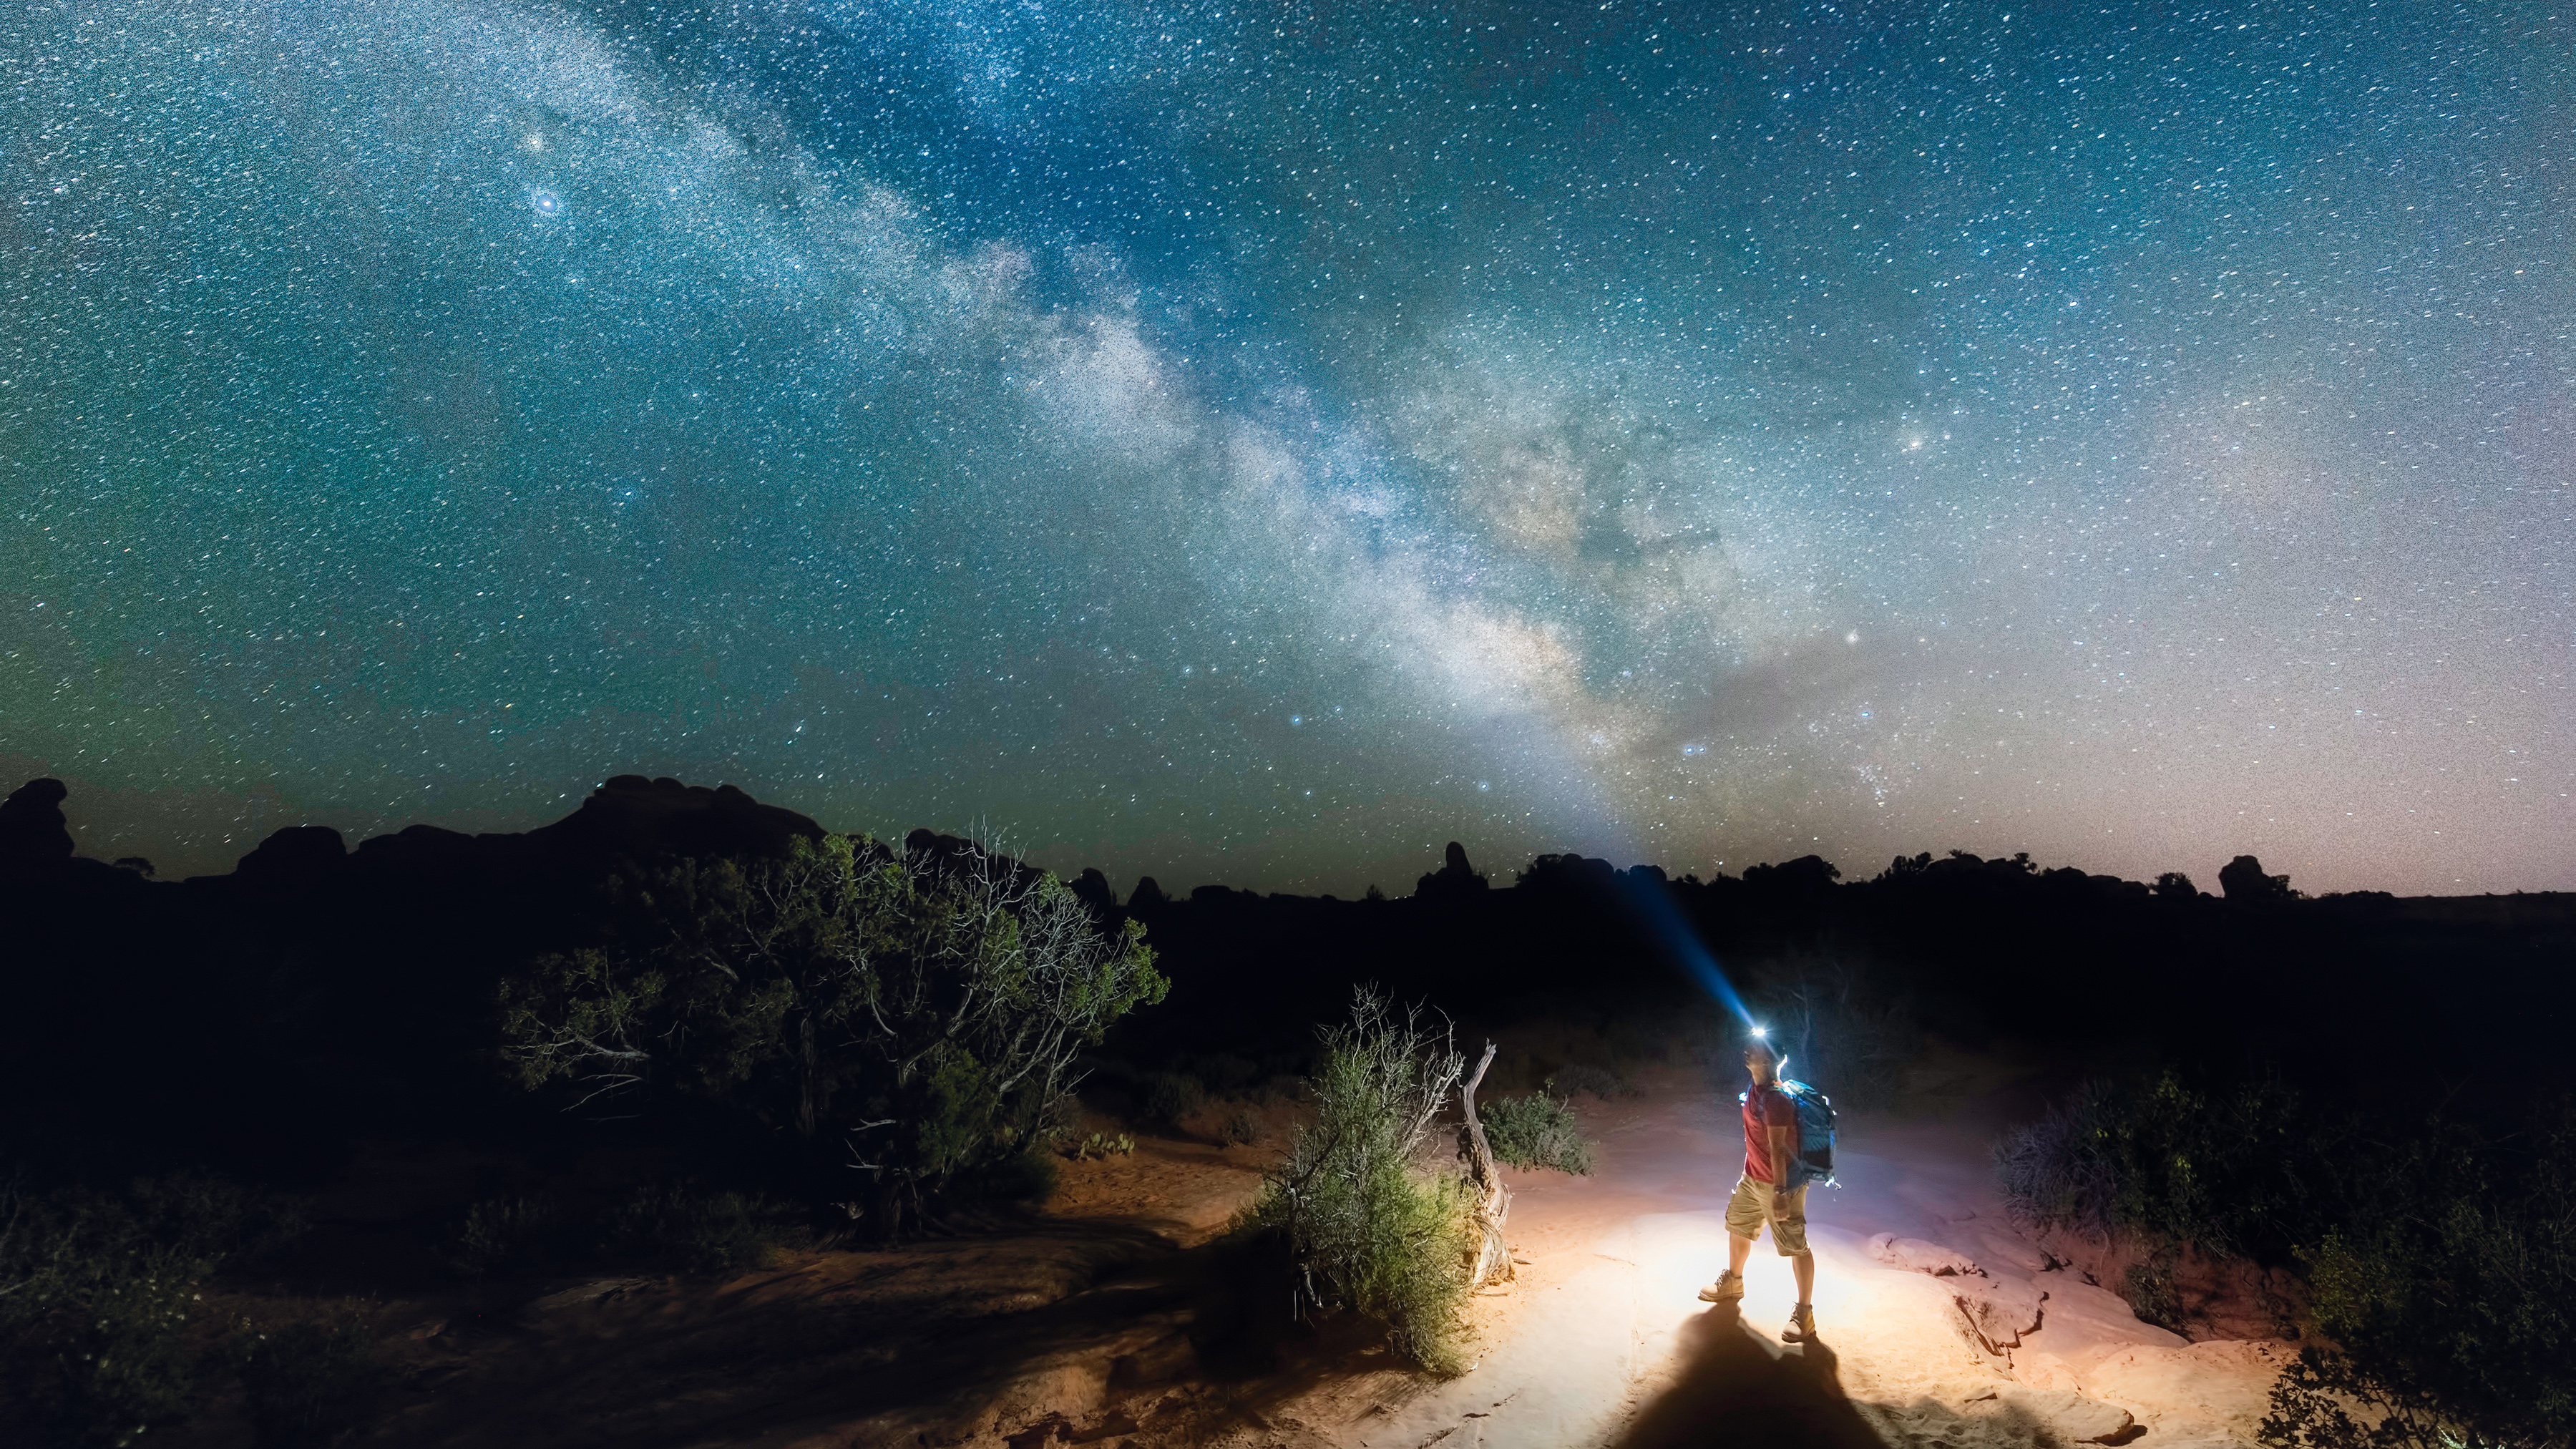
Whether you want to learn how to take photos of the night sky, find out how to paint with light or just want to know the right camera settings for night photography, these essential tips will give you a solid foundation and get you ready to start tackling a number of popular low-light and night photography techniques.
A is for Astro-photography
If there’s one thing that makes us humans feel small, it’s the stellar display arcing above our heads on a dark, clear night. Atmospheric conditions and proximity to towns and cities affect how many stars we can see, but if you can see them with the naked eye, you can capture them on your camera’s sensor.
Shooting the night sky takes you into the realm of astro-photography. Although you can make a sizeable investment in highly specialised kit, capturing constellations and broad star fields requires nothing more than a SLR and a tripod.
Set a high ISO of 1600, use a wide-angle lens set to its largest aperture, and set the exposure mode to Manual. Focus manually using Live View: to do this, zoom right in on the screen, scroll around to find a star close to the centre, and gently rotate the focusing ring until it appears at its sharpest. With the shutter speed dialled to 30 sec, take a shot. Check the sharpness on screen: if all looks good, welcome to the amazing world of astrophotography!
B is for Bulb
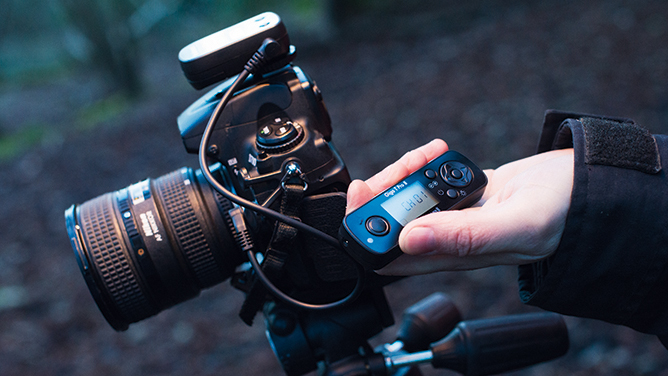
Night shooting requires long exposures to ensure that the faint light levels are recorded on the sensor. DSLRs will take you to 30 seconds in Manual exposure mode, but there may be times when you require longer shutter speeds to record really dark scenes such as moonlit landscapes.
Using Bulb mode allows you to hold the shutter open for as long as you want, giving the light more time to register on the imaging chip. Holding down the shutter button for minutes at a time is uncomfortable and can lead to unwanted movement of the camera, so Bulb exposures are best carried out with a remote release. This allows you to press the button once to start the exposure, and once to end it, while you count off the seconds on a stopwatch.
C is for Composition
Framing up a night scene is easy in well-lit towns and cities – but try it with a starry sky or a rural landscape, and you’ll find you can’t see a thing through the viewfinder. Live View mode can often reveal more, but you may still have to shoot test shots and check the screen to get the composition you want. This can take a while when exposures are 30 seconds or more, so it pays to have a bright torch to illuminate areas in the foreground to establish the edges of the frame. This is also useful for accurate focusing, as your AF will struggle to lock onto anything in very dark conditions.
Get daily insight, inspiration and deals in your inbox
Sign up for breaking news, reviews, opinion, top tech deals, and more.
D is for Dynamic range
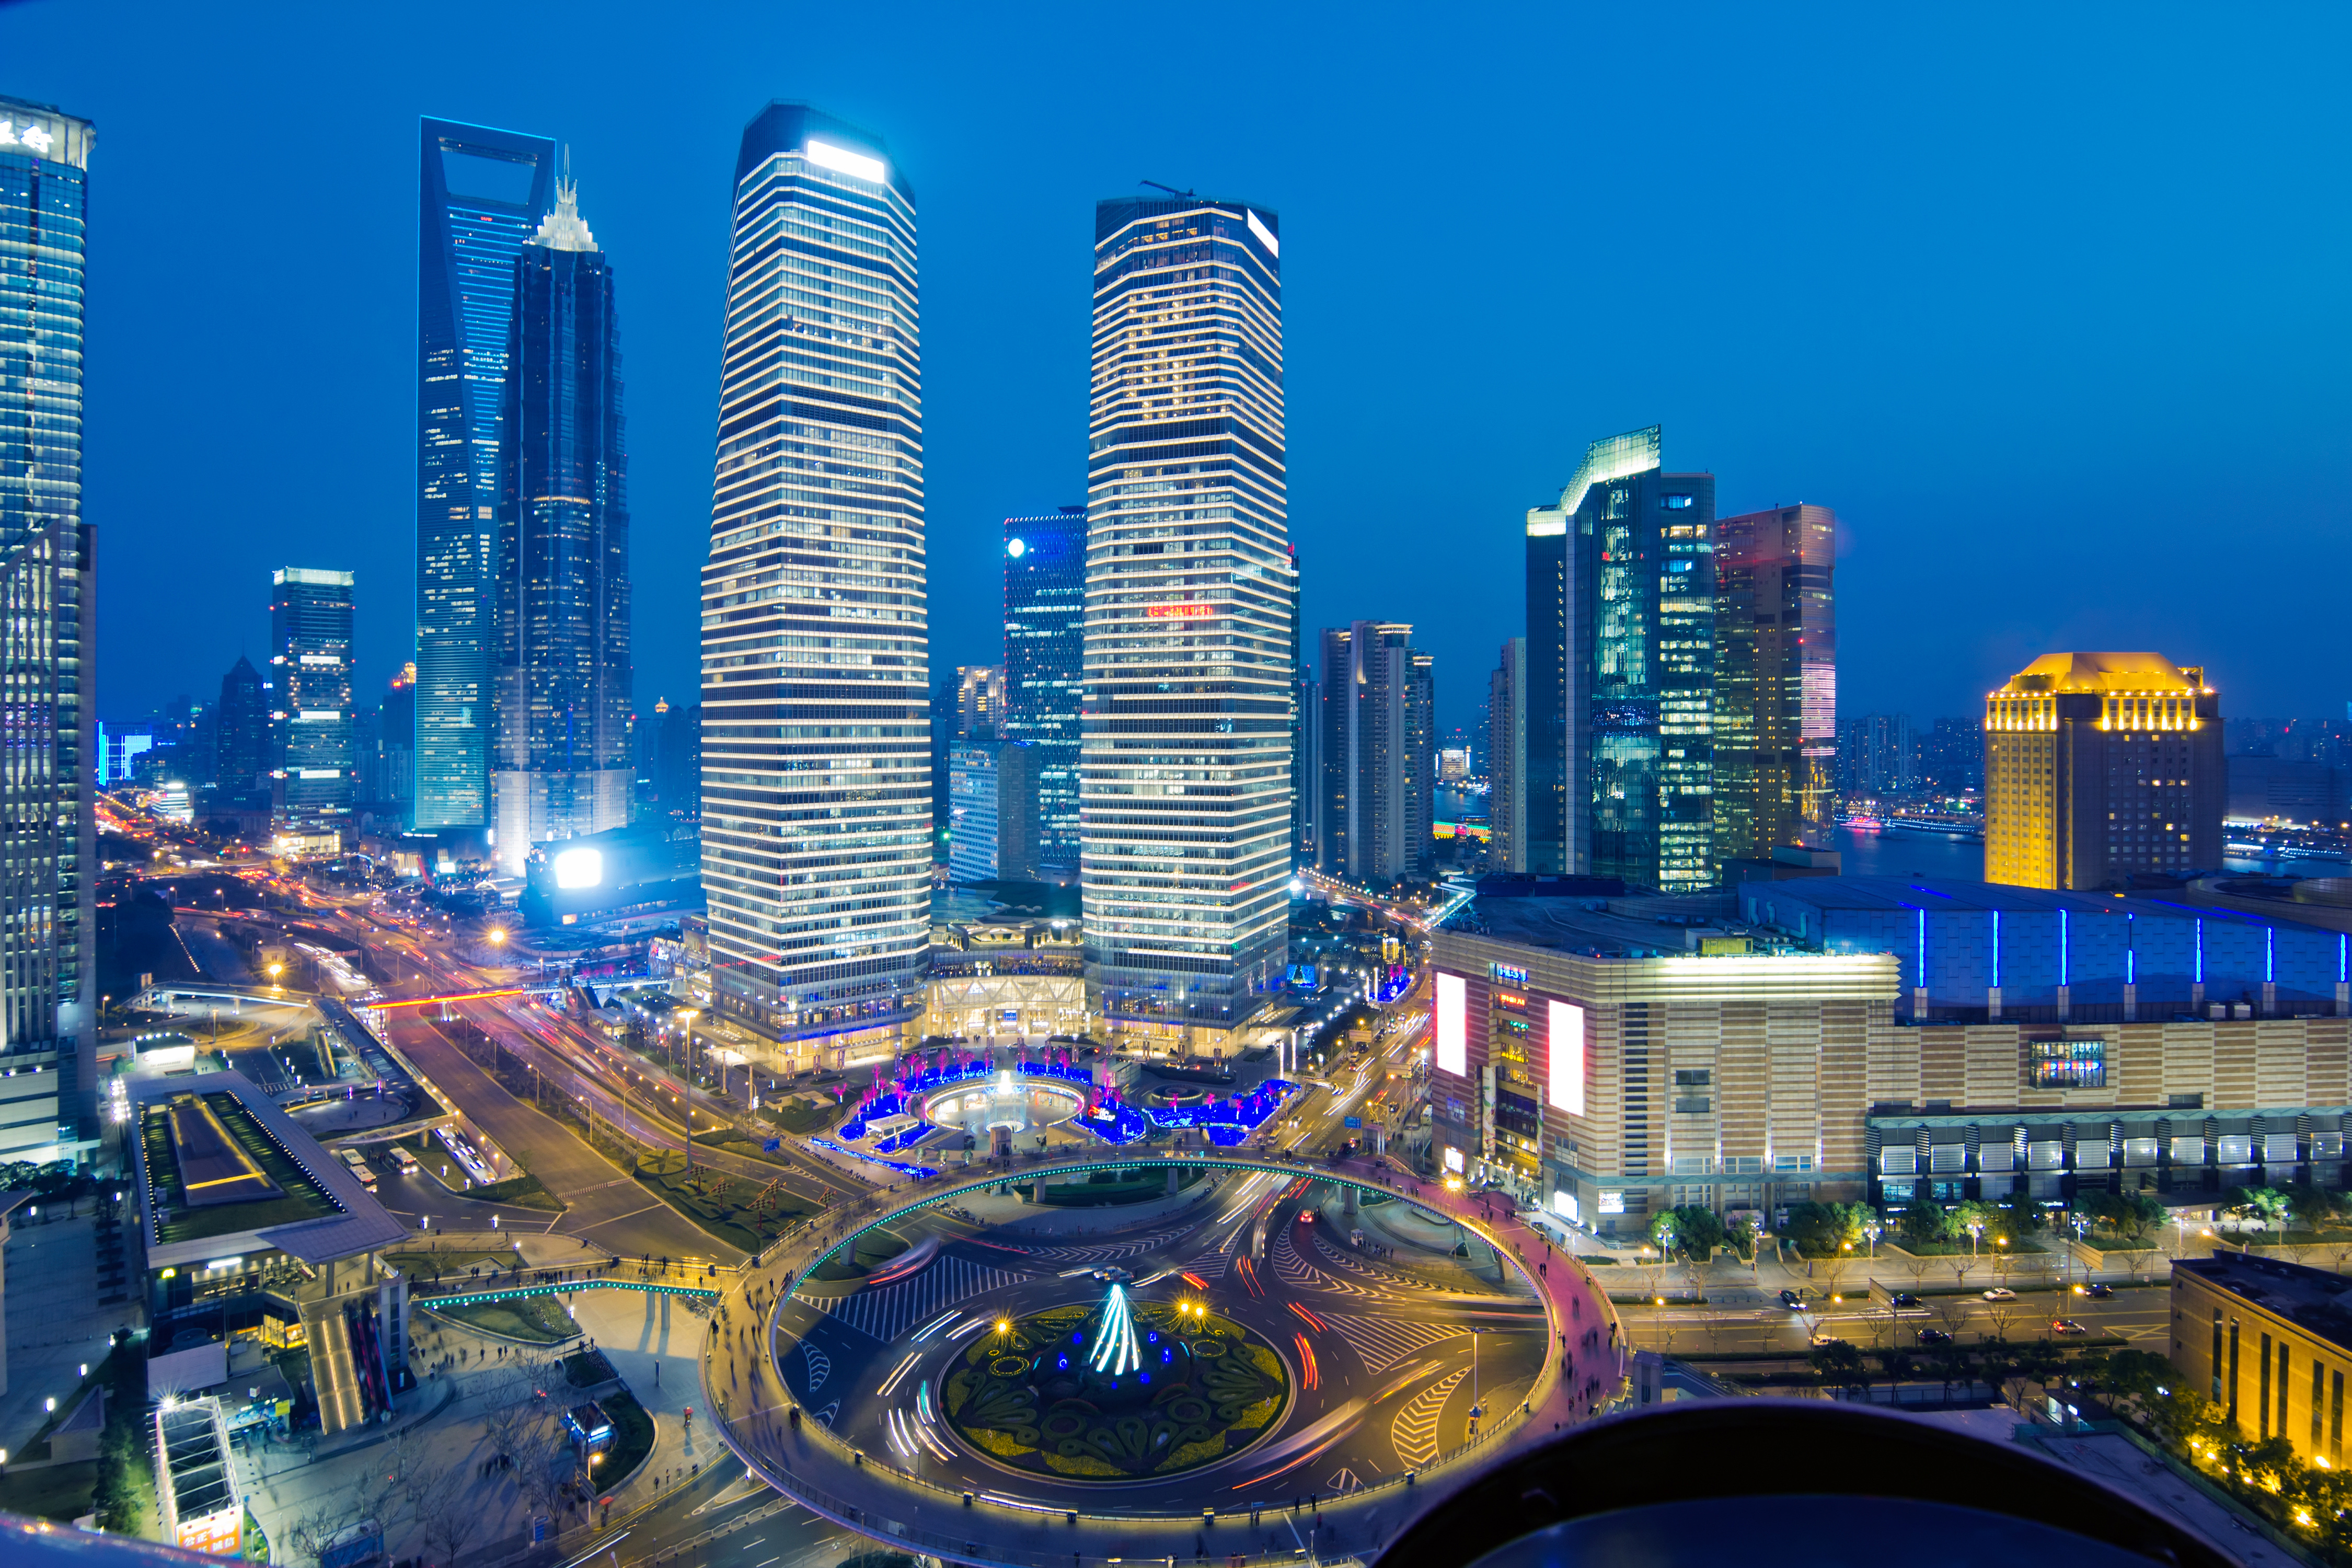
The difference between the smallest and largest quantity of the light a camera can record is the dynamic range. In night shots, the darkest tones are abundant, so getting detail in the shadows can result in the brightest tones burning out to pure white. To get detail at both ends of the spectrum, try shooting the same scene with different exposure settings, then blend the pictures together in software. For scenes that aren’t so extreme, your camera’s raw format records more detail across the tonal range.
E is for Equatorial mount
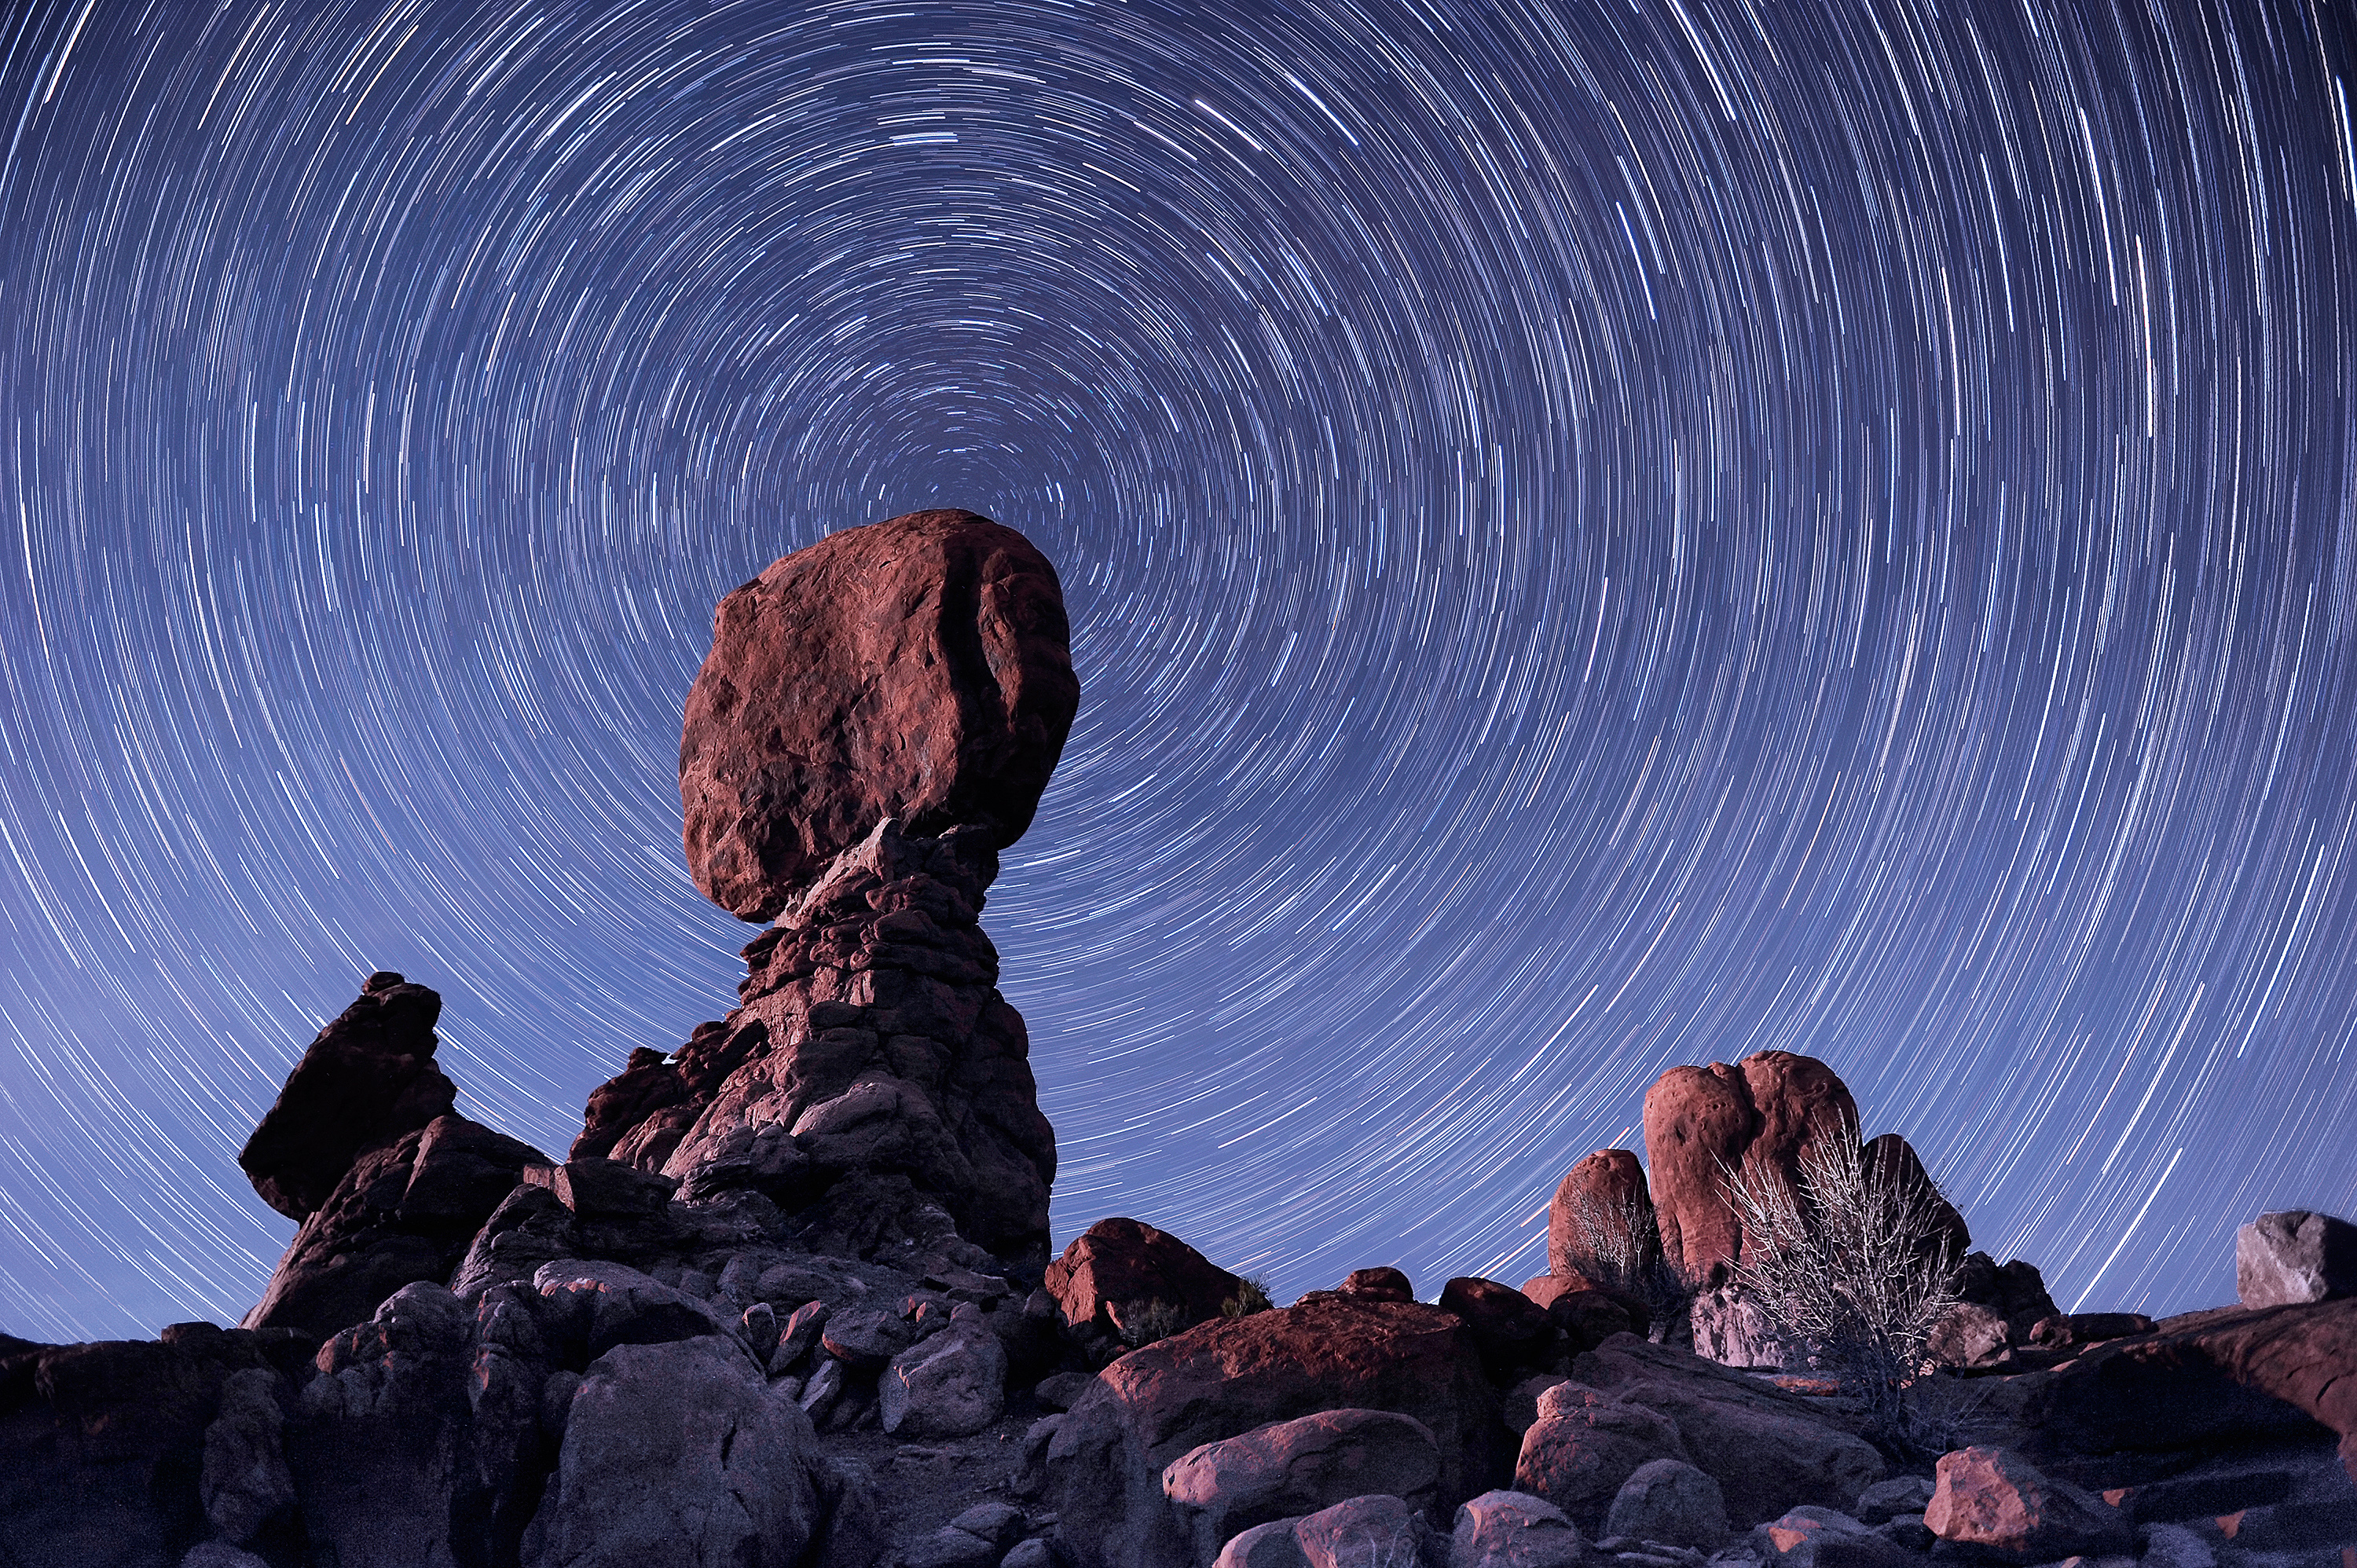
Take an exposure longer than 30 seconds with a wide-angle lens, and you’ll see that the stars cease to be points of light, and start to become streaks. Use a shorter focal length, and the magnification will make this effect even more apparent.
The earth’s rotation is to blame for this. While it’s a blessing to those who want to shoot star trails, it’s bad news for anyone trying to capture longer exposures of the stars to reveal more detail.
To counteract this, serious telescopes use motor-driven equatorial mounts that slowly turn to keep the stars in the same place – and cameras can use the same kind of device. With prices starting at $450 / £350, equatorial mounts aren’t cheap, but you can make a hand-driven DIY ‘barn door’ mount from two sheets of plywood and a few nuts, bolts and hinges. These work well for wide and standard lenses, and can track the sky for exposures up to 10 minutes.
F is for Firespin
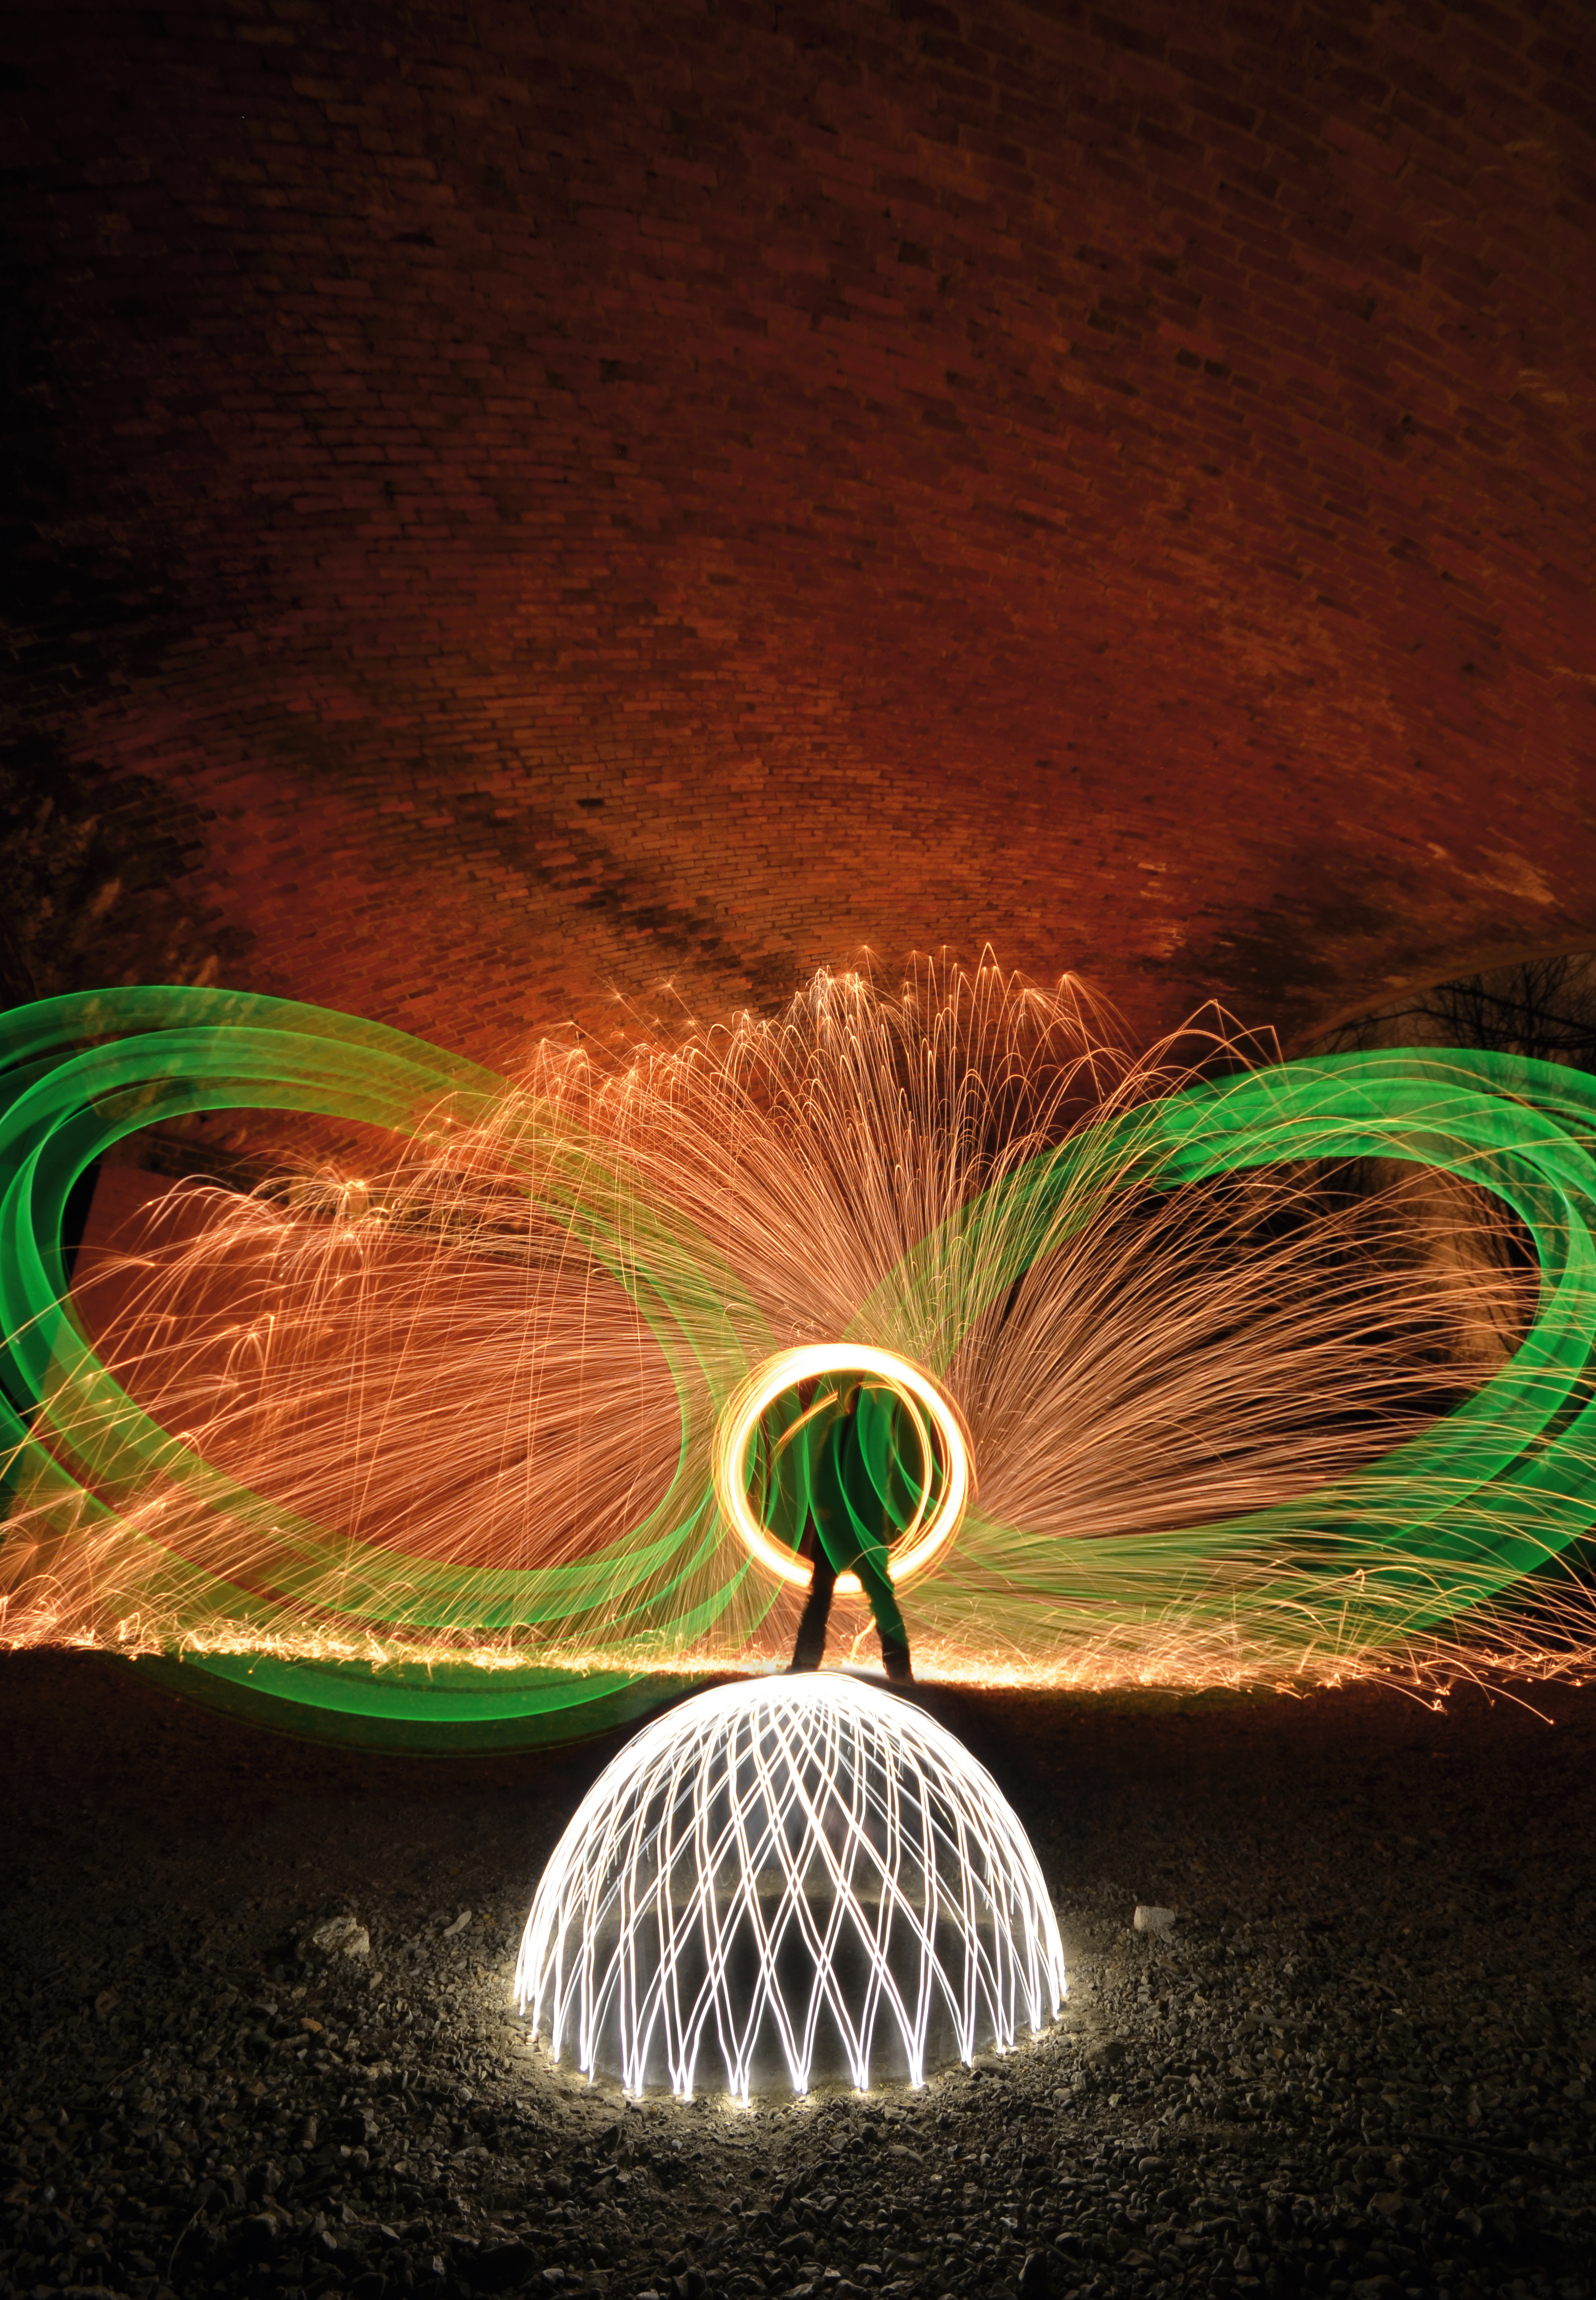
Place some fine gauge steel wool in the cage of an egg-beater, attach it to a metre of wire, and set fire to it with a turbo lighter, before spinning it round. It’s a health and safety nightmare – but a popular technique for those daft enough to try it.
Before even thinking about it, make sure you’re in a remote outdoor location with nothing vaguely combustible anywhere near. Wear safety goggles, a hat and cotton clothing that won’t melt, and cover all exposed skin to reduce the risk of burns.
Set your camera on a tripod well away from the spin, and use Manual mode with an aperture of f/8, an ISO of 100 and a shutter speed of around 30 seconds. The results are spectacular as the molten strands fly off, but it can be dangerous – so be very careful!