G is for Galaxy
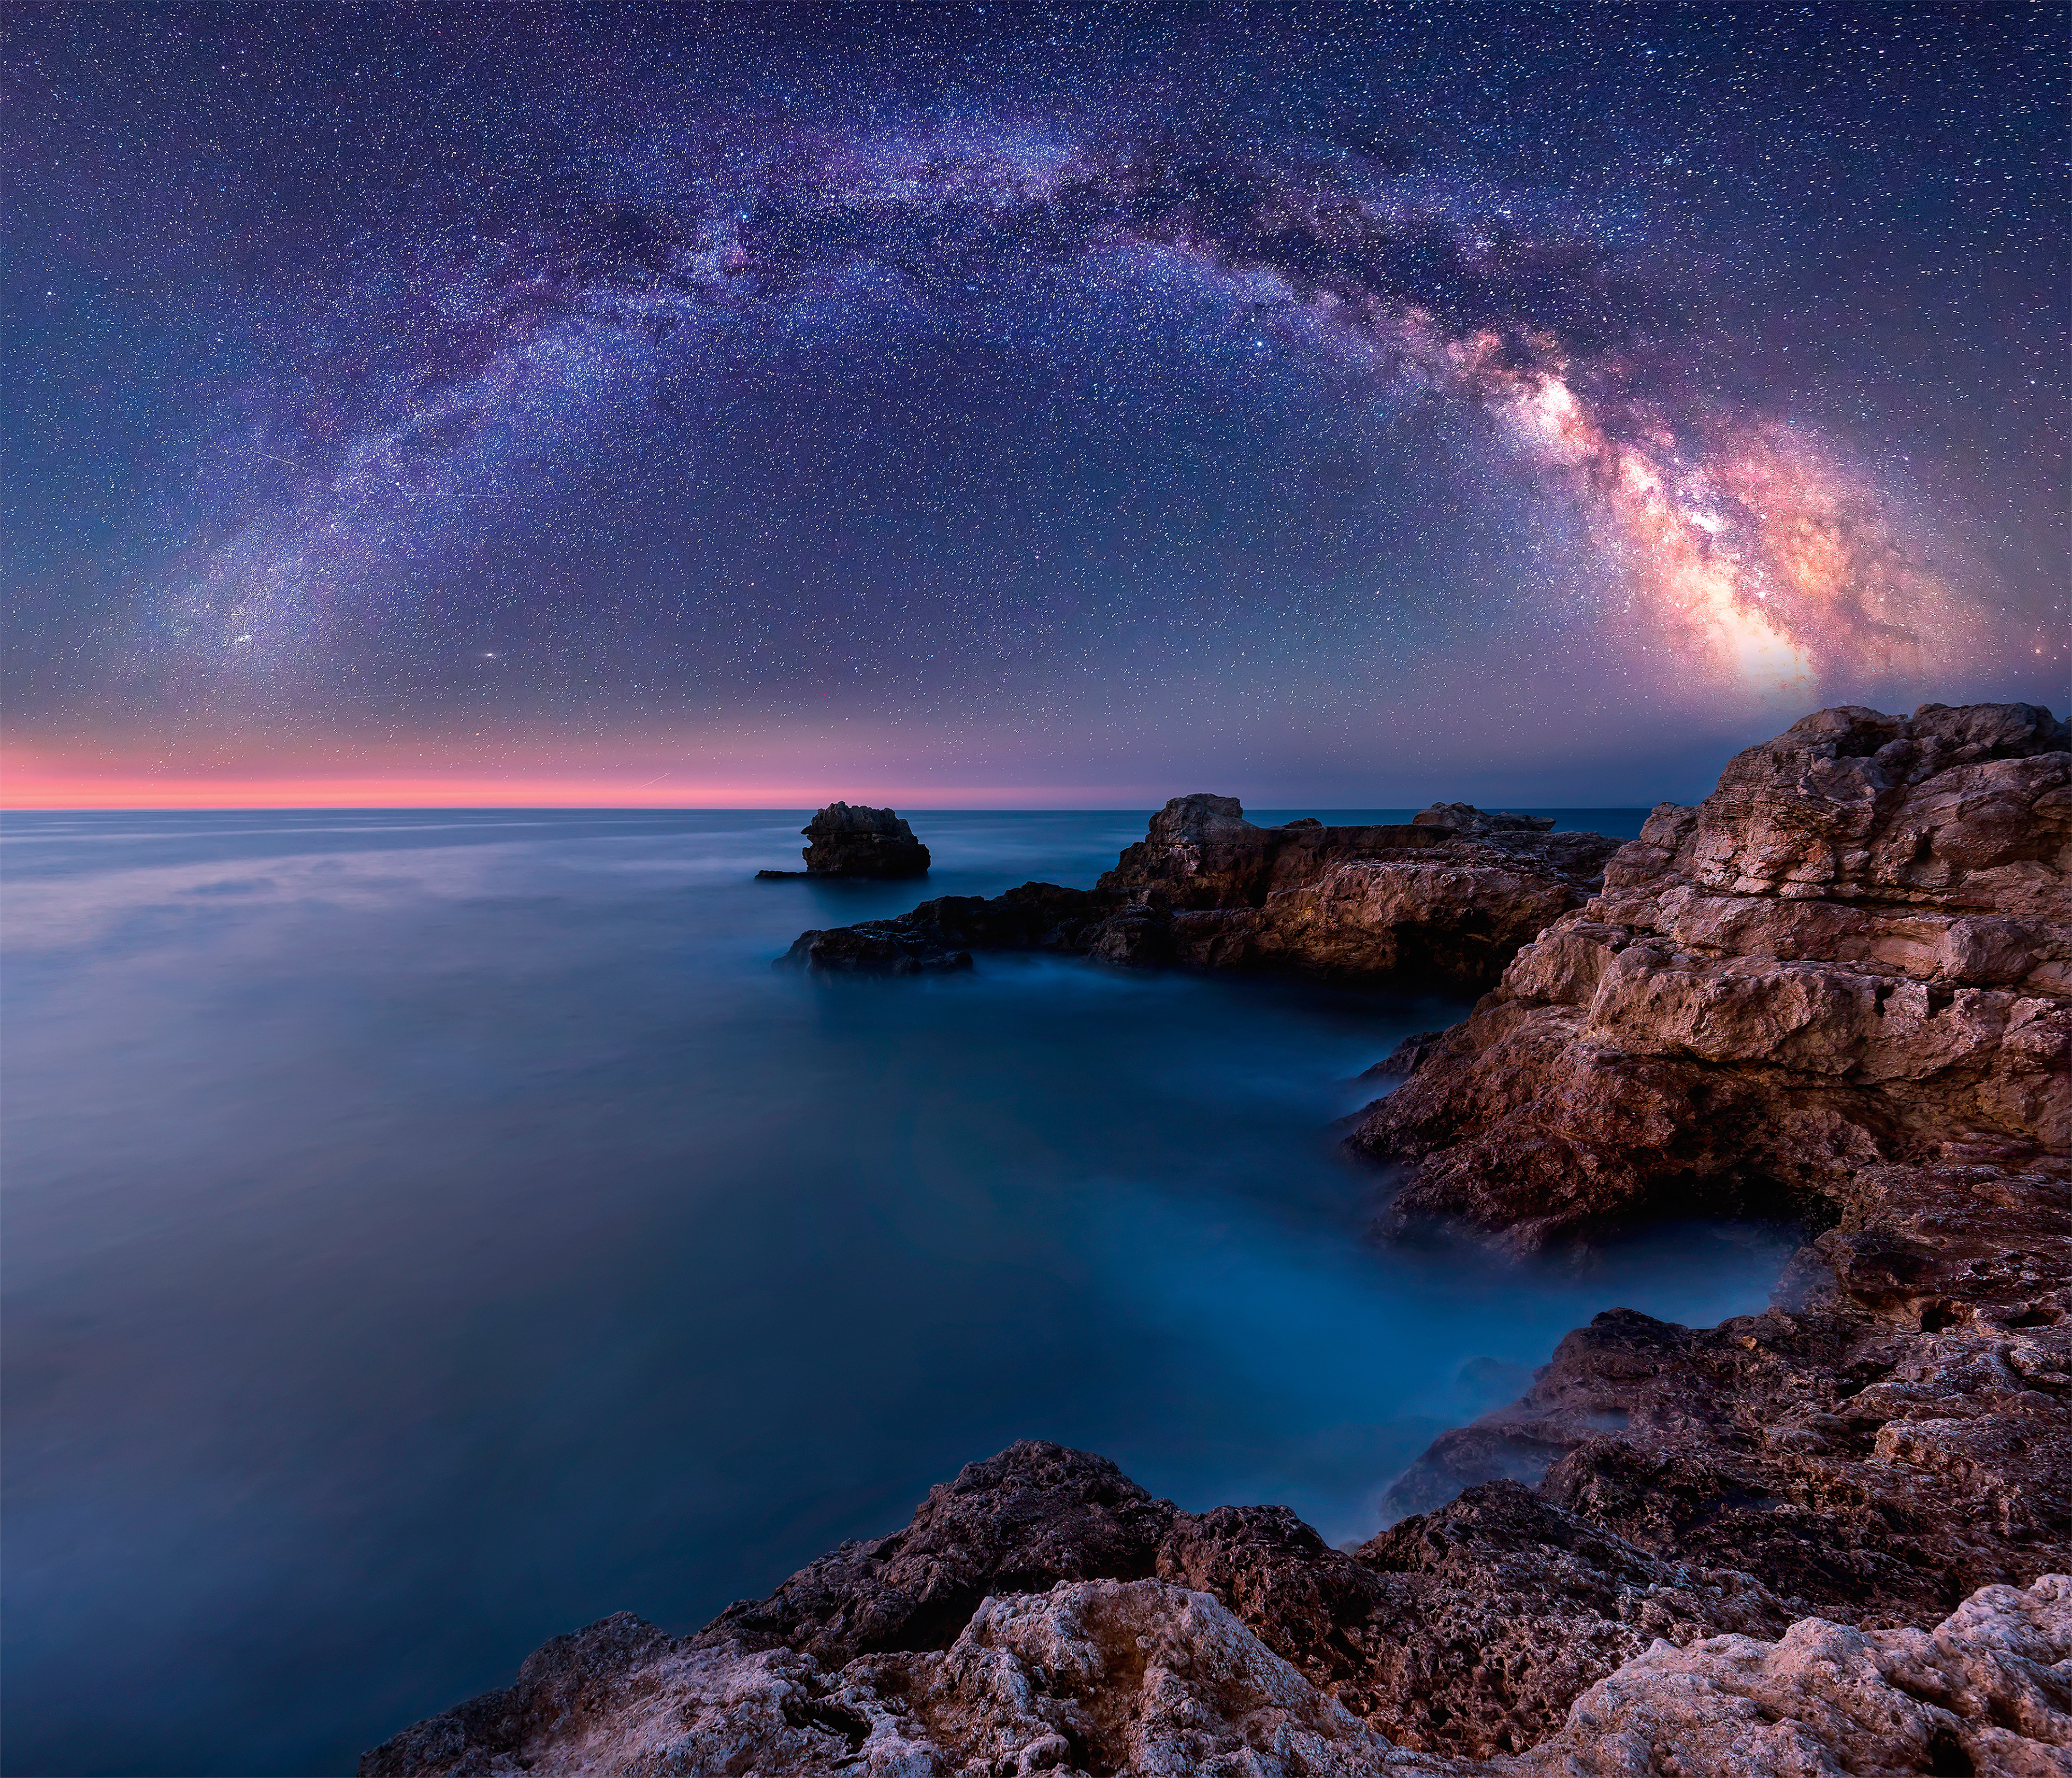
The Milky Way is our home in the universe. On a dark, clear night, you can see the arm of this spiral galaxy as a faint glow. The brightest part – the galactic centre – is in the constellations of Sagittarius and Scorpius, and can be seen from the northern hemisphere between late March and early October. It’s never too far above the horizon, so a wide-angle lens can include earthbound detail in the frame. During the winter, the dimmer part of our galaxy runs through the distinctive ‘W’ shape of Cassiopeia.
To get a shot of the Milky Way, use your widest lens and Manual (M) mode. Set ISO to 3200 and use your largest aperture (the smallest f/number available). Set a shutter speed of 30 seconds, and use raw format for more flexibility when you process the shot.
H is for Head torch
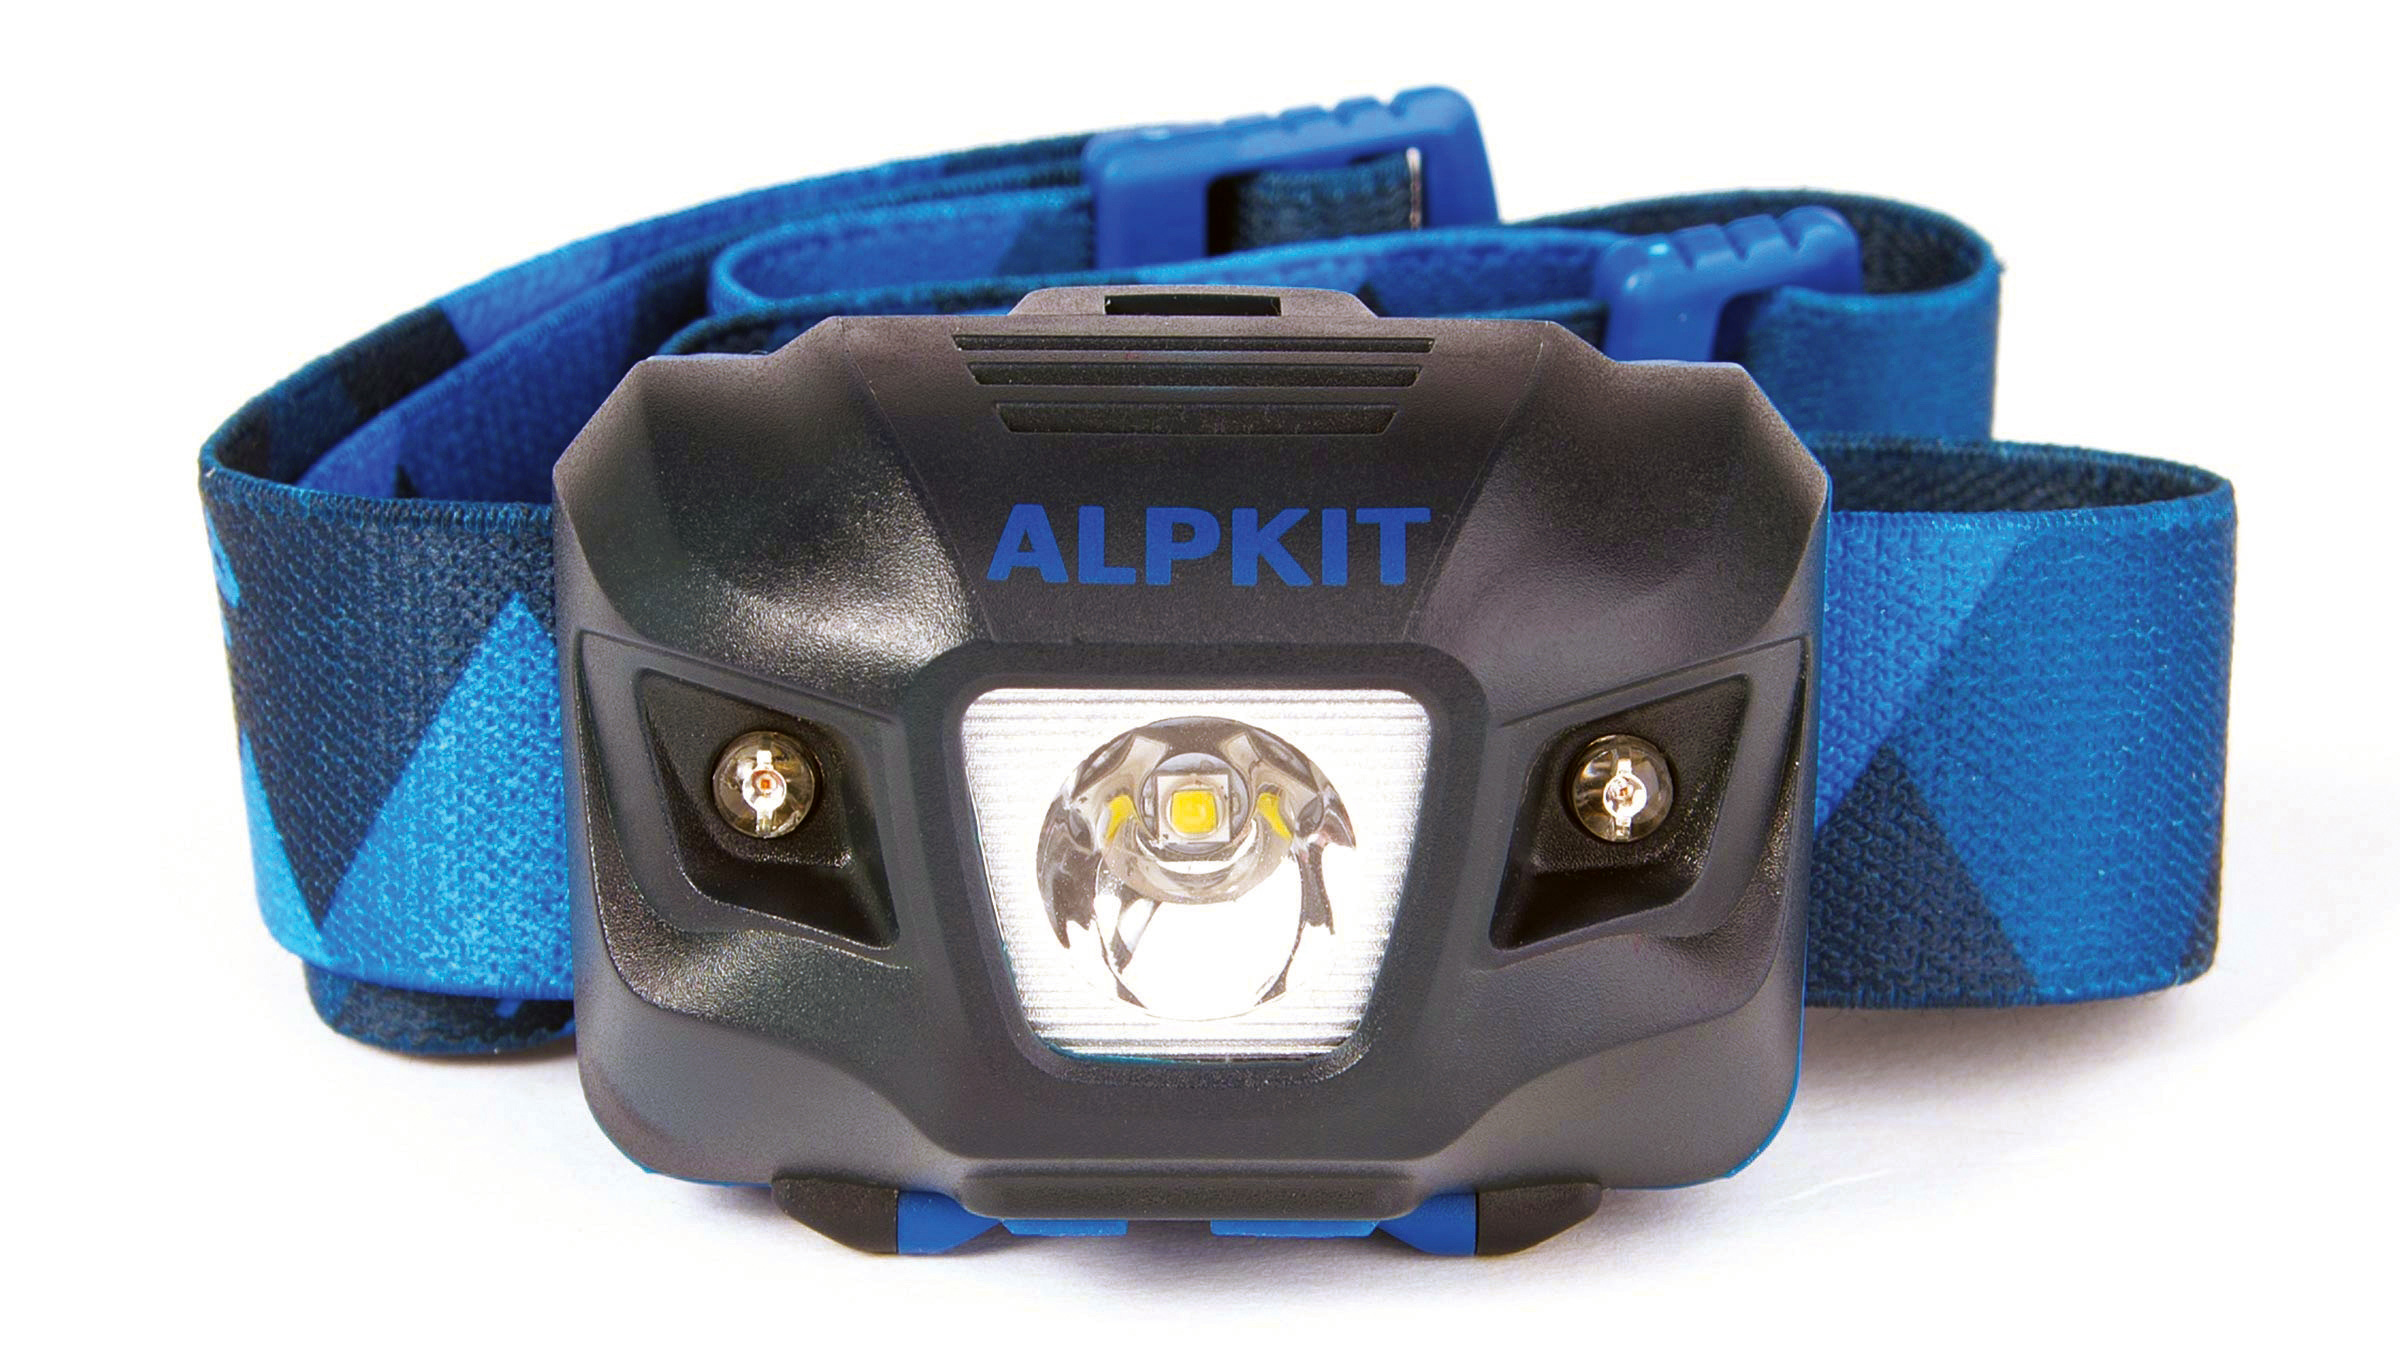
One indispensable accessory for night shooting is a torch that leaves you hands-free to set up your gear and operate your camera. A small head torch does this brilliantly; if you shop wisely, you can even get one with a variable-power main beam and a red LED light built in. The latter is great for tweaking camera settings, because if you use a bright white beam at close range, you’ll effectively dazzle yourself and ruin the night vision your eyes have spent half an hour accommodating to.
I is for Image stabilisation
Many modern lenses have sophisticated image stabilization systems: these give a real advantage in counteracting the blurry effects of camera shake when you shoot handheld at slower shutter speeds. The optical stabilizers used in lenses can be effective down to 1/15 or even 1/8 sec, depending on the focal length used, but they start to work against you once you mount your camera on a tripod. The IS system is expecting movement, and if the camera is rock-solid, it’ll feed back on itself and create blur. Always switch IS off whenever you place your camera on any support.
J is for JPEG
JPEG is an image file format devised by the Joint Photographic Experts Group. It’s fantastic at compressing big image files to make them more convenient to store on a memory card or send over email. But when you’re shooting at night, you need all the quality and control your camera can muster, and this makes JPEG a poor choice for taking pictures in the dark. If you’re shooting at night, use raw format instead. (See R for Raw).
K is for Kit essentials
Batteries drain faster in cold weather and when you shoot longer exposures, so take a fully charged spare or two to see you through your shoot. Raw files take up more space on memory cards than JPEGs, so make sure you have a freshly formatted card in the camera, and a spare in case you fill it.
Clean your lenses before you set off, but take a lens cloth or clean microfibre towel with you in case you smudge your filters or lenses in the dark. A powerful hand torch assists with focusing, light-painting and finding your way home, but even more vital is a head torch. (See H for Head torch).
Get daily insight, inspiration and deals in your inbox
Sign up for breaking news, reviews, opinion, top tech deals, and more.
If you need help finding the right star, a smartphone app will make life easy. Planets is a free app for iOS and Android that gives a 3D view of the sky – just hold up your phone and look through the screen.
L is for Long exposure
To record a good exposure on your DSLR, you need just the right amount of light to reach the sensor. This is controlled by three variables: aperture, ISO and shutter speed. The aperture is an adjustable hole in the lens that lets more or less light through; the ISO controls the light sensitivity of the chip; and the shutter speed governs how long the light is allowed to strike the sensor.
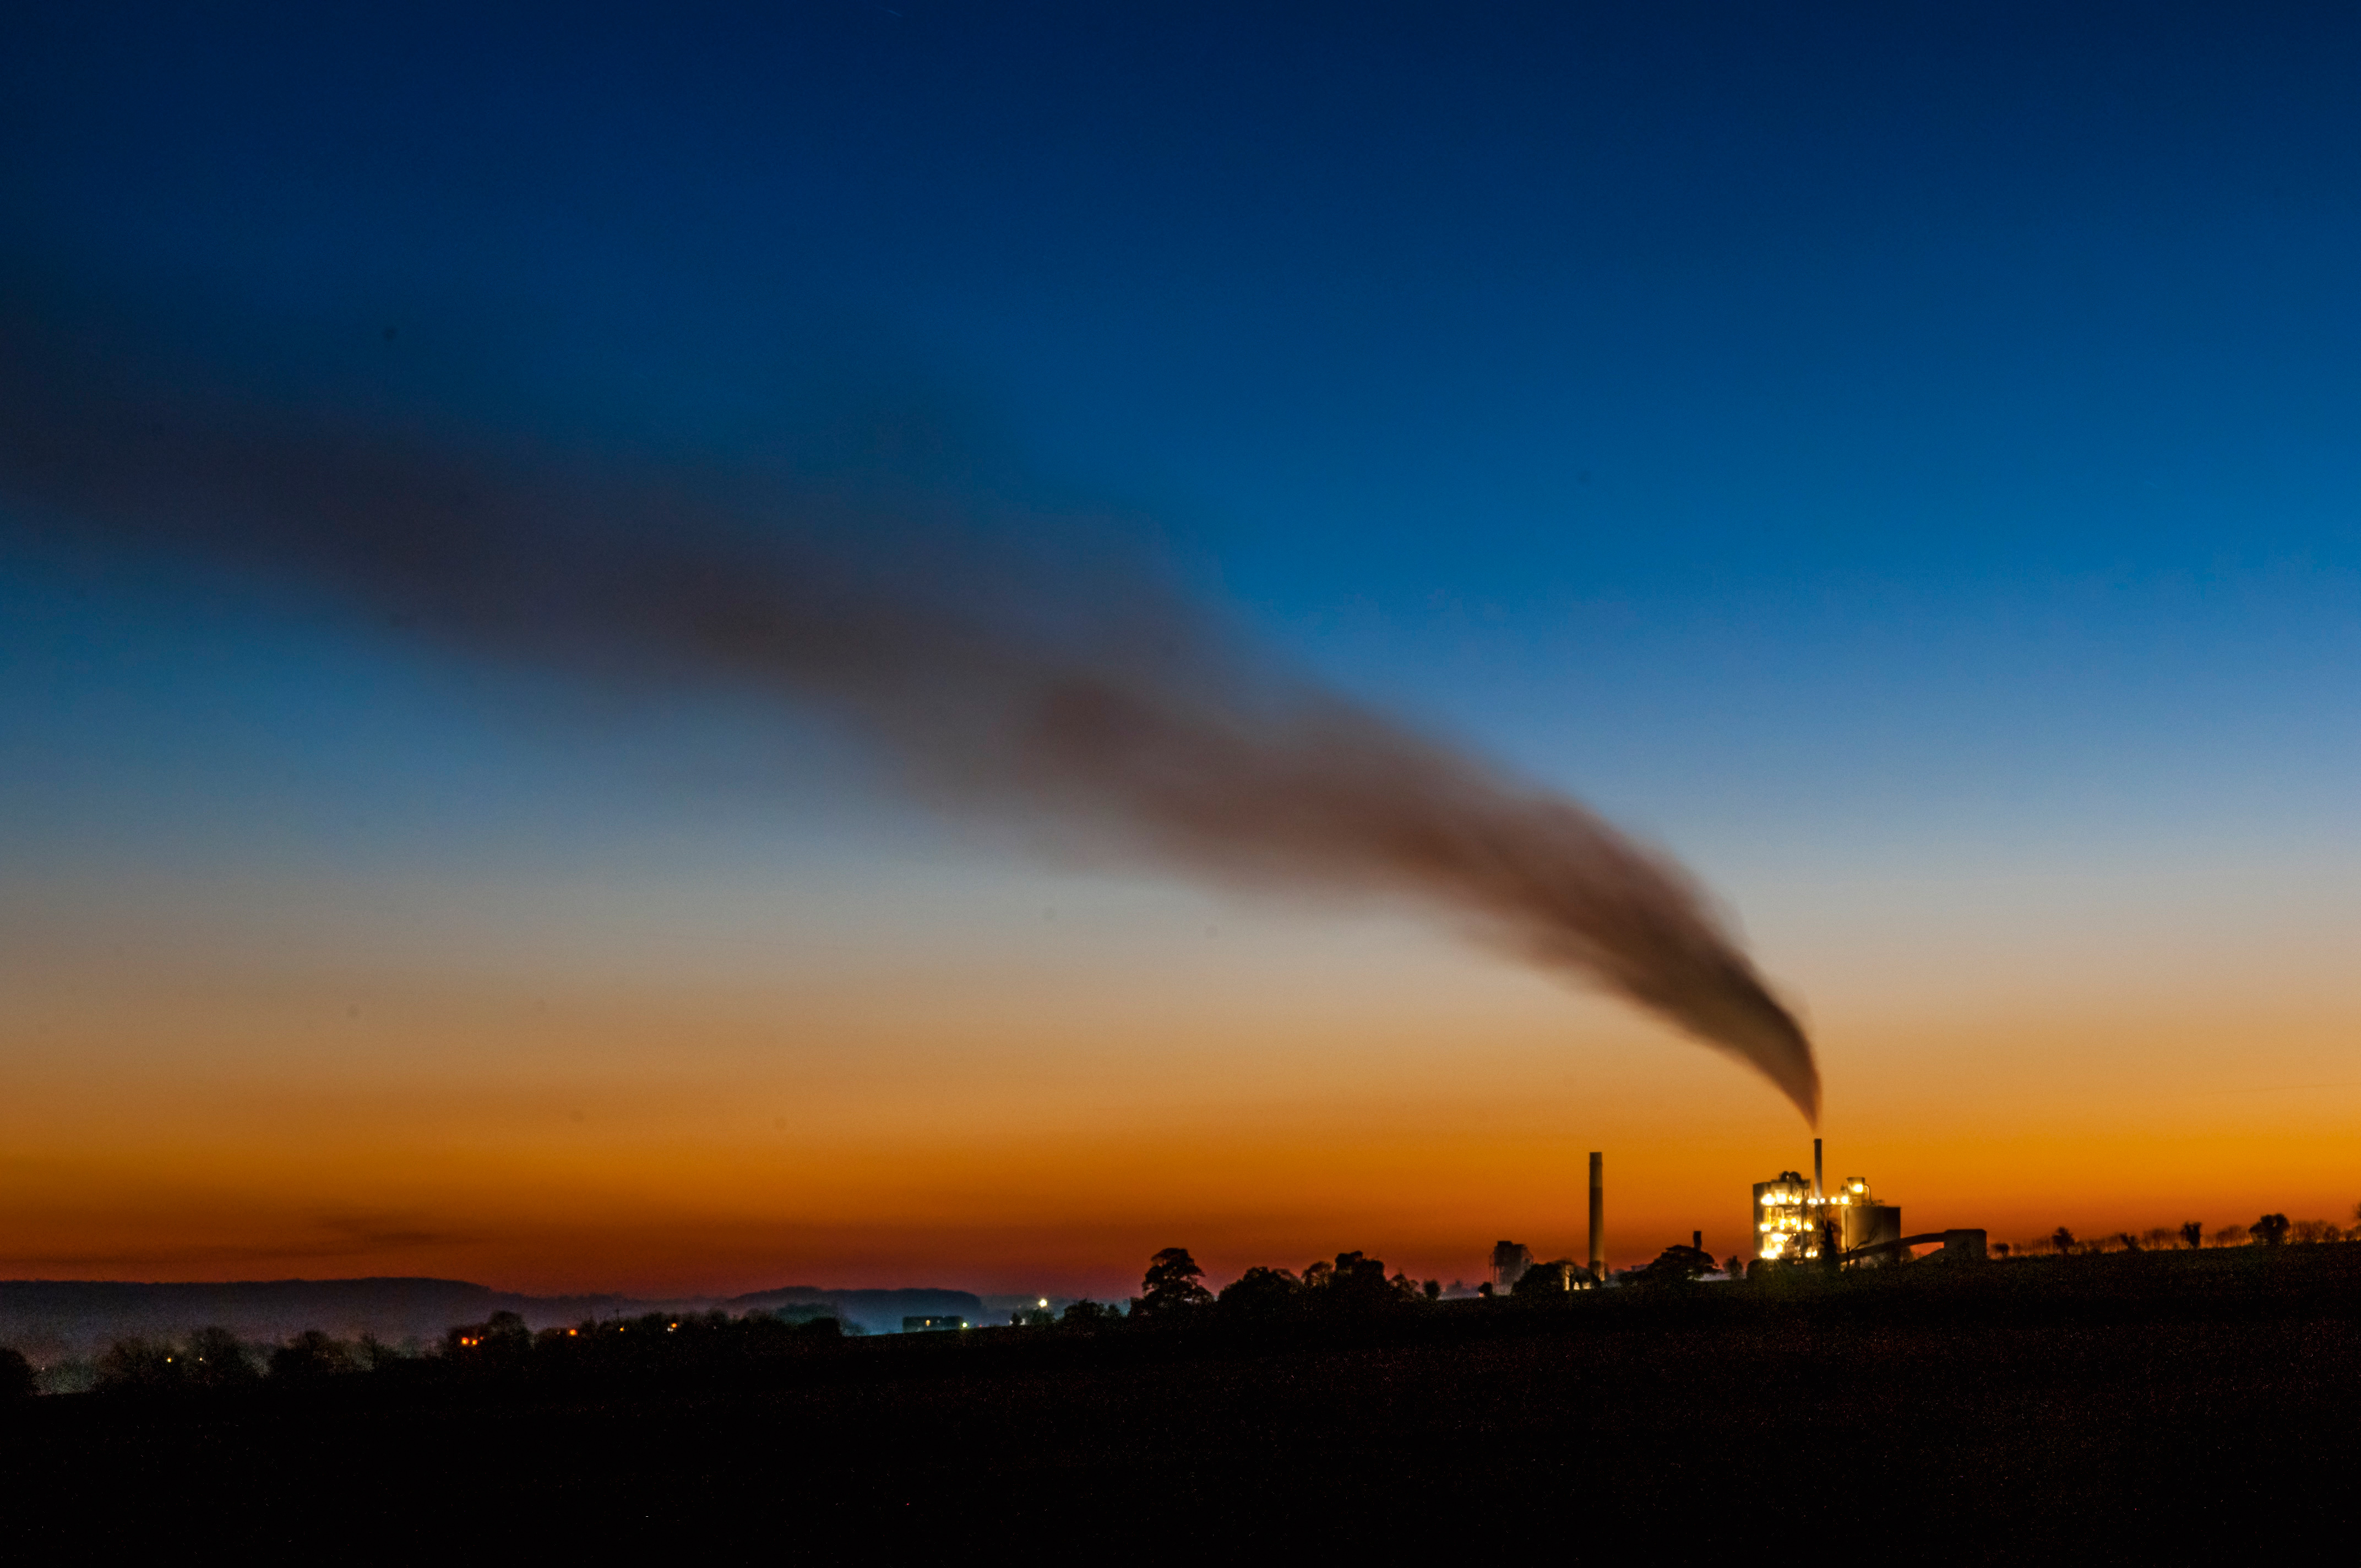
In very dim conditions, the only real option is to extend the time the sensor is exposed to light, so shutter speeds can extend to several seconds or even minutes. With such long exposure times, it’s impossible to keep a hand-held camera still; so to record sharp shots, some kind of support is needed to lock the camera in place. Anything moving in the scene will become blurred, but in low-light and night photography, this can be used to creative effect.
M is for Moon
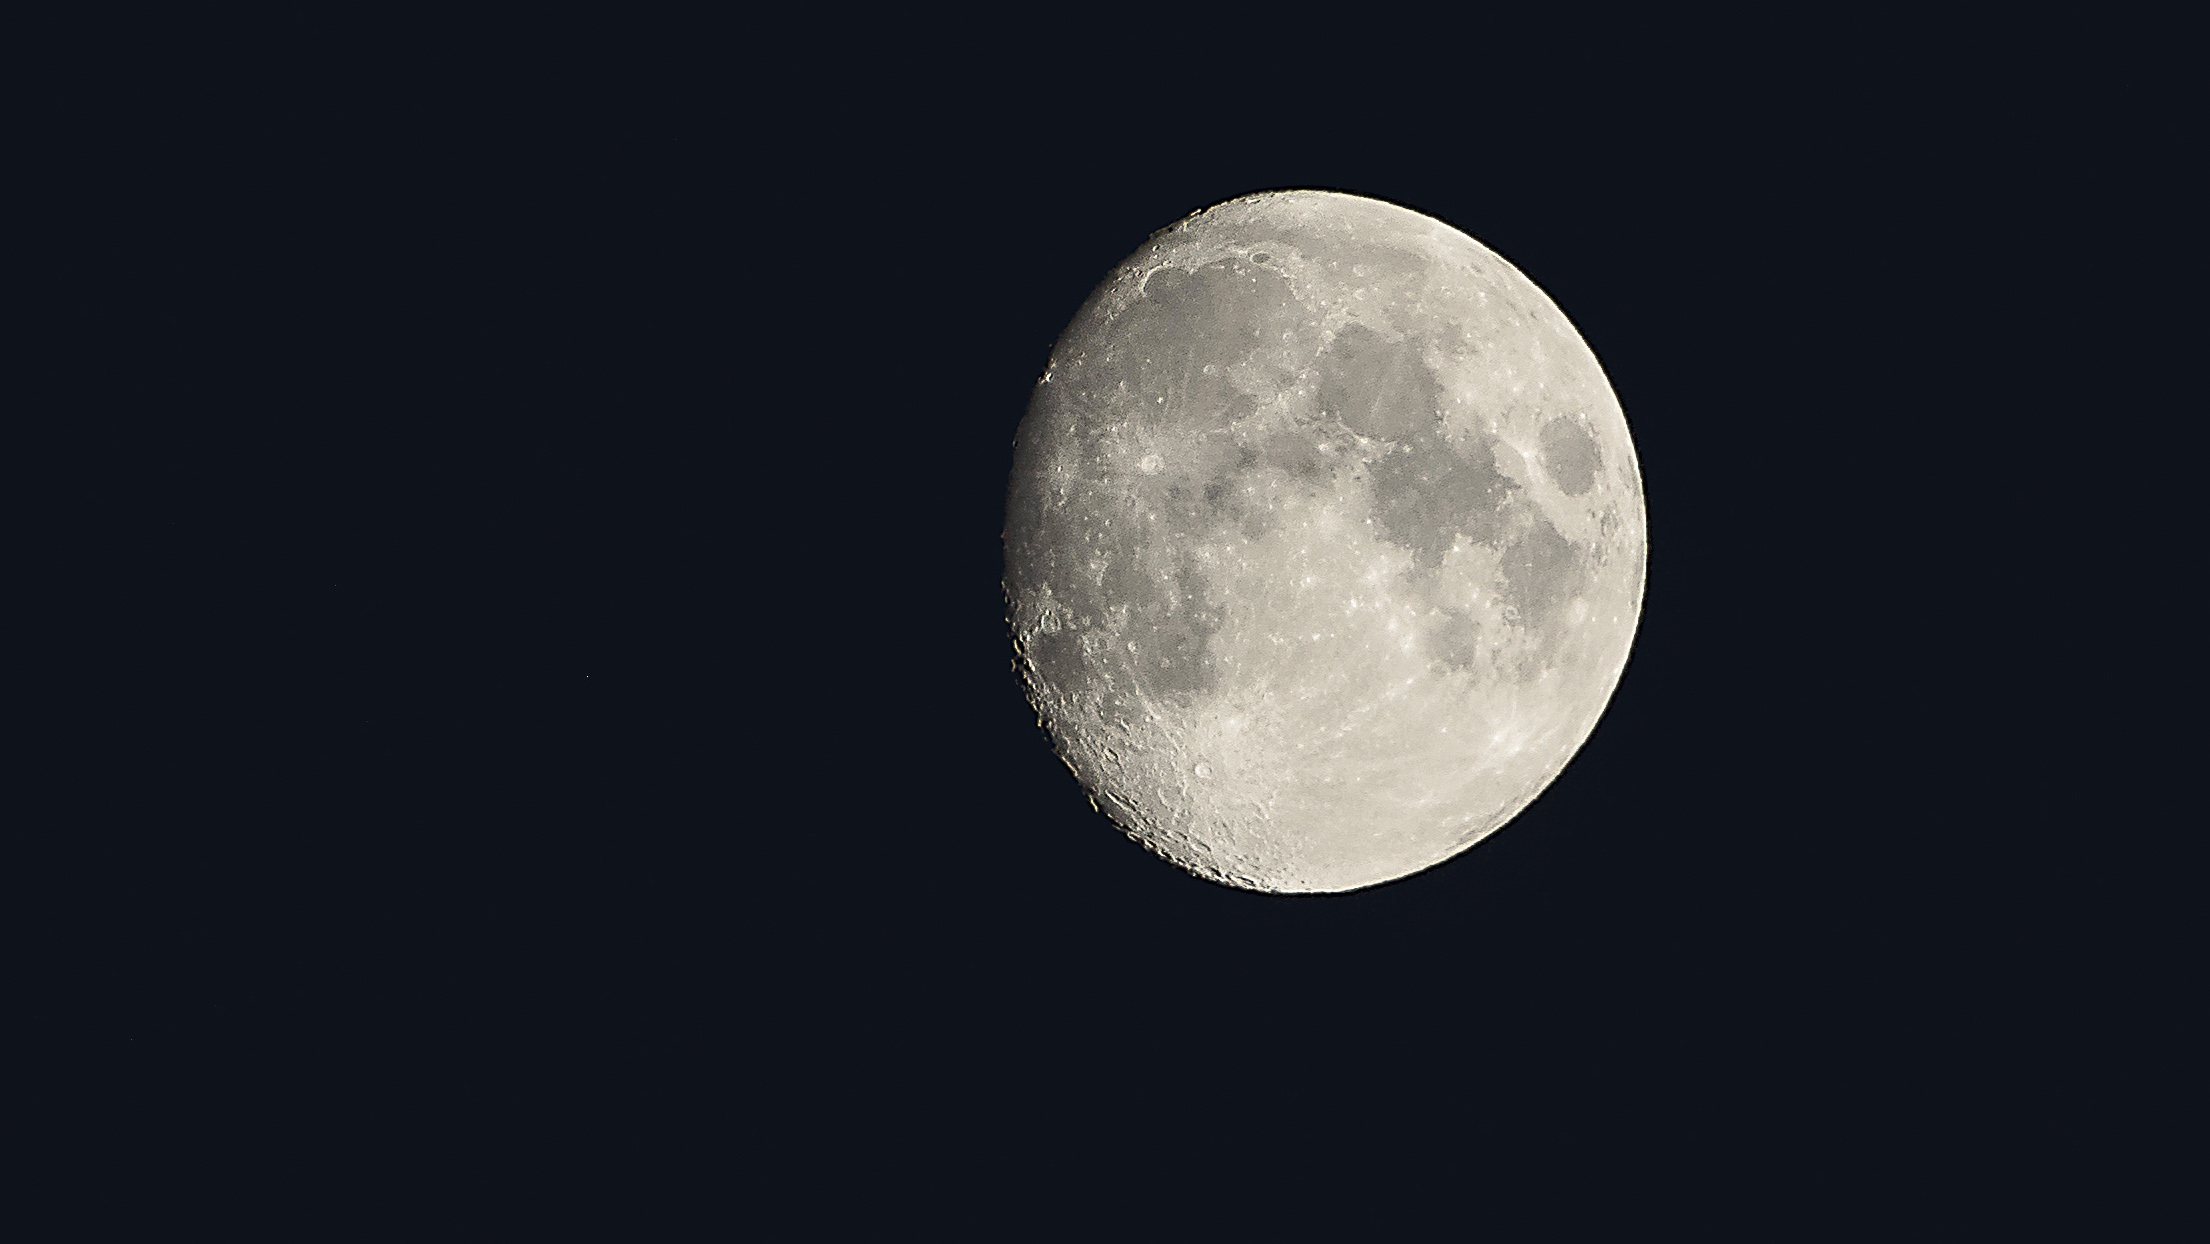
As the largest object in the night sky, the Moon is a must-shoot subject for any night photographer – but rather than revealing lunar craters and seas, most attempts result in a blank white disc devoid of any detail. The Moon is much brighter and much faster-moving than you’d think, so you need to set up carefully to get a well-exposed shot.
You’ll need at least a 300mm lens, but even longer is better if you can get your hands on a 500mm or a 600mm. Cameras with APS-C sensors have an advantage over full-frame models, as the sensor crop effectively magnifies the focal length by 1.5x.
With the camera on a sturdy tripod, set the main mode to Manual (M). For a full moon, dial in an aperture of f/11 and a shutter speed of 1/125 sec, with the ISO set to 100. Focus using AF, but switch to MF to lock the focusing distance. If you have a mirror lock-up mode, engage it, as this will minimise any vibrations when the shot is taken. Use a remote release if possible; if you don’t have one to hand, set the self-timer to 5 sec so you’re not touching the camera when the shot is captured.
Take your shot and check the screen. If it’s too bright, set the shutter speed to 1/250 sec and reshoot. If it’s too dark, set the aperture to f/8. The important thing is to use a shutter speed of at least 1/125 sec. Frame up with Live View enabled and zoom in on the edge, and you’ll see the Moon positively belting across the screen!
N is for Noise
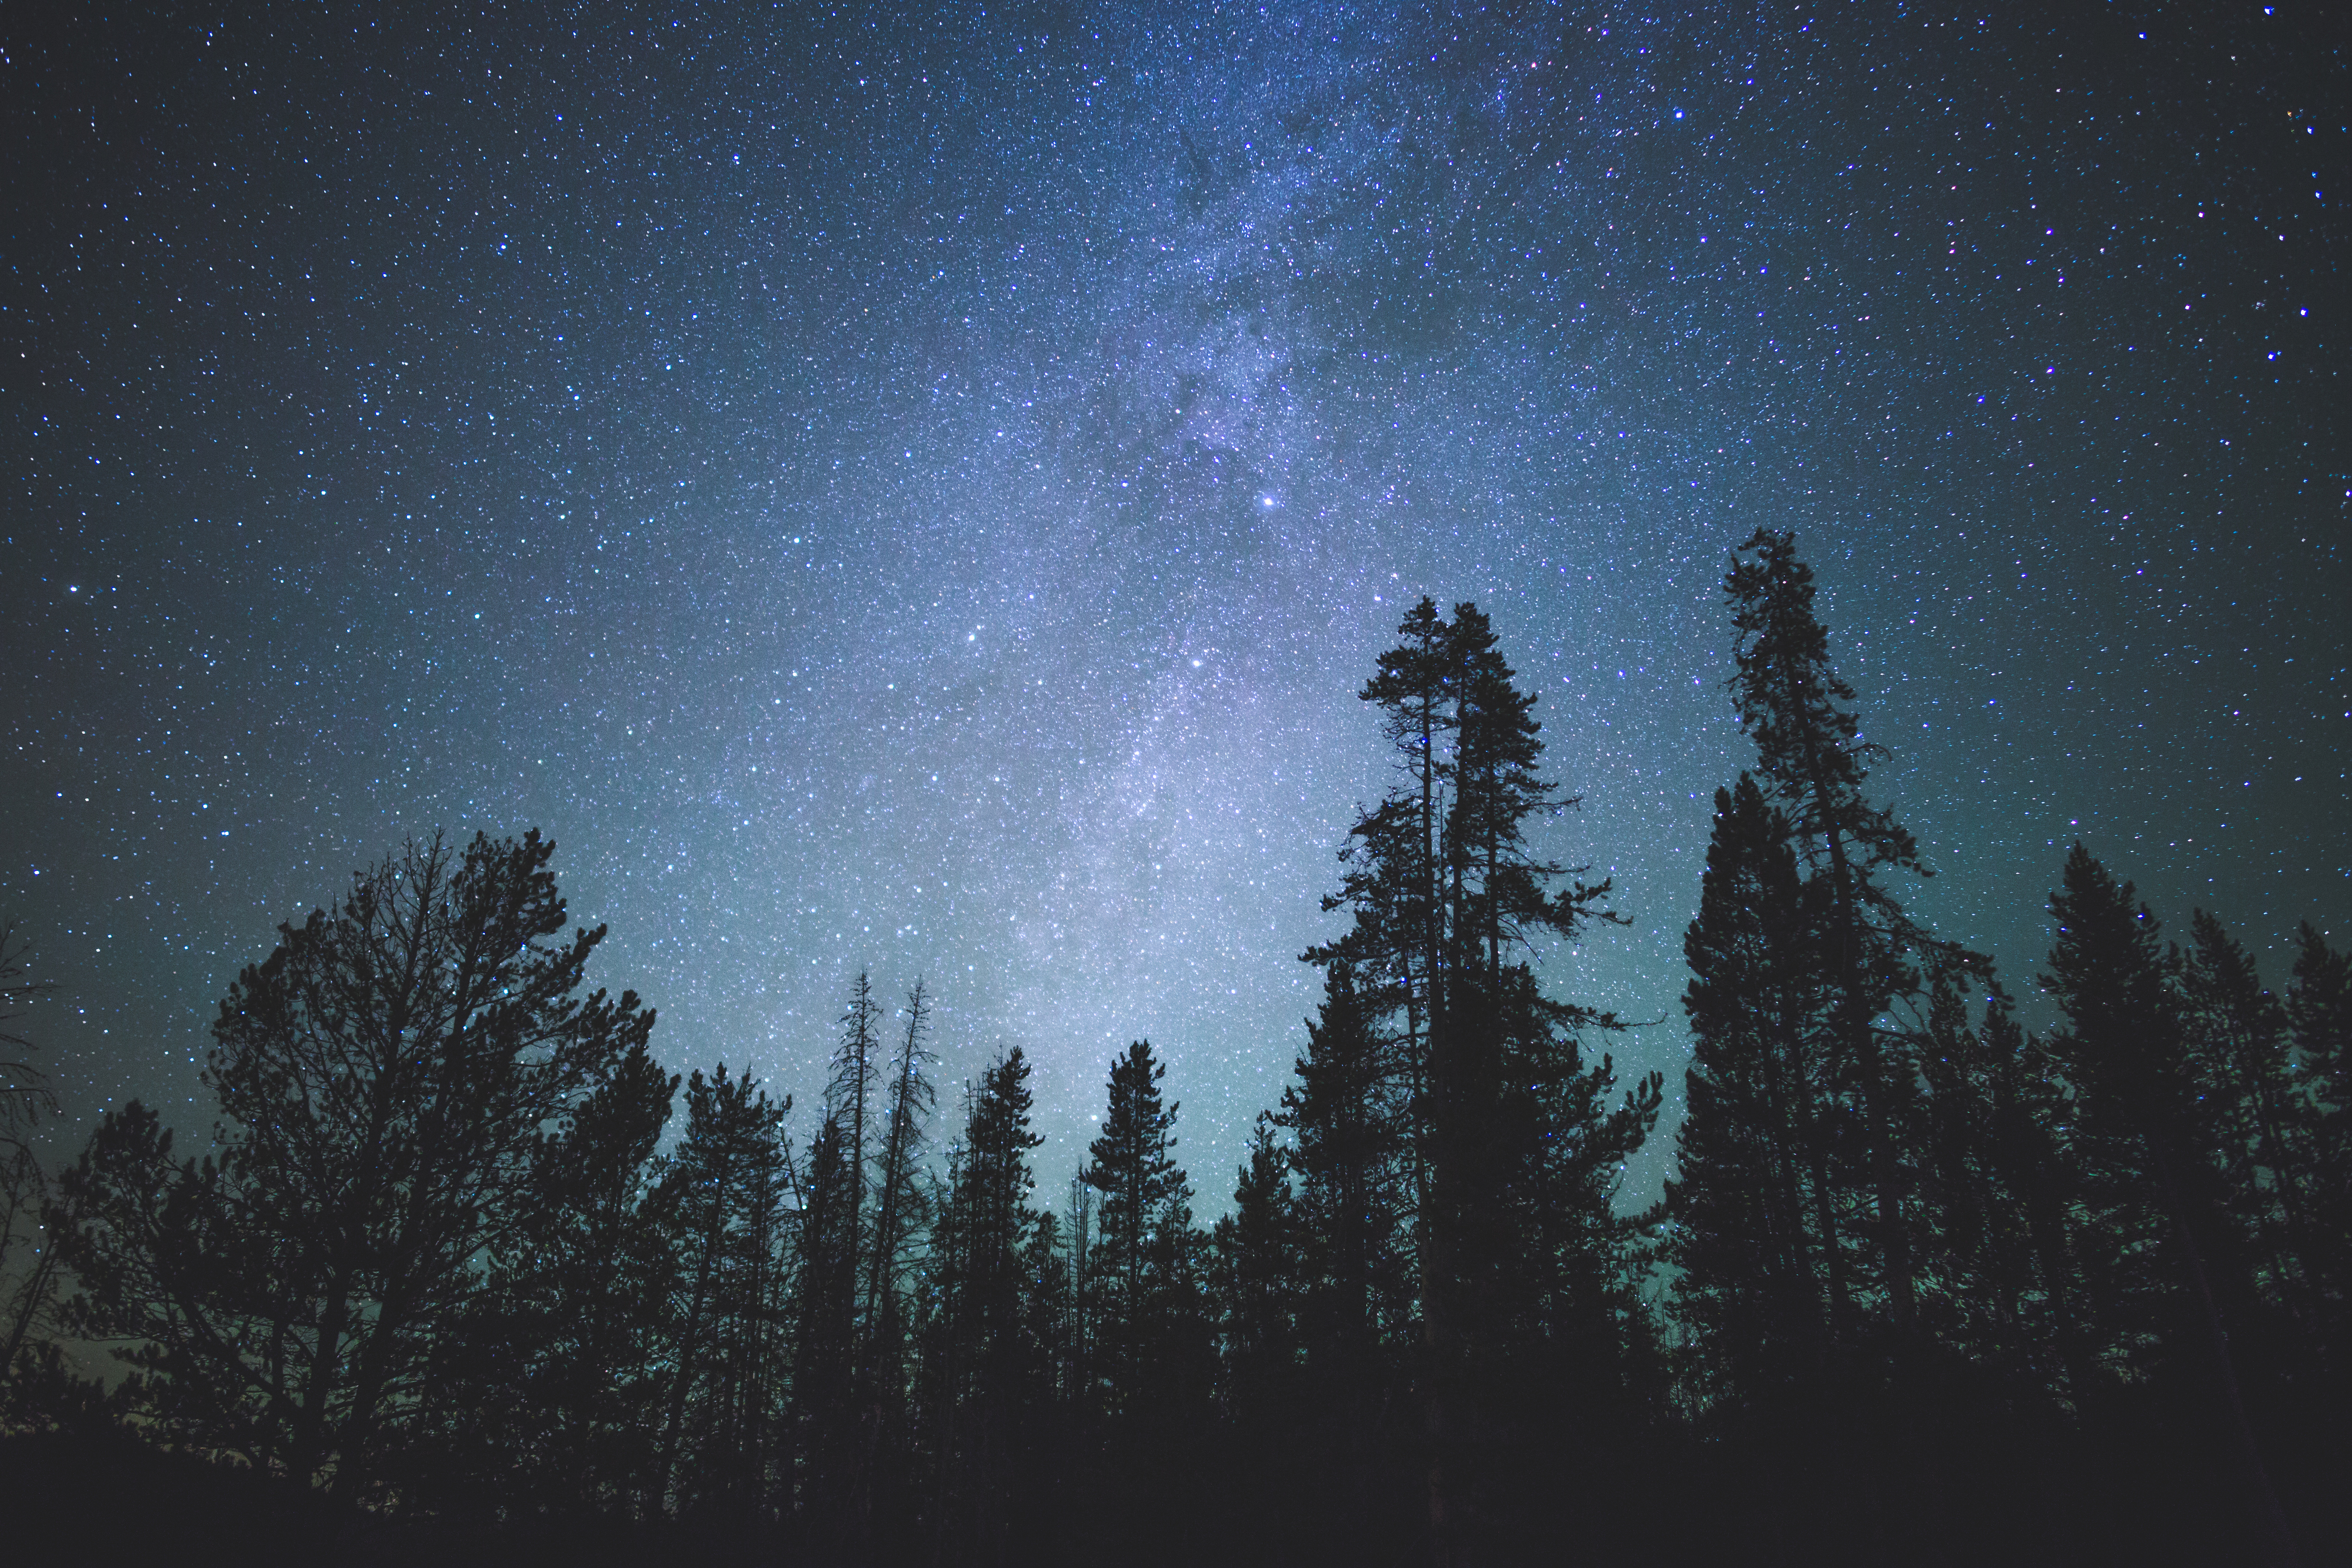
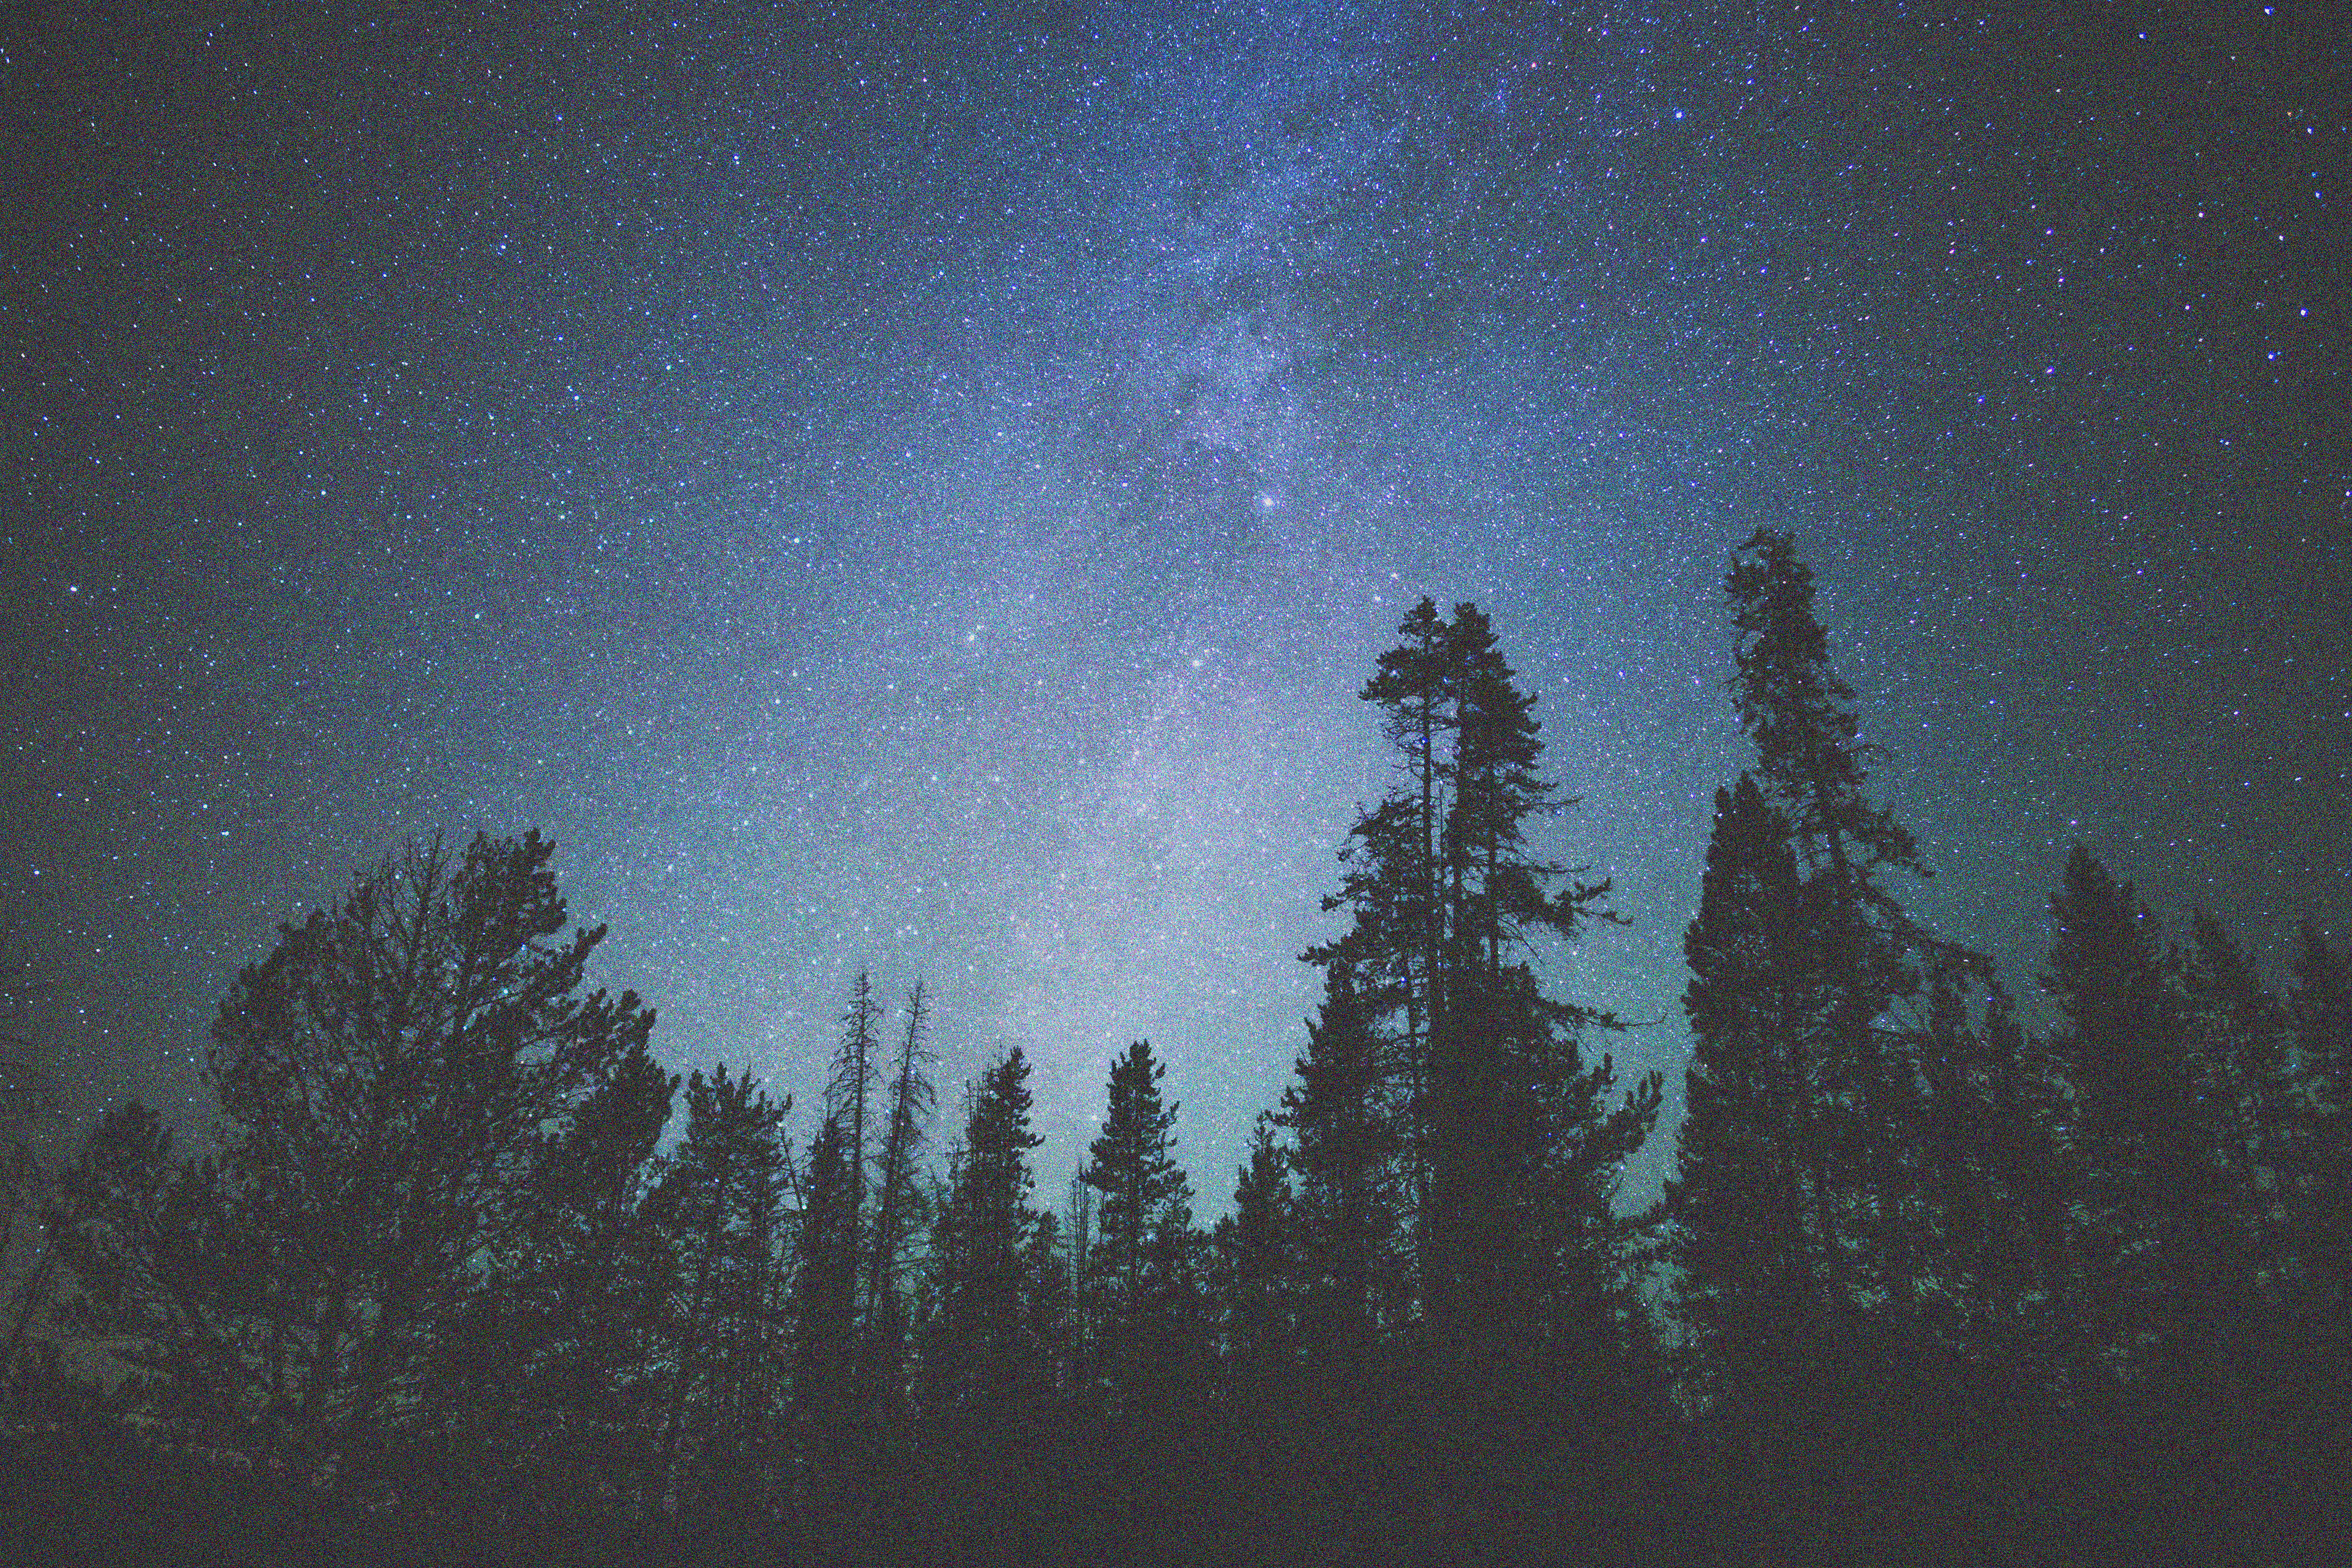
Noise is a grainy degradation in image quality that impairs fine detail and reduces colour saturation. It’s controlled much better on modern cameras than on models that are a few years old, but as you increase ISO value to make the chip more sensitive to light, you also increase the noise in the image. To avoid noise in static scenes, use your lowest ISO value (normally 100), a tripod and a longer shutter speed to compensate. For moving subjects in dim conditions, you’ll normally have to use a higher ISO setting to get a sharp shot, but the effects of noise can be reduced with noise reduction processing in raw software like Lightroom or Camera Raw.
O is for Optics

There’s no ‘right’ lens for night shooting, but photographers specialising in low-light work often bias their choices towards ‘faster’ optics. These are prime lenses with a fixed focal length, and they have larger maximum apertures than equivalent zooms. They’re less flexible when you frame up a shot, as you have to physically move the camera to change your composition, but they gather more light – a big factor in dim conditions.
A 35mm f/1.8 or 50mm f/1.8 prime lens is a popular first choice for many photographers is, as it’s fast and the lenses can be very affordable.
P is for Painting with light
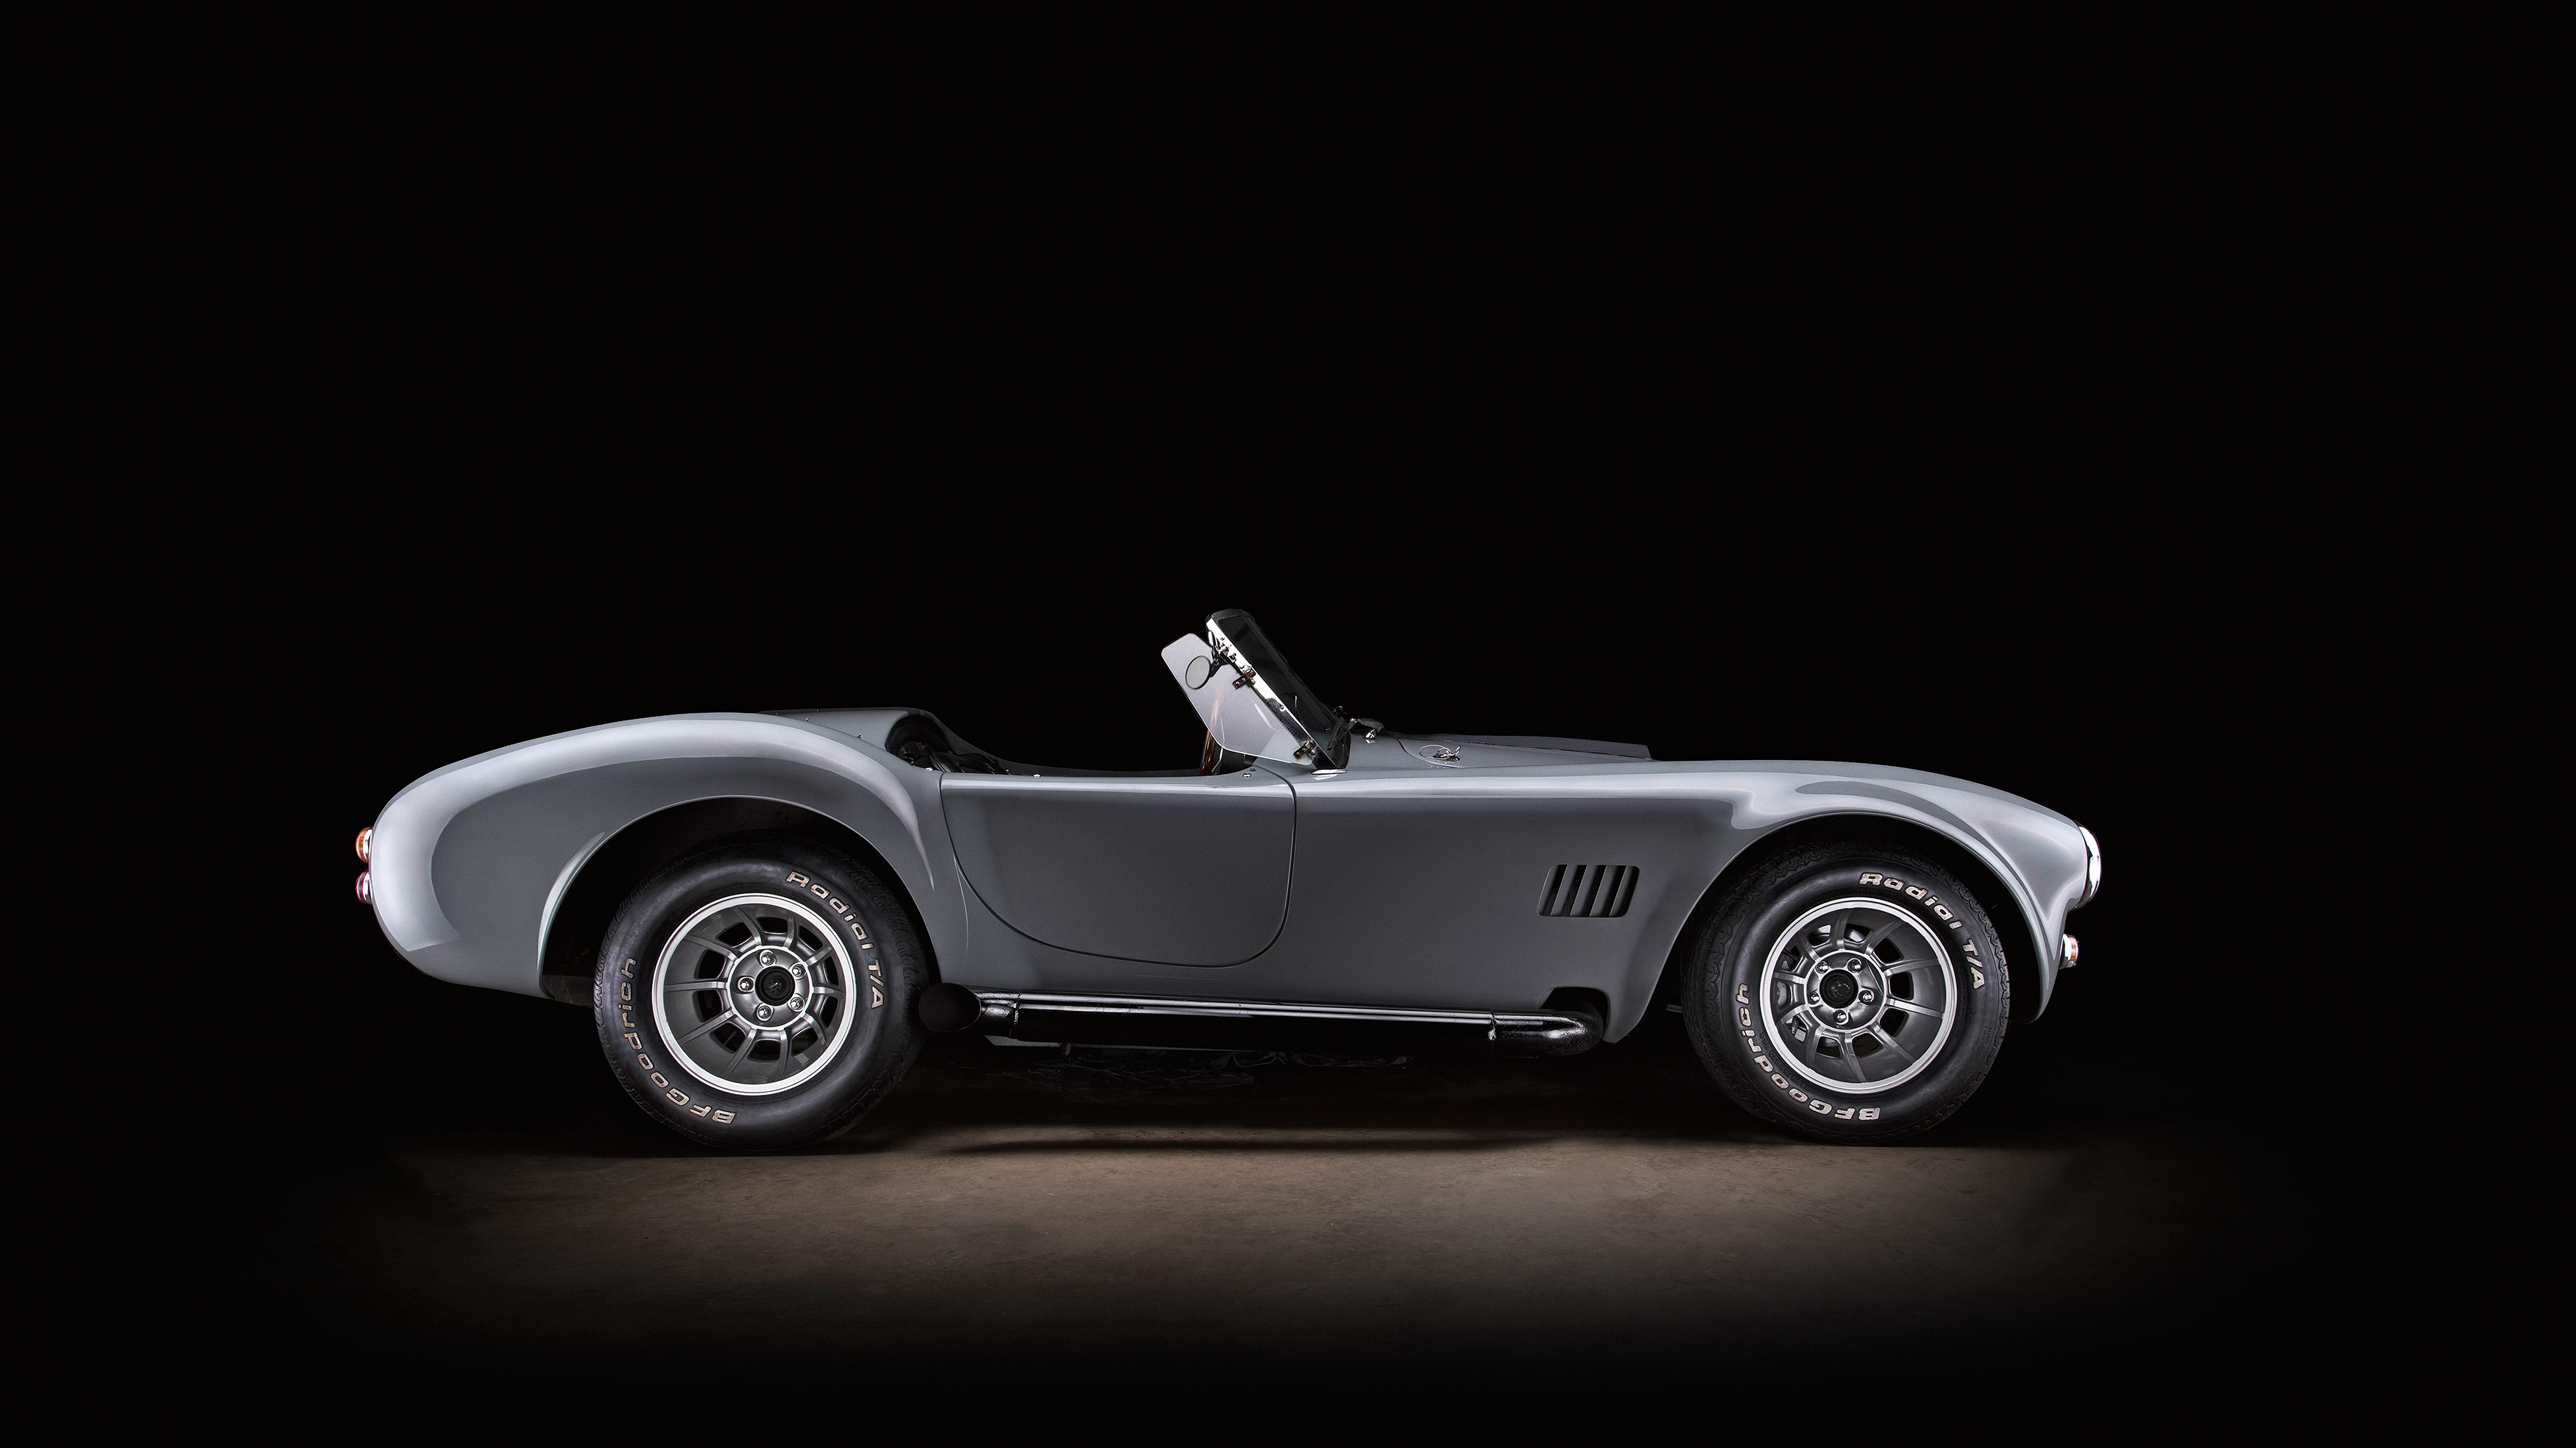
By shooting a long exposure while shining a torch, you can manually light a static subject. The longer the exposure is, the more time you have to move your torch around – but to avoid lighting the whole subject in one go, it’s easier to lock off the camera on a tripod, and make several shorter exposures, lighting the subject in sections at a time. After you’ve framed up and focused, switch to MF to ensure the focus doesn’t change, and use Manual mode with a shutter speed of 8 sec and an aperture of f/11. Set a self-timer delay of 5 or 10 sec to allow you to get into position with your torch, and play the light over the subject, using a different angle for each shot.
Provided you don’t move the camera or alter any settings while you take your shots, it should be easy to combine them. Load all the pictures into a single Photoshop document as separate layers. Set them all to the Lighten Blend Mode in the Layers panel, and all your lighting effects will be switched on.