How to combine macro images for amazingly sharp photographs
Stack 'em up
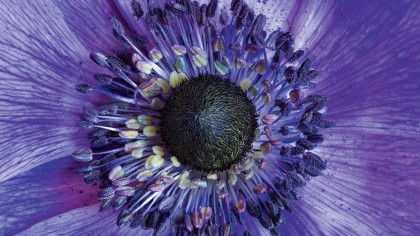
Step by step: how to get pin-sharp macro images
Focus stacking is a handy technique used to extend the depth of field in your images. This technique is commonly used in extreme close-up photography as depth of field is so limited.
Depth of field is determined by three factors: focal length, distance to subject and aperture. Macro lenses tend to have long telephoto focal lengths – like the Sigma 105mm lens we're using – and you have to get in close to your subject to achieve full-size magnification, both of which leave you with a very shallow plane of focus. This is why narrower apertures are typically used in macro photography to ensure the subject is sharp, while blowing out the background into soft focus.
But often this isn't enough to render the entire subject in sharp focus. The solution is to shoot several images, each with tiny adjustments to focus, then merge the sharpest parts together into one seamless, pin-sharp image. All you need is a macro lens, a sturdy tripod to keep your camera in a fixed position for the sequence of exposures, and a subject that will remain perfectly still, too.
It's actually quite a simple, automated process to combine your stacked shots in Photoshop CC or CS. While this is adequate for getting started, you may want to consider using specialist stacking software such as, Zerene Stacker and Helicon Focus when you move on to more complex subjects that require a lot more images to be stacked together.
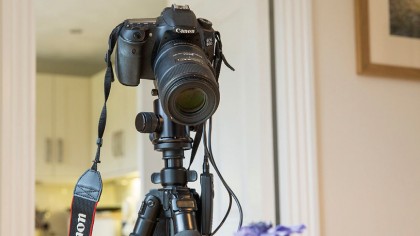
1. Secure camera
The most vital part of the focus stacking technique is to ensure that your camera is locked solidly in place so that it doesn't move between exposures. Set your camera up on a tripod. Even the smallest nudge can cause movement, so use a shutter release cable too.
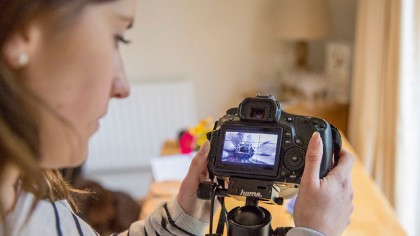
2. Enable live view mode
Move your subject into position and enable Live View; this is invaluable when working in such a controlled environment. Squinting through the viewfinder to set focus is a painful process, whereas Live View will allow you to zoom in to specific areas for more accuracy.
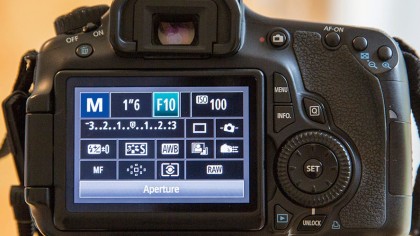
3. Switch to manual
To ensure the exposure remains the same for each shot, set Manual mode and the optimum aperture of your lens, usually f/8-f/11. Don't be tempted to select a really narrow aperture to reduce the amount of shots required as diffraction will soften your images.
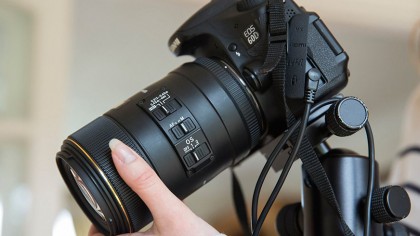
4. Focus... and repeat
Switch your lens to manual focus (MF). Zoom in to 5x magnification and twist the focus ring until the closest part of your subject is pin sharp.
Fire a shot, twist the focus ring a fraction, take another shot. Repeat until you've focused/shot the furthest point of your flower.
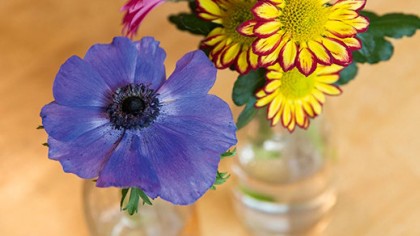
5. Subject
Your subject needs to remain static. Some work better than others due to the complexity of their structure. Smooth, simple objects won't require as many shots. Subjects with overlapping layers will prove much trickier.
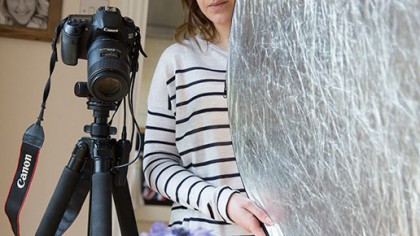
6. Light source
A north facing window, offering plenty of diffused light, is ideal. Pop a reflector on the opposite side to bounce light back into the shadows.
If the light is flat, a constant light source, such as an anglepoise lamp, will also work.
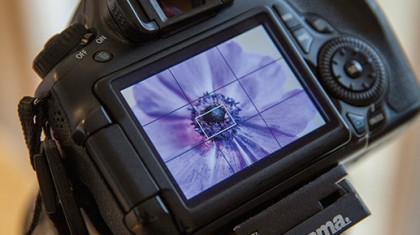
7. Composition
It's important to compose slightly wider than what you want the final composition to be as, when you blend your images in Photoshop, you will need to crop out the overlaid areas towards the edges of the frame.
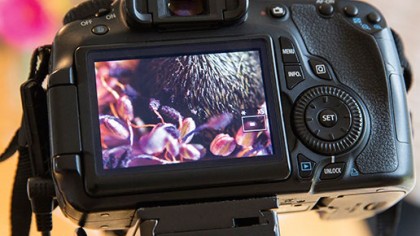
8. Focus overlap
To ensure you get a sharp end result you'll need to overlap the plane of focus for each shot. Make use of the 5x and 10x magnification function in Live View to ensure you don't miss a section when shifting the focus.
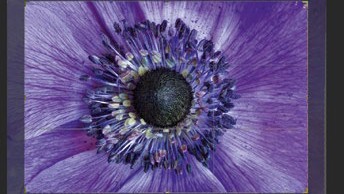
9. Cropping
We mentioned that you should compose slightly wider than you want the final image to be. This is because the Auto-Align Layers command may rotate some frames marginally during the alignment process and you will need to crop in to remove the uneven edges.
We suggest cropping your image after running this command, before using the AutoBlend Layers command.
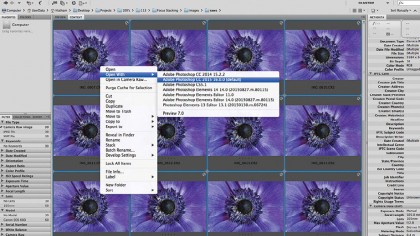
10. Open your images in Raw
Transfer your stack of images (we took 30 shots) onto your computer and save them in a new folder. Open them into Photoshop; if they are Raw files, as ours are, they will automatically open into Adobe Camera Raw so you can make some Raw adjustments.
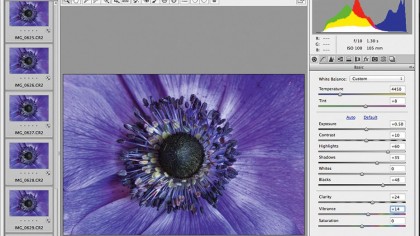
11. RAW adjustments
With the topmost image highlighted, scroll down to the bottom image and shift-click it to select all the images. Now any exposure tweaks you make will be applied to all images simultaneously – saving time, as they're slight variations of the exact same shot.
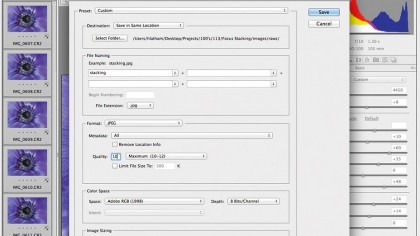
12. Save as JPEGS
Merging a large number of files will take a long time, so, to speed up the process, click the Save Images button to batch-convert them as JPEGs.
Set Destination to Save In Same Location, Format to JPEG, Quality to High and hit Save.
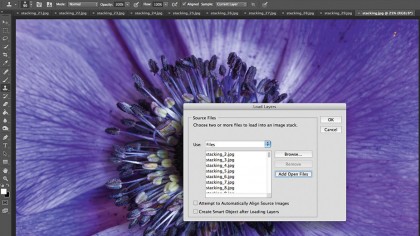
13. Load as layers
Click Done to exit Camera Raw. Moving to the main Photoshop editor, go to File>Open and select all the newly created JPEG files.
Go to File > Scripts > Load Files Into Stack, and click OK. This will open all the images as individual layers into one file.
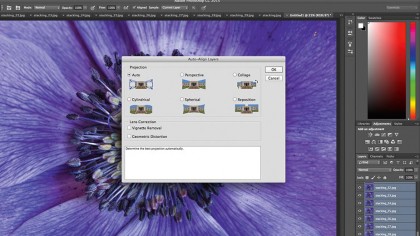
14. Align layer
Once loaded in Photoshop, select the topmost layer in the Layers palette, hold shift and click on bottom-most layer to select them all.
Go to Edit > Auto-Align Layers and ensure Auto is selected and hit OK. This will counter any slight movement between shots.
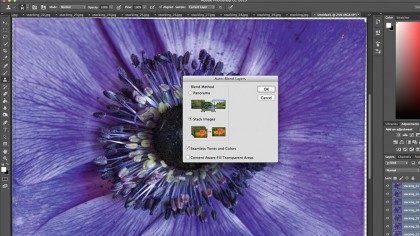
15. Blend layers
With all the layers still highlighted, go to Edit>AutoBlend Layers and ensure Stack Images and Seamless Tone and Colors are selected.
Photoshop will create a series of layer masks that reveal the sharpest bits of each layer, for a pin-sharp shot, from front to back.
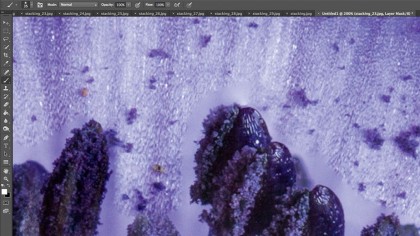
16. Check the focus
Photoshop isn't perfect and you may notice some areas it's missed due to misalignment. Locate the layer that has the area of sharpness you want to recover.
The quickest way to view them is by flicking through your sequence in Bridge or Lightroom.
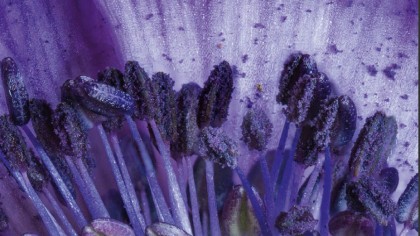
17. Edit the masks
Locate that layer in the Layers panel, drag it to the top of the stack, and click its mask to edit it. Paint with white to bring the area of focus back.
Repeat to other layer masks, if required. Reveal all layers and Hit Ctrl+Shift+Alt+E to create a merged layer.
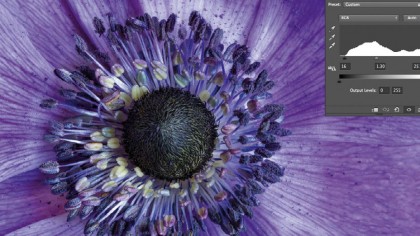
18. Boost contrast
Zoom in and scroll around the image, using the Spot Healing Brush tool to paint over and remove any imperfections.
Next, add a Levels adjustment layer to boost contrast by dragging the Shadows and Highlights sliders in to the edge of histogram and adjust the Midtones to balance the exposure.
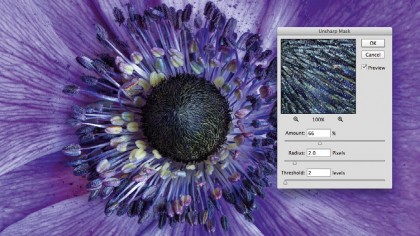
19. Saturate and sharpen
Next, add a Hue/Saturation adjustment layer and increase the Saturation slider to boost the color. Create another merged layer and go to Filter > Sharpen > Unsharp Mask.
For our image, we set Amount to 66%, Radius to 2 pixels and Threshold to 2 levels to sharpen the finished image.
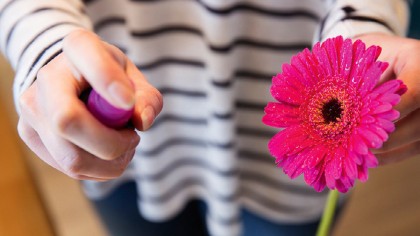
20. Just add water
If you choose to photograph a flower that doesn't have an overly complex structure and a flat-looking bud, jazz it up by spraying water on it for a different effect. We did this with a bright pink Gerbera to add more interest and detail to the final image.
You can pick up spray bottles from DIY, gardening shops or even your local supermarket for a few quid, if you don't have one.