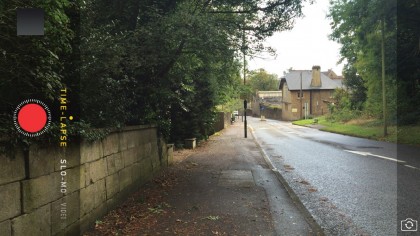
Getting ready
Recording a time lapse recording on an iPhone is simple enough. Just as with other camera modes, you need to set a focus point, possibly adjust the exposure – although for lengthy time lapses the light may change dramatically anyway – and, finally, tap the record button.
Starting a recording is straightforward, but getting good results requires some extra care and preparation. You'll need to find a good spot from which to shoot, just as for any photo or video, but special care has to be taken that you're not positioning the camera somewhere that a person, animal or vehicle will settle and ruin your results.
For a time lapse that's recorded from a fixed position, you need to ensure that the tripod is stable, and that it's unlikely to get knocked by passersby – even a small movement can ruin the shot.
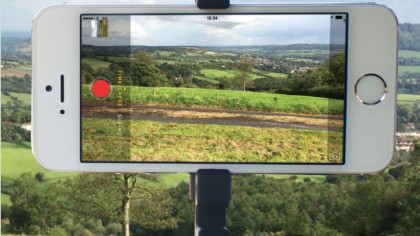
1. Prepare the hardware
Ensure that the tripod is stable and your iPhone is securely attached. Open the Camera app and swipe the mode control across the screen until you reach the Time-Lapse mode.

2. Compose and focus
Position the tripod so that the scene is framed how you want it for when you begin recording the time lapse video on your iPhone. To avoid the camera refocussing if, say, a bird flies into view, lock the focus by tapping a finger on the area you want to focus on.
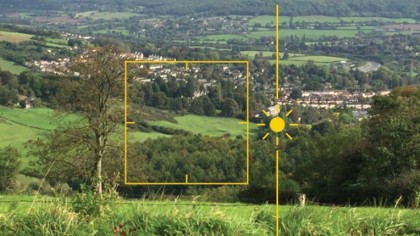
A yellow box appears, indicating that the focus point has been set there, but keep your finger held on the screen until the box animates briefly and a yellow 'AE/AF LOCK' label appears.
Be careful not to tap the screen again or this will clear the focus lock.
3. Exposure
The focus point's yellow box remains on-screen, although slightly dimmed. If it hasn't been set correctly, tap the screen to clear it and try again.
The lighting of a scene – especially a landscape – will inevitably change if you record for long enough, but you might still want to compensate for over- or under-exposure at the start.
The current exposure setting is indicated by the relative position of the sun icon that's adjacent to the yellow box.
4. Adjust exposure
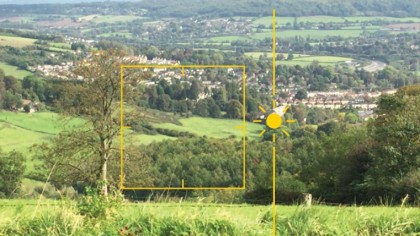
To change the exposure from the setting determined by the app – which it bases on what it sees at the point on which you focussed – tap and hold your finger on the screen again and slide it up or down to increase or decrease the exposure, respectively.
Notice how the sun icon moves to reflect your action. Make sure that you didn't accidentally clear the focus point when doing this – check that the yellow AE/AF LOCK badge is still at the top of the screen .
5. Start recording
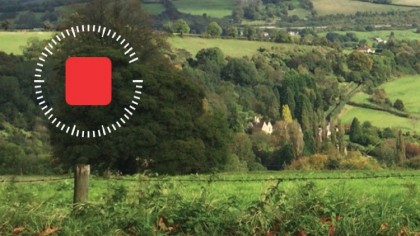
To begin recording a time lapse video on your iPhone, tap the red Record button. While the duration for which you record is relevant, you'll have to use your intuition and growing experience with shooting time lapses to work out how long to record for.
Rather than indicating the duration of the recording or the resulting time lapse, the only on-screen indication that anything is happening is the animated pattern of white markers around the Record button, which changes to a Stop button.
6. Lockdown
Unlike in the iPhone Camera app's other video modes, tapping the screen while a time lapse is being recorded won't clear the focus and exposure settings. They are locked-in for the duration.
The Stop button is the only on-screen control that will react, but be careful not to press the Home button – that will also stop the recording.
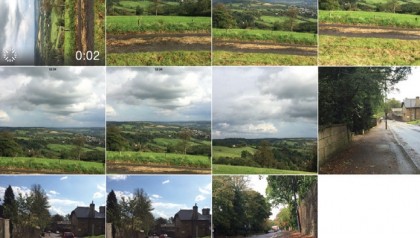
Afterwards, you can distinguish time lapses from other videos by looking for the small clockface icon in the bottom left corner.
- For more tips on using your iPhone check out our collection of guides on how to use iOS 9