How to master off-camera flash
Free your flash
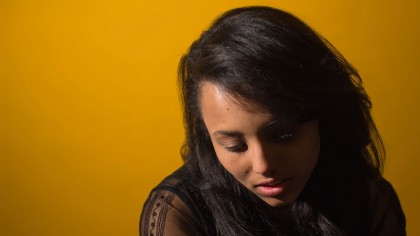
Step by step: Take your flash off-camera
When we get started in photography, we all buy the essentials: a camera body, a standard zoom lens, and maybe a tripod. Then we start snapping away and learning about the camera.
But (in our opinion) 90% of photography is not about finding the right subject, or even getting the composition spot on, it's actually learning about the light – its quality, position, intensity and color.
As photographers, we don't have to wait for the light to be right, or make the best of what we've got, we can take control of it. Most of us have a flashgun lying around, but never use it.
We're going to change that, so dust yours off, buy some cheap wireless flash triggers and put your flashgun to work. This issue we'll start with simply taking it off-camera. We'll show you how to set your flashgun up, get it firing and balance its power with your camera settings for a stunning portrait. You don't need any fancy equipment.
A kit lens such as the 18-55mm f/3.5-5.6 will be fine for this, as it's the light that makes the shot. We've used a maximum aperture of f/5.6, so you can see that super-wide aperture isn't essential for taking great photos. And there are no light meters here – we're going guerrilla-style to use our off-camera flash in the simplest way possible.
Quick tip: You can do this indoors or outdoors, so have a play in a variety of locations. If you find yourself outside on a sunny day, put the sun behind your model's shoulder and use your flashgun to fill the model with light from the front.
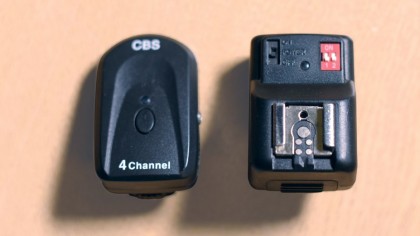
Step 1. Fit your triggers
Attach your wireless triggers to your camera and flash. We picked up some Neewer triggers for just £10 ($20). The transmitter sits on your camera's hotshoe and sends a signal when the shutter is activated. The receiver sits under the flash and triggers it when it receives the signal.
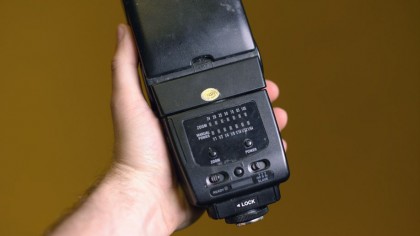
Step 2. Prepare for manual
It's manual flash only with most low-cost triggers, including ours – TTL is not supported. TTL (through the lens) is when the camera 'talks' to the flash and sets the power based on the camera settings. Manual just means you have to adjust the flash power yourself.
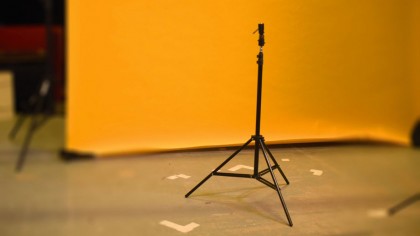
Step 3. Use a stand
Put your flashgun on a light stand. You can get a cheap one, like our König KN-LS10, online for £10 ($20). If you don't have a stand, place it on a nearby surface – but this isn't ideal, as it will limit the height and position at which you're able to place your flash. A stand is more flexible.
Step 4. Get set up
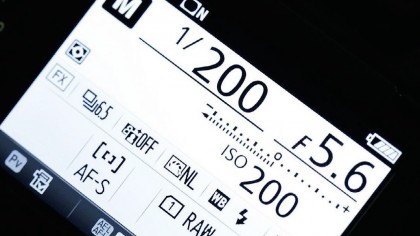
Get your model into position, then set up your DSLR. To start, set it to 1/200 sec, f/5.6, and ISO200. (1/200 sec is our flash sync speed, and f/5.6 is our lens's widest aperture.) Put your flash to the side of your model at head height, three feet away, set to half power, then take a shot.
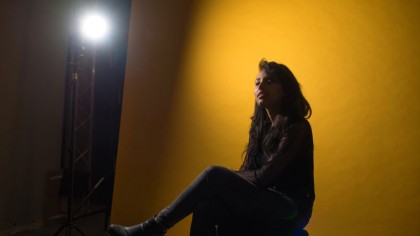
Step 5. Try more options
Next, set the flash five feet from your model, aimed at them, and positioned 45 degrees to one side relative to the camera. It should sit about a foot above the model's head. Keep experimenting – after a few photos we moved our flash 90 degrees camera left to get sidelight.
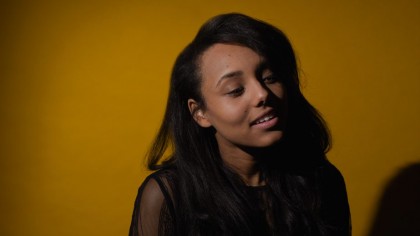
Step 6. Adjust the light
If your shot is under-exposed, increase the ISO or the flash power – or the opposite if the shot is over-exposed. If you're using an 18-55mm kit lens, you're already at the widest aperture setting. The shutter speed won't make a difference to the flash's intensity, so leave it alone.
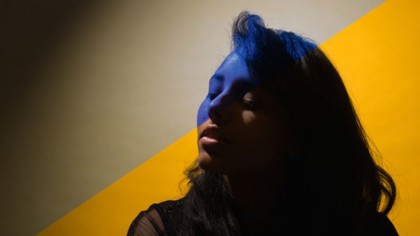
Step 7. Find your balance
Set your white balance to 'flash' for accurate color reproduction. If you're shooting in RAW you needn't worry about this, as you can change it later, but it's imperative when shooting straight to JPEG because you can't change this after the fact. The shot above is half-Auto, half-Flash.