Scan, restore and save your favourite photos
Digital photography is now part of everyday life, but most of us still have treasured collections of prints from film cameras stashed away in albums.
These old photographs can be easily damaged, and would be impossible to replace, so why not take a little time to preserve them? You can repair minor damage easily using free image-editing software, and if they are still in good condition you can make sure they stay that way.
Once your pictures are scanned and any damage is corrected, it's time to organise them in a way that makes sense to you – by date, location or event. Then you need to choose where to save them. It's good practice to keep several backups – we recommend an external hard drive (which are now quite affordable, even in large sizes) and an online service such as Flickr, which offers a generous amount of storage completely free.
1. Clean up
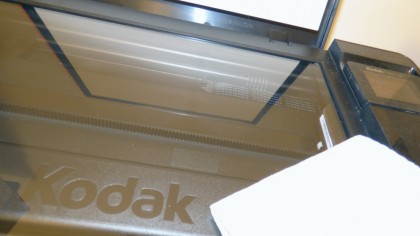
Before you scan your pictures, wipe each one gently with a dry microfibre cloth to remove any dust that would appear in the scans. To avoid marking them with fingerprints, only hold them by the edges.
Also clean your scanner bed to remove dirt or fingermarks. You can do this using the dry cloth again, or apply a tiny amount of alcohol or glass cleaner to it first.
2. Start scanning
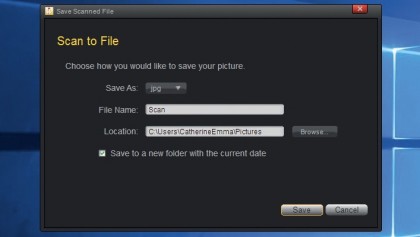
Now line up your first picture carefully on the scanner bed. You'll notice arrows beside the glass indicating the correct way to position photos. Most scanners have a dedicated setting for scanning photos, so select this if you can.
It's a good idea to choose the highest resolution available – at least 300dpi, or higher if you'd like to order new prints in the future.

3. Prepare to repair
There are lots of free photo-editing apps available in the Windows store, but most are designed for pictures taken using digital cameras – not ones scanned from prints, which might be damaged or scuffed – so we're going to use a more powerful (but still free) tool called GIMP.
It has more of a learning curve than apps like Photoshop Express, but will give much better results.

4. Get GIMP
Once you've finished scanning your pictures, go to the GIMP website, click the orange 'Download' button, and then select the option to download it directly. It's a large file, so this might take a while.
Once the setup file has downloaded, give it permission to make changes to your computer, confirm the language as English and click 'Install'. When the installation has finished, open GIMP.
5. Rotate and zoom
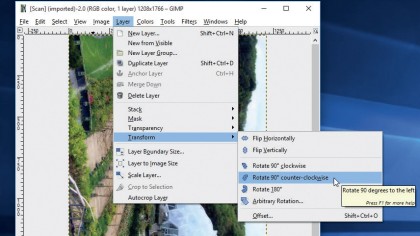
Click 'File > Open' and select your scanned picture. If the image appears on its side, click 'Image > Transform' and rotate it clockwise or anticlockwise to correct it.
You can zoom in for a good look, so drag the bottom right corner of the main GIMP window to make it larger, then hold [Ctrl] and use your mouse wheel to zoom in (it's quicker than using the magnifying tool).
6. Heal scratches
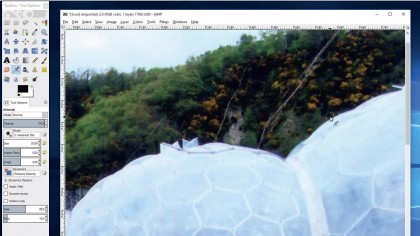
The photo we scanned has suffered some scratches, but these are easy to correct. Zoom in on the affected area, then tap [H] to select the Healing tool. Now move your mouse pointer over an area that has the same colour and texture as the scratched part of your photo, hold [Ctrl] and click your mouse.
GIMP will use this selected area as a kind of brush to paint over the scratch.
7. Subtle repairs
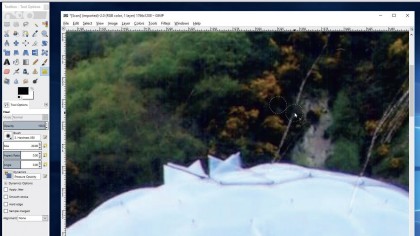
Now click and drag the Healing tool over the scratch to cover it up. It's easy to accidentally create unnatural looking patterns, so try painting the scratch in patches rather than one continuous line.
You might get better results if you hold [Ctrl] and click again to choose a slightly different place to sample from after a little while.
8. Solve scuffs
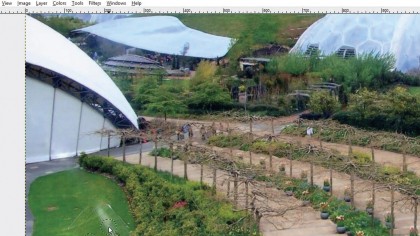
Our photo has also suffered a scuff that's taken some of the colour off the print. We can use the Healing brush to correct this too, but since the areas are large and not very detailed, we can make the job quicker by selecting a larger brush.
Use the 'Size' option below the tool palette to make the brush bigger, then cover over the scuff as before.
9. Refine tones
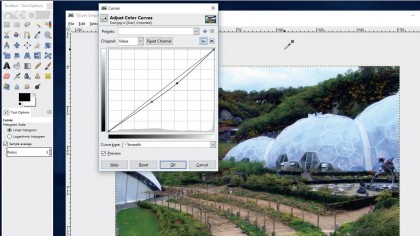
The Curves tool is a good way to adjust tones in your photo, which might look a little duller than the original. Click 'Colors > Curves' and experiment to see what brings out the most detail in your picture.
Our image looks a little overexposed, but we can use Curves to bring out more detail in the brighter areas. Once you've finished, click 'File > Export as' and save as a high-quality JPG.
10. Archive online
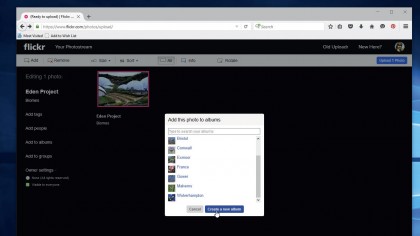
Finally, it's time to archive your photos. Flickr gives you 1TB of space, which is enough for thousands of snaps. Either log in if you already have a Yahoo account, or create one if not.
You can then simply drag and drop your pictures from File Explorer onto the web page to upload them. Give each one a description to keep them organised.
- Enjoyed this article? Discover how to get the most from your PC and new things to do in Windows Help & Advice. Take advantage of an exclusive offer in our sampler today.

Cat is TechRadar's Homes Editor specializing in kitchen appliances and smart home technology. She's been a tech journalist for 15 years, having worked on print magazines including PC Plus and PC Format, and is a Speciality Coffee Association (SCA) certified barista. Whether you want to invest in some smart lights or pick up a new espresso machine, she's the right person to help.