How to take 360 degree photos and upload them to Facebook
Photo spheres meet social media

Share your 360 degree photos on Facebook
Facebook recently rolled out support for 360-degree photos and joining in is simple as long as you have a smartphone and the right app - these immersive, spherical stills let you peer in any direction rather than just looking at a flat, two-dimensional image of a scene.
Think about Street View: you can look up, down, left and right, and Facebook's 360 photos work in the same way. There's also 360-degree video, where you're inside a moving sphere rather than a static one, but here we're going to focus on taking and uploading pictures.
Capture every last part of your surroundings and your posts are bound to stand out in the News Feed. Here's how to get started with Facebook 360 photos.
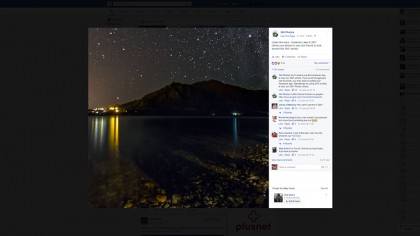
1. Check out existing 360 photos
Before you attempt shooting a 360 photo of your own for Facebook, check out some of those already on the site - this should give you a good feeling of what works and what doesn't, and the situations where you might want to use a fully immersive snap of something rather than the traditional 2D picture.
Just type "360 photos" into the Facebook search box and you should find a wealth of pictures to play around with, even though the feature is still relatively new. On any 360 photo, click and drag with the mouse to look around (or if you're on a smartphone just tap the photo and move your mobile around).
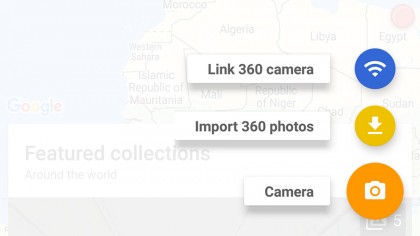
2. Take a 360 photo: Street View part one
You need to take a 360 photo in a format Facebook can understand, and one of the most convenient options is Google's official Street View camera app: it's available for Android and iOS, it's free to use, and it works seamlessly with the Facebook 360 Photos platform whether your photographing a street or anything else.
Once you've got the app installed on your phone, tap the Plus icon from the front screen and choose Camera then Open Camera. The app itself will guide you through the process of capturing all the images that you need - just make sure you're staying as still as possible while you move your phone around.
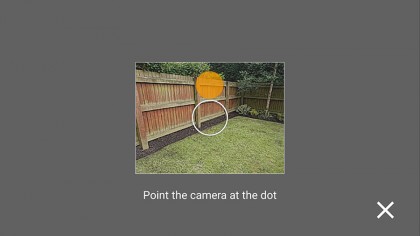
3. Take a 360 photo: Street View part two
You need to move the phone around to find the orange dots that appear on screen. Each photo is taken automatically once the dot is found and the circular tick icon at the bottom will gradually get a circular border as you take all the necessary images. When it turns green then you're all done.
Once you get to the last few pictures you'll get some prompts as to where the missing points are but if you work around yourself methodically you can't go far wrong. If you take a snap that you're not happy with for whatever reason then use the undo icon (lower left) to remove the most recent image.
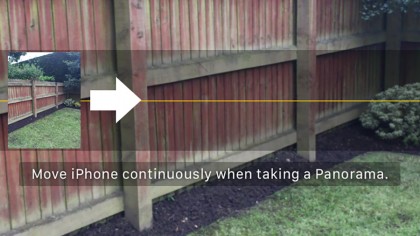
4. Take a 360 photo: other apps part one
You don't have to use the Street View app - Facebook can work with images taken using the panorama mode on the iPhone or the photo sphere mode on the latest versions of Android (tap the camera app menu to find it). If some of the data is missing then Facebook tries to patch the gaps as best it can.
If you own a Samsung device then you can make use of the Surround Shot mode that comes with the camera and if you don't then your phone might have an equivalent option you can make use of. Another alternative is the VR-ready Cardboard Camera from Google (which is only available for Android right now).
5. Take a 360 photo: other apps part two
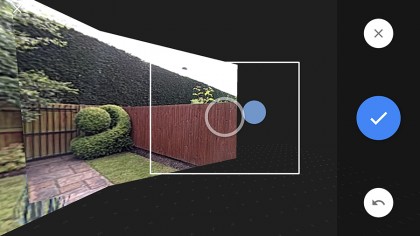
If you're using the photo sphere mode in the stock Android Camera app, then the process of capturing a 360 photo is very similar to the one in the Street View app (as you would expect as they're made by the same company). Locate the dots and the images are taken and stitched together automatically.
The Cardboard Camera is slightly different: it captures a full circle of images by asking you to slowly rotate your phone to the right in one smooth motion. You can't look up or down but you can include audio if you want to, and the finished results can be experienced in any Cardboard-compatible VR viewer.
6. Take a 360 photo: 360 cameras
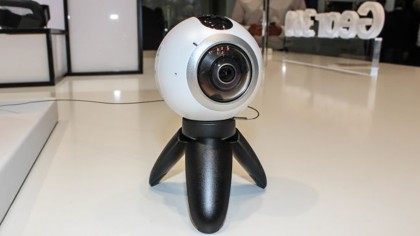
If you want to use a dedicated 360 camera for the job then your results are going to be even better. In recent years we've seen plenty of consumer-level devices hit the market, so you can get hold of one without breaking the bank, and pretty much all of them will be compatible with Facebook 360 Photos.
There's the Samsung Gear 360 for example, the Ricoh Theta S and the LG 360 Cam - we've got a comprehensive round-up for you if you need more choices.
If you want to splash the cash then you can do - Nokia's OZO (which does 360-degree video as well) can be yours for a mere $60,000 (around £41,000 or AU$80,000).
7. Upload your 360 photos
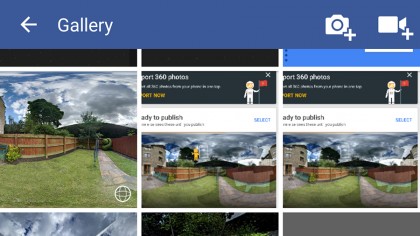
Uploading the 360-degree photos you've taken is no different to uploading any other picture to the social network: from the status update box, tap Photo and then pick your image, which should've been saved to your device by whatever app you're using. On the desktop, click the Photo/Video link.
Oddly enough you can't yet create a 360 photo from inside Facebook's own camera app - there's only the option to capture a standard photo or video. Presumably Mark Zuckerberg and his team of developers will want to add this feature eventually, so capturing and uploading will be even more straightforward.
8. Set the posting options
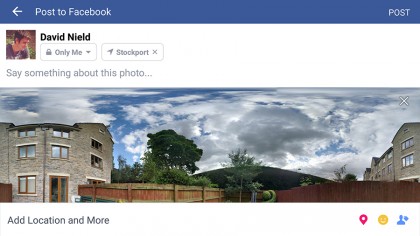
Just like every other post on Facebook, you have control over who sees what you've uploaded. This is usually Friends by default but tap the button and you can set it to Public (anyone can see it, even if they're not connected to you), Only Me (only you can see it) or choose another group of friends.
As with other images, there's the option to include a location with your 360 photo - this can make it easier for other people to find the spherical photo you've uploaded but be wary of revealing your home or work locations, particularly if you're making the image public for anyone to review.
9. Viewing your 360 photos on Facebook
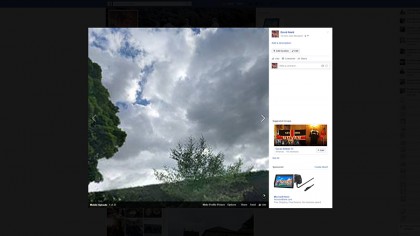
Once the uploading process has finished you can visit your profile and make sure everything's working as intended - as before, click and drag using the mouse (in a web browser) or just move your phone around (on a smartphone) to peer in all the different directions the 360 photo allows you to.
In the lower right corner of every 360 photo is a small icon that looks like a radar: this shows you where the perspective is pointing at any given moment. As you're looking at your own images, you can add extra details and comments if you need to, or change the audience that can see the picture.
10. Doing more with your 360 photos
Of course you can use your 360 photos in a variety of places besides Facebook - these photo spheres work perfectly on Google Photos, for example, whether you view them in the app or via a web browser, and we've already mentioned how you can use a Google Cardboard viewer to open them too.
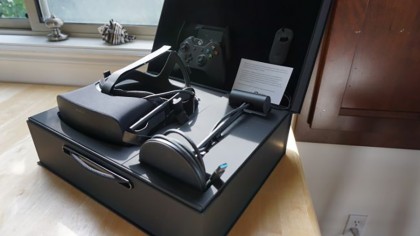
360 photos can also be viewed through the Oculus Rift and Samsung Gear VR headsets as well, and in these cases all you need to do is turn your head to change your perspective - go to the Oculus 360 Photos page to have a browse. You can even edit your images if you wish (Facebook has provided a guide).
- Read more on the Samsung Gear VR and Facebook 360 photos

Dave is a freelance tech journalist who has been writing about gadgets, apps and the web for more than two decades. Based out of Stockport, England, on TechRadar you'll find him covering news, features and reviews, particularly for phones, tablets and wearables. Working to ensure our breaking news coverage is the best in the business over weekends, David also has bylines at Gizmodo, T3, PopSci and a few other places besides, as well as being many years editing the likes of PC Explorer and The Hardware Handbook.