How to capture great garden scenes and flower shots
Flower power
Top tips for taking beautiful flower photos
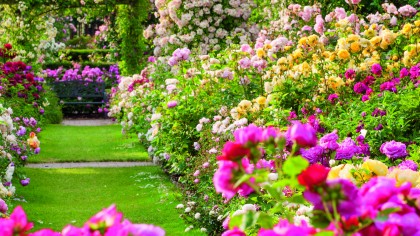
The birds are singing and gardens are blooming into life, with bulbs and shrubs bursting into flower on the ground and trees filled with luscious green leaves. However, capturing these fleeting moments of beauty at this requires commitment, patience and a liberal dose of good weather!
For the past 30 years Clive Nichols has travelled all over the UK and Europe recording the best gardens and flowers. Read on to see his top tips for shooting great garden and flower images, both outside and inside…
- Learn more: 77 photography techniques, tips and tricks
1. Set your alarm clock and get up early
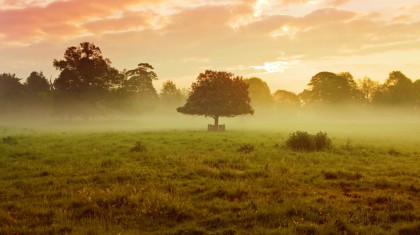
If you are not good at getting up in the morning then you will not make a good garden photographer. Dawn can be as early as 4:30am in the summer, but quite simply the first hour after sunrise – the golden hour as it's known – is the time to shoot gardens.
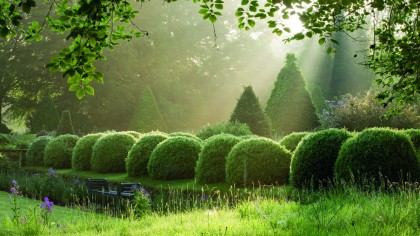
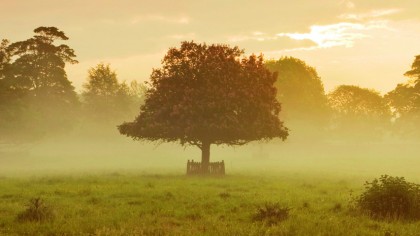
Gardens at dawn have a magical quality that can be enhanced by the low-angled sunlight. Shadows rake across garden scenes and shooting towards the sun makes flowers and foliage sparkle with backlighting. Moisture levels can be high, so mist, fog, morning dewdrops and cobwebs can all add a mystical quality to photographs.
An added advantage is that there is often little wind first thing, so you can capture garden views in sharp detail, using narrow apertures like f/11 and f/22 to get good depth of field. So be sure to check the weather forecast.
- Learn more: How to predict the angle of sunrise
2. Clear focal points
A great lens to have in your kitbag is the telephoto zoom lens. Many of the best garden shots have been taken with this lens. Mounted on a tripod, you can pin-point any focal point in a garden and cut out areas of clutter or sky that are not contributing to the photo.
Look for patterns or repeating shapes to give clear structure to my morning shots – allowing the light to add a touch of glamour to the picture.
3. Lens choice
Try out various lenses to create several compositions. A telephoto zoom allows you to fill the frame with a single subject, such as a tree or statue, where a standard zoom, like the Sigma 24-70mm DG OS HSM | Art, allows you to show the subject within the wider scene.
Wide-angle lenses should be used with care: if the sky has good color or dramatic clouds then use a wide-angle to include it; whereas on soft, overcast days the sky can be white and boring, so needs to be cropped out.
4. Reading the light
Light is the most important element in any photograph. Backlighting is fantastic for adding drama and beauty to garden scenes and flowers, particularly in the early morning and late evening. It helps to show the translucency of flowers, such as anemones and poppies, and adds a nice rim light to floral subjects. Side lighting will emphasize the texture of subjects like bark and leaves, and soft frontal lighting is great for showing the rich colors and details in gardens and plants.
Midday sun is to be avoided at all costs; as the sun is directly overhead and strong, there are few shadows to add three dimensionality to garden scenes, shadow detail is lost and highlights become burnt out. If you have to shoot in the middle of the day, it's better to wait for cloudy conditions; clouds act like a giant softbox, reducing contrast and revealing subtle colors and details in flowers and foliage.
Soft front light is ideal for shooting close-ups of flowers outdoors. It is the perfect light for showing subtle color variations and details on fl owers and foliage because it is low-contrast light, similar to using a softbox beside the lens or a shadowless ring fl ash. Shooting towards a subject with the light coming from behind creates a rim light around the edge of flowers and foliage that is very flattering to the subject
- Learn more: The 10 laws of landscape photography
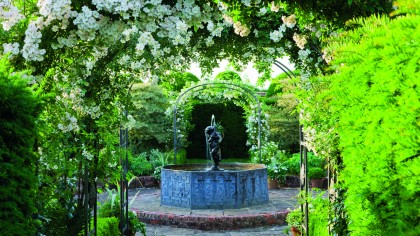
5. Look for frames
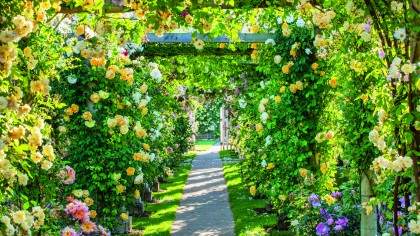
Framing you garden images is easy in really good gardens because the designer has used frames to create pictures within the garden.
Pergolas, arches and doorways are all good subjects to frame views of gardens. Using a telephoto zoom lens allows you to crop tightly and frame the picture in exactly the way that you want.
- Learn more: The 10 rules of composition (and why they work)
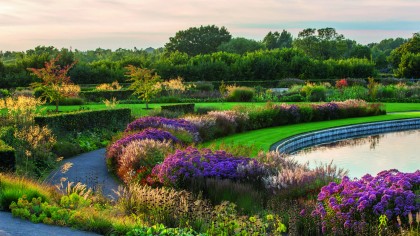
6. Composing your shots
Composing a garden scene within the frame to make an attractive photo is not always easy as gardens can have a multitude of elements within them. Being at the right place at the right time is the key as all the elements of the scene need to work if you want to get a top garden photo. Visit on regular occasions so that you can catch areas as they come into leaf or flower.
Use a telephoto zoom lens to cut out unwanted areas of a garden or border that are not looking good – such as a badly chosen bench or a tree or shrub that has gone over.
- Learn more: The 10 rules of composition (and why they work)
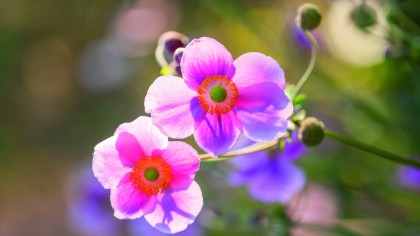
7. Crop in close
Don't feel that you have to show the flower in its entirety. Use a macro lens to get in super close for larger-than-life detail, filling the frame and picking out the pattern of its unfurling petals. For the most eye-catching detail-packed results, shoot as square-on to the flower as possible.
A square crop also works well with this shape of flowery subject. Use a telephoto zoom lens to cut out unwanted areas of a garden or border that are not looking good – such as a badly chosen bench or a tree or shrub that has gone over.
- Gear guide: The best macro lenses for Canon and Nikon DSLRs
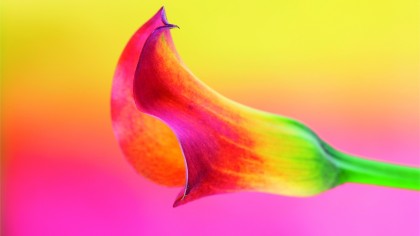
8. Colored backdrops
Shooting a flower against a backdrop of same-colored plants can work extremely well. Use a macro or zoom lens to isolate the subject from its background; the trick is to ensure that it is sharp while its neighbours are blown so much out of focus that they become a subtle wash of color, so use a wide aperture and get up close, but ensure that there's a good distance between your chosen plant and those in the background.
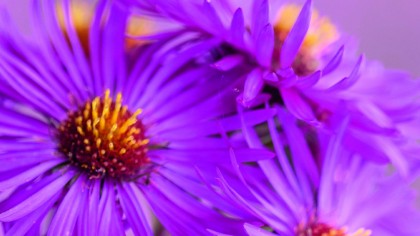
9. Hidden depths
When shooting up very close with a macro lens, depth of field is severely restricted, and while a degree of background blur can be pleasing to the eye, there's a danger that too much blur can result in the subject becoming indistinguishable.
Use a narrow aperture around f/16 to increase the depth of field so the entire flower head is sharp, and a tripod to keep the camera rock-steady.
- Learn more: Depth of field explained
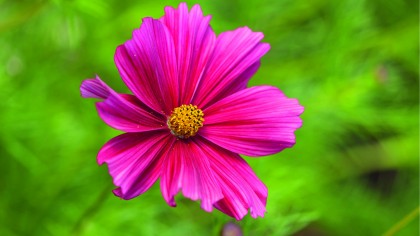
10. Keep it steady
When photographing close-ups outdoors, even the faintest breeze gently blowing delicate flower heads can result in blurred shots, either due to movement of the flower at slower shutter speeds, or it slipping from the plane of focus when dealing with an extremely shallow depth of field.
Shielding the plant from gusts with a reflector can help, or use a clothes peg to gently clamp the plant stem against a solid support – such as a stick pushed firmly into the ground.
- Gear guide: 10 essential accessories for your new camera
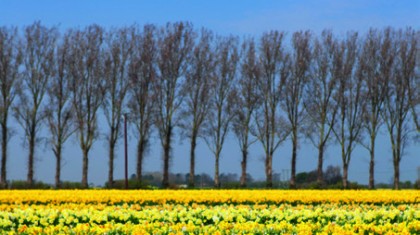
Step 11. Fields of fire
Everyone has heard of the tulip fields in Holland – and they make fantastic subjects for photography but you don't have to go there specifically. Capturing the mass of flowers is easy with a zoom lens and, if you are fortunate enough to have a sunny day, include the sky as the combination of blue sky and yellow daffodils works extremely well in photographs.
Get down at ground level and use a macro lens to pick out individual flowers above you against a blue sky.
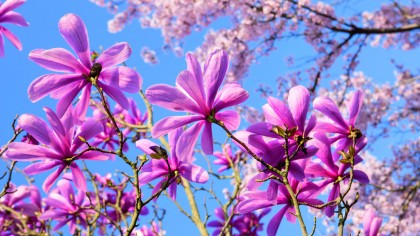
13. The sky's the limit
Subjects that work particularly well against a deep blue spring sky are white and pink cherry blossom and magnolias, which really seems to sum up the colors of spring.
Pointing the wide-angle end of a lens up to the sky will take in a lot of flowers, whereas a zoom or macro lens can be useful for isolating a small group or single flower against the sky.
- Gear guide: The 10 best tripods you can buy right now
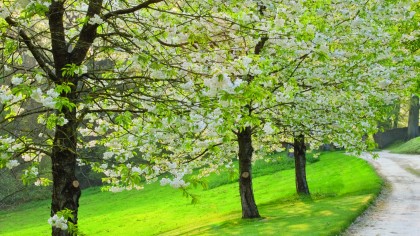
14. Get the timing right
Timing is everything with garden photography, and you have to wait until the cherry blossom is at its very best before shooting it. You also need to take the shot at the right time of day – at 10am the sun is higher in the sky, so, by using a narrow aperture of f/22, you can turn it into a sunburst to enhance the summery feeling.
Spring blossoms need to be captured right at their peak of flowering – too early and the show won't be at it's best, too late and you'll have bare branches while the ground it littered with the decaying remnants. Zooming in for a tight crop keeps your frame uncluttered, while a narrow aperture keeps everything sharp, from foreground to background.
- Learn more: The A to Z of Photography: Aperture