Set up an accounting system with FrontAccounting
Manage financial reporting, sales, inventory, and even manufacturing with FrontAccounting

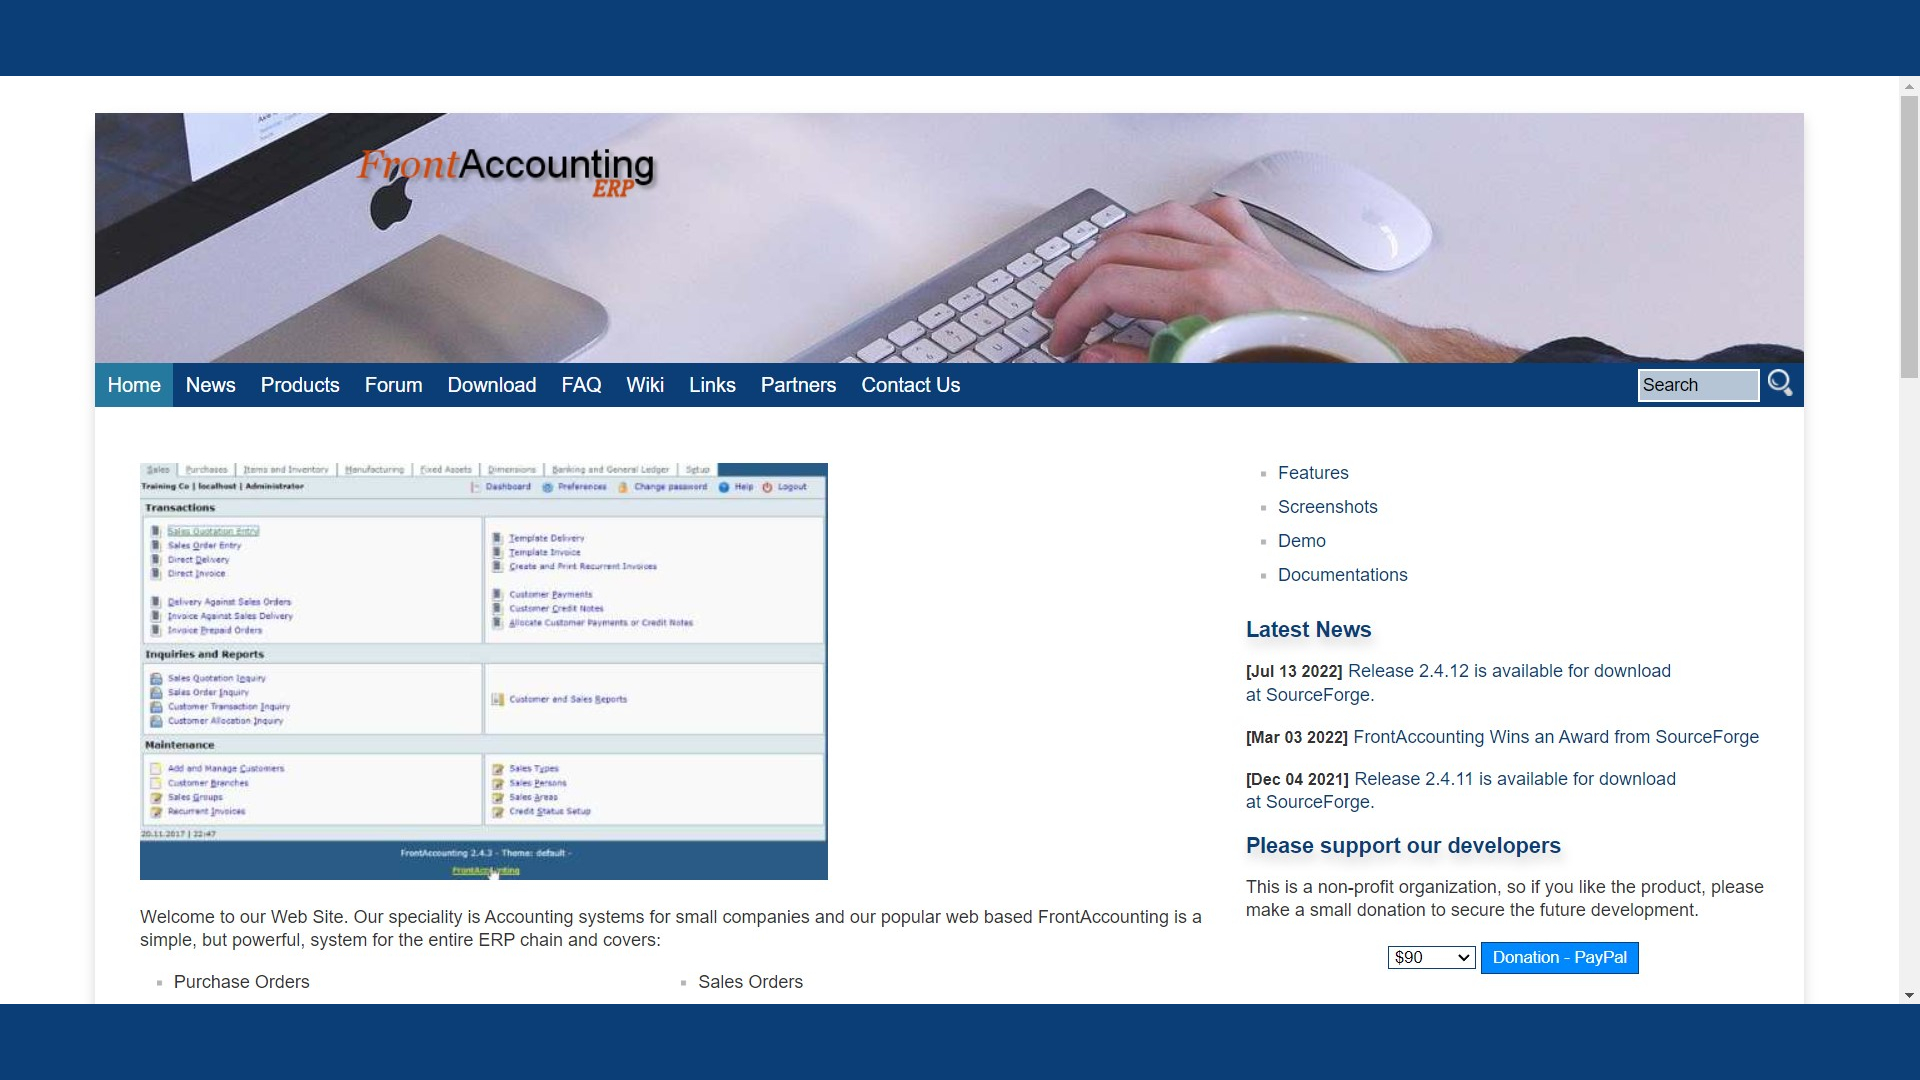
FrontAccounting is a capable enterprise resource planning (ERP) system for small businesses. It can handle accounting functions, inventory management, reporting, invoicing, and even procurement for manufacturing departments. Best of all, FrontAccounting is entirely free, relying on voluntary donations from satisfied users.
Getting started with this free, robust software can be challenging, so we compiled this handy step-by-step guide to help you out using Hostinger as a hosting solution. While the process may seem intimidating at first, it's simpler than it looks. It’s worth the effort, as the amount of functionality you get from this free program is comparable to expensive alternatives.
FrontAccounting "free web" hosting offer: $41.88 $0 TechRadar Pro exclusive: Get FrontAccounting with Hostinger's web hosting package plus everything you need to build your website with a WordPress friendly hosting plan that comes with 30GB of storage and 100GB bandwidth. We partnered with Hostinger to deliver a free web hosting offer for TechRadar readers (T&C apply). Grab a full refund of $41.88/£41.88 in Amazon vouchers when you purchase Hostinger’s single shared hosting package. *Initial purchase required
How to set up your own accounting system with FrontAccounting: Preparation
FrontAccounting requires four things before you begin setup:
- A domain
- A web server with PHP installed
- A MySQL server
- A PDF reader installed on your computer. (See our rundown of the best PDF readers for Windows, free and paid, to help you choose the right one for your business.)
You don’t need to know what any of these things are to set up FrontAccounting, but if you want more background, we included links to some definitions in the above points.
Installing a PDF reader is a product-specific process, so we won’t cover it in this guide. If you need help, consult your reader’s installation instructions for assistance.
The most affordable web server option is a shared web hosting plan. We chose Hostinger, a top-rated hosting provider, with packages starting from just $1.99/month.
Hostinger also provides domain names, so you can buy one directly from Hostinger or transfer a domain from another provider in just four clicks.
Are you a pro? Subscribe to our newsletter
Sign up to the TechRadar Pro newsletter to get all the top news, opinion, features and guidance your business needs to succeed!
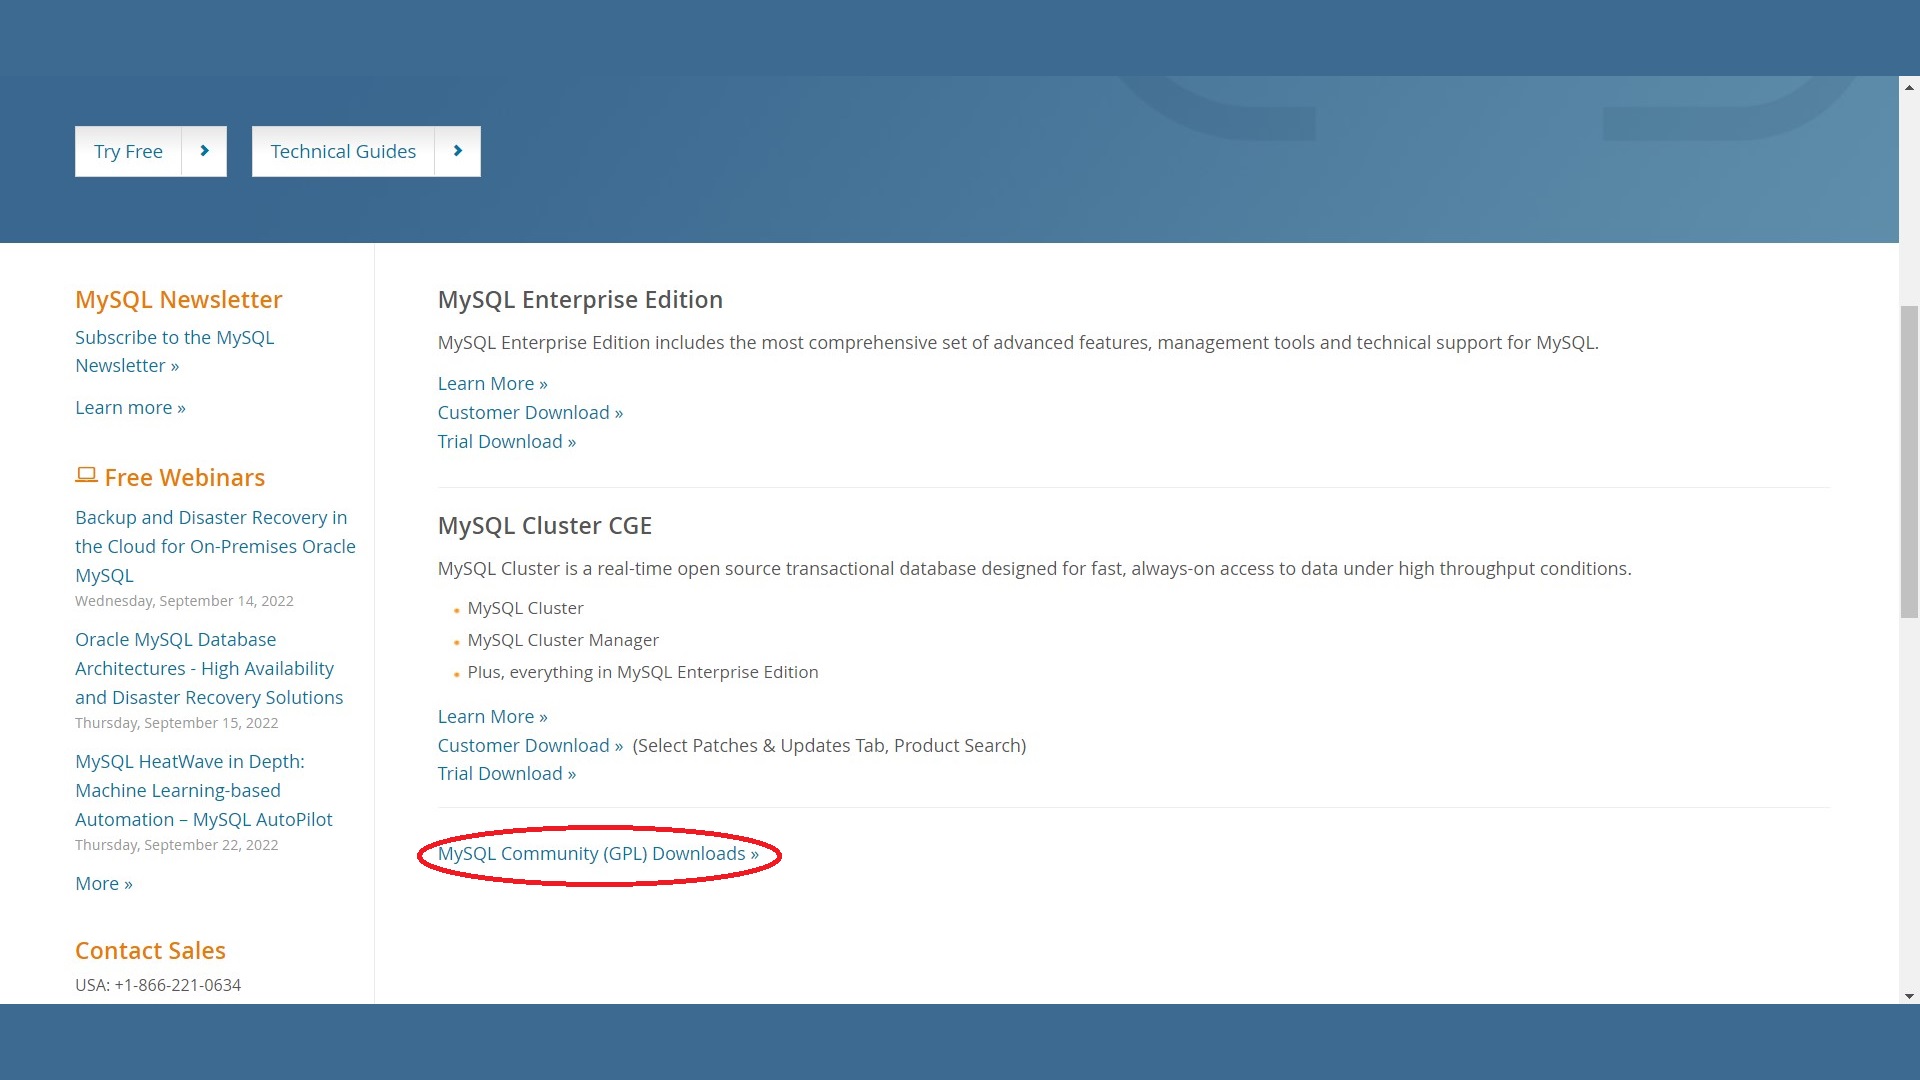
All of Hostinger’s plans come with PHP installed by default. For MySQL, read Hostinger’s guide—What is MySQL—to bring you up to speed, then download and install the free Community Edition of MySQL from the MySQL website.

Step 1: Open the FrontAccounting auto installer
Installing FrontAccounting manually can be complicated, but Hostinger’s Auto Installer does all the hard work for you. You just need to populate a couple of fields and click Install. Hostinger will do the rest.
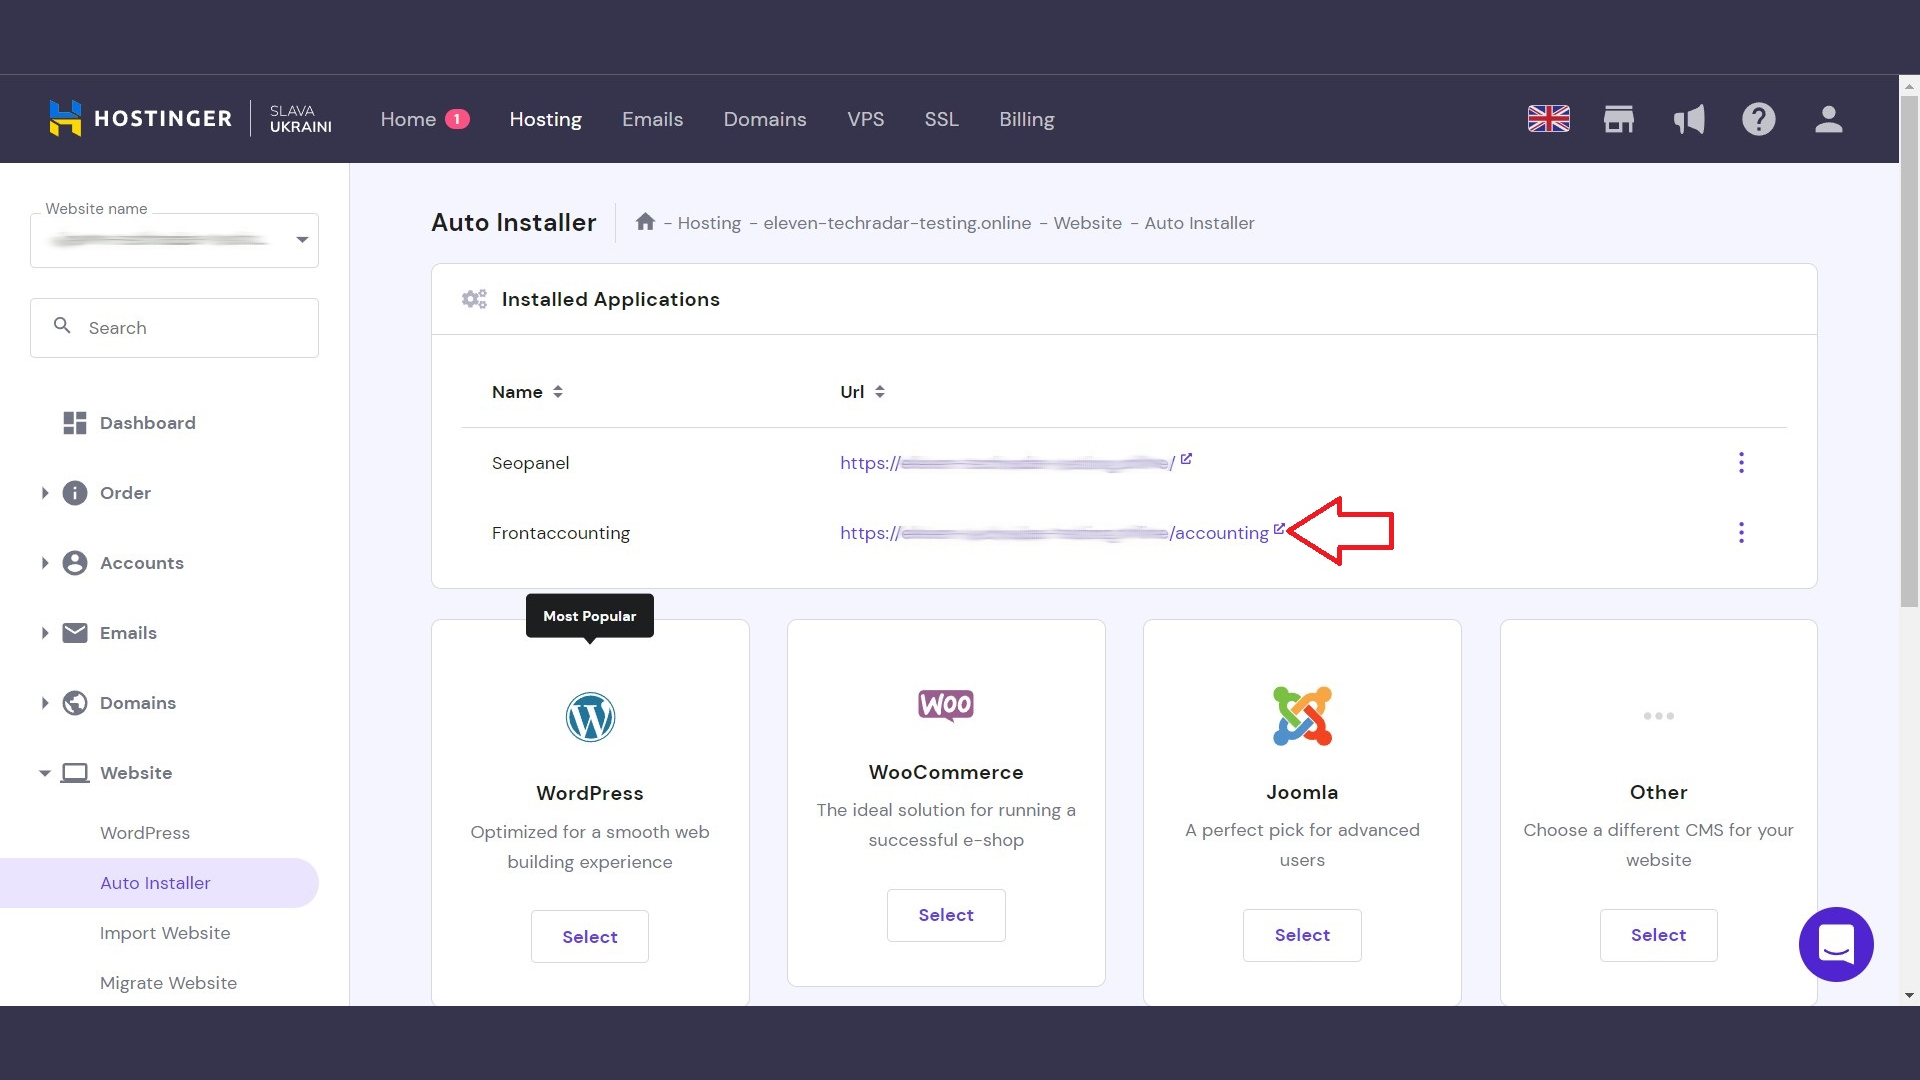
To begin, log in to Hostinger, navigate to Hostinger’s Auto Installer, click Other, and select FrontAccounting from the dropdown list. Then, click Select.
Step 2: Set up and run the FrontAccounting auto-installer
Most of the options on the Auto Installer will be prefilled, but you do need to specify a few fields on the first page. Namely, you will need to enter your administrator username and password, then create a password for your MySQL database under the Advanced tab. You should also name your subdirectory, which is part of the web address you will enter to open FrontAccounting.
When you fill in the first page, click Next, leave the second page as is, and hit Submit. If successful, you should see a brand new link appear under Installed Applications in the Auto Installer.

Step 3: Try out FrontAccounting’s demo data
Navigate to your domain name/subdirectory, or click the new link in the Auto Installer to reach FrontAccounting’s login page. From here, you can log in with your administrator credentials.
You will notice that FrontAccounting is already populated with data. This is dummy data you can use to become familiar with the basics of FrontAccounting. The next few steps will outline different, common tasks that FrontAccounting helps you perform. We recommend you follow along with this guide in FrontAccounting, and try these functions out for yourself.
The basics: Double-entry accounting
FrontAccounting has a fully functional double-entry accounting system. You can create journal entries using an intuitive interface in the Banking and General Ledger tab, located at the top of the screen.
Using the General Ledger Reports menu, you can automatically generate commonly used financial statements for any date range. These include Profit and Loss Statement, Balance Sheet, Trial Balance, and many more.
You can also generate an audit trail with a single click for any date or time. The audit trail will show any changes made, or entries created or deleted, who made them, and when. You can filter audit trails by user, too.
Advanced features: Sales
FrontAccounting’s sales tools are flexible. If you want to keep things simple, you can use the Sales menu as an invoice manager, where you create invoices and mark them as paid as funds come in.
If you require more granular control, you can set up quotes, convert them to sales orders if closed, dispatch goods (that interact with the inventory menu), and track invoices. The level of detail and depth from the sales side of the system is entirely under your supervision.
Advanced features: Inventory
You can track your inventory items, including sales, transfers, and adjustments, from the Inventory menu. You can also quickly adjust units of measure, reorder levels, and inventory locations. Finally, you can track pricing and costs, and generate various inventory-related reports from this tab. If you have multiple distribution centers, you can also track inventory individually by location.
When you dispatch goods in the sales menu, FrontAccounting will automatically reduce inventory in the appropriate location by that amount.
Advanced features: Purchases
Consider this tab the opposite of sales. Here, you can track invoices from suppliers and track payments to suppliers. Naturally, any purchases will be allocated to inventory when you log them into the system.
Advanced features: Manufacturing
FrontAccounting enables you to track progress on work orders, and log inventory used in the manufacturing process through this tab. You can also generate two manufacturing reports: a bill of material listing and a work order listing.
Advanced features: Fixed assets and depreciation
You can log the purchase and depreciation of fixed assets from a dedicated tab. Fixed assets will also appear automatically in the correct location on your balance sheet (and other financial reports) when added through this tab.
You can pull a report of all your fixed assets, and get a total valuation net of depreciation using the Fixed Assets Valuation report.
Advanced features: Setup
The Setup tab has a tremendous range of tools that control your entire reporting environment. For instance, you can set your fiscal year, manage taxes and tax groups, set up user accounts for employees, determine their access privileges, and much more. You can also use the Create Companies feature to create a new company, which is helpful because there’s no easy way to get rid of the demo data in FrontAccounting otherwise.
Once you have familiarized yourself with the demo, create a new company using the Create Companies feature, and link it to a new, blank MySQL database. Alternatively, link your existing company to a new, empty database (also from the Create Company screen), to remove the demo data and get started with FrontAccounting.
Summary
FrontAccounting is a powerful, free-to-use, web-based accounting platform that can handle everything from financial reporting to sales, inventory management, and manufacturing.
Thanks to Hostinger’s built-in Auto Installer, you can install FrontAccounting quickly and easily in just a few clicks. To learn more about accounting software in general, and see what alternative accounting programs have to offer, see our list of the best accounting software for small businesses.
Read more in this series:
- How to start a blog with Joomla
- Build your own CRM using SugarCRM
- How to host your files online using Nextcloud Hub
- How to start your own help desk with Hesk
- How to build an HR System using OrangeHRM
- How to generate your own invoices using Invoice Ninja
- How to install live chat software with Sales Syntax
- Run your own ecommerce platform with PrestaShop
- How to create your own website with Soholaunch
- How to launch your own website with WebsiteBaker
- How to learn search engine optimization with SEO Panel
- How to kickstart your own Ancestry.com alternative with webtrees
- How to install a free ERP software called Dolibarr
- Demand gen vs lead gen: What's the difference?
- Host your own private forum with MyBB
- Build your own calendar application with WebCalendar
- Set up your own groupware service with Tiki Wiki CMS
- How to build your own email marketing service with phpList
- A Google Photos alternative: Store your photos online with Piwigo
- How to start with project management using The Bug Genie
- Make your own poll platform with LimeSurvey
- Roll out your own Wikipedia clone with MediaWiki
- How to host your own learning management software with Moodle LMS
- Produce your own bills with BoxBilling
Serguei holds degrees in finance and marketing from York University, and brings more than five years of professional experience at their intersection to his writing. His previous roles as a finance advisor involved breaking down and explaining complex concepts in everyday terms, a talent he now brings to his work as a freelance writer.
