Set up your own Slack-like chat system on Linux
Excited by our recent interview with Zulip founder Tim Abbott, we install the Slack-beating chat system for ourselves, as Jonni Bidwell reports.
Install Zulip
Follow our six-step guide to get Zulip running on Debian or Ubuntu. The official requirements state that 2GB of RAM and 10GB of disk space are needed, with more if you’re expecting hundreds of users.
This makes it ideal for running on Mythic Beasts’ Raspberry Pi 4 hosting offerings. For public access, you’ll need a domain name and for your server’s port 443 to be accessible too.
Step 1: Download Zulip
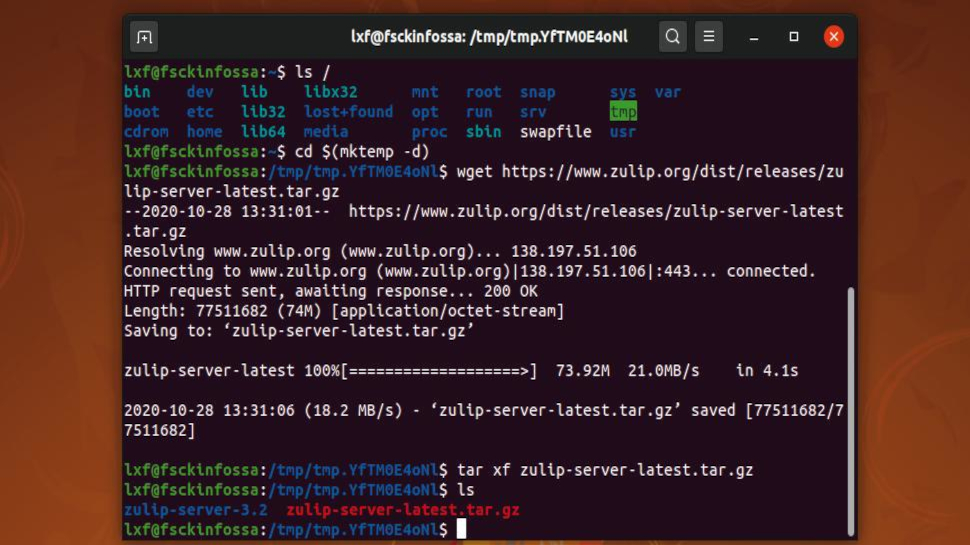
Download and extract the latest release to a temporary folder with
$ cd $(mktemp -d)
$ wget https://www.zulip.org/dist/releases/zulip-server-latest.tar.gz
$ tar -xf zulip-server-latest.tar.gz
After all, there’s no point messing up your home directory.
Step 2: Install Zulip
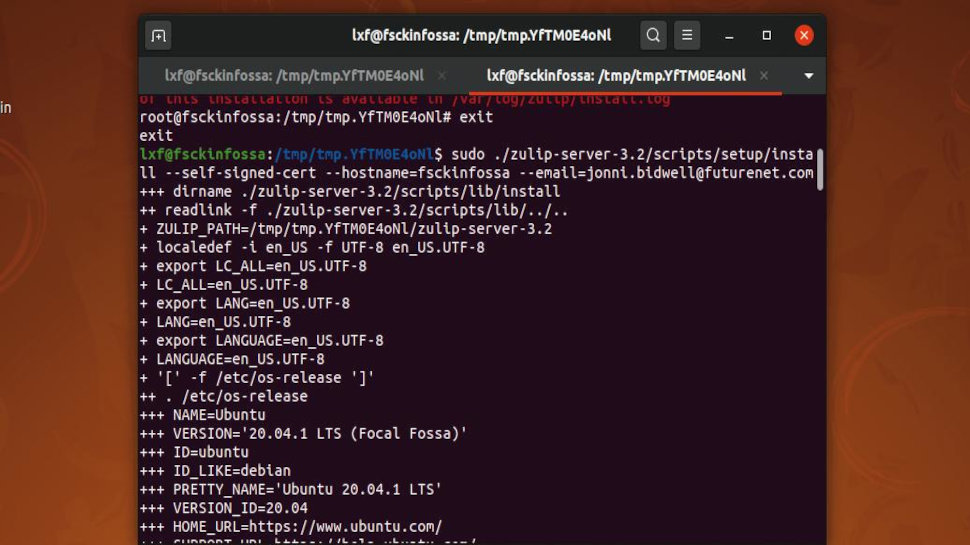
Run the install script and have it automatically set up an SSL certificate via Certbot with
$ sudo ./zulip-server-*/scripts/setup/install –certbot –email=EMAIL –hostname=HOSTNAMEreplacing the email and hostname to match you and your server.
You can also set up a self-signed certificate for local use or testing by using the –self-signed-cert option.
Are you a pro? Subscribe to our newsletter
Sign up to the TechRadar Pro newsletter to get all the top news, opinion, features and guidance your business needs to succeed!
Step 3: Log in to Zulip
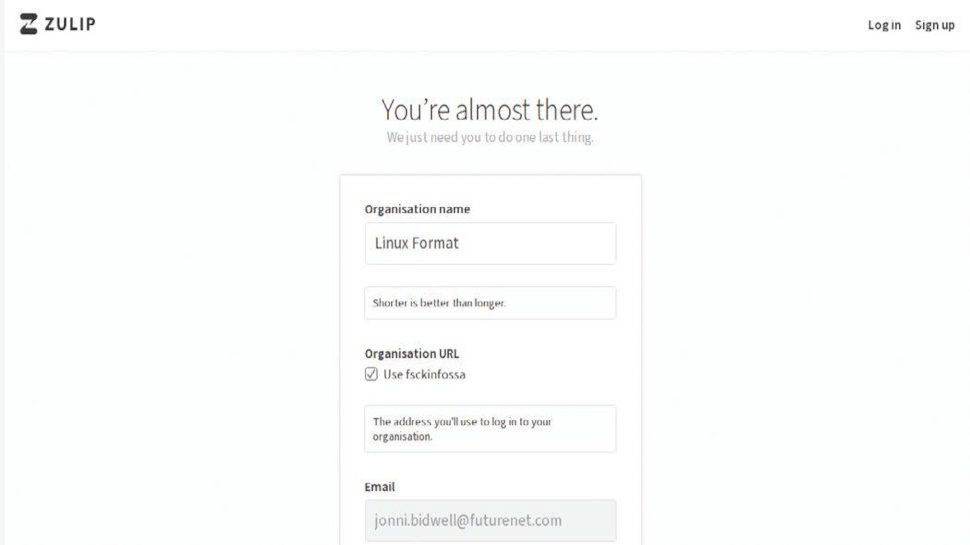
The script will take some time so perhaps a cup of tea is in order. When it’s done visit your Zulip install in a browser via the URL given when the script completes. You’ll be prompted to set up your organisation’s details and administrator account. Alternatively, you can import settings from Slack, Mattermost, HipChat or Gitter.
Step 4: Set up email
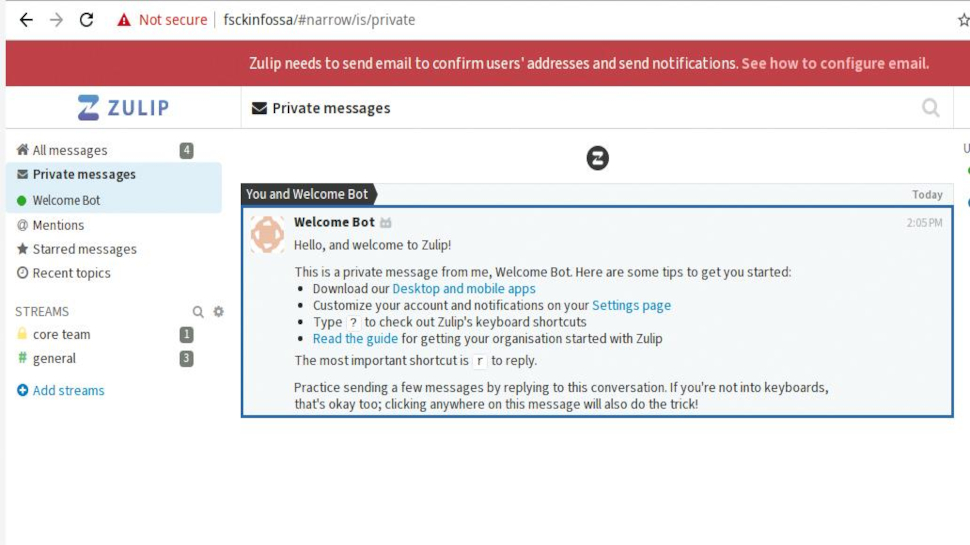
In order to verify new users, Zulip needs access to an outgoing email server. If you don’t have one there are free mail services (such as https://mailgun.com) that will do the job just fine. Just pop the details into /etc/zulip/settings.py and /etc/zulip/zulip-secrets.conf and restart everything with sudo supervisorctl restart all.
Step 5: Invite users
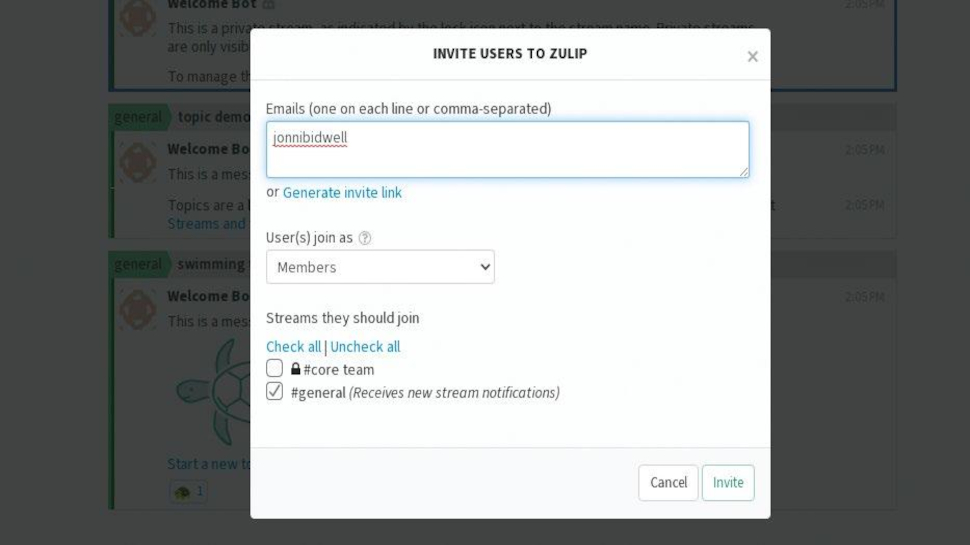
Soliloquising is all well and good, but you probably want to chat with real, actual users at some point. So your next step is to hit the Invite More Users button at the bottom of the user list, which sends out emails or generates invitation links. There’s no working around the fact that users will need a valid email address to sign up.
Step 6: Get to know Zulip
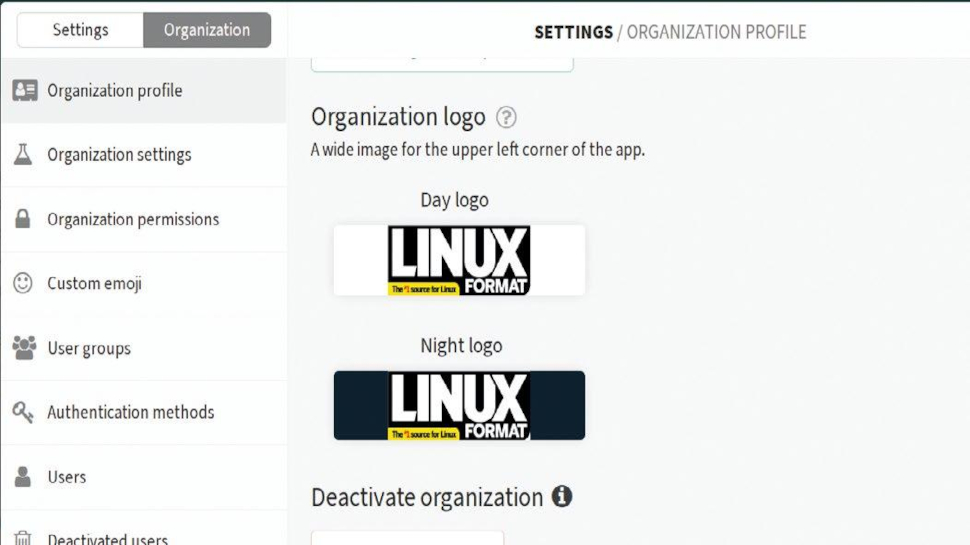
There’s fantastic documentation around getting your organisation started with Zulip and all kinds of customisation options. Why not start by adding your own logo? This and other things (important things such as adding custom emojis) can be done by going to the Settings menu (the cog in the top right) and selecting Manage organization.