For the better part of a decade, iPhoto was arguably the cornerstone of Apple's successful suite of consumer creative iLife products. Many of us got in the habit of shooting our daily and family adventures, then manually syncing them to our Macs when we have a free moment.
But times change. We now live in an age of ubiquitous cameras, always-available cloud photo libraries, and one-touch editing. With the meteoric success of iOS, Apple has elected to retire both iPhoto and "iPhoto Pro" (a.k.a., Aperture). It's no secret that iPhoto was getting bulky and slow, and the pro-centric Aperture has been eclipsed by its largest competitor, Adobe Lightroom. Both products have already been "sunset" and will receive no updates going forward.
A successor now rises in their place that is both familiar and different — an all-new Mac edition of the Photos for iOS app, which over 700 million people (and counting) are quite familiar with.
Over the following pages, we'll explain how the new Photos works and give you helpful tips.
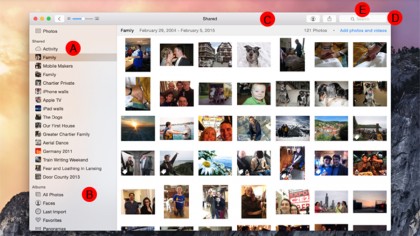
Quick look: the main Photos area

This should feel pretty familiar, whether you have previously used iPhoto or just about any similar app or service. It's all your photos (and videos), displayed in a simple grid. If you're using a Trackpad, you can pinch in and out to quickly resize the grid and see larger photos with more detail or more photos all at once.
A. Sidebar: Here is where you can slice and dice your library. In fairly standard Apple practice, new Albums, Smart Albums, and Folders you create are listed here. This also displays any Shared Photo Stream albums you have created or joined.
B. Smart Sidebar: Photos for Mac does quite a bit of library organization for you, automatically sorting some items into sections like Faces (Mac-only for now), Favorites, Panoramas, Videos, Slow-Mo, and more. Unlike albums you create, you cannot remove any of these sections.
Are you a pro? Subscribe to our newsletter
Sign up to the TechRadar Pro newsletter to get all the top news, opinion, features and guidance your business needs to succeed!
C. Toolbar: An app's toolbar is often your anchor, your home base for figuring out where you are and what you can do next. For iPhoto and Aperture users, the Photos for Mac toolbar is dramatically simplified. Only a couple options are visible while browsing photos and albums, and options to share and edit a photo appear only once you select or double-click, respectively.
D. Editing: Click the Edit button at the right of the toolbar to craft a photo into your own image. A suite of tools, which iOS users should recognize, appears to the right of your photo as the app switches into an editing interface. This is where the magic happens.
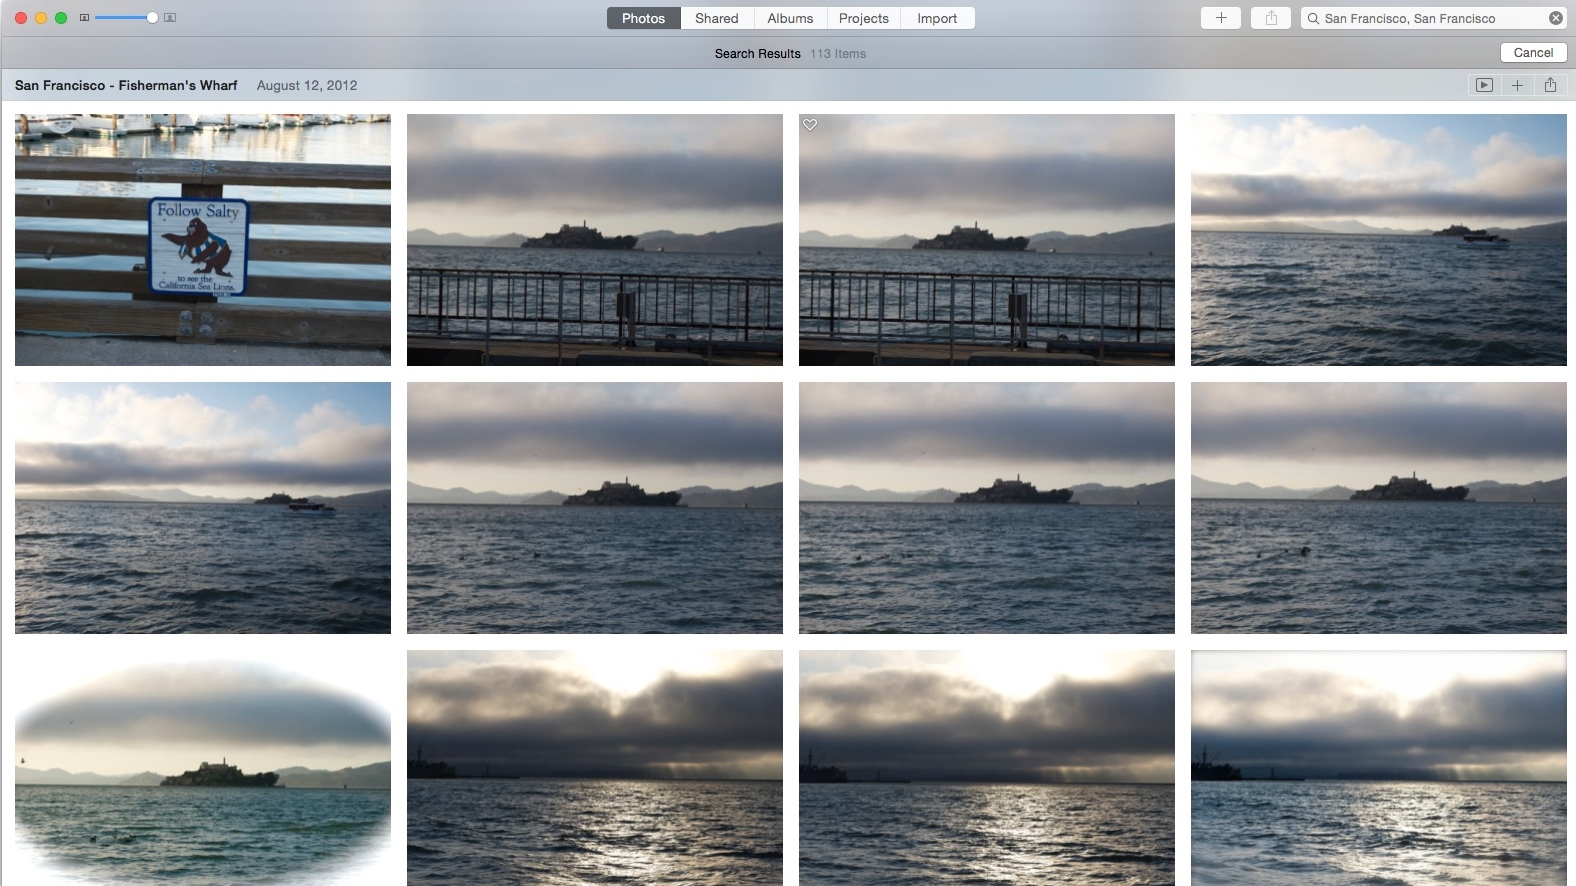
E. Search: What good are ever-expanding photo libraries without a way to search through them? Here you can zero in on just about anything, including metadata like locations and dates that is automatically captured when you shoot with an iPhone, as well as album names, Faces, and other information you add.