We recently talked about how to flush your DNS cache on your Mac should you have trouble connecting to certain websites or have other network difficulties within OS X. We now want to take another look at DNS, and specifically see how we can utilize discoveryutil to find additional details out about the DNS caches in OS X.
UDNS Cache Stats

To see the unicast DNS cache statistics, open up the Terminal app (located in /Applications/Utilities), then enter the following command:
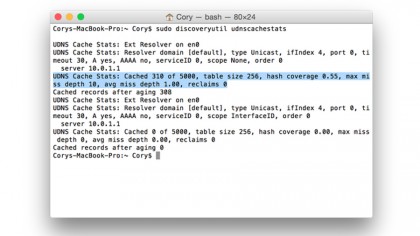
sudo discoveryutil udnscachestats
After entering this command, press return, and you will be prompted to specify your administrator password. When done, press return again. You'll see something like this:
UDNS Cache Stats: Cached 310 of 5000
This stat tells you how many DNS entries are currently cached on your Mac. When flushing the DNS cache, you will see this number drop back down to 0.
Note that if you have multiple network interfaces, the stats will be repeated for each of the interfaces on your Mac.
Are you a pro? Subscribe to our newsletter
Sign up to the TechRadar Pro newsletter to get all the top news, opinion, features and guidance your business needs to succeed!
MDNS Cache Stats

To see the statics for the multicast DNS cache, simply open the Terminal again, but use this command instead:
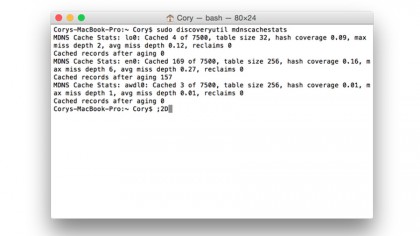
sudo discoveryutil mdnscachestats
Again, you'll see something like this printed to the Terminal screen:
MDNS Cache Stats: en0: Cached 169 of 7500
Once again, the command will be repeated for each network interface on your Mac, so you may see multiple entries in the Terminal. If you flush the MDNS cache like we showed last week, then this number will also drop down to 0, letting you know that the cache has been cleared.