Stunning shutter speed effects
Master shutter speeds to boost your creativity
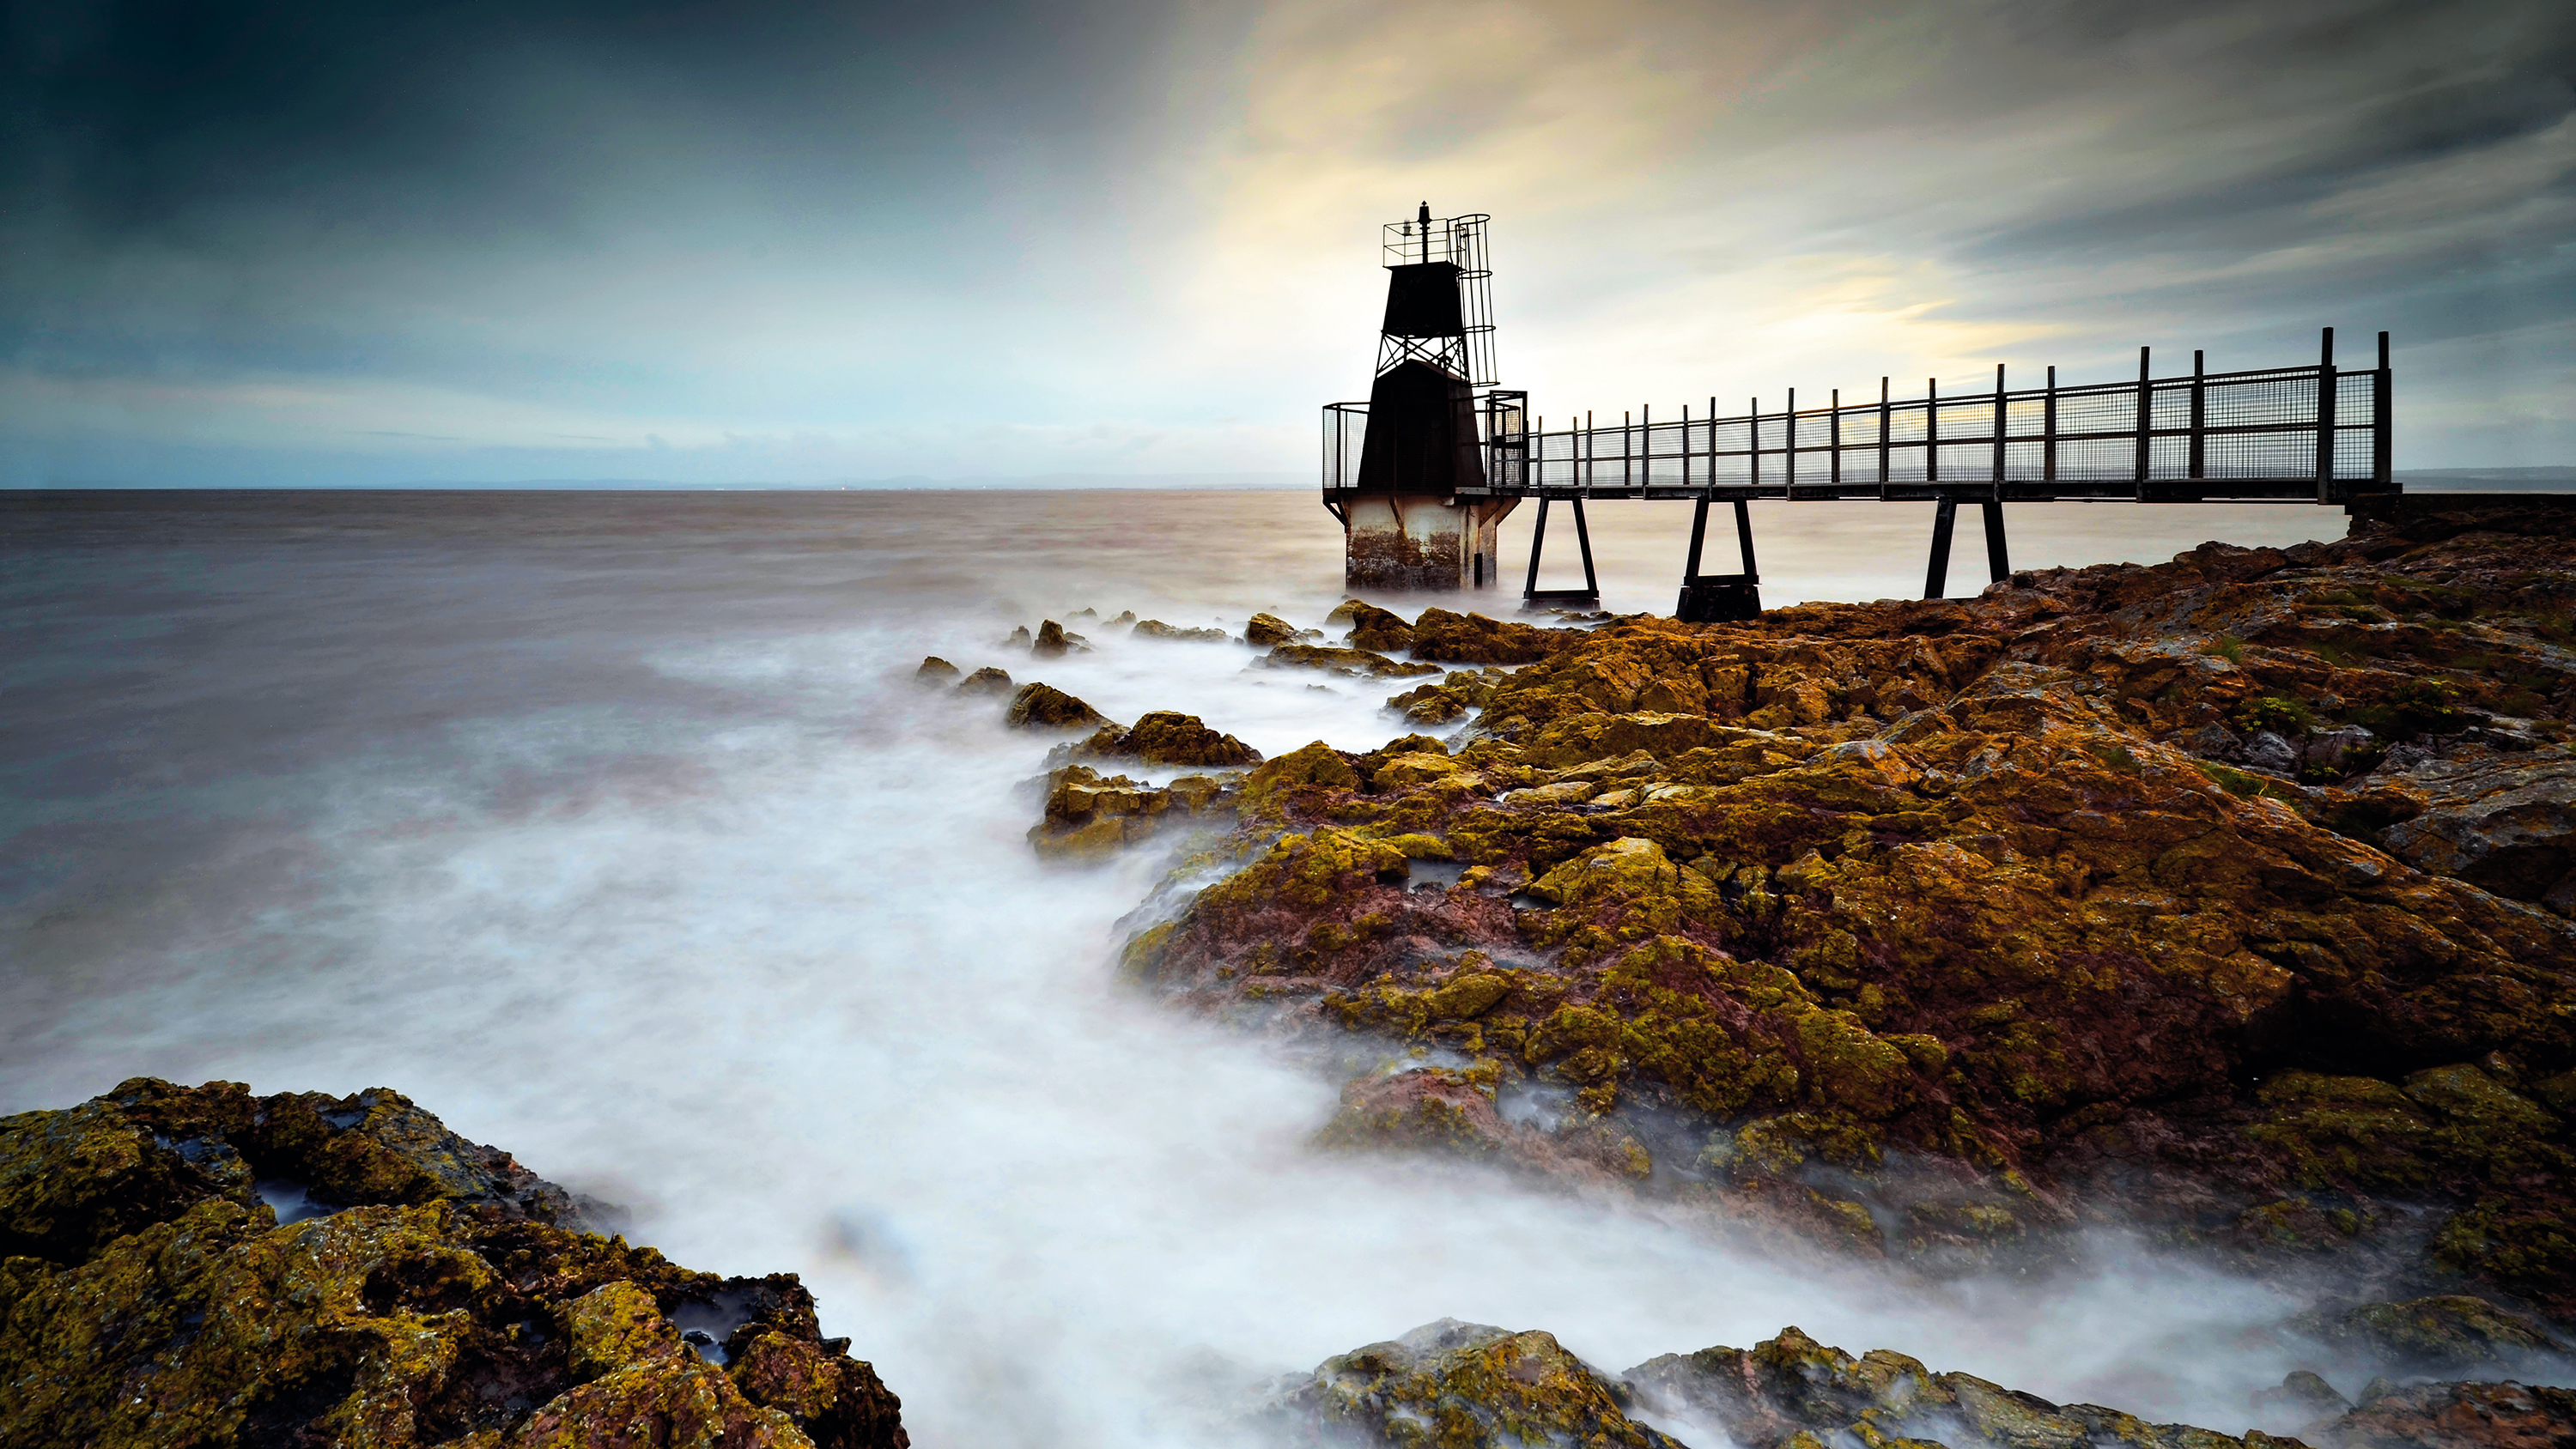
At a basic level, shutter speed is used to control exposure, but it can also be used as a creative tool that freezes action or adds dramatic blur to moving subjects. In this feature, we'll explain how to achieve five classic shutter speed effects.
We'll use shutter speeds a fraction of a second long to freeze action we might otherwise miss, then explain how to use exposures of minutes or even hours to capture slow-moving events. While this feature is about shutter speed, you must also take the aperture and ISO settings into account when thinking about exposure. ISO controls how sensitive the sensor is to light, the aperture controls how much light enters the lens, and the shutter speed dictates how long the sensor is exposed for.
Think of each of these settings as one point of a triangle. For any particular scene, if you change one of these three settings, you’ll have to adjust at least one of the others to get the correct exposure. So, for example, if you want to use a slower shutter speed you’ll have to set a smaller aperture or lower ISO.
Step-by-step: How to change shutter speed
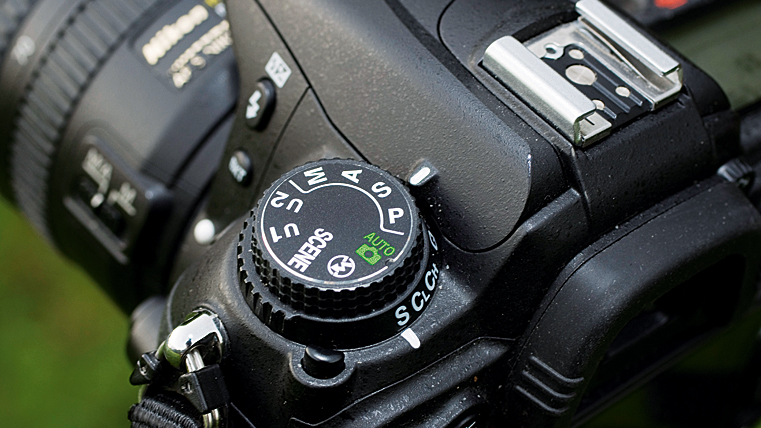
1. Switch to shutter priority
In this mode – S or Tv on the mode dial or menu – you set the shutter speed and the camera sets the aperture. Actual shutter speed is usually adjusted by a dial, but check your camera's manual.
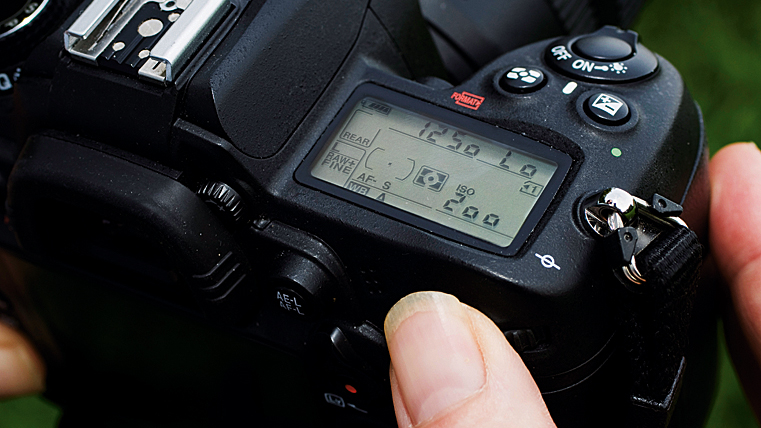
2. Using fast shutter speeds
If there isn’t enough light for a correct exposure at the speed selected, you'll see a warning in the viewfinder. If you can't control the light, you’ll need to increase the ISO until the warning disappears.
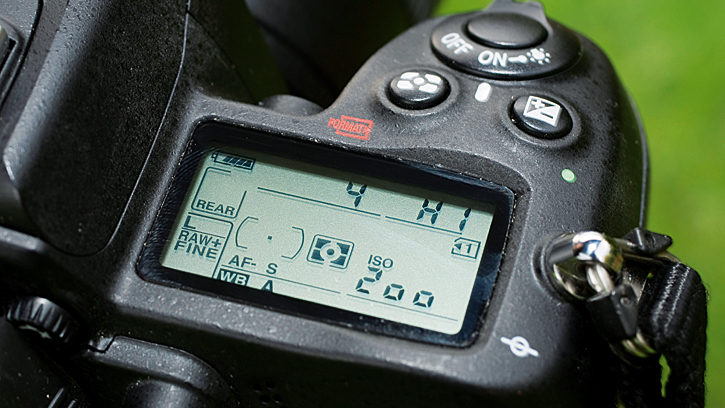
3. Using slow shutter speeds
If there’s too much light, you'll see a similar warning. To correct this you could use a lower ISO. If you’re already using the lowest ISO, reduce the amount of light entering the lens with an ND filter.
Freeze movement
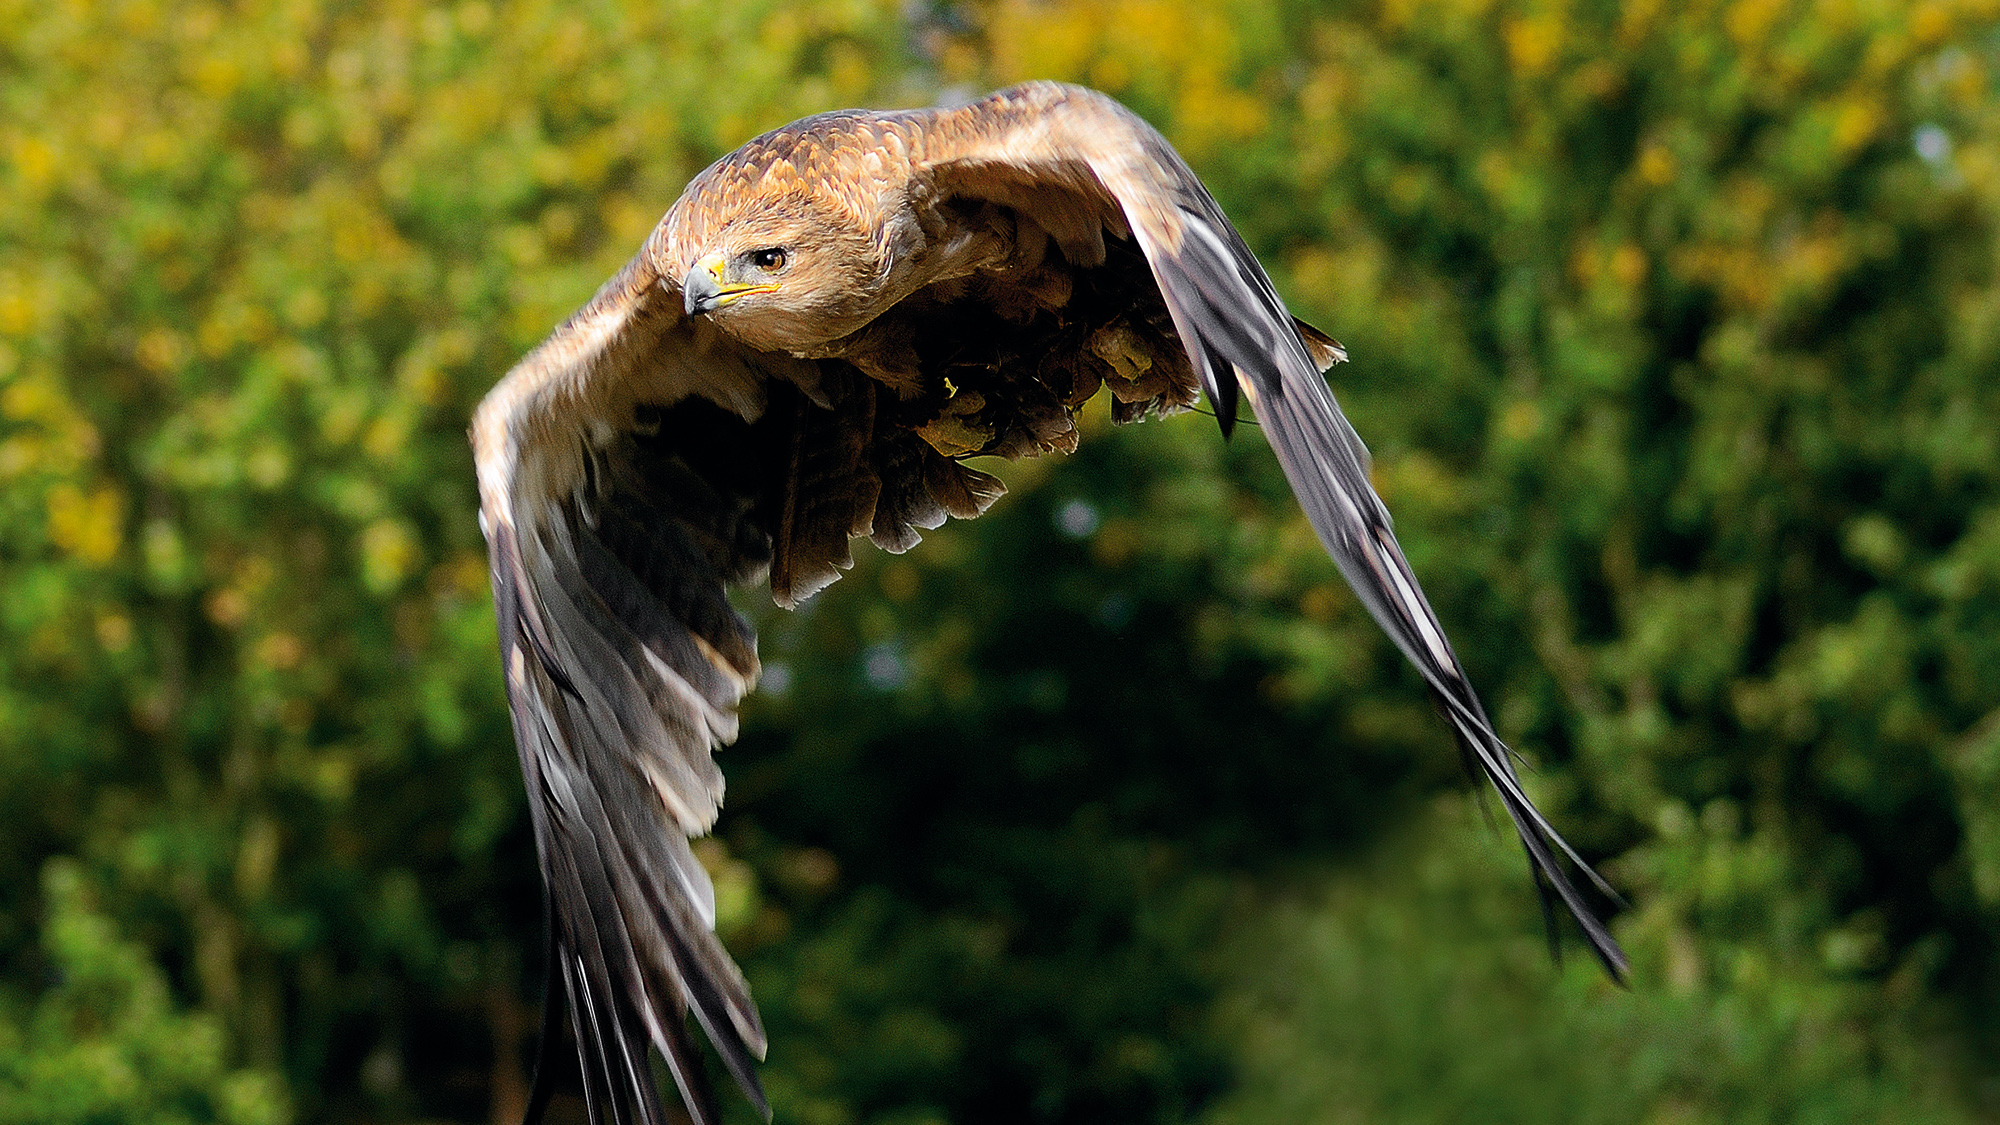
The basic principle behind using fast shutter speeds is pretty simple; the faster the subject is moving, the shorter the shutter speed you need to freeze the movement. A shutter speed of 1/250 sec will freeze most slow-moving subjects, a speed of 1/1000 sec will freeze faster subjects such as a speeding car, and 1/8000 sec will stop all but the fastest subjects. But there’s more to getting successful action shots than just selecting a fast shutter speed and firing the shutter.
Think about timing. If you don't take the shot at the right moment it can look too static
First you must get your subject in the frame, and in focus. The trick is to track the action, keeping the focus point positioned on the subject. Set the camera to AI Servo or Continuous AF autofocus mode, and with practice you’ll be able to follow most subjects as long as there’s enough light.
Now think about timing, because if you don’t take the shot at the right moment it can look too static. For sports and action shots, look for an element such as dust or water spray that shows the forces at work, or for the expression of a competitor that conveys the dynamics of the action.
Step-by-step: Key camera settings
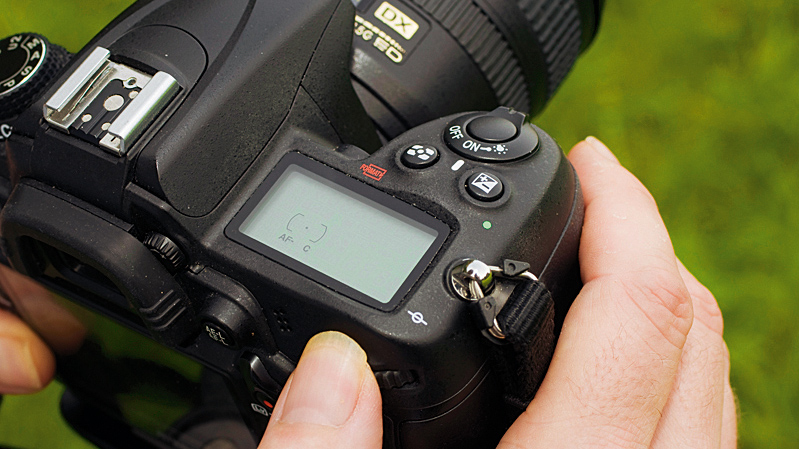
1. Set the autofocus mode
To allow the camera to adjust the focus for moving subjects, switch to the AI Servo or Continuous AF focusing mode. Then select the focus point that corresponds with the position of your subject within the frame.
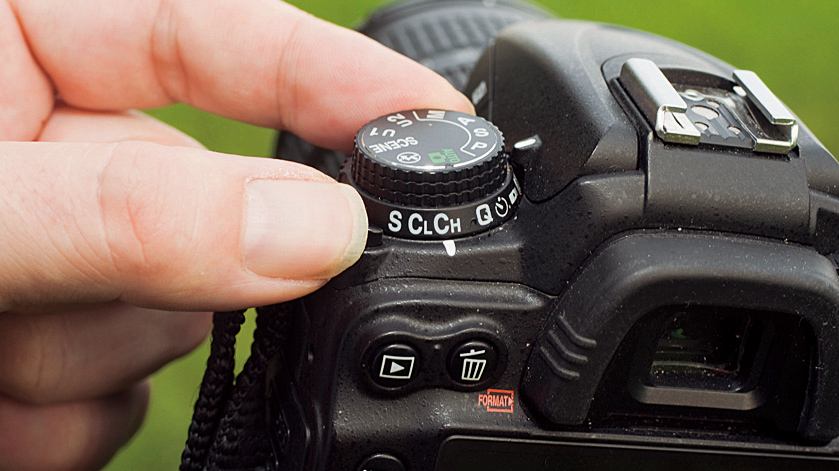
2. Set continuous drive mode
You shouldn’t need to keep firing all the time, but set the drive mode to the highest speed continuous shooting mode available. This will enable you to fire the shutter in short bursts when the action is most dramatic.
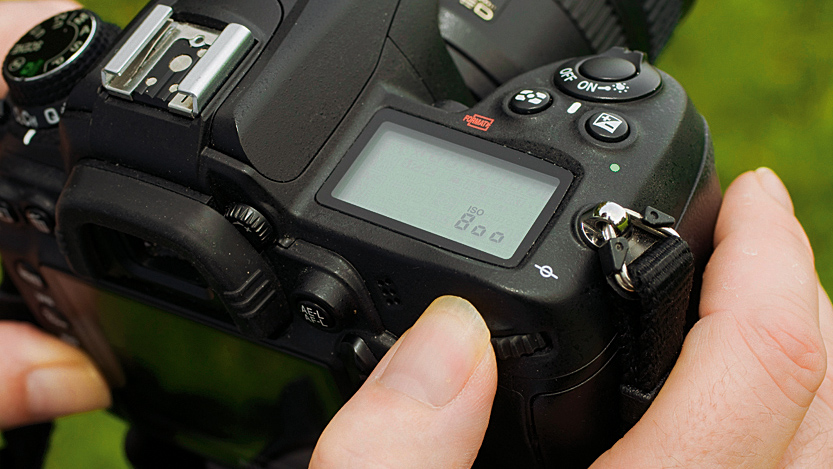
3. Set the exposure
Select shutter priority mode and choose a shutter speed that’s fast enough to freeze the action (see table, opposite). Depending on the light, you may also have to adjust the ISO to get the correct exposure at your chosen speed.
Avoiding noise at high ISOs
To achieve shutter speeds fast enough to freeze the action, you'll often need to use a high ISO setting. The good news is that most recent cameras offer very high image quality at ISO settings up to 1600, and even beyond. However, even at low ISO settings, noise can still be a problem if you accidentally under-expose your shots and then try to recover details in the shadow areas using image-editing software post-shoot.
Get daily insight, inspiration and deals in your inbox
Sign up for breaking news, reviews, opinion, top tech deals, and more.
So, to keep noise levels low, make sure your exposures are spot-on before you head home, particularly if there’s a bright background, which can render the main subject too dark.