The 10 laws of landscape photography
Discover how to capture your best ever landscape photos
Law 3: Don’t always use wide-angle lenses
Be aware of the possibilities zoom or telephoto lenses can give you, and you’ll end the day with more creative images
Many landscape photographers shoot 80 per cent of their landscapes with a wide-angle lens, but it’s still worth taking along a longer lens for capturing those distant details that are impossible to shoot with anything else. For that other 20 per cent of images, around half are shot using the longer focal length setting of a standard zoom, the other half with a telephoto lens.

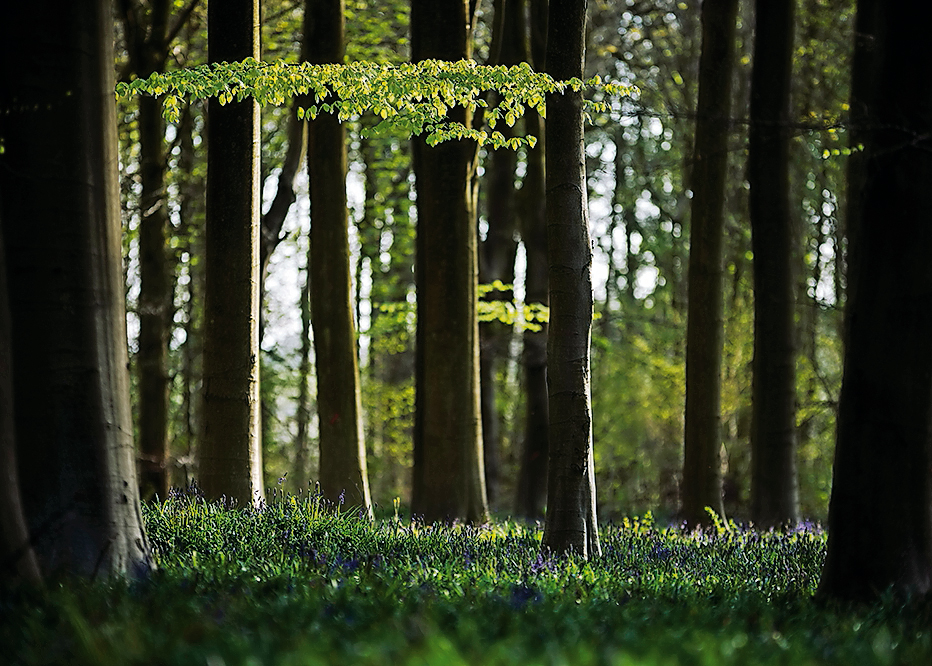
When you’re shooting in a woods or a forest, a wide-angle lens can often produce images without a defined focal point. Look for more distant subjects to simplify the scene, and reach for a telephoto lens.
Shooting details from a distance means that you get the classic compressed perspective effect, where the foreground and the background appear to be very close together. The further you are from the subject, the more pronounced the effect will be, which means you’ll also need a long focal length to fill the frame with these very distant subjects.
Stitched up
The other occasion where a longer focal length lens comes in is if you’re shooting a panorama. A wide-angle lens often distorts at least part of the image, making a sequence harder to stitch together. Using a telephoto lens keeps the perspective of the final result looking more natural.

Law 4: Don't use an ND grad for every shot
Sometimes filters can cause problems rather than fix them, so get to know the tricks that can help you out

Normally, we would advise getting the shot right in-camera: it saves time and effort adjusting and manipulating images later on. We’d much rather use an ND grad filter to capture detail in both the sky and the landscape of a sunset or sunrise shot than use fancy software techniques. But there are situations where it’s better to leave the ND grad filter in your bag and use other photographic techniques to balance the exposure.
Get daily insight, inspiration and deals in your inbox
Sign up for breaking news, reviews, opinion, top tech deals, and more.
The classic case is when there are mountains, buildings or trees above the horizon in your shot, and the sun is low in the sky. In these conditions, it’s impossible to keep detail in both the brightest and the darkest areas of the scene in a single exposure. But if you use an ND grad filter, any part of the scene above the horizon is darkened, making its use obvious.
Camera Raw’s Adjustment Brush and Graduated Filter tools mean you can often recover detail from a single raw file. But it’s still worth bracketing your exposures for the best results.
The preferred method in these situations is to take two shots: one exposed for the sky and brighter areas, the other for the land and darker areas. Open them as two separate layers in Photoshop, and use a layer mask to paint in the correctly exposed areas in each layer.
HDR-Free
High-dynamic-range (HDR) processing is an option, but many people find that HDR rarely produces a natural-looking result, so we don’t tend to use it for landscapes. The latest digital SLRs, and improved raw-processing software such as Lightroom 6, mean that you can often reclaim a lot of the highlight and shadow detail.

Phil Hall is an experienced writer and editor having worked on some of the largest photography magazines in the UK, and now edit the photography channel of TechRadar, the UK's biggest tech website and one of the largest in the world. He has also worked on numerous commercial projects, including working with manufacturers like Nikon and Fujifilm on bespoke printed and online camera guides, as well as writing technique blogs and copy for the John Lewis Technology guide.
