How to turn your Android Wear watch into a fitness watch
Wear your way to wonderful wellness
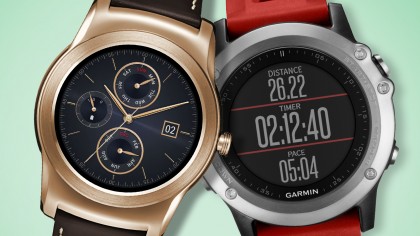
Strap-on fitness can be yours
Smartwatches seem like they should be the perfect exercise tools. They live on your wrist, you wear them most of the day and they have way more sensors and tech smarts than any normal watch.
However, they're not. Sorry to burst your bubble. But they can be if you listen to us…
Almost all Android Wear watches need a bit of help to monitor the information required to make them a top-tier exercise tracker. Here's our guide to turning yours into an indispensable running or cycling accessory...
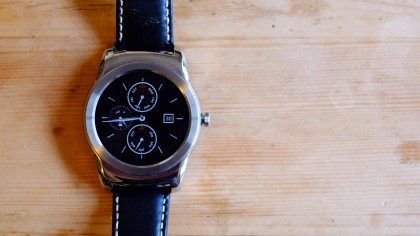
1: What it can do and what it can't
Virtually all Android Wear watches lack the one feature that stars in every mid-range or high-end dedicated runner's watch: GPS. This is the transmitter that talks to satellites in Earth's orbit – US-owned ones for the GPS network, and Russian ones if you're lucky enough to have GLONASS too.
As the Sony SmartWatch 3 is the only current Android Wear watch with GPS, you either have to make do without, or hook up to your Android phone – it will have GPS, trust us.
Sans GPS, your Android Wear watch will use its accelerometer and gyroscope to count your steps, using that data to extrapolate your speed and distance. The integrated Google Fit app can handle that. Clever algorithms make this reasonably accurate, but not close to what's possible with GPS on board. So let's find out how to bridge the gap...
2: Picking an app
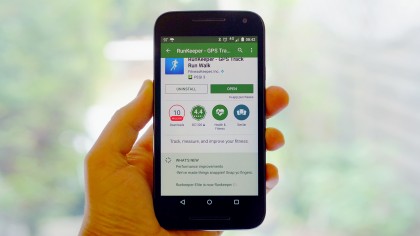
The main thing to do is find an Android Wear app that hooks into a full-blown Android phone app that supports GPS exercise-tracking. There are several top-quality apps like this that enable an Android Wear smartwatch to function as a second screen, displaying pretty much everything a Garmin Forerunner watch might while leaving your phone to do virtually all of the actual leg work.
Apps we love that facilitate this sort of operation include:
Runkeeper: Perhaps the most popular runners' app. It's free, but there's a subscription option (£7.99/$9.99/AU$12.99 per month or £29.99/$39.99/AU$49.99 per year) if you want super-advanced features like long-form workout plans.
Strava: Generally considered a cycling app, but Strava can handle runs just as easily too.
MapMyRun: A mid-tier running app, but still a cracking package.
Runtastic: Battles with Runkeeper for the title of most popular running app.
Endomondo: An app that feels like it's a bit less obsessed with the higher-end athlete, being happy to advertise its walking cred.
SportsTracker: A mid-table pick with a much darker interface than most.
All of these apps are pretty great, having each had years of development put into them to smooth out the wrinkles. Your best bet is to try a few of the top picks to find out which interface you get on with best, because that's what it'll boil down to.
3: Downloading and installing
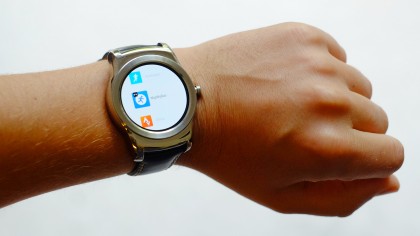
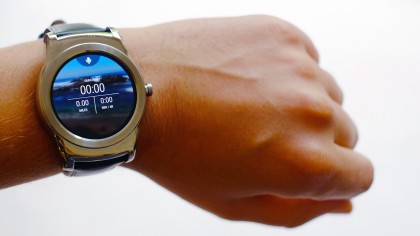
Getting the app set up on your watch is about as simple as you could imagine. Just install the relevant phone app and, once the data is synced (if in doubt put your watch on charge and it should sync), the Android Wear companion app will appear in your watch's app menu.
If you're totally green to Android Wear, you can get to this screen by swiping right to left from the watch face. If you don't see it there, double check that the app you downloaded definitely has a companion app. It's usually mentioned somewhere in the description on the app's Google Play page.
4: Using companion apps
While these are called companion apps, they're pretty good at running the show. Just load the app on your Android Wear watch and it'll be more than capable of starting an exercise session on its own.
There are just a few things you need to make sure are ticked off beforehand. First, you need to be logged into the running app on your phone – this is something you do on first loading the app. These exercise trackers pretty much universally require an account, but they're always free to register.
The quickest way to do so is to log in using your Facebook ID, and then make sure the app won't post any annoying statuses on your behalf.
Now, make sure GPS is enabled on your phone. Just go to the Settings menu, find the Location entry and make sure the Location data is switched on in there.
5: Lugging your phone around
Finally: where to carry your phone? Plenty of people run with their phone anyway – after all, it's a pretty good idea in case you injure yourself somehow.
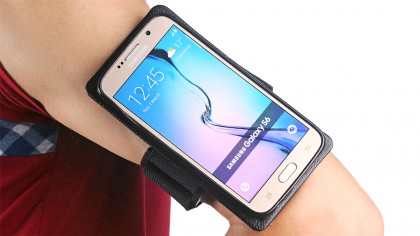
Like to run as 'naked' as possible, at least tech-wise? Your best bet is an arm strap. Not only does it stop the phone from jumping around in your pocket, it's handy if you're going to plug in headphones too, keeping the cable out of the way.
You can find no-brand armbands on eBay for a few pounds, but it's probably worth investing in a higher-quality one like a ShockSock Eziflex or Griffin Adidas Armband. These will likely fit a bit more comfortably.
Now that you're all tooled-up, all you need is the will to get out there and go for a run.

Andrew is a freelance journalist and has been writing and editing for some of the UK's top tech and lifestyle publications including TrustedReviews, Stuff, T3, TechRadar, Lifehacker and others.
Sign up for breaking news, reviews, opinion, top tech deals, and more.
You are now subscribed
Your newsletter sign-up was successful